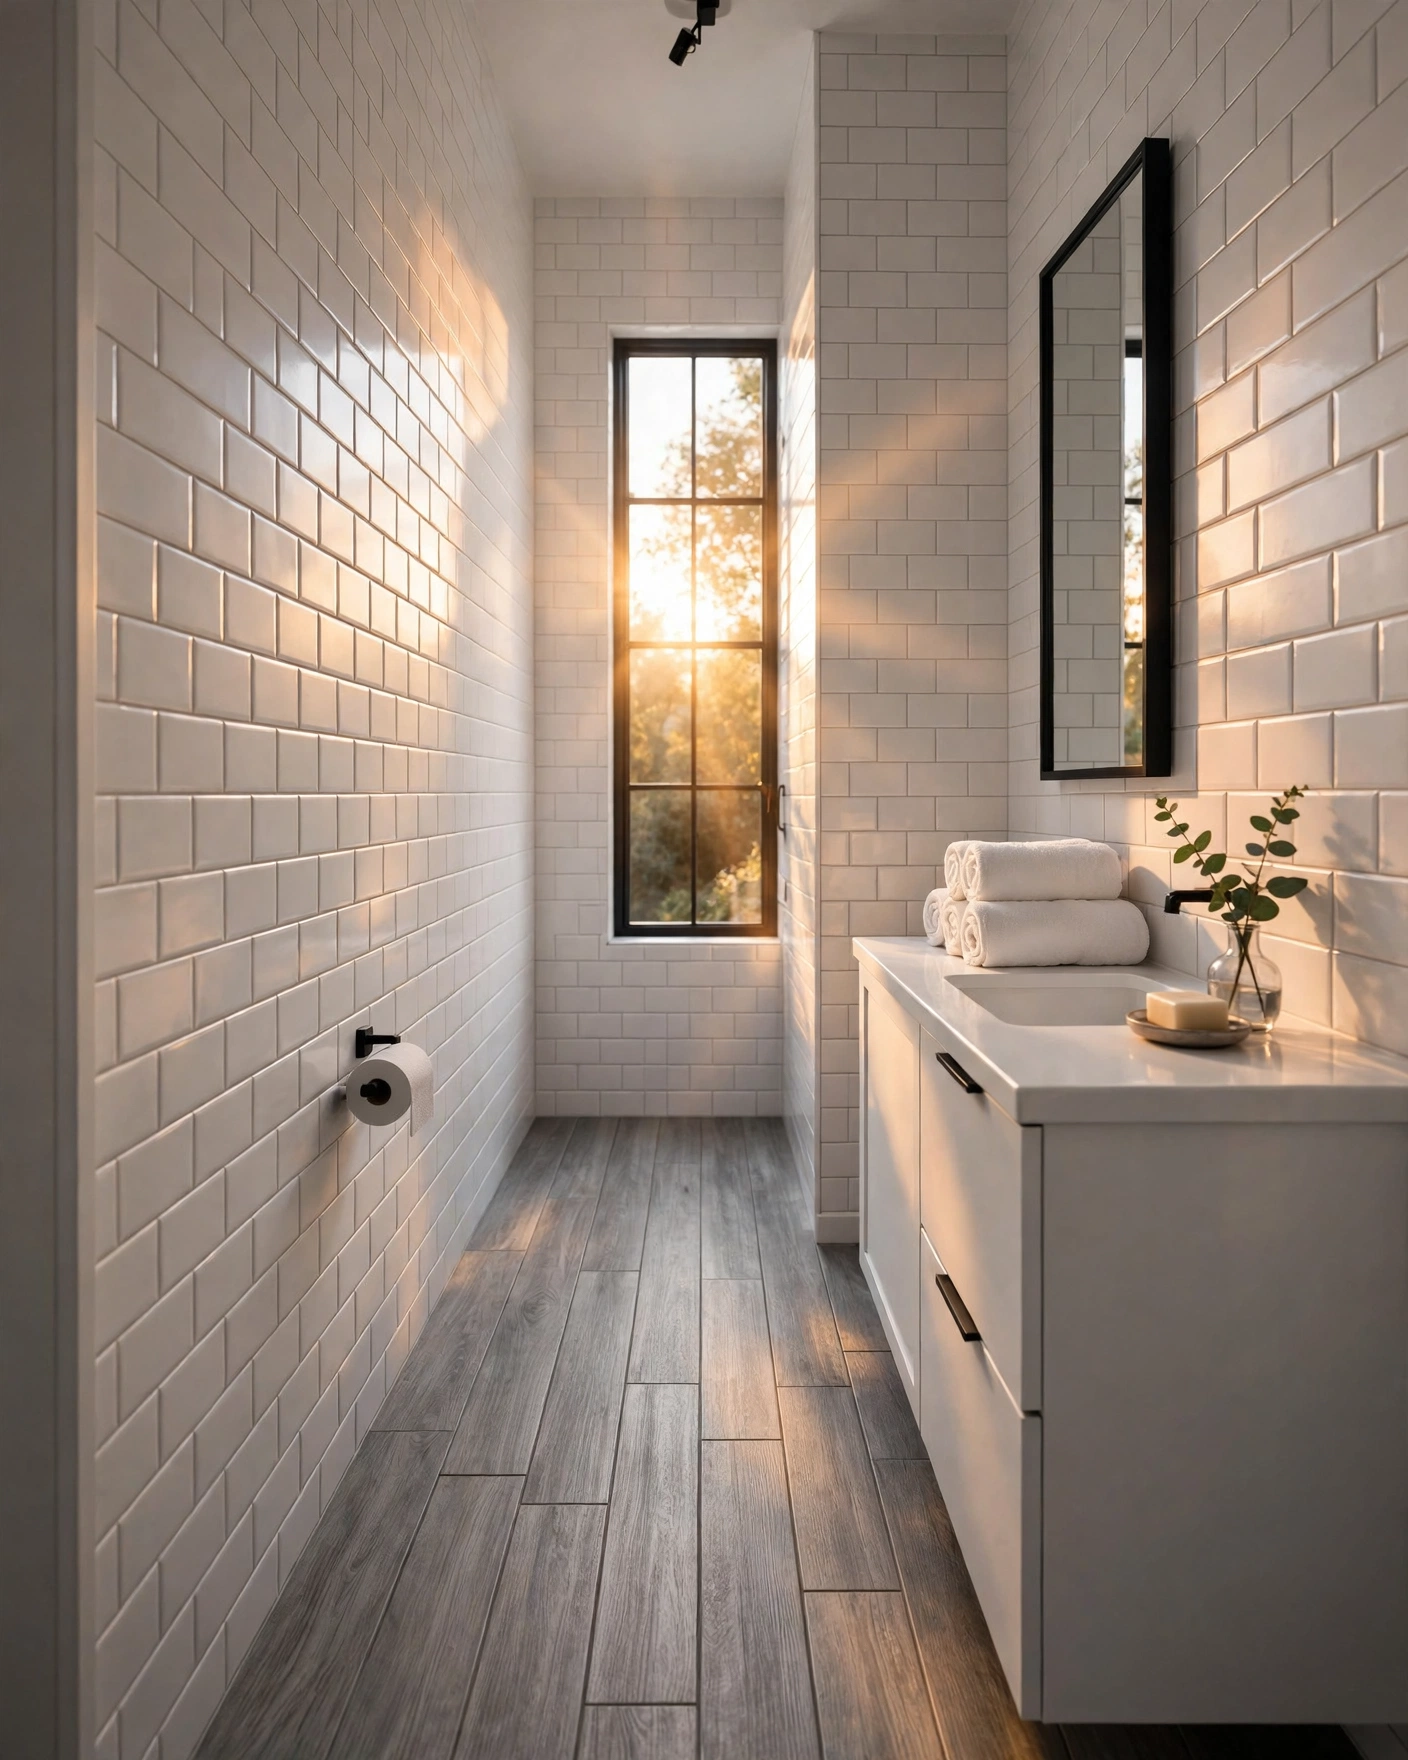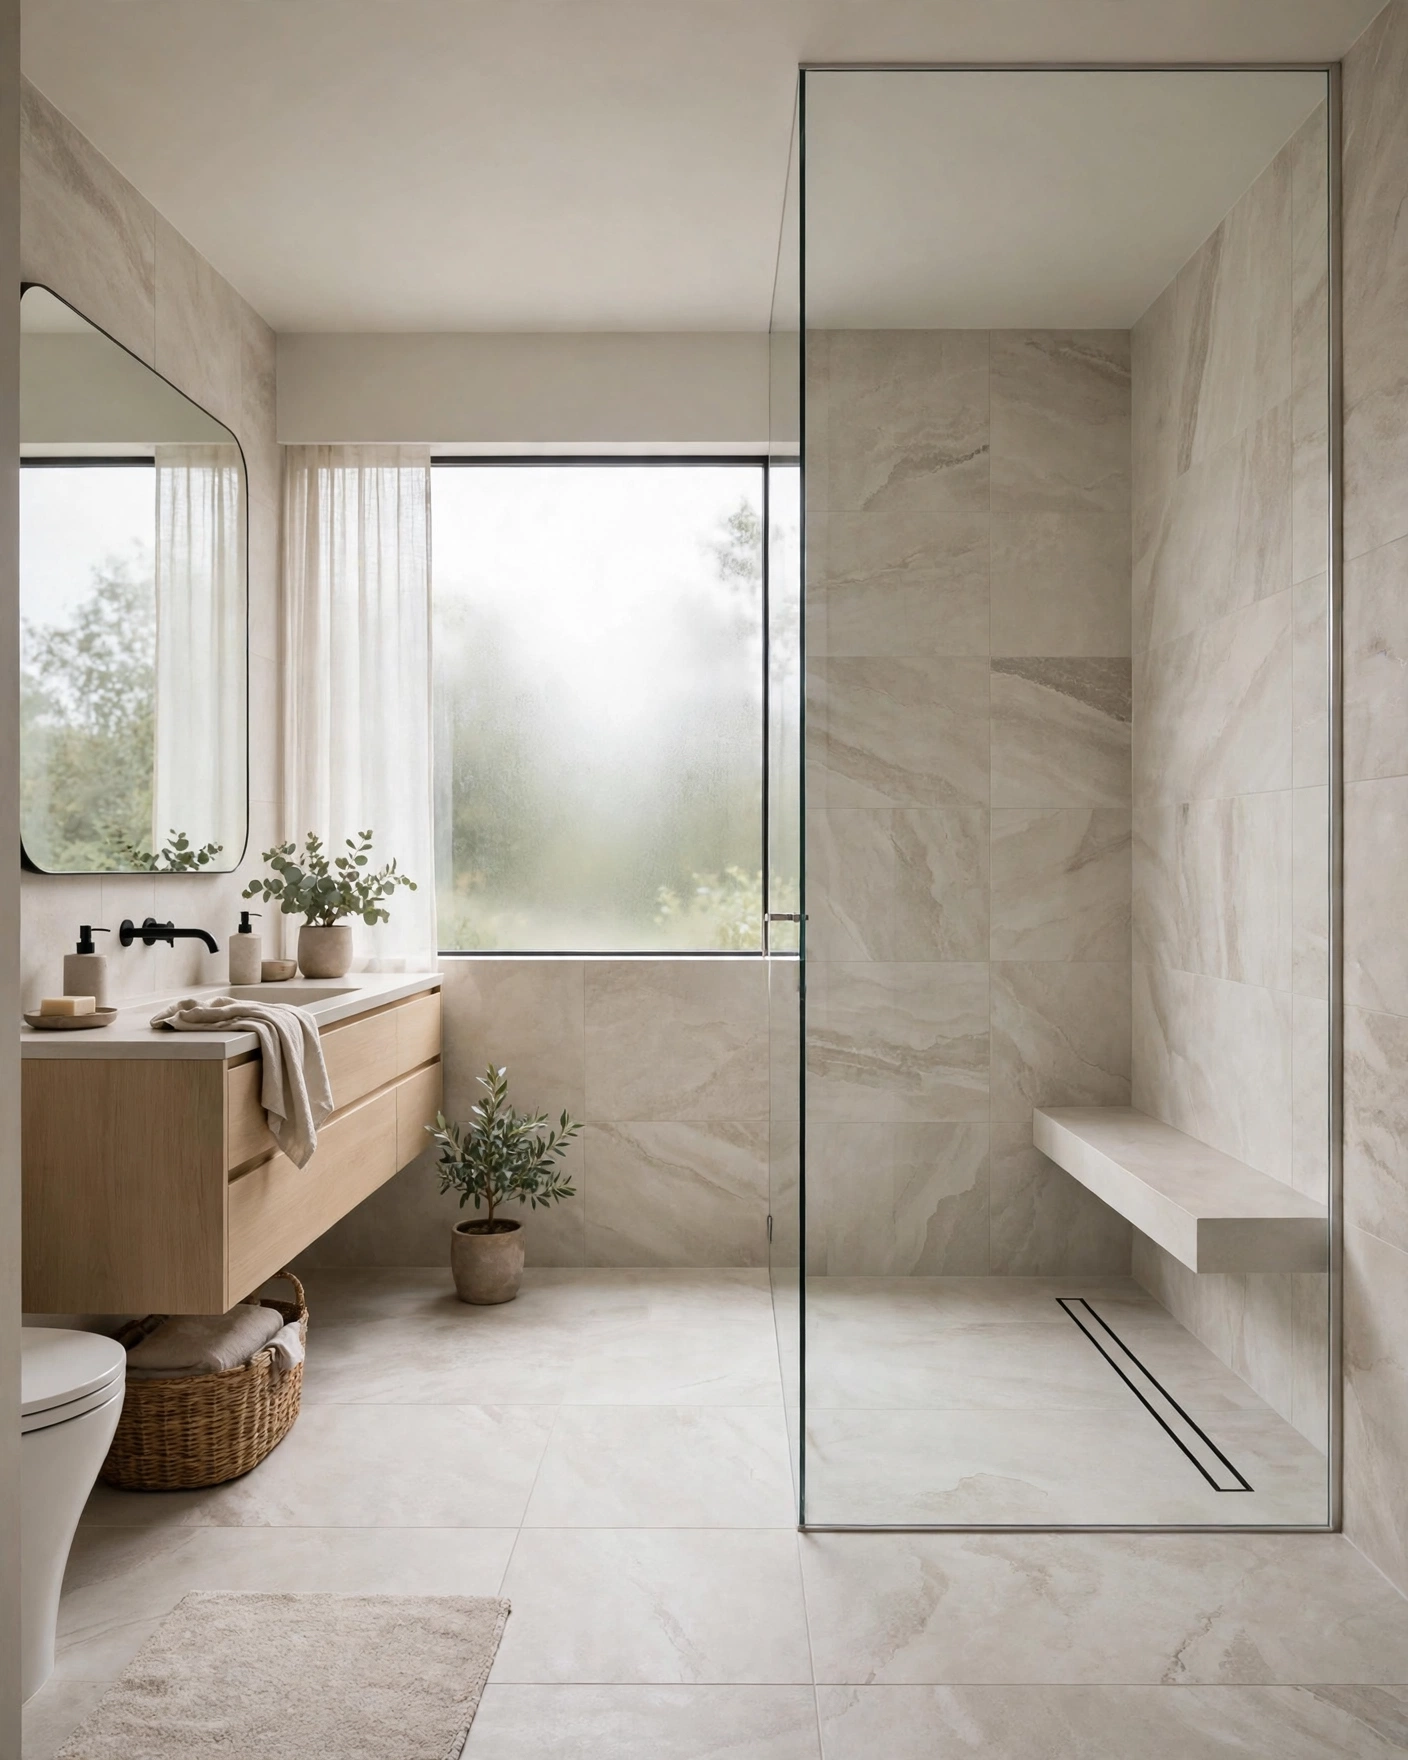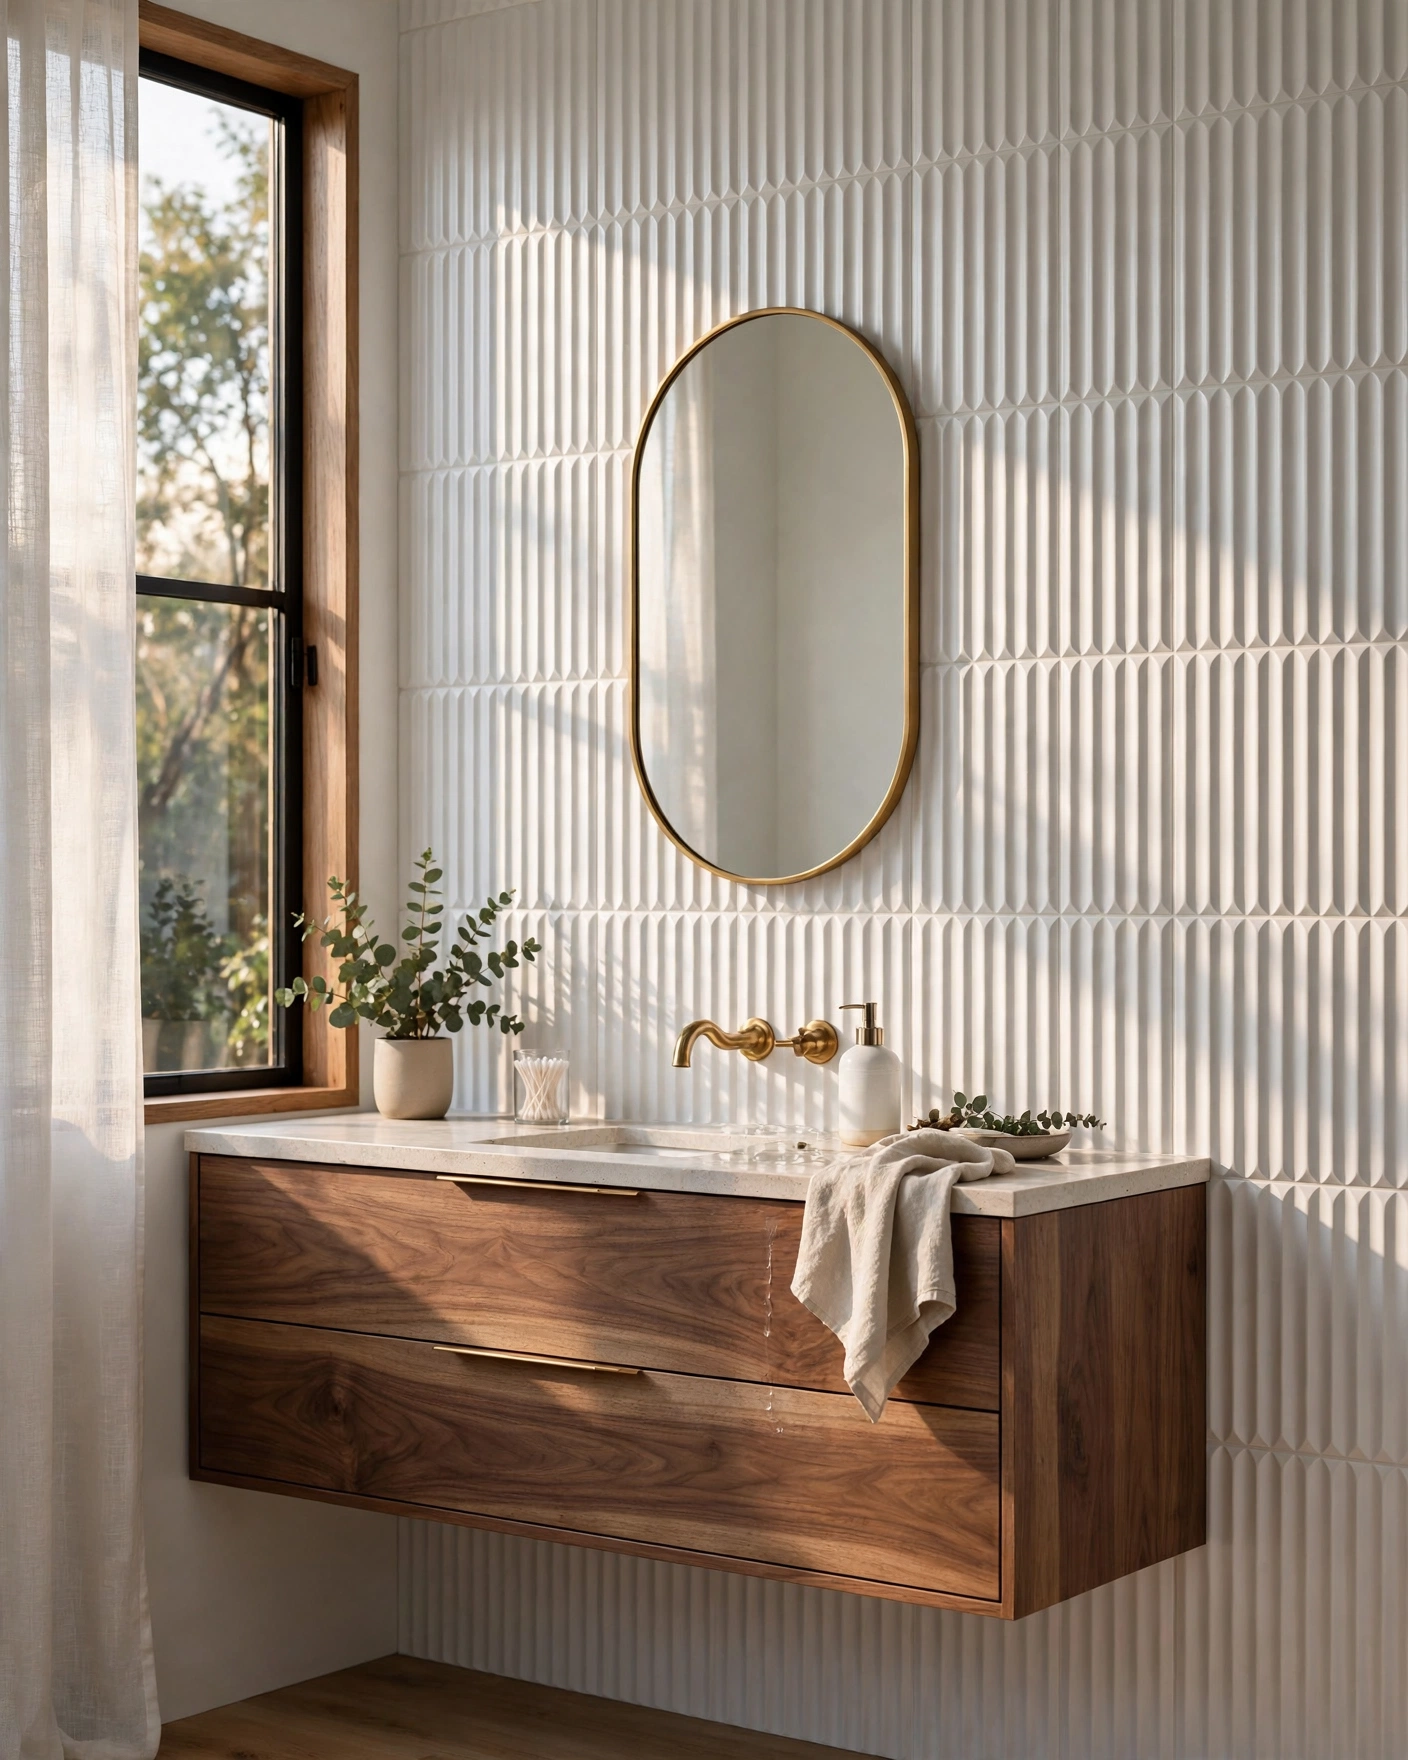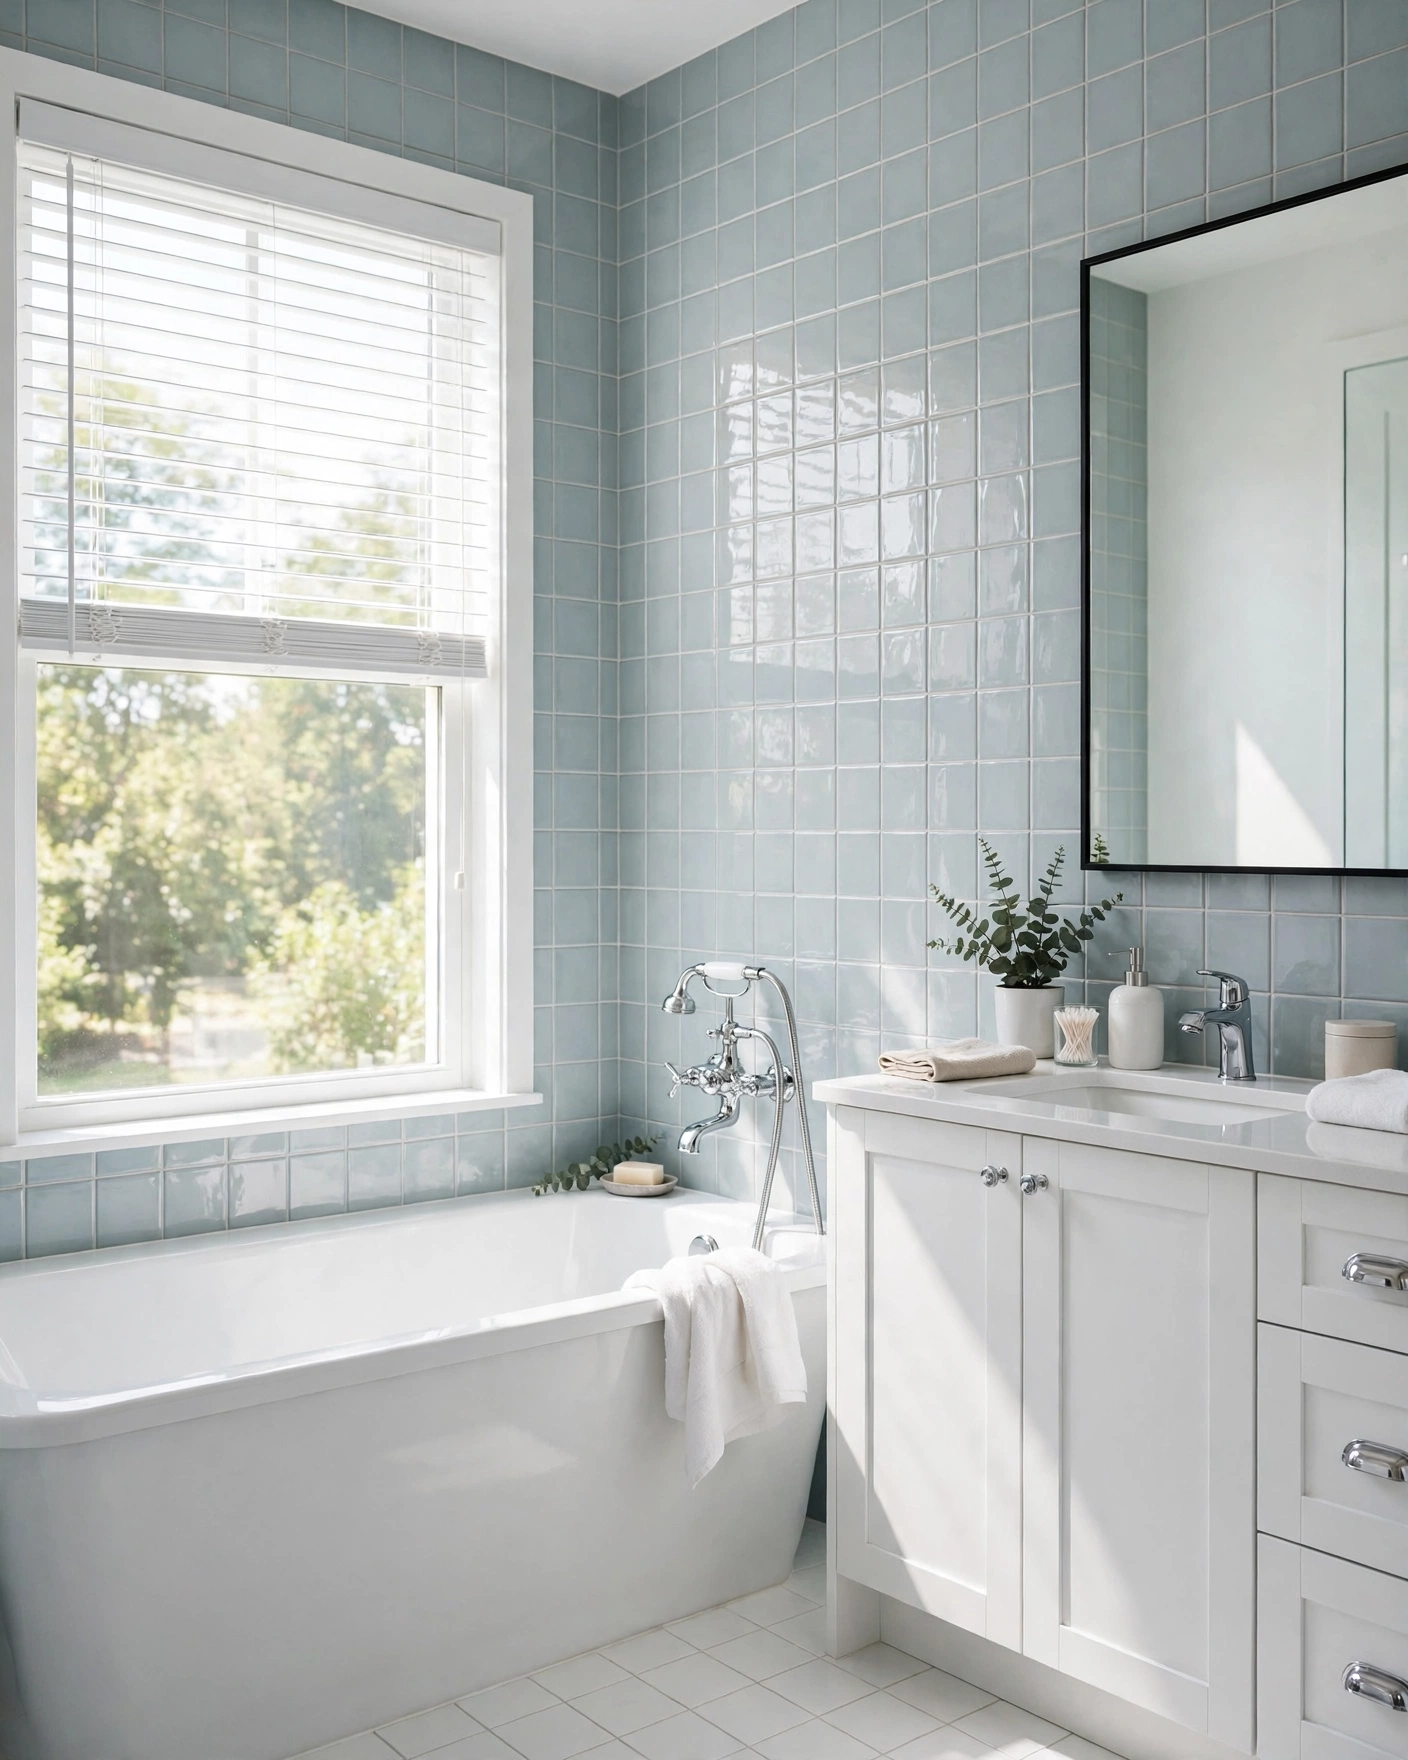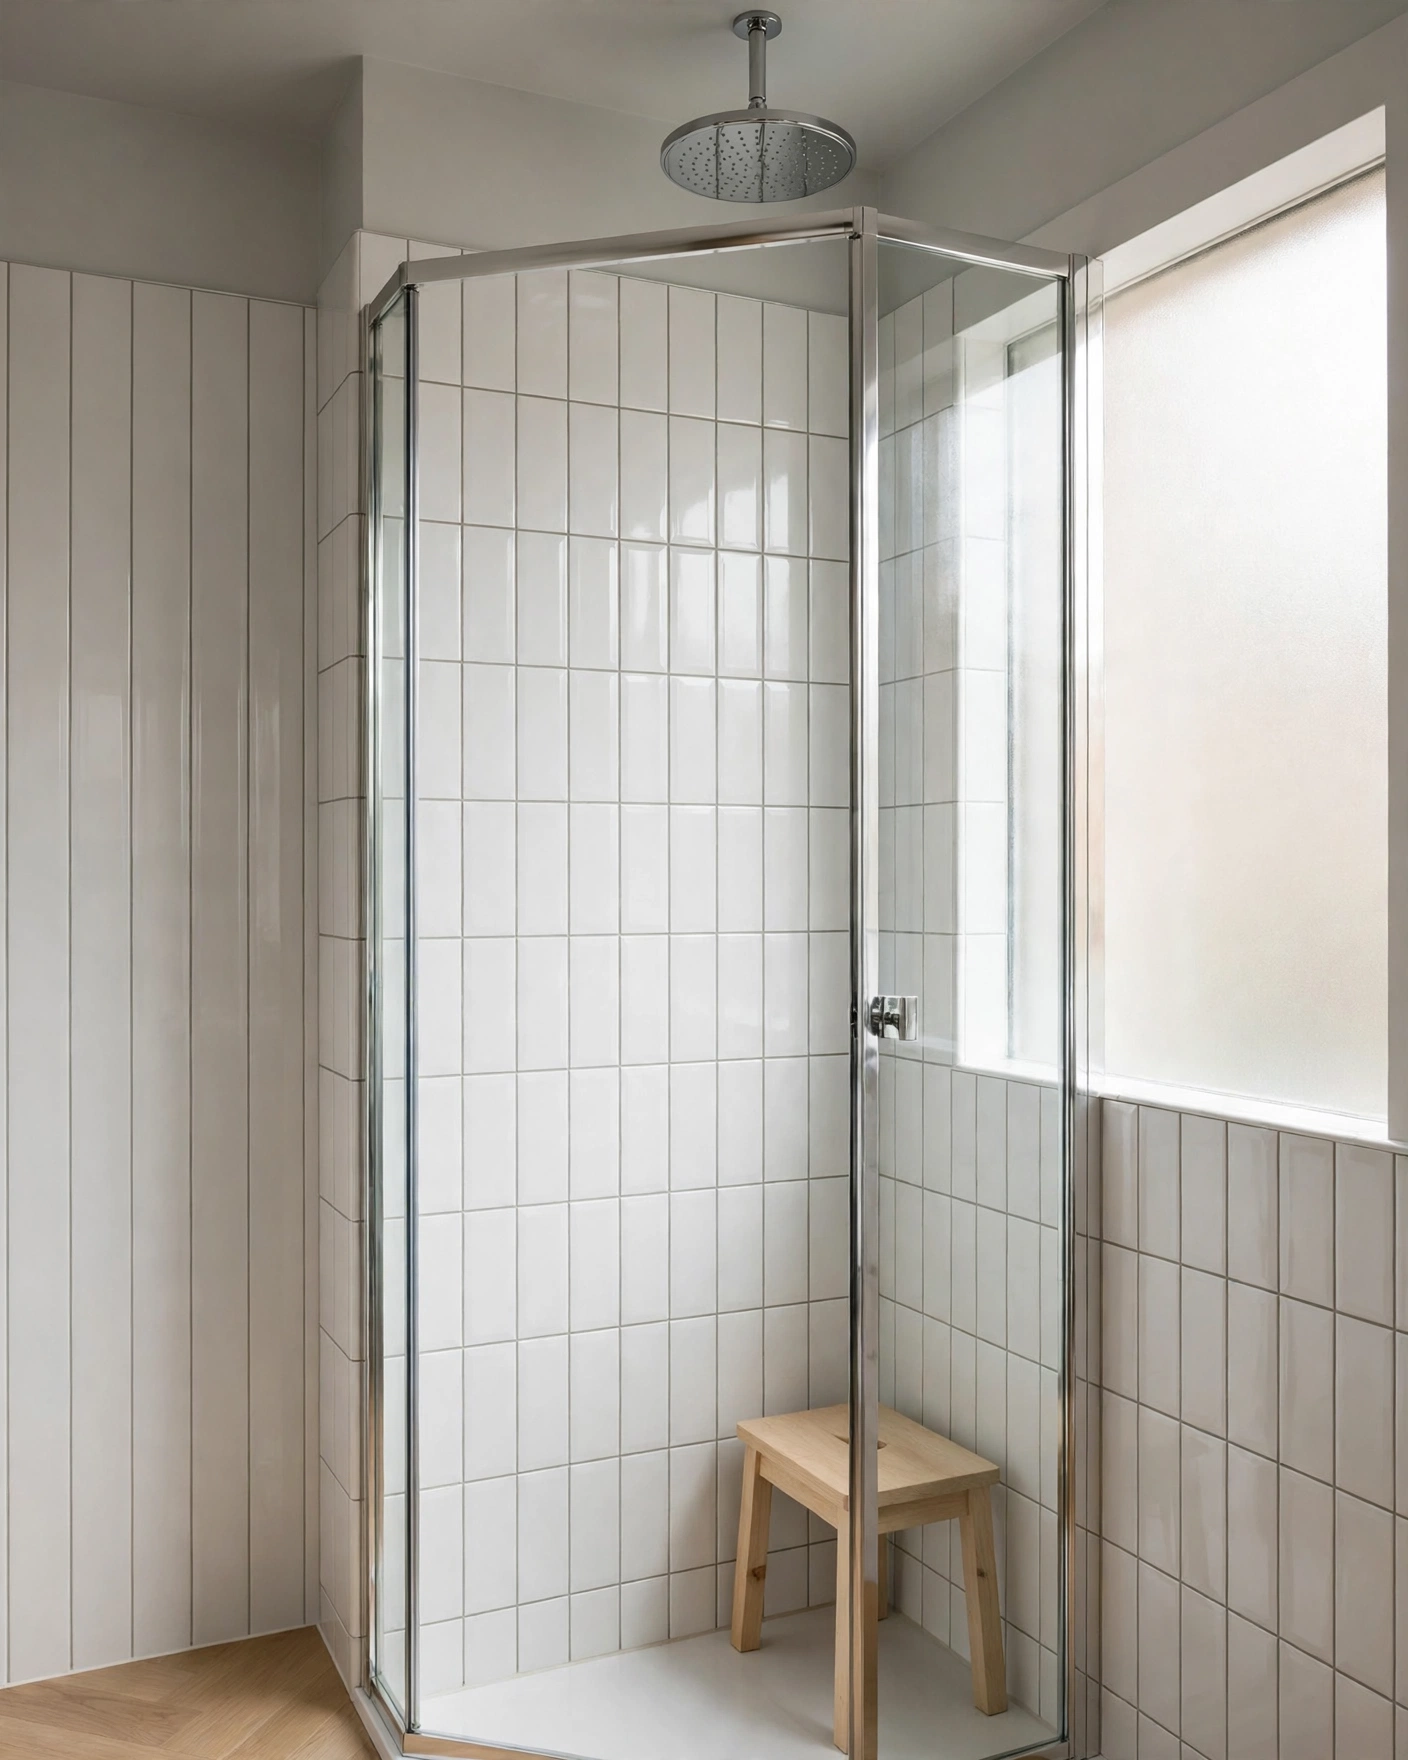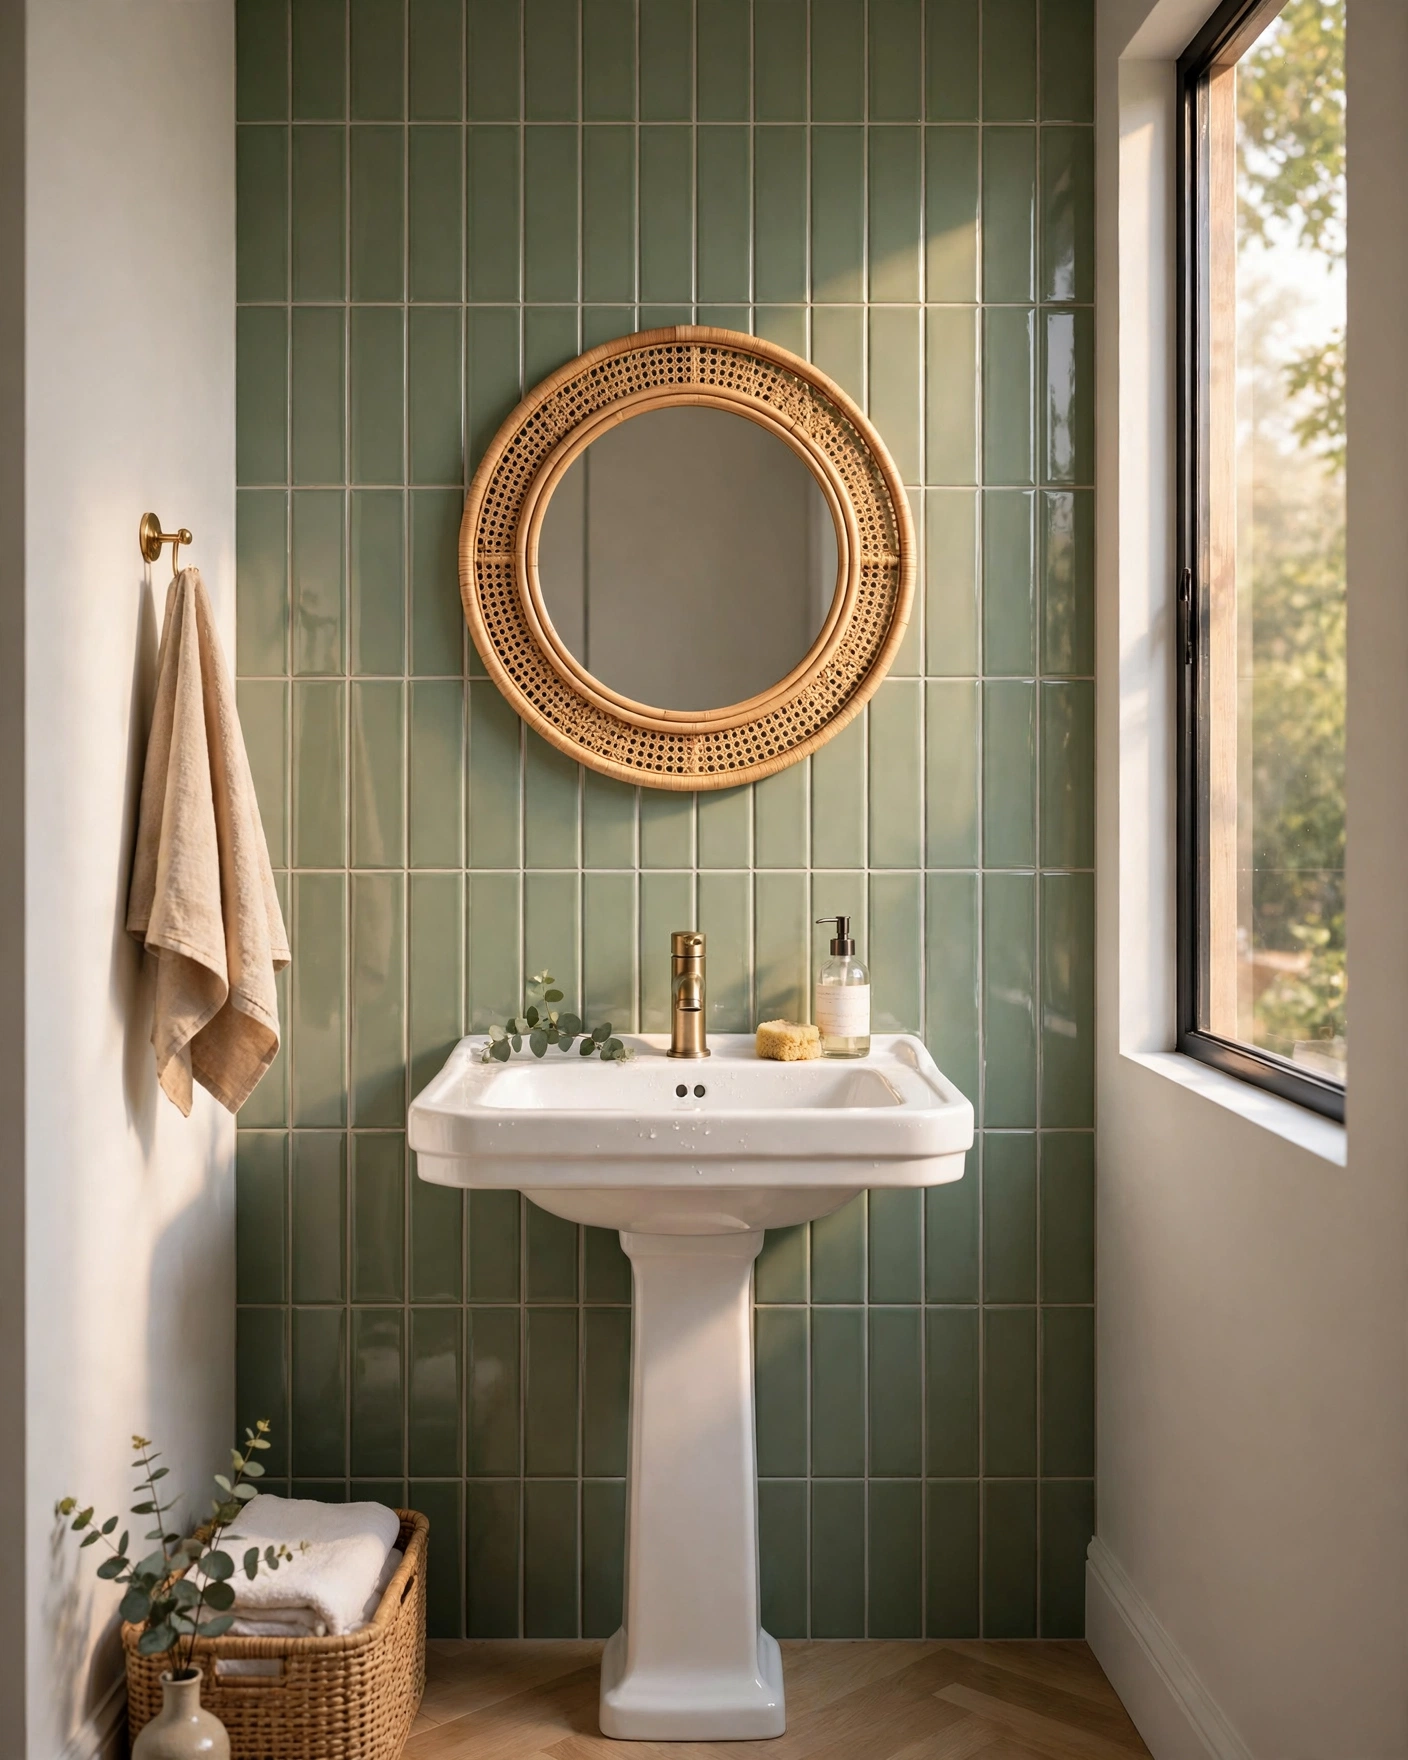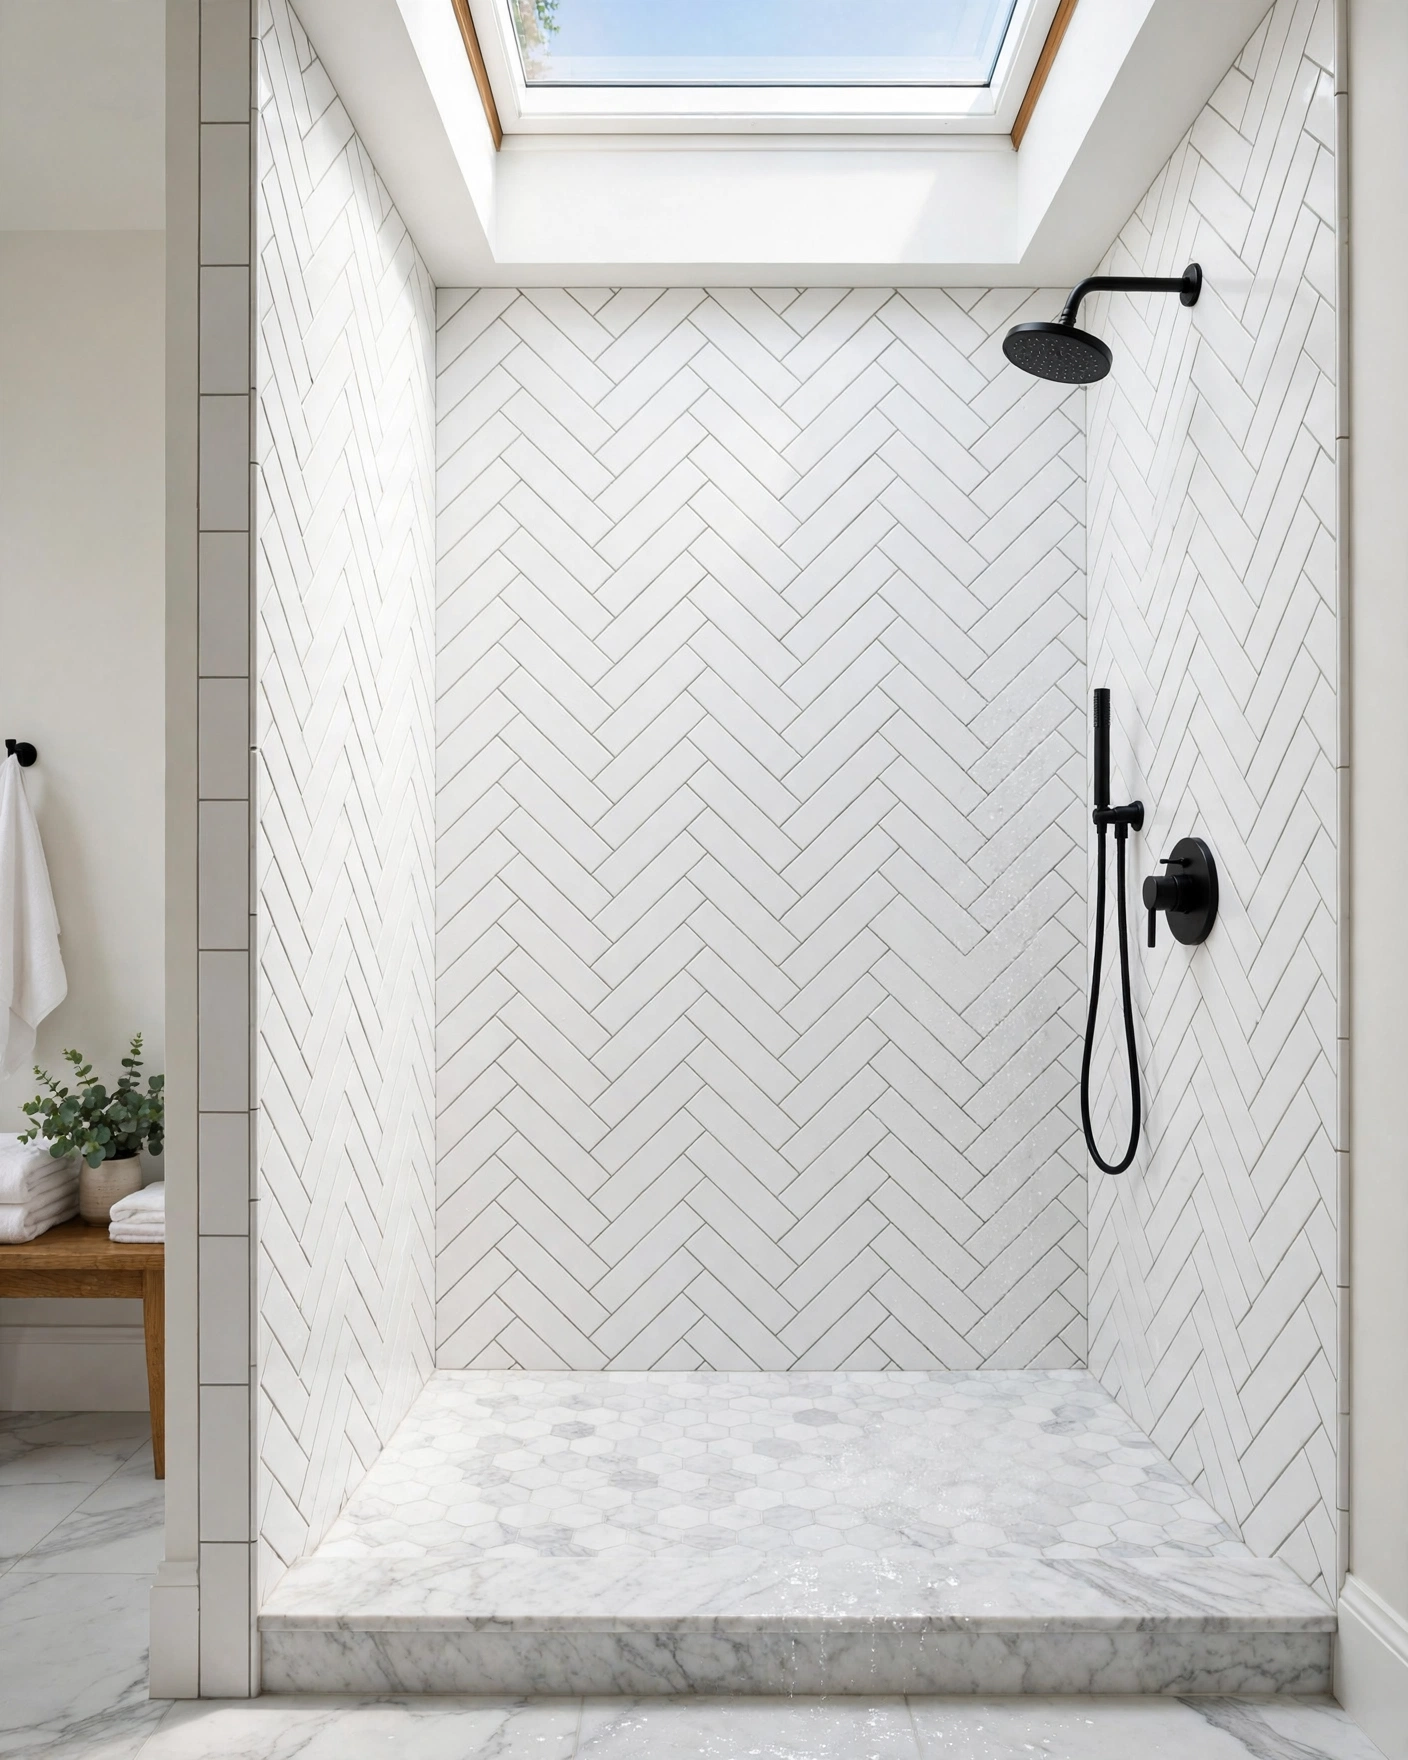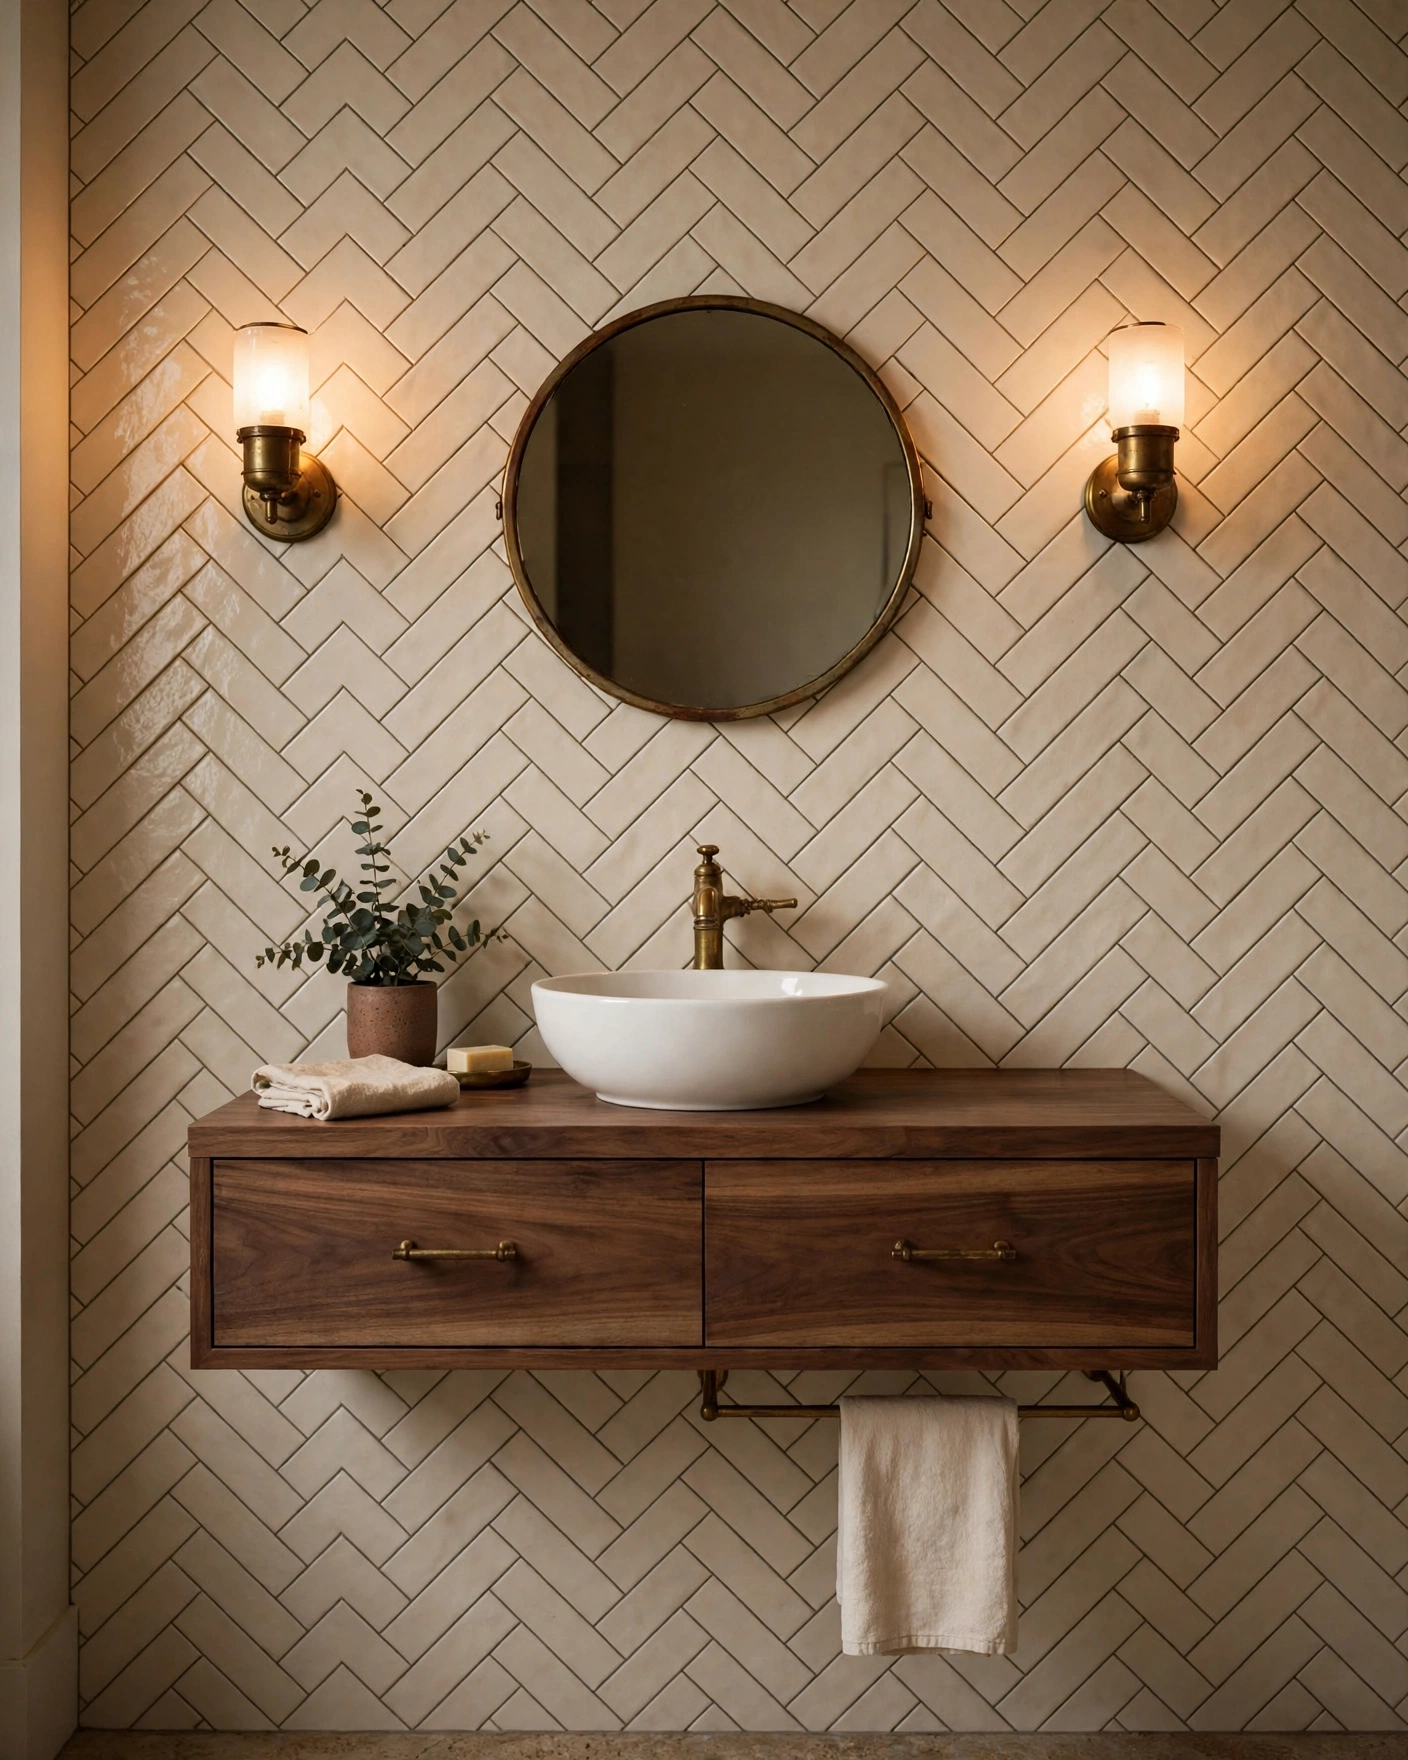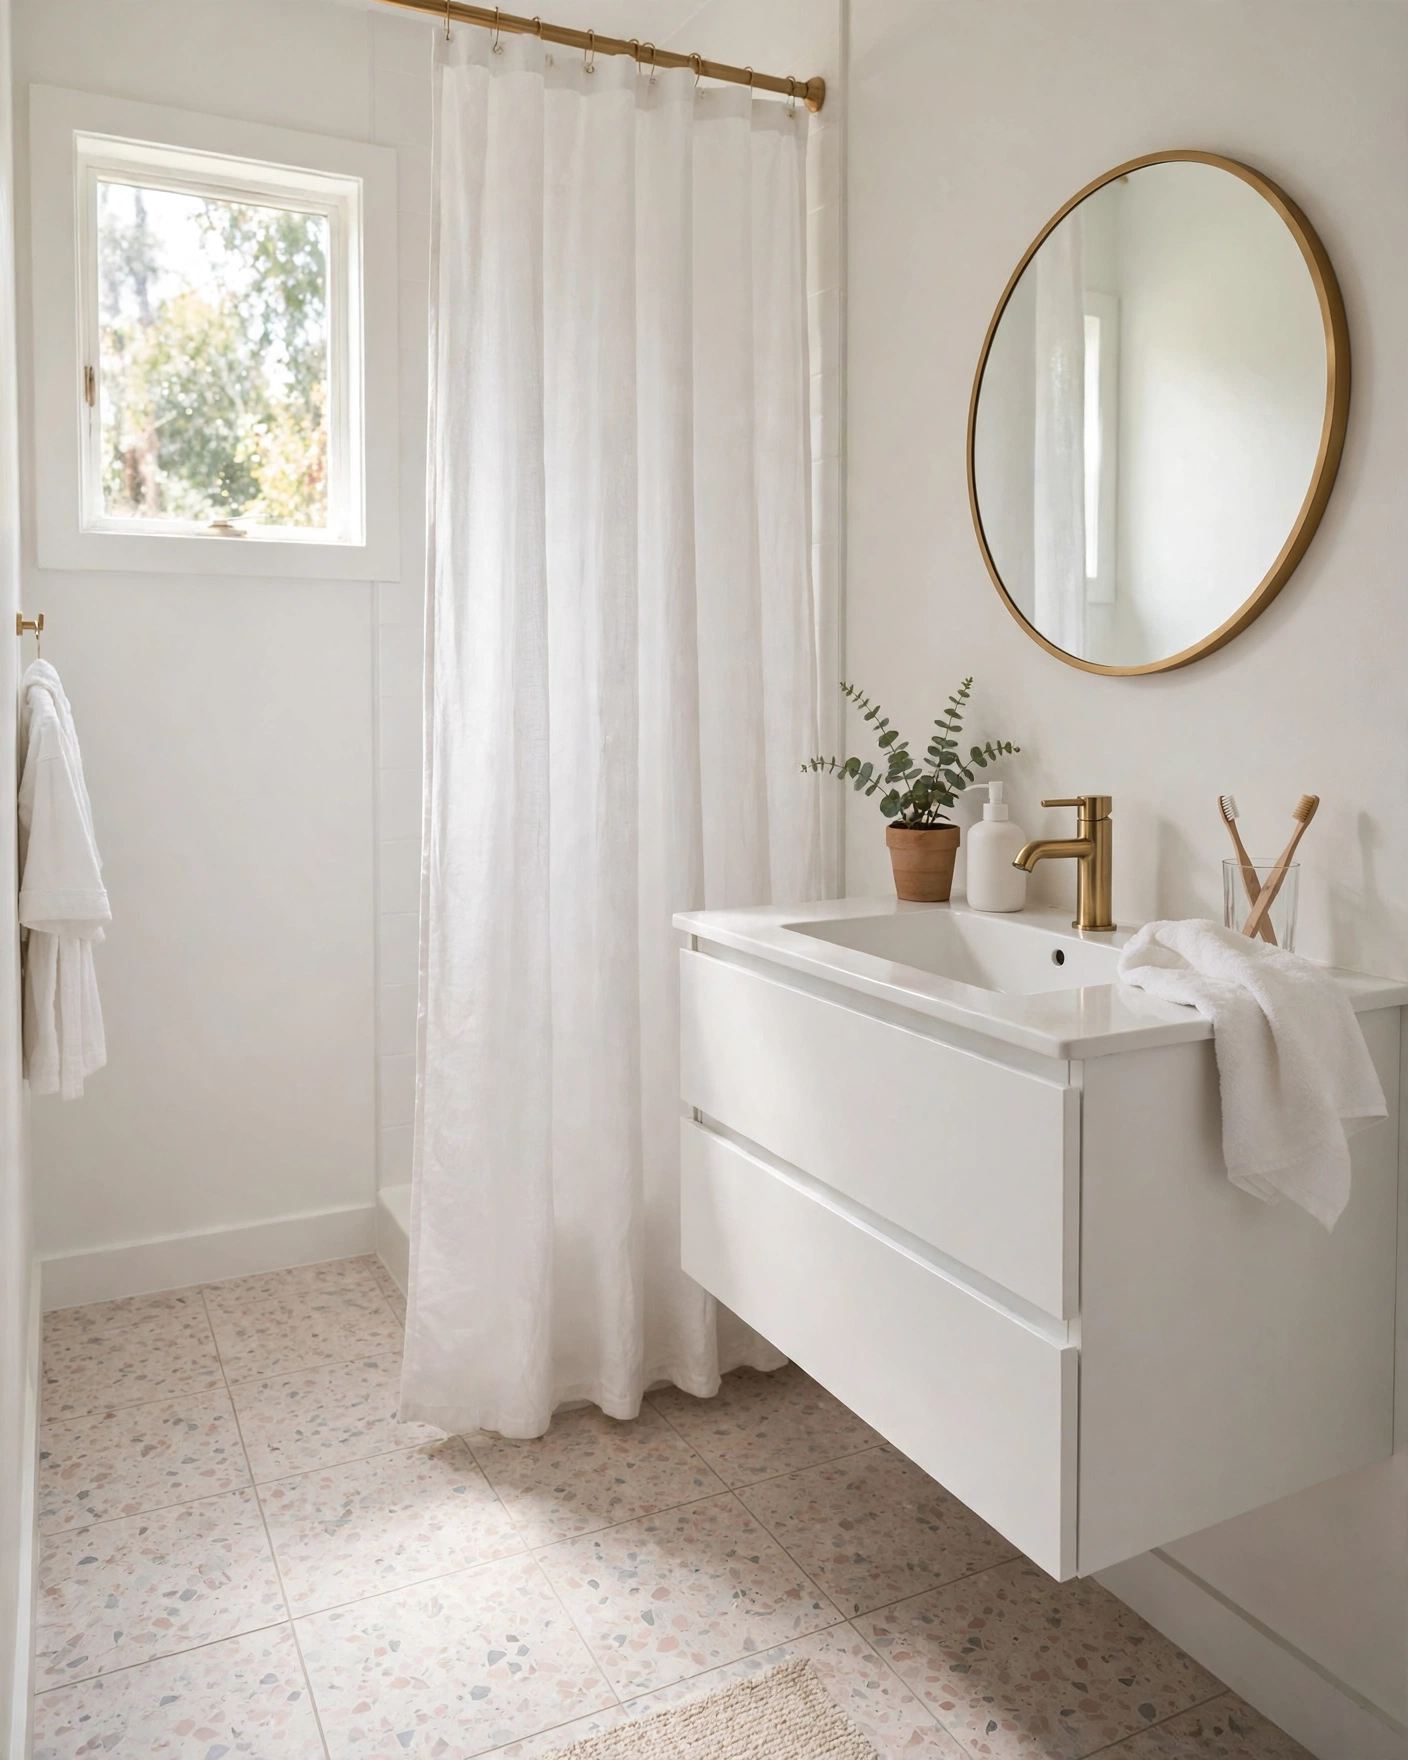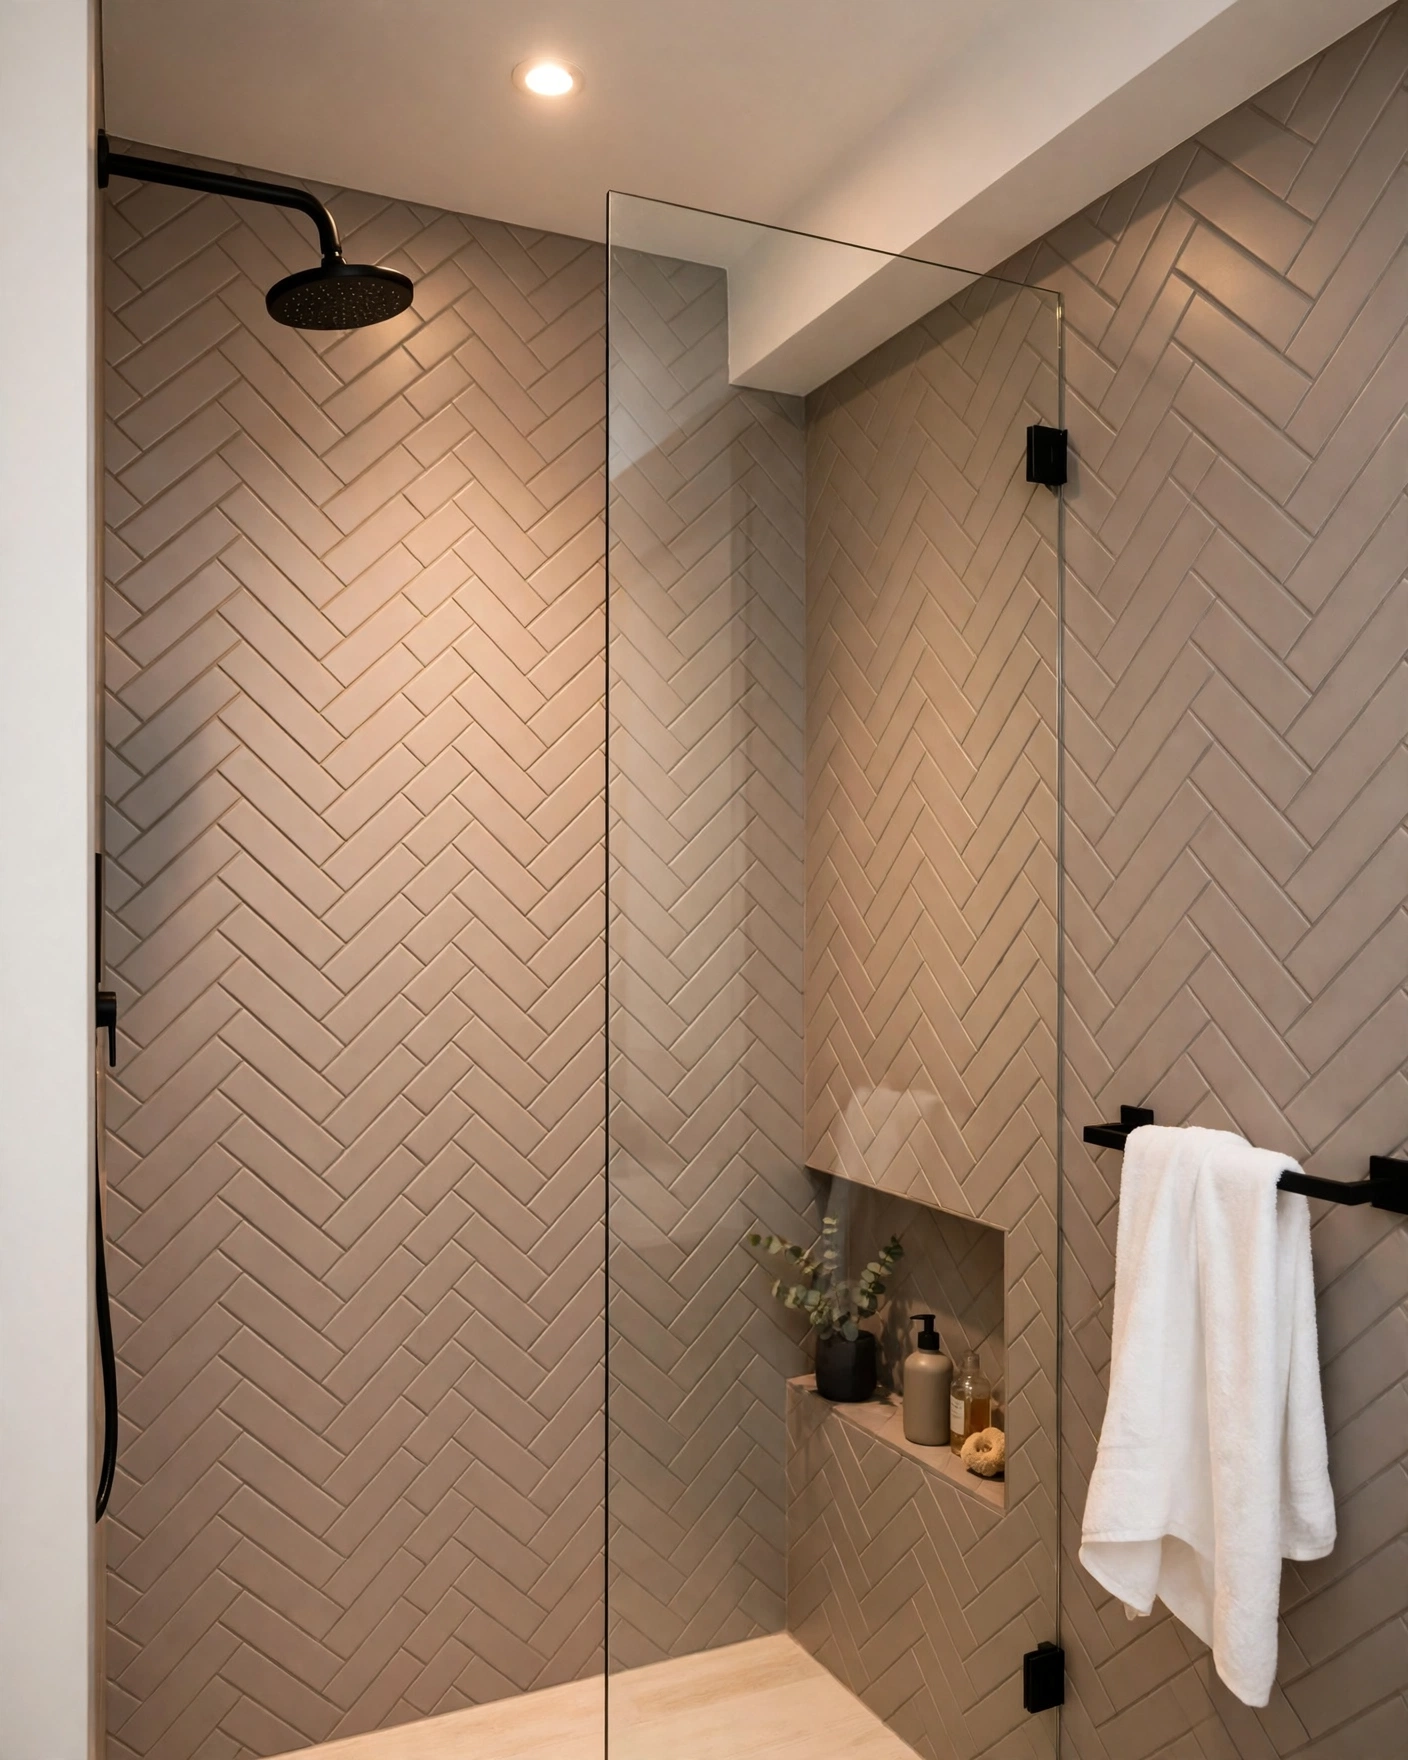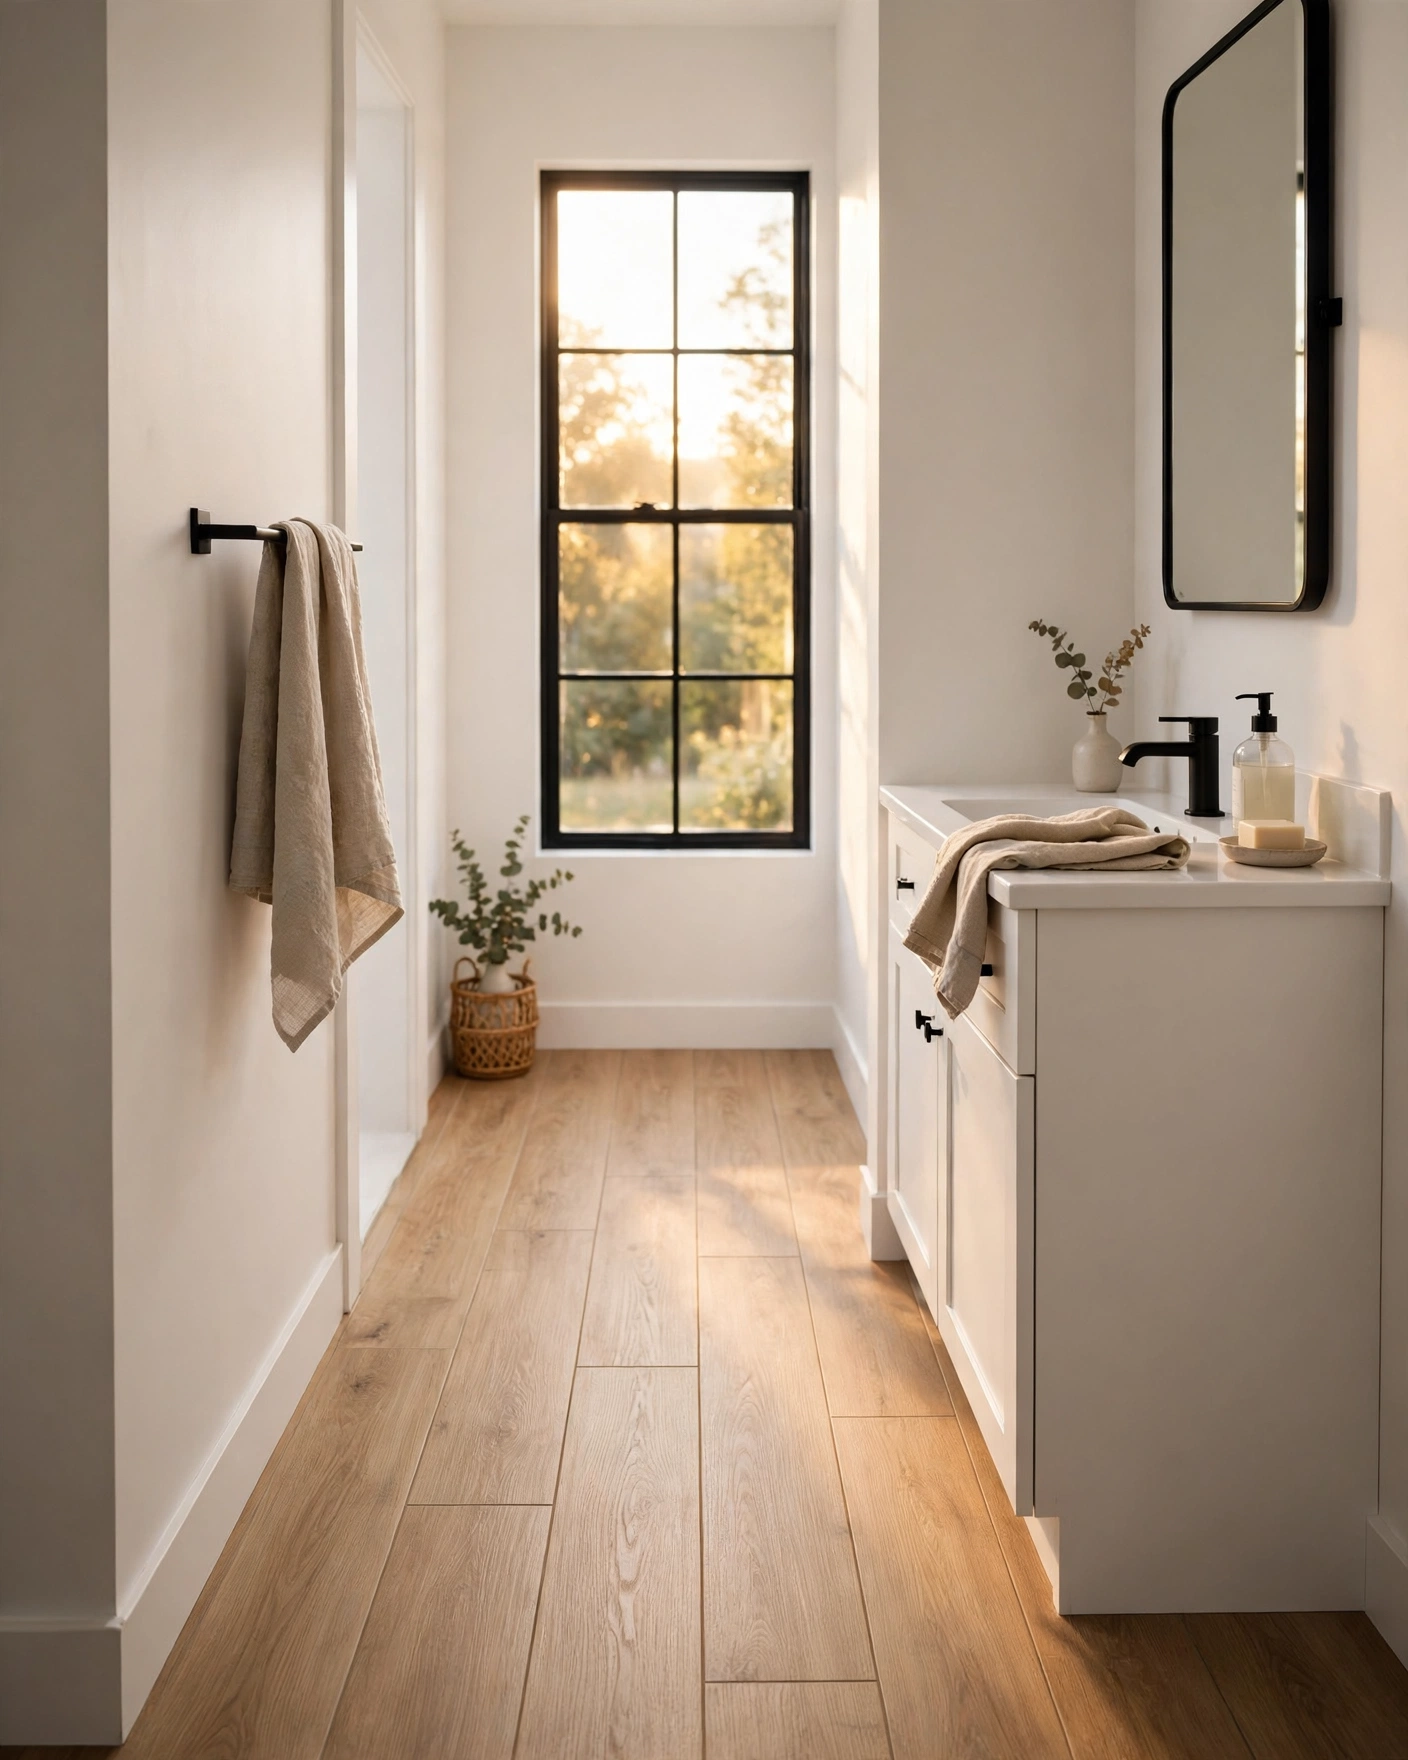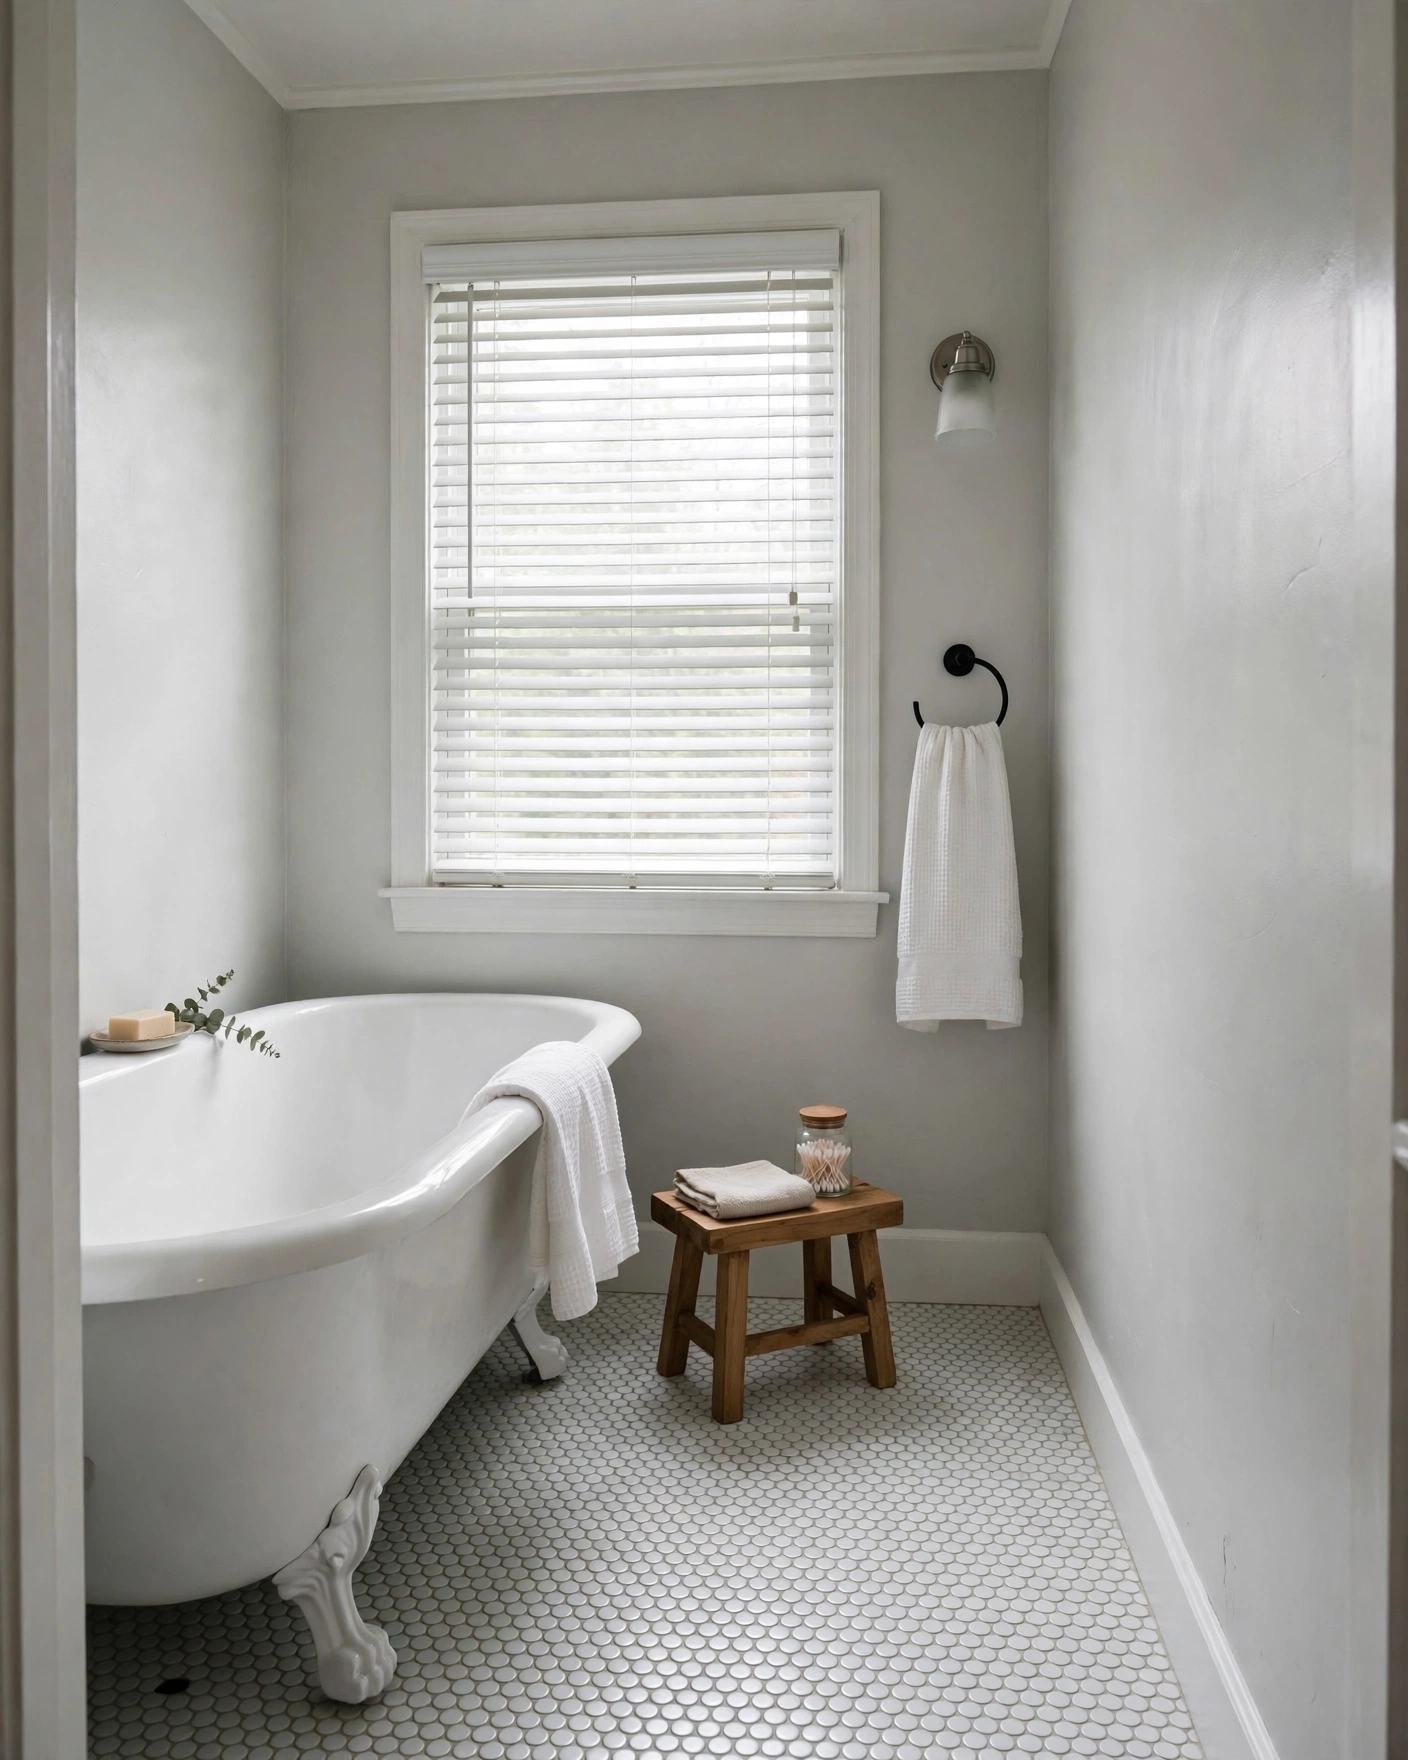
Author: velunesthome

  • 17 Green Bathroom Tile Ideas From Sage to Emerald

    17 Green Bathroom Tile Ideas From Sage to Emerald

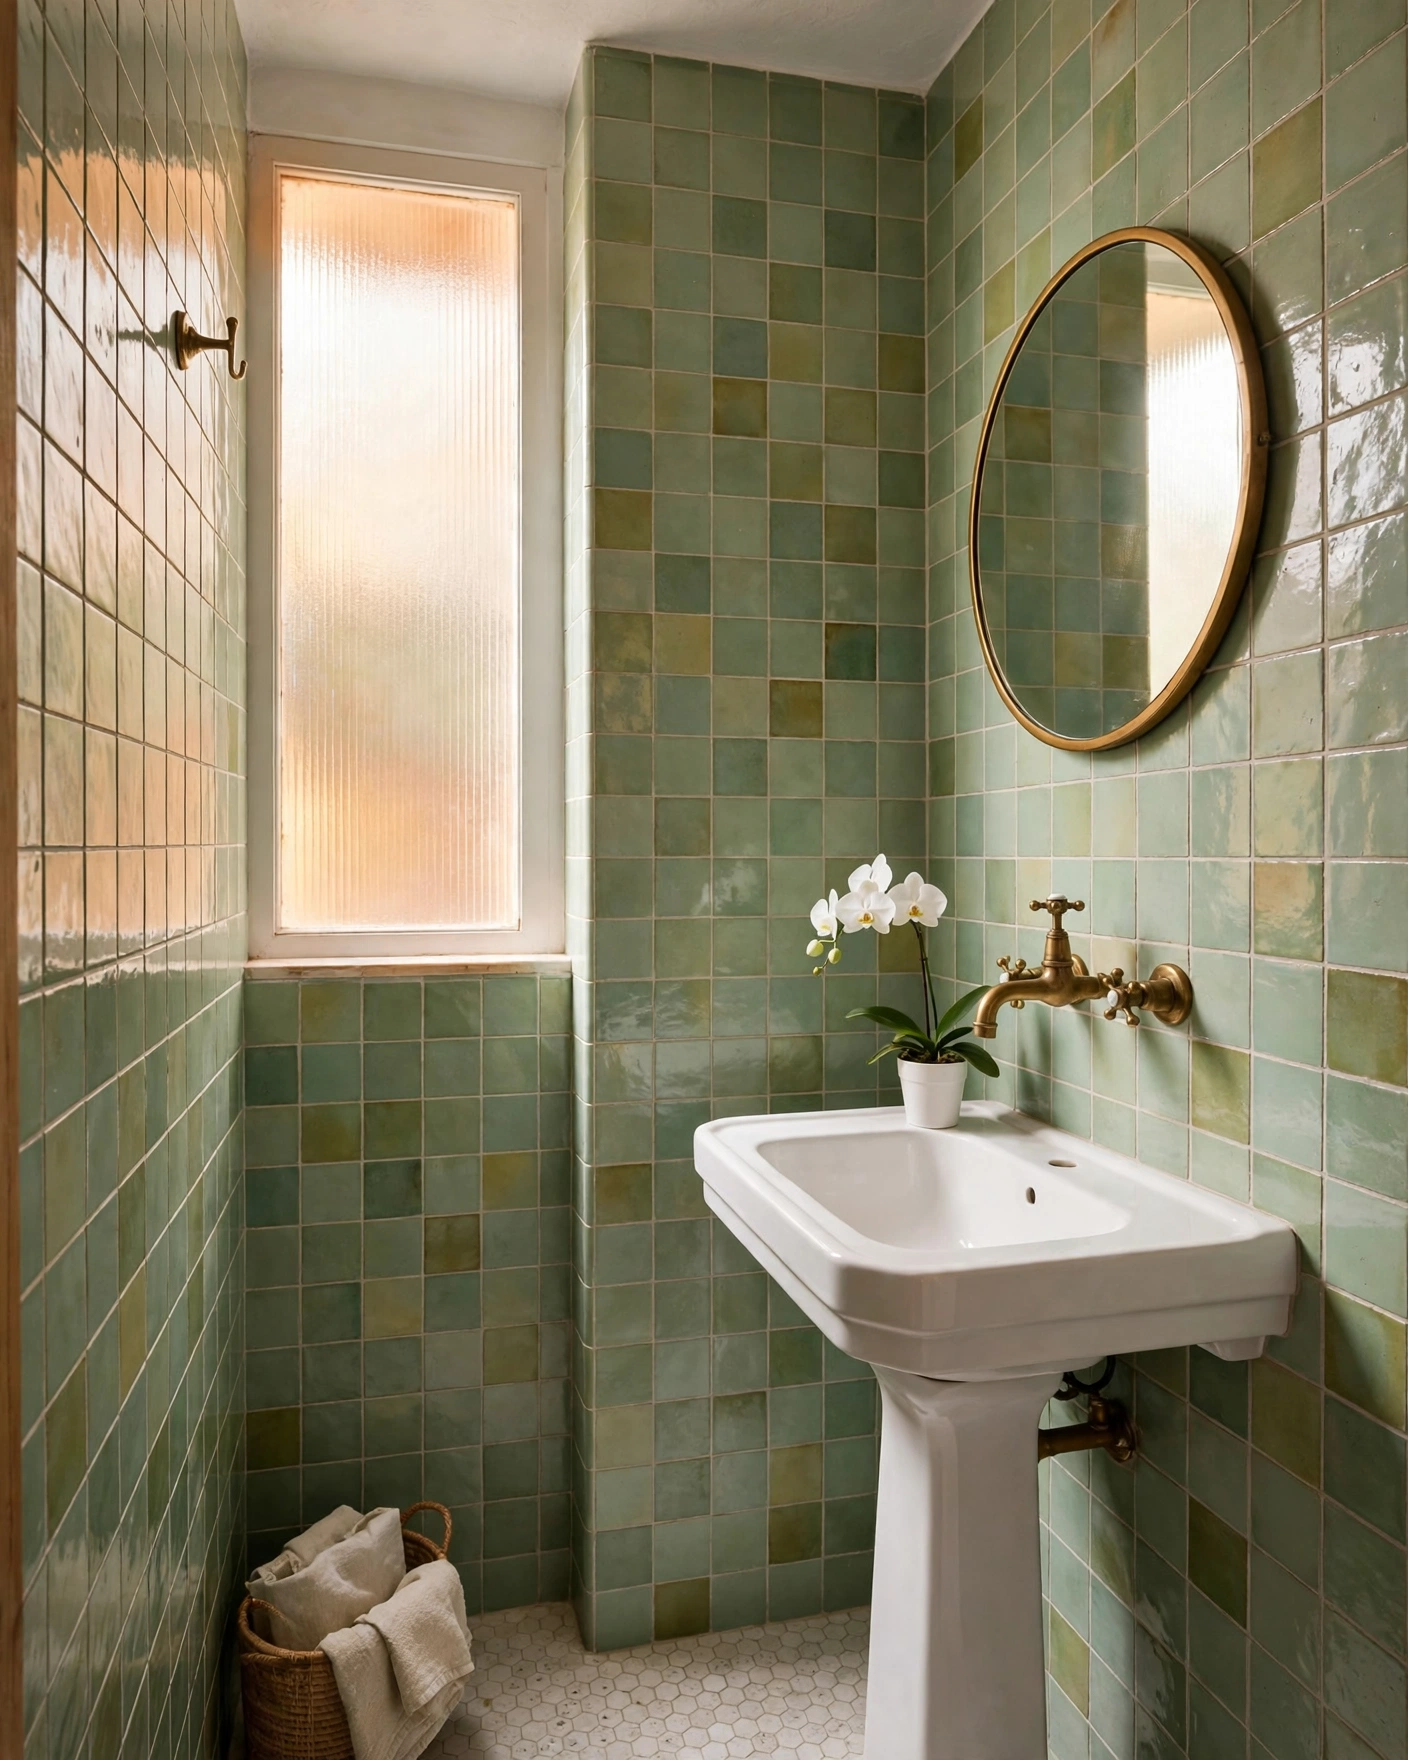
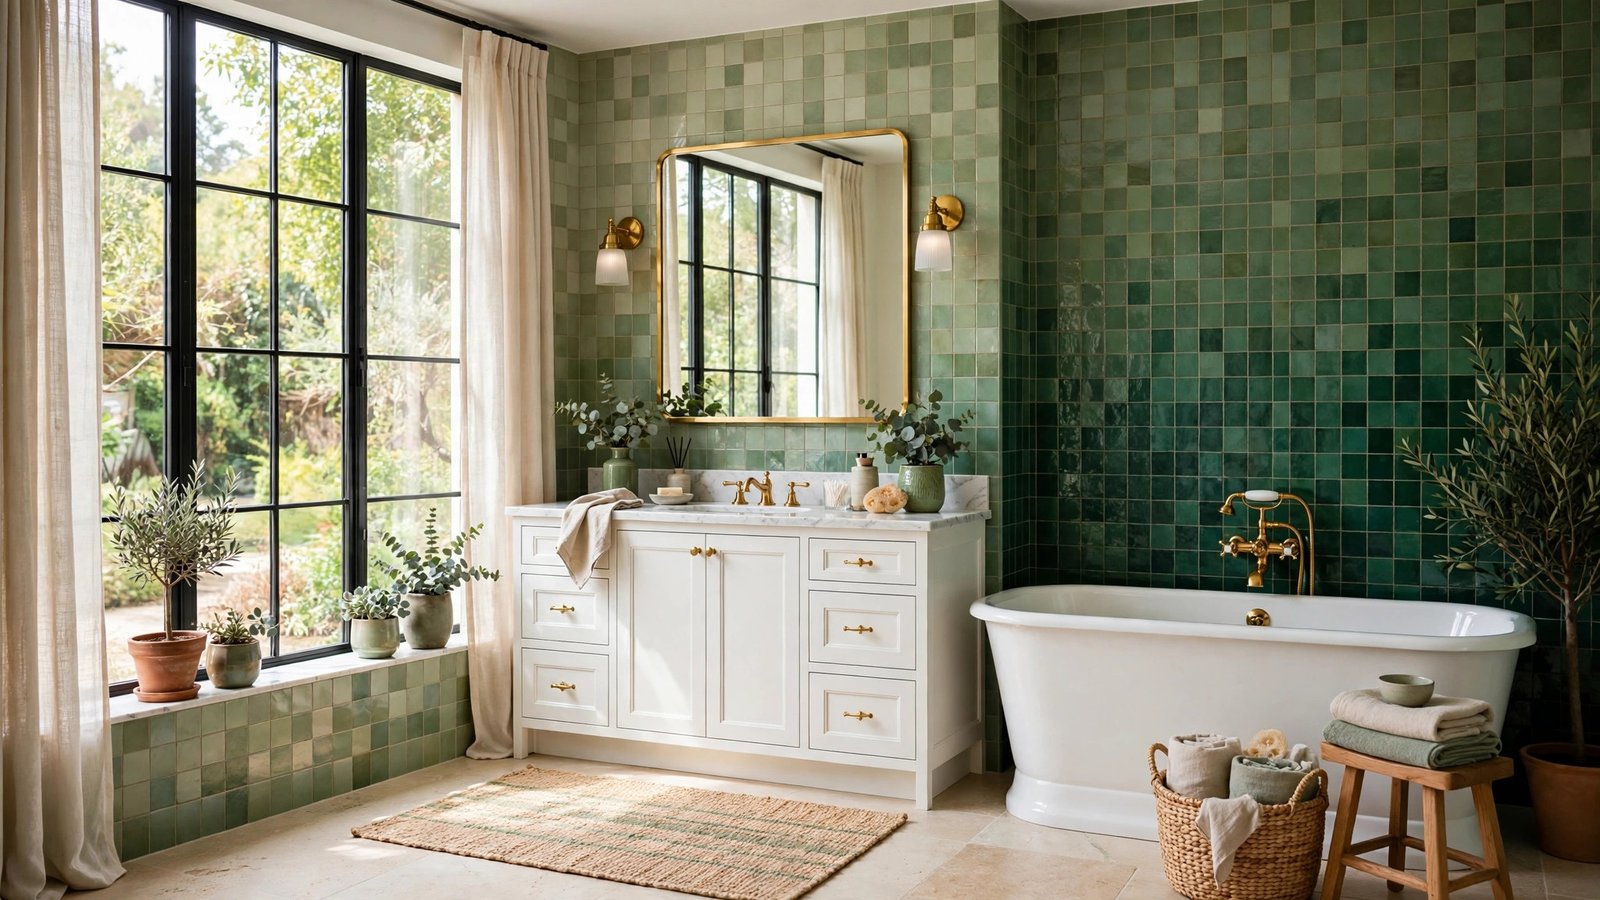
    Green is the color bathrooms were missing. It feels like a deep breath — calm, natural and quietly confident — and it flatters every skin tone in the mirror, which never hurts.

    The trick is choosing your depth. Soft sage and mint keep small rooms bright, mid-tone olives feel warm and earthy, and deep emerald turns even a plain box of a bathroom into something that feels designed.

    Here are 17 green bathroom tile ideas that travel the whole range from sage to emerald. Each one names the materials and layout to copy, plus one practical tip to make it work in real life.


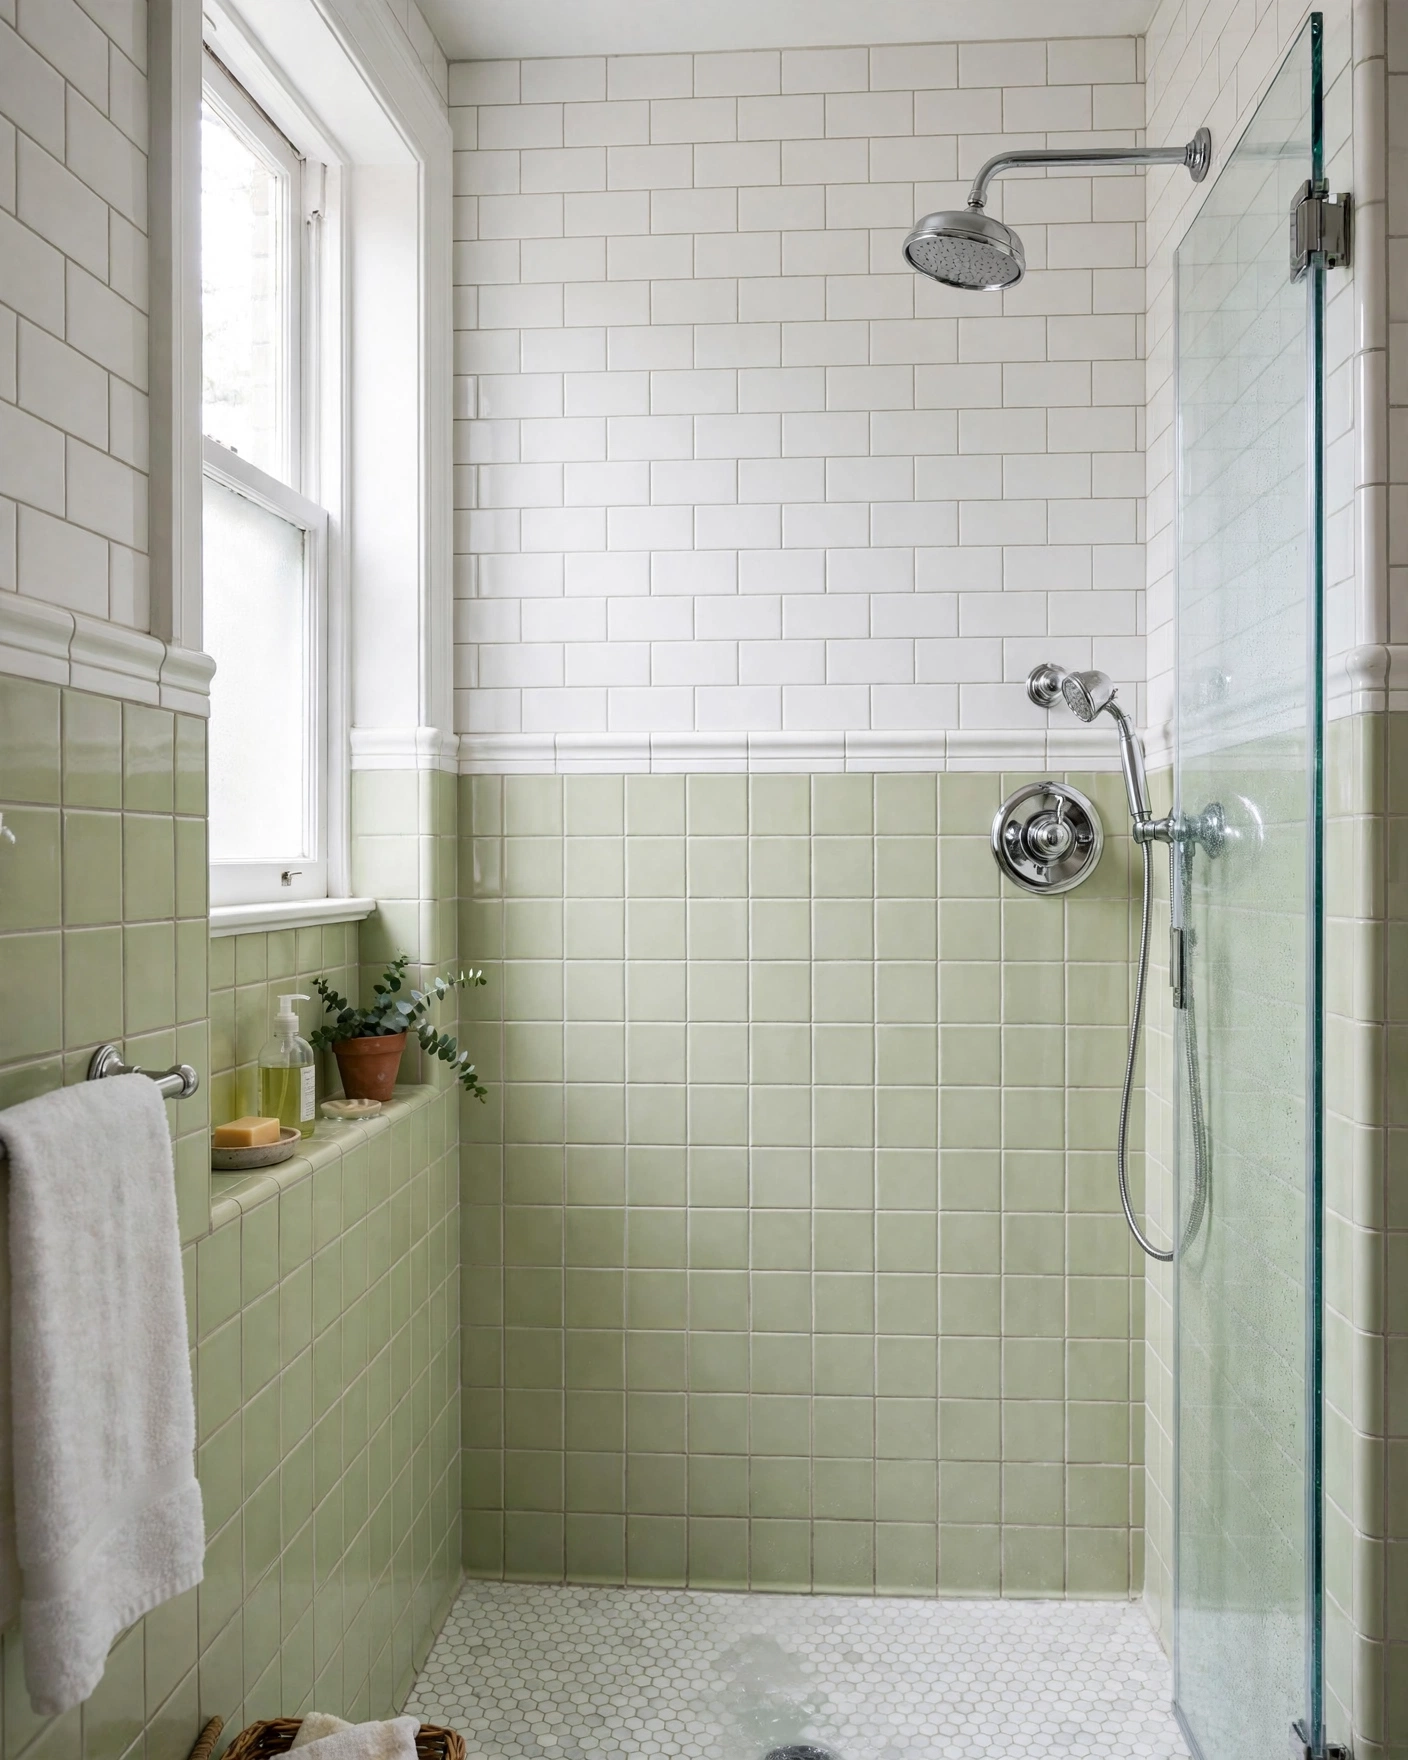
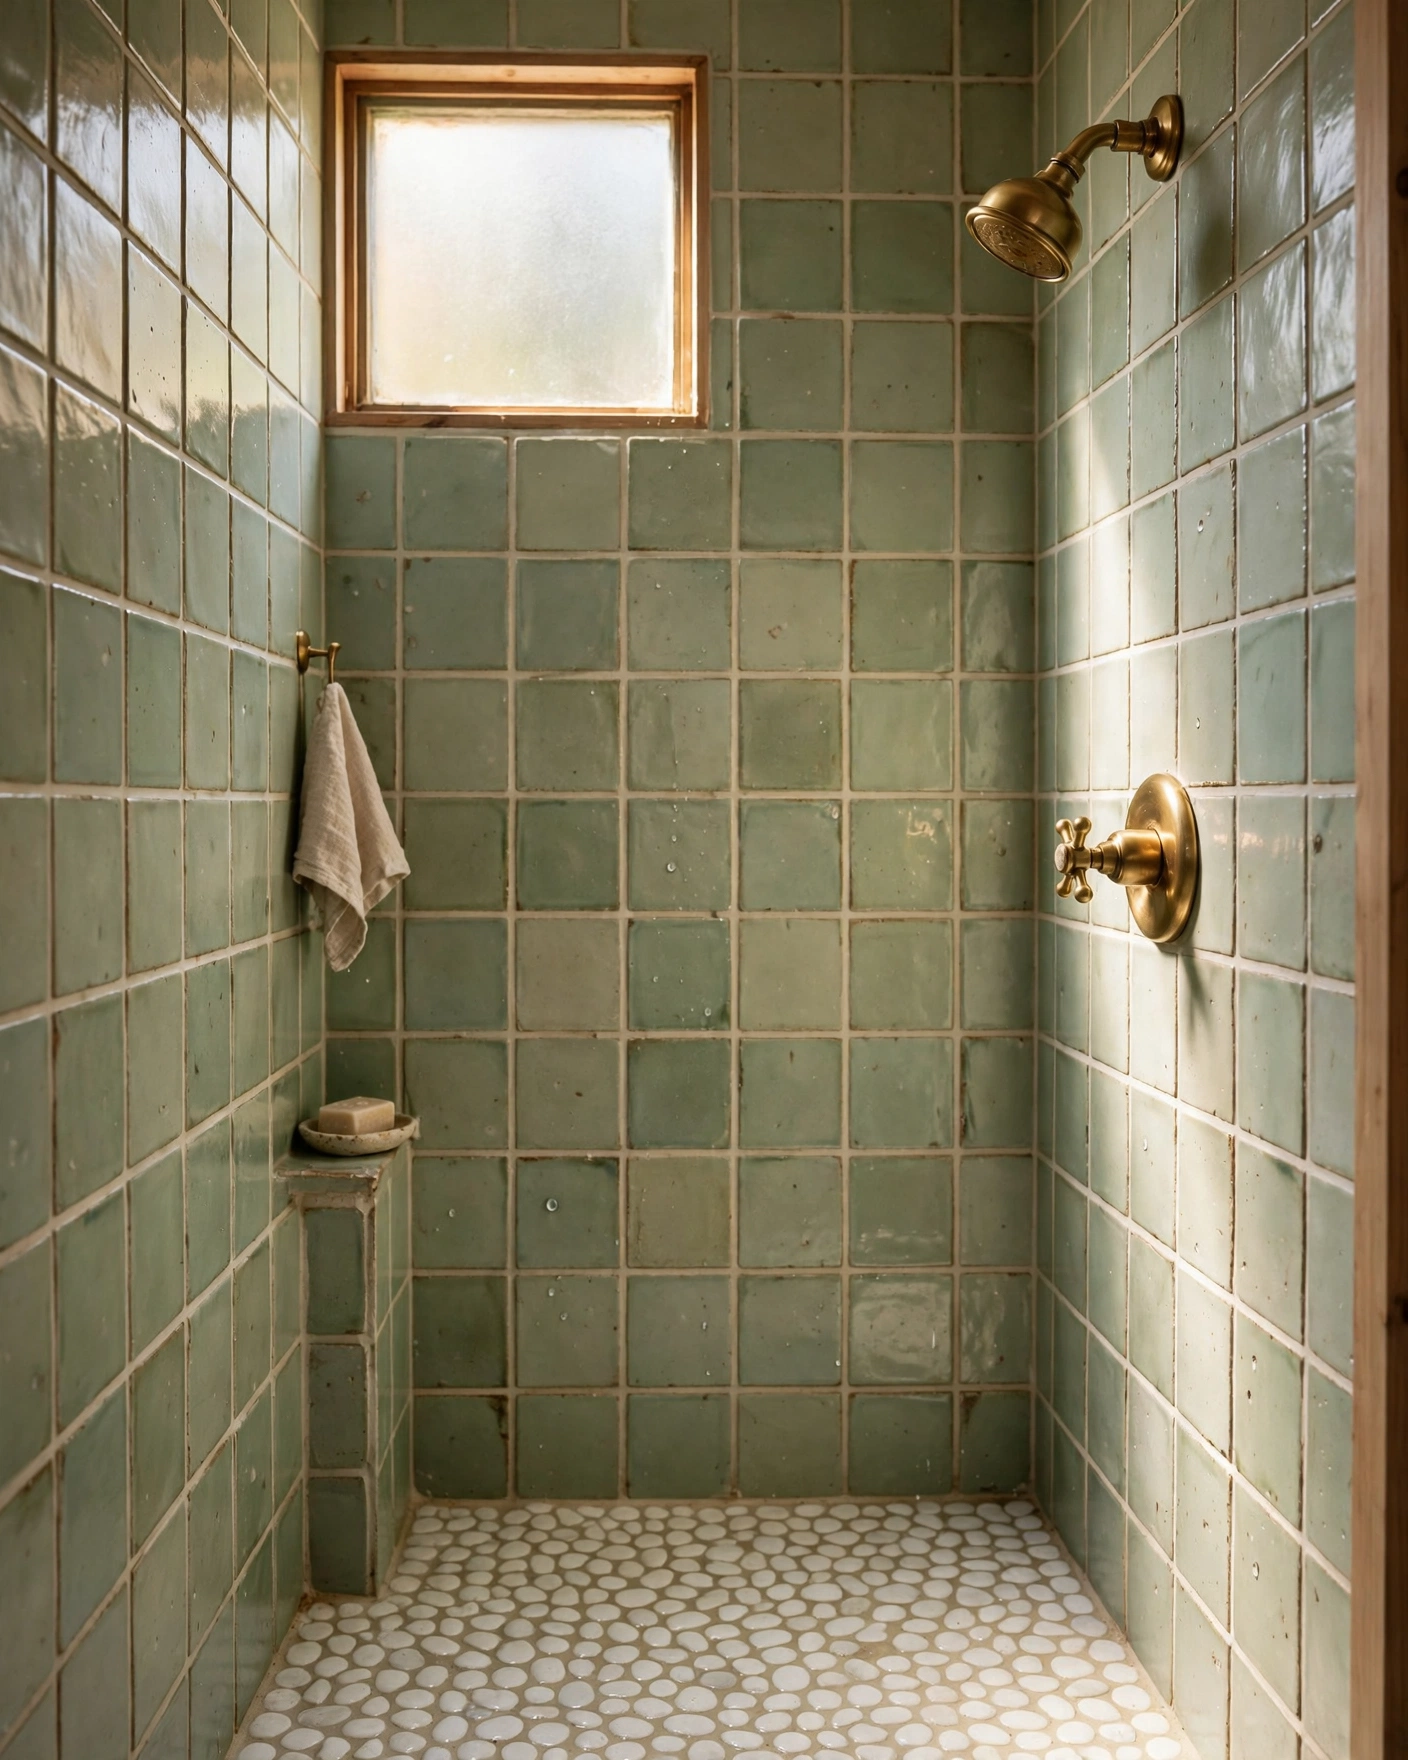
    1. Soft Sage Subway Tiles
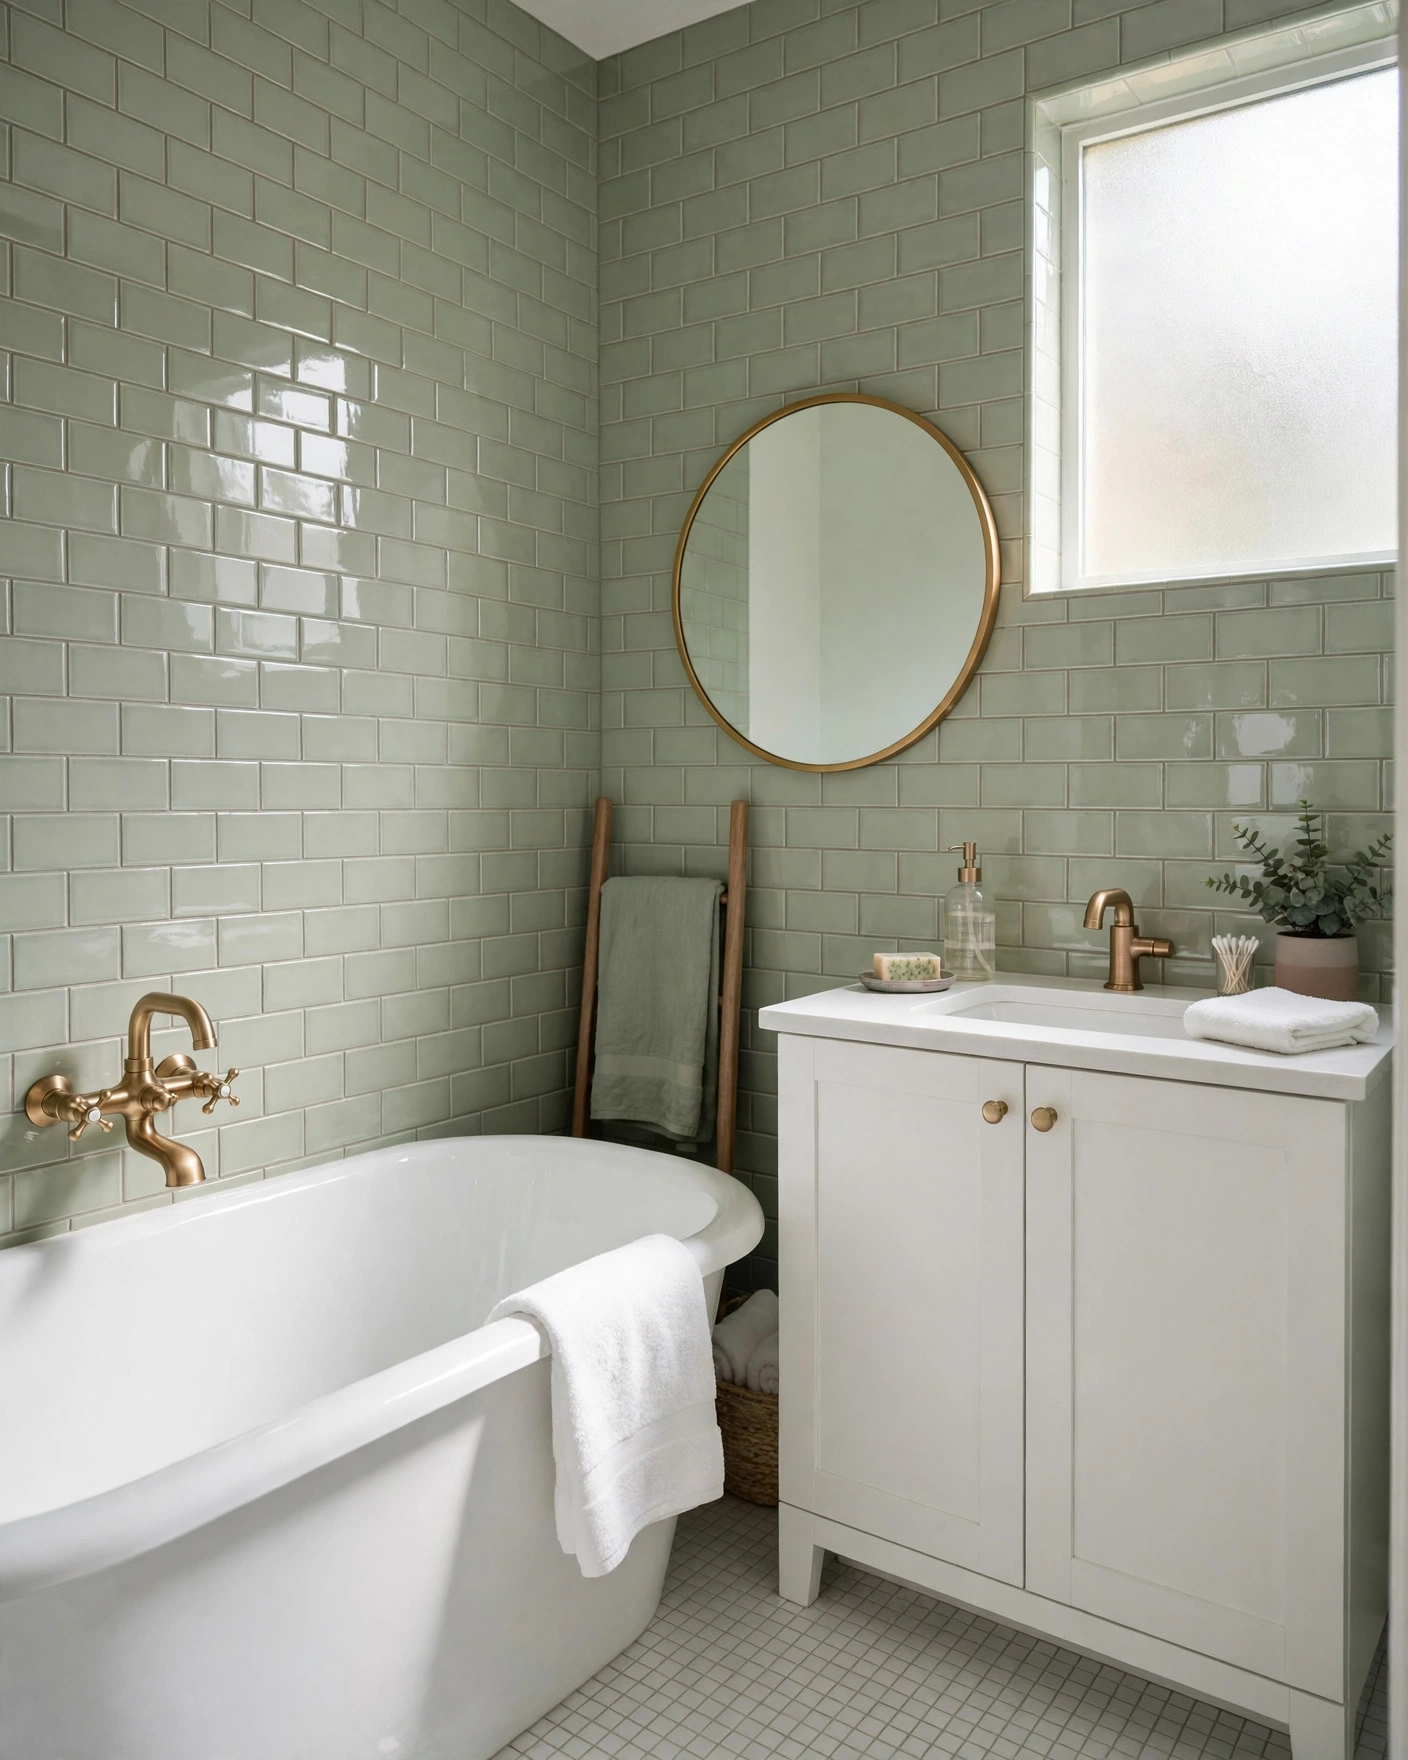
    Small bathroom with soft sage green subway tiles and white fixtures

    Sage is the gentlest way into green: a gray-softened tone that behaves almost like a neutral. Run classic 3×6 subway tiles in a brick layout with white grout and pair with warm brass for a fresh, cottage-modern feel. Tip: sage shifts with the light, so test a sample board in your own bathroom before ordering.

    2. Pale Mint Hexagon Floor Tiles
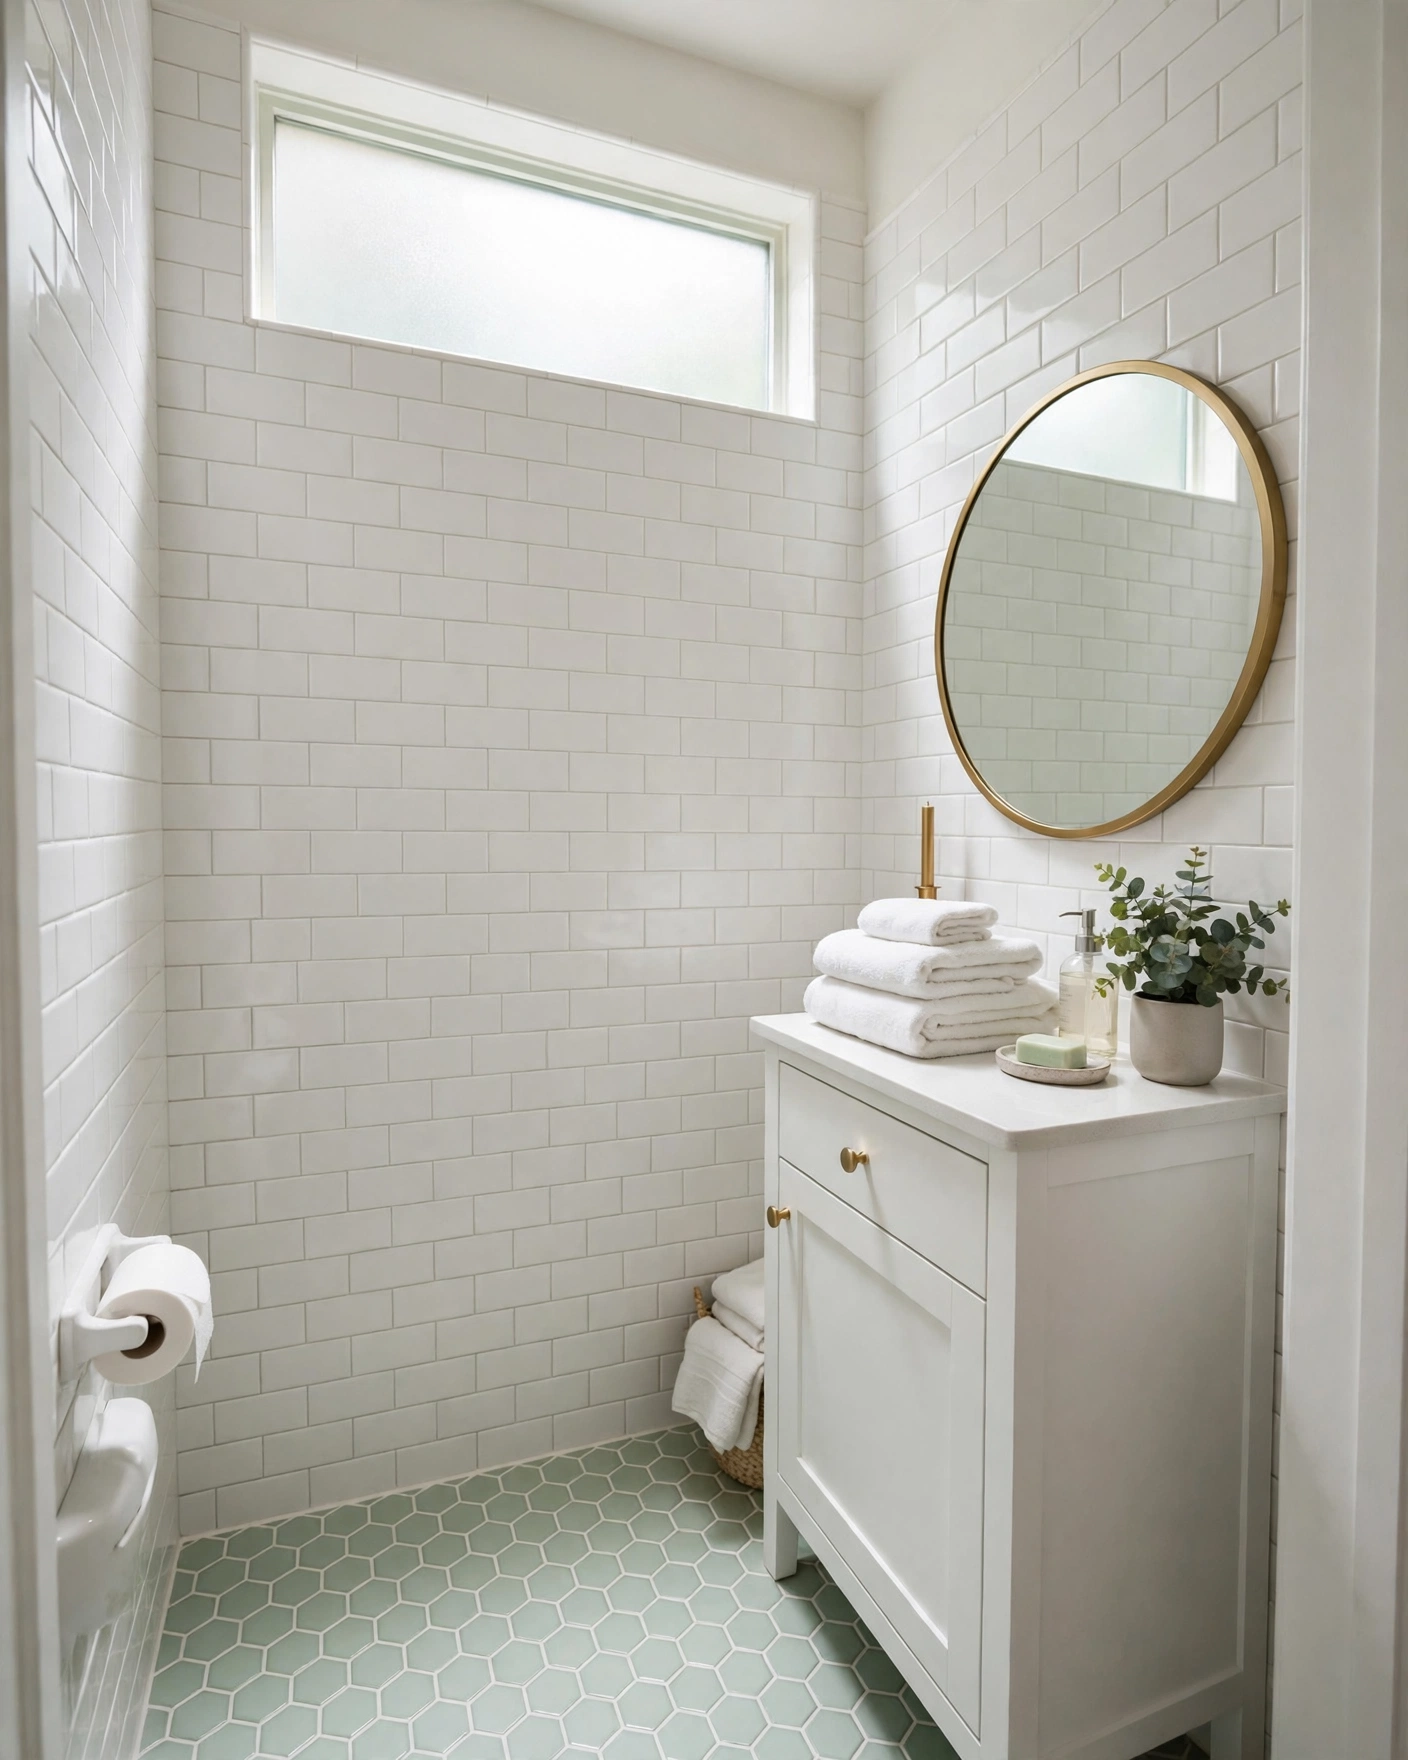
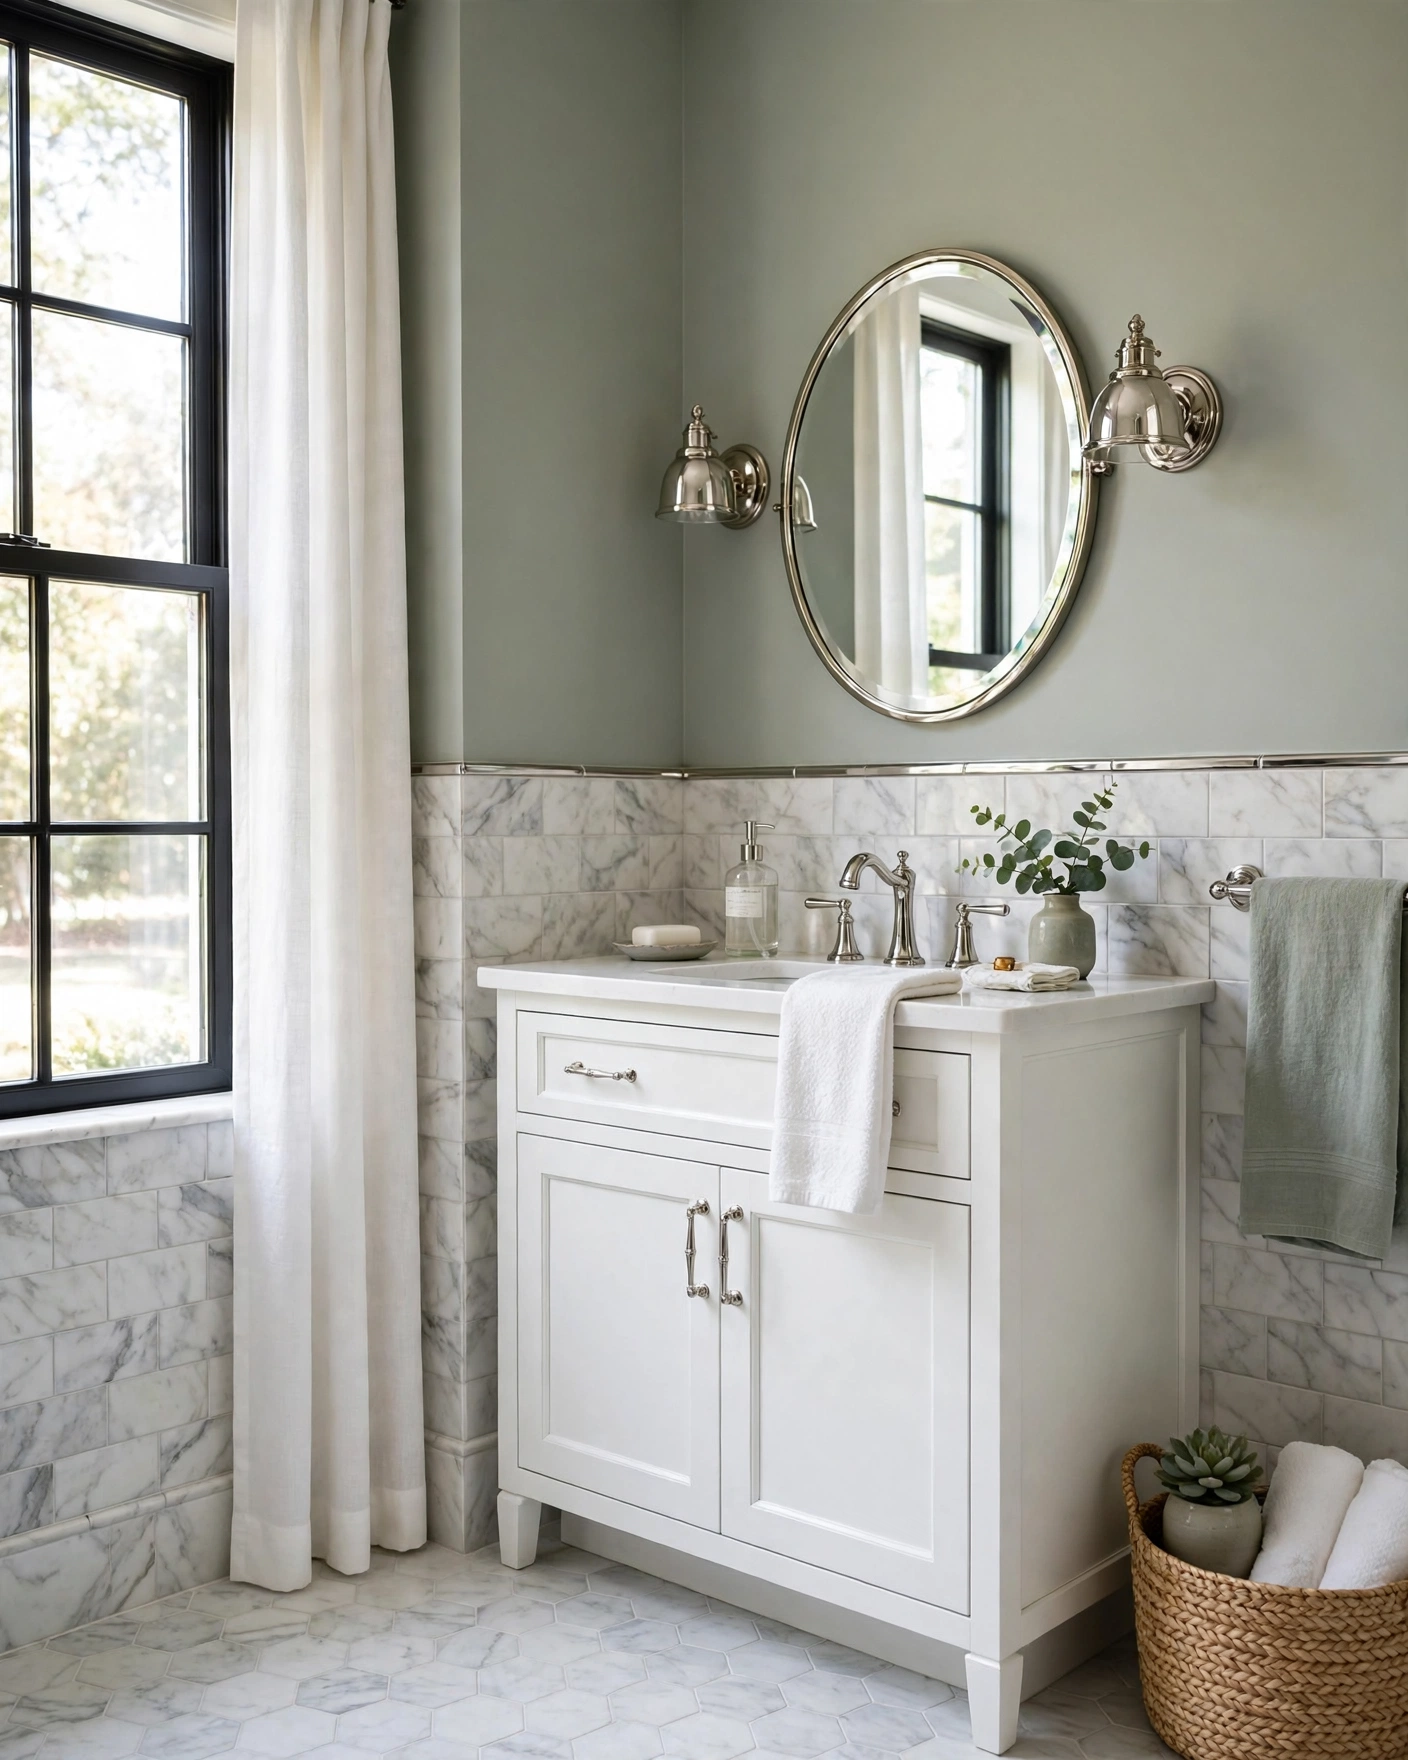
    Bathroom floor covered in pale mint green hexagon tiles with white grout

    A mint hexagon floor adds color underfoot while the walls stay simple and bright. The small mosaic format suits tiny bathrooms and shower floors because it follows slopes and gives grip. Tip: keep the grout white and sealed — mint shows every speck of dark grout haze left after installation.

    3. Emerald Glossy Shower Wall Tiles
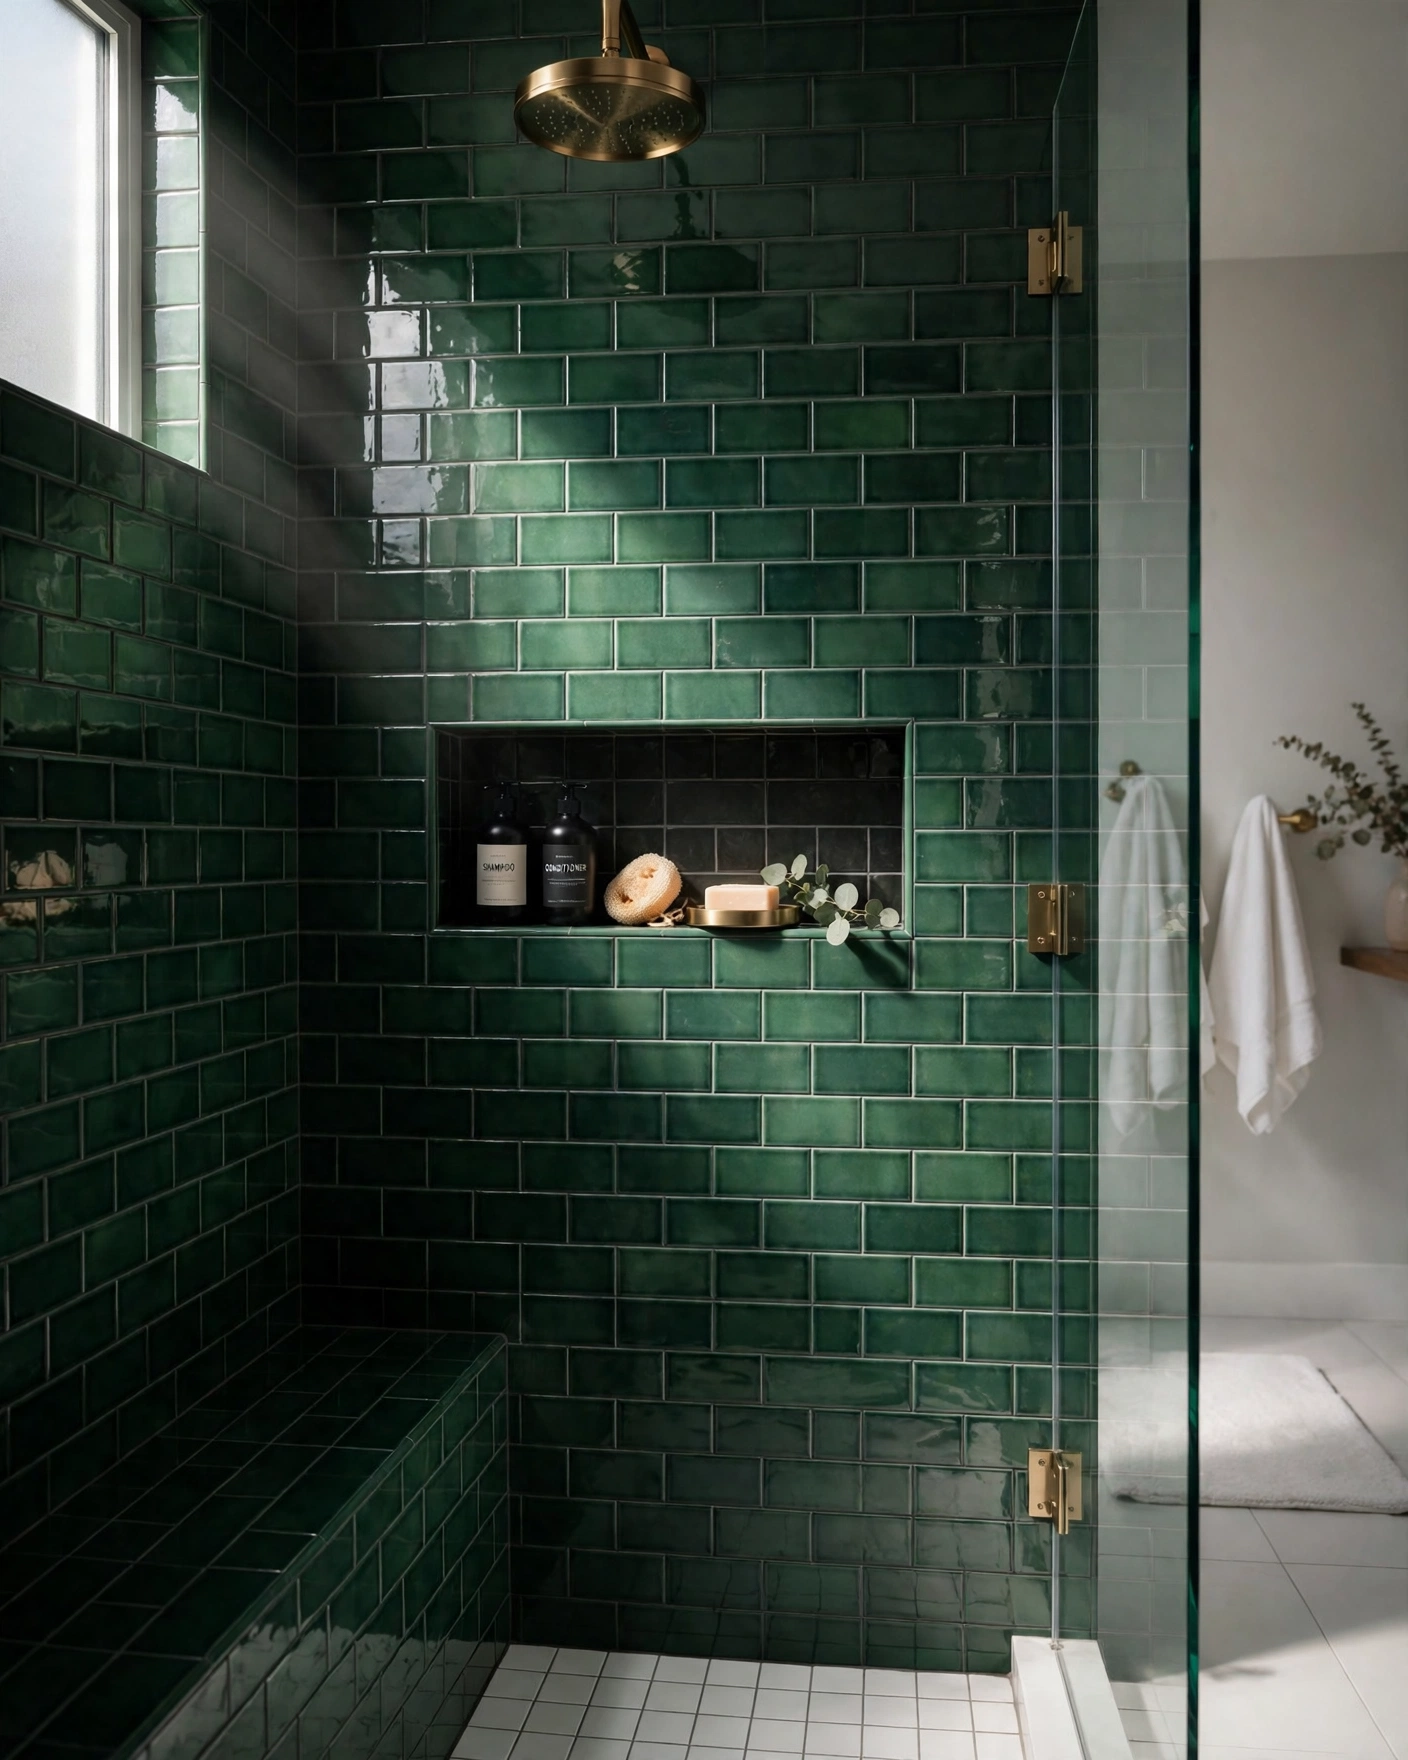
    Walk-in shower lined with glossy emerald green tiles and brass fixtures

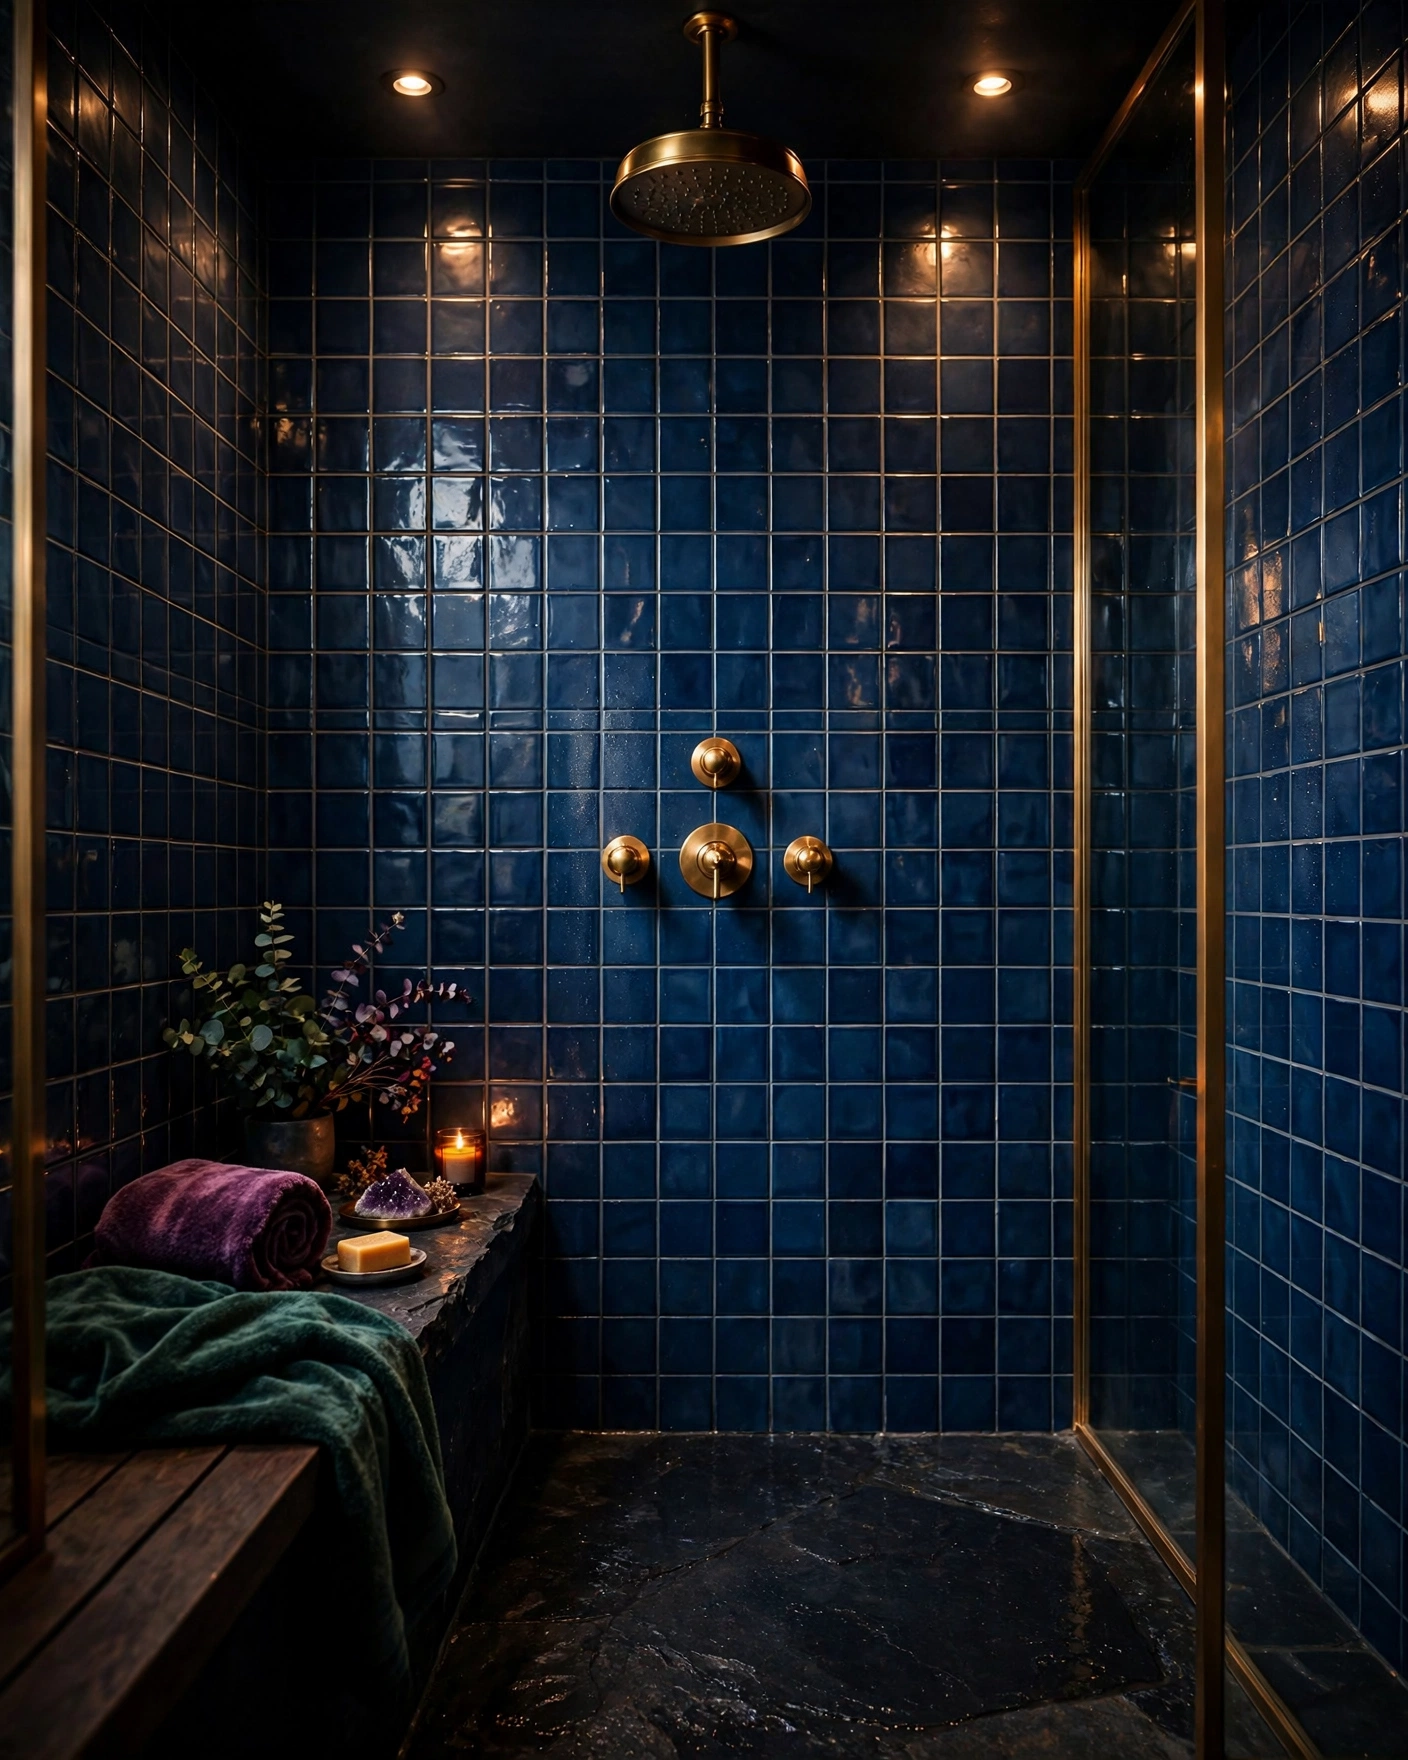
    Glossy emerald tiles turn a plain shower into the room’s jewel box, reflecting light like water. Tile all three shower walls for full drama and keep the rest of the room white or pale wood. Tip: high-gloss dark tiles show limescale, so a quick squeegee after showering keeps them looking freshly installed.

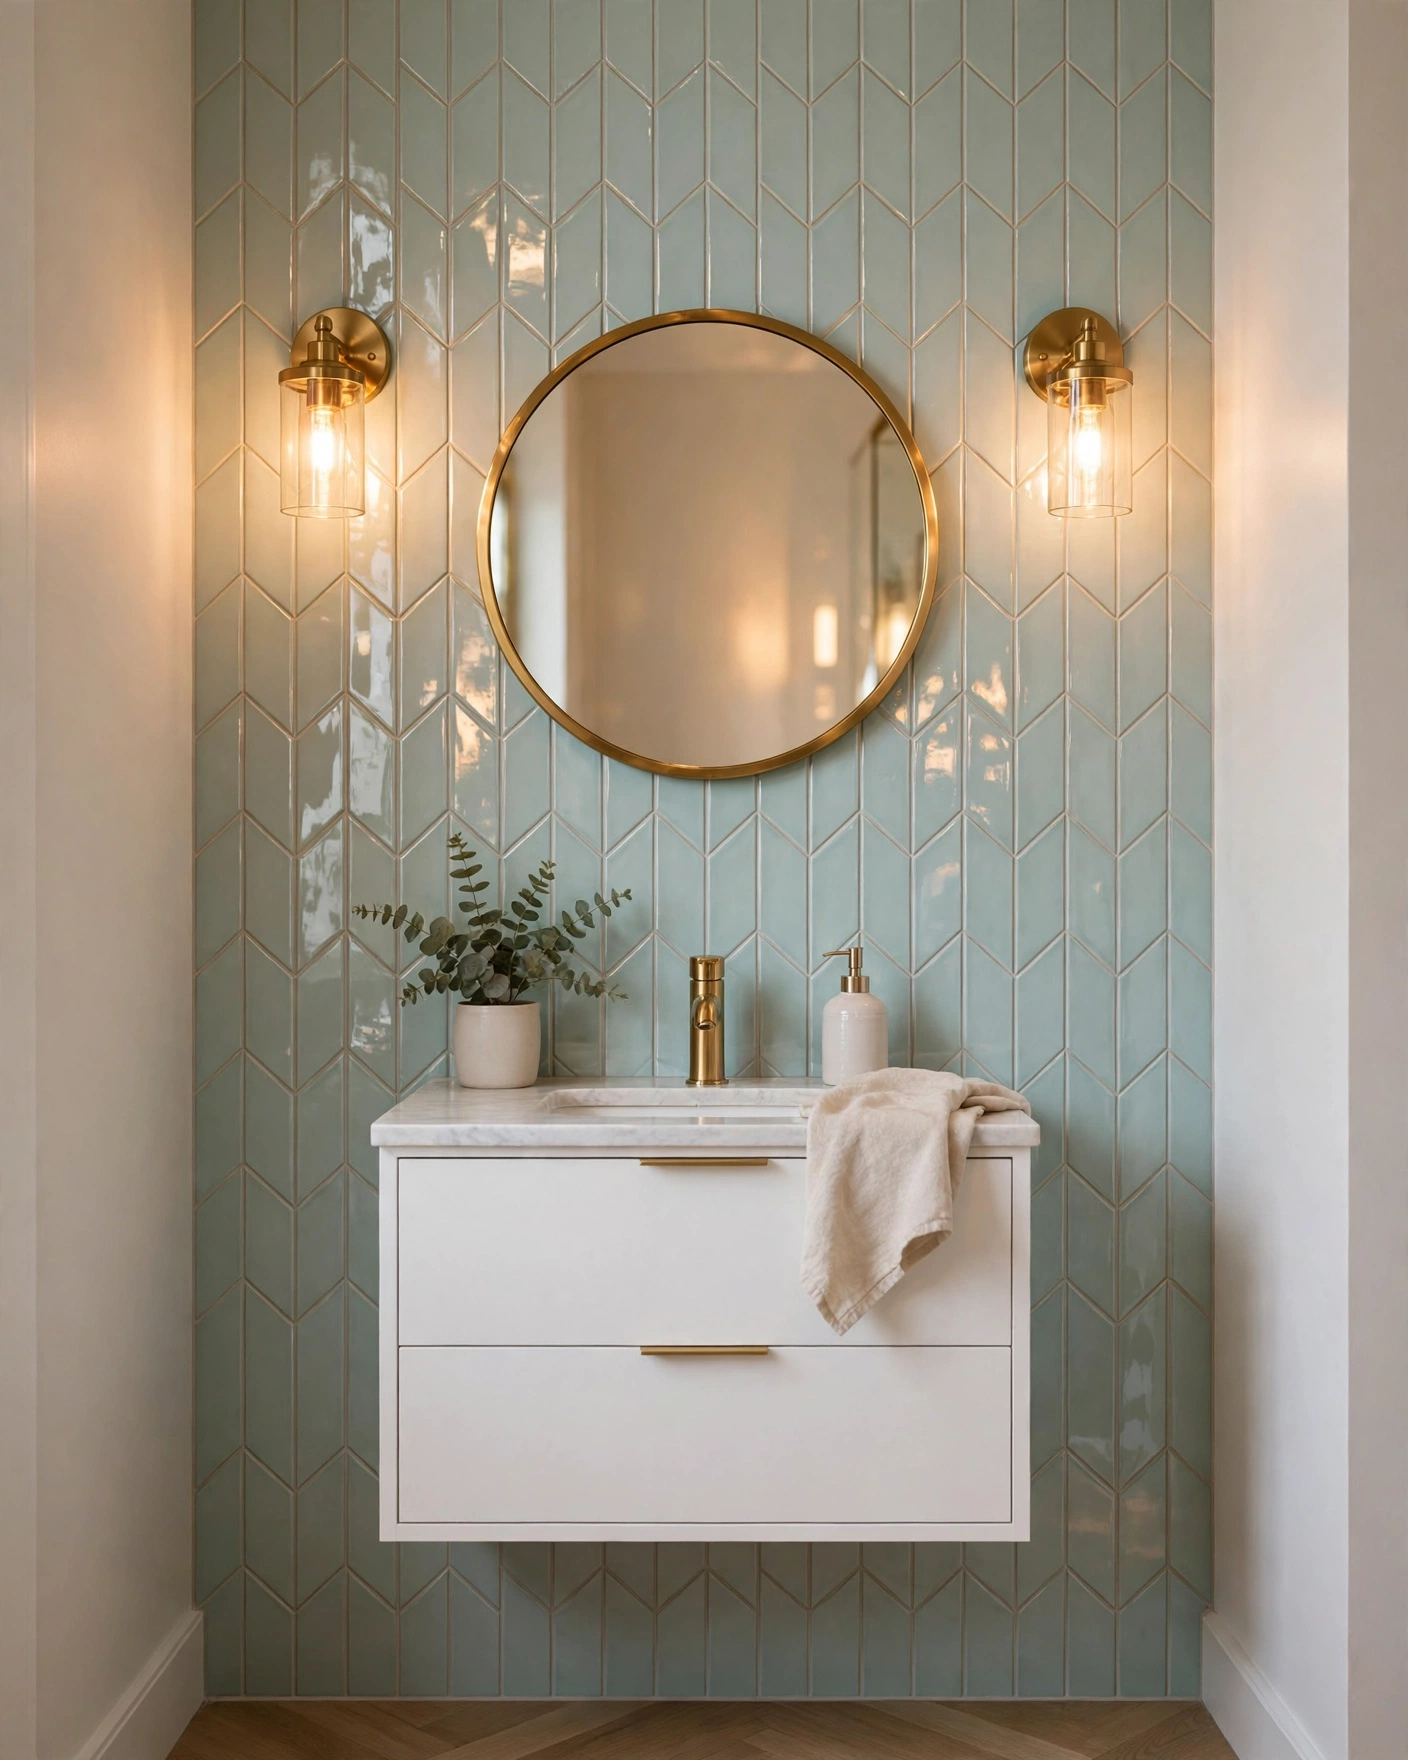
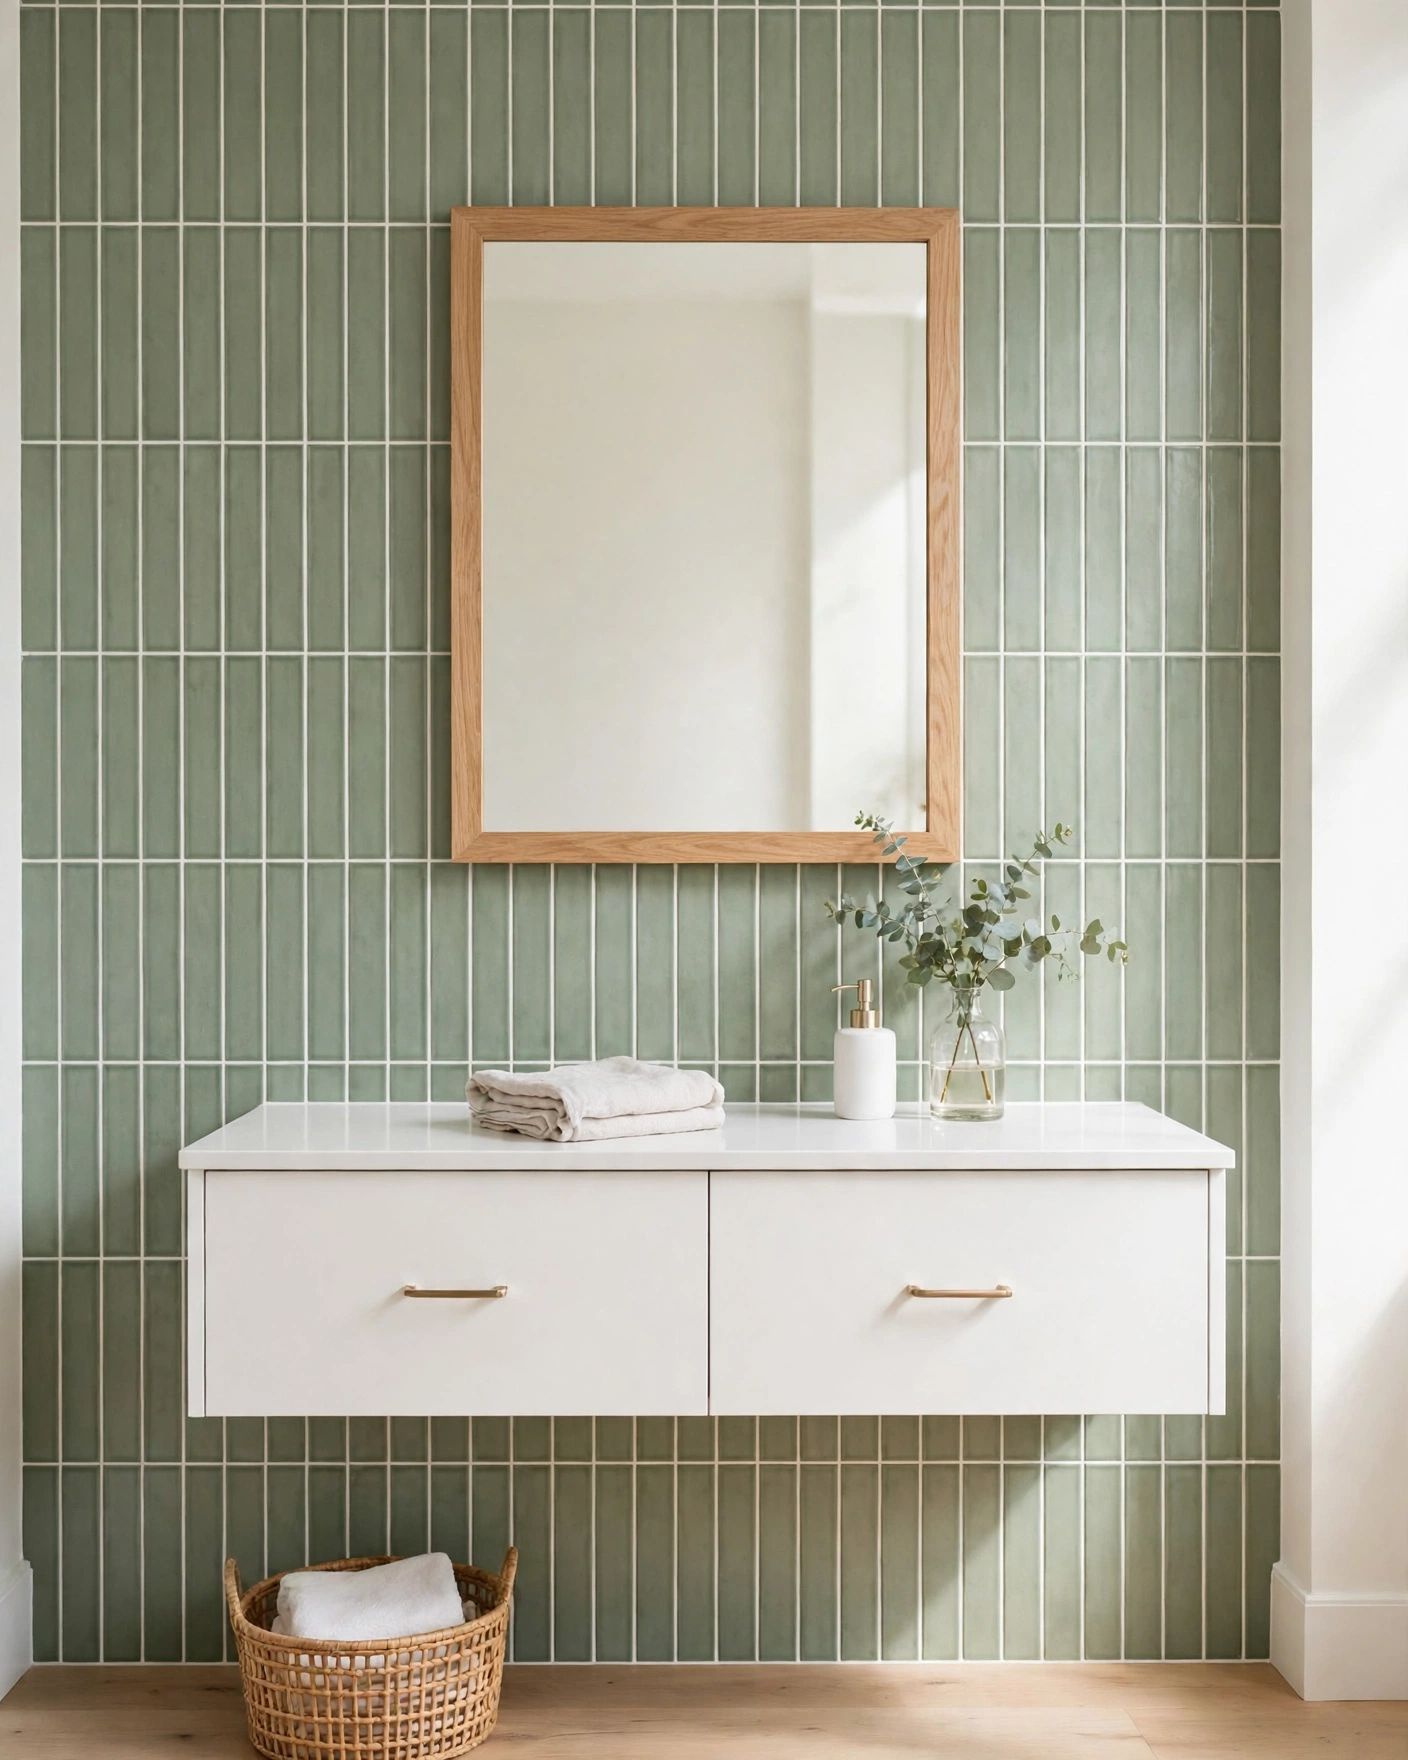
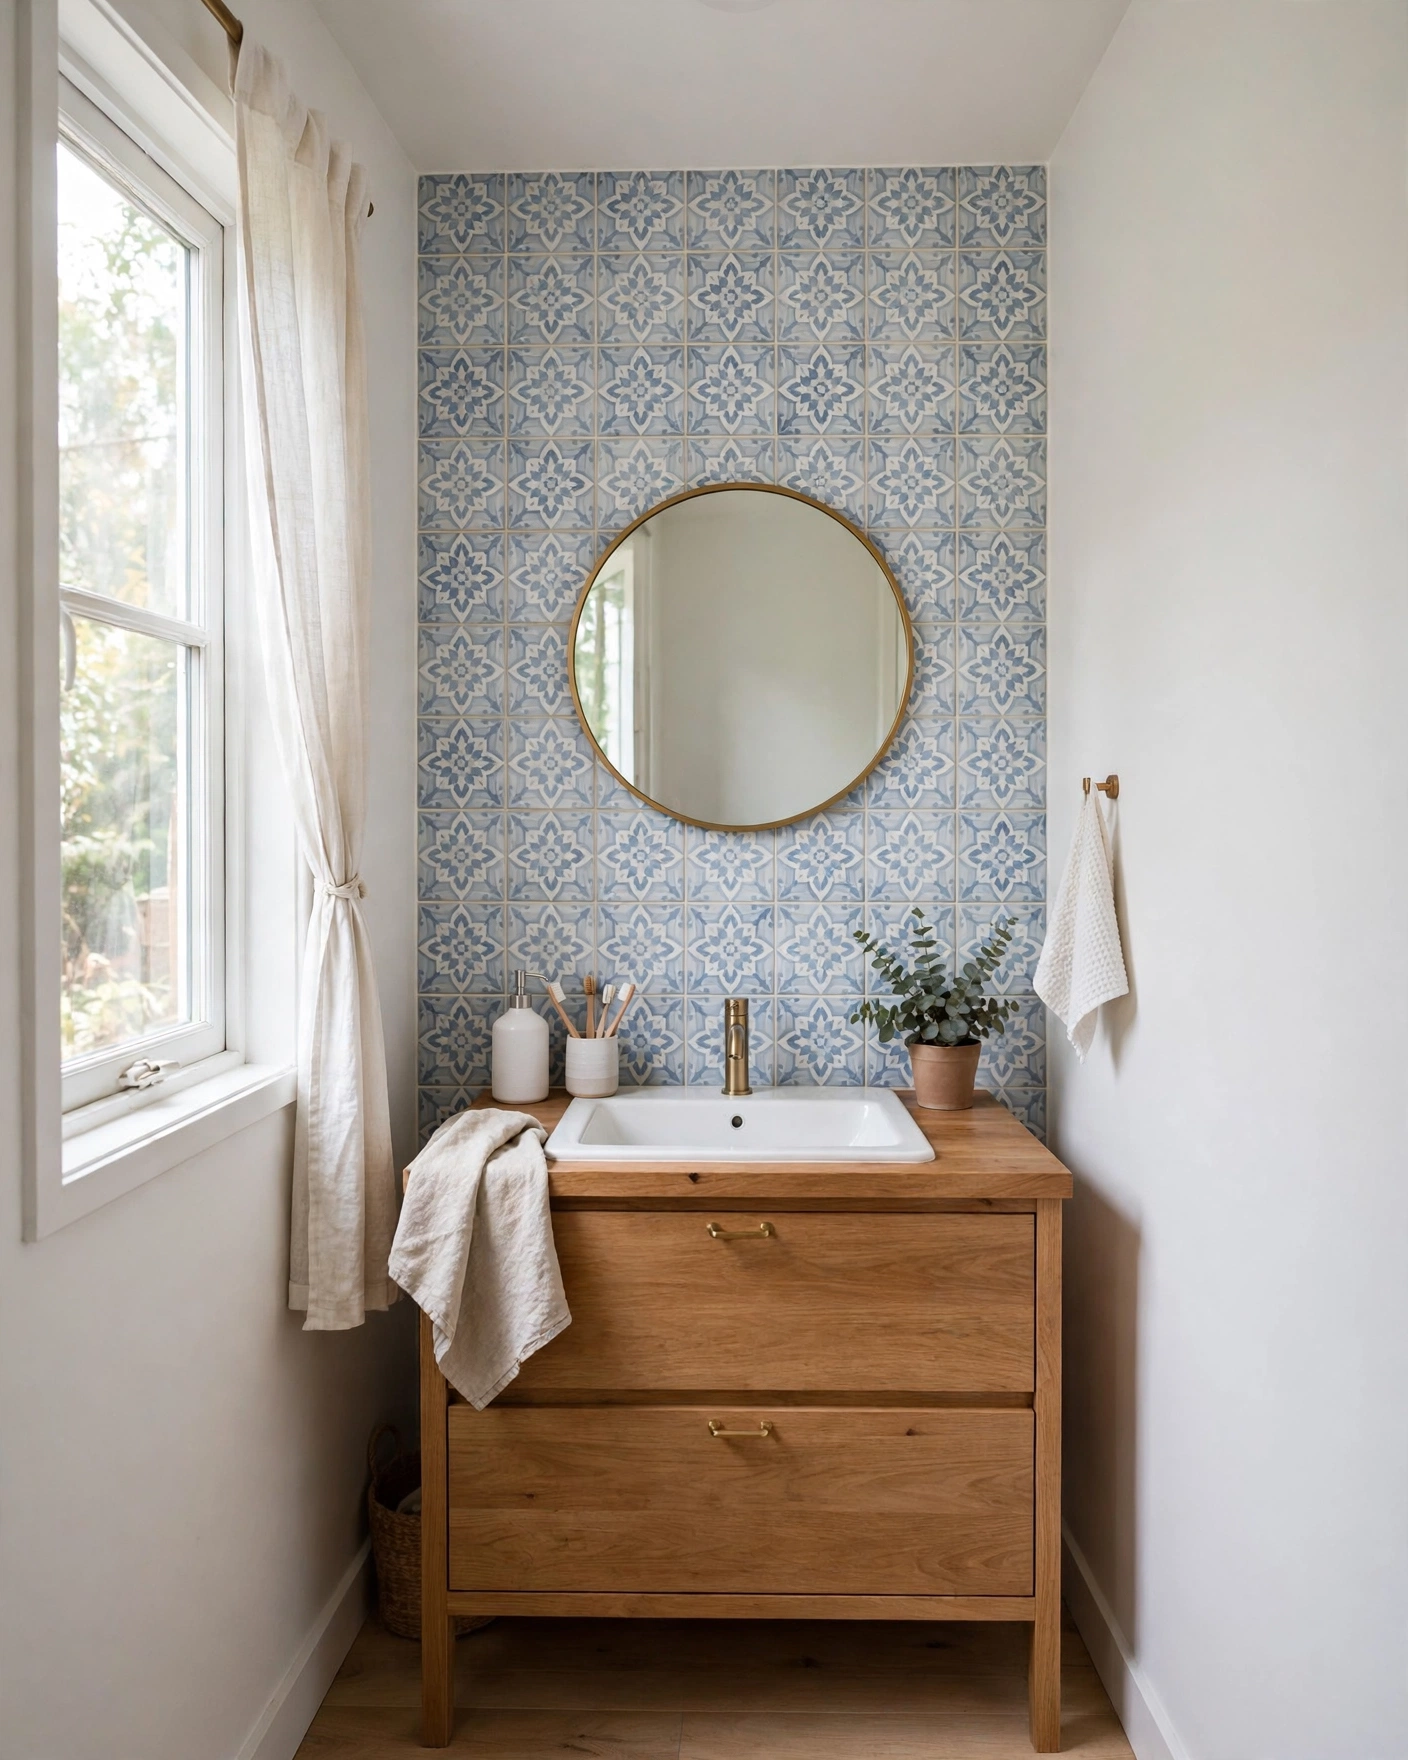
    4. Sage Zellige-Look Tiles
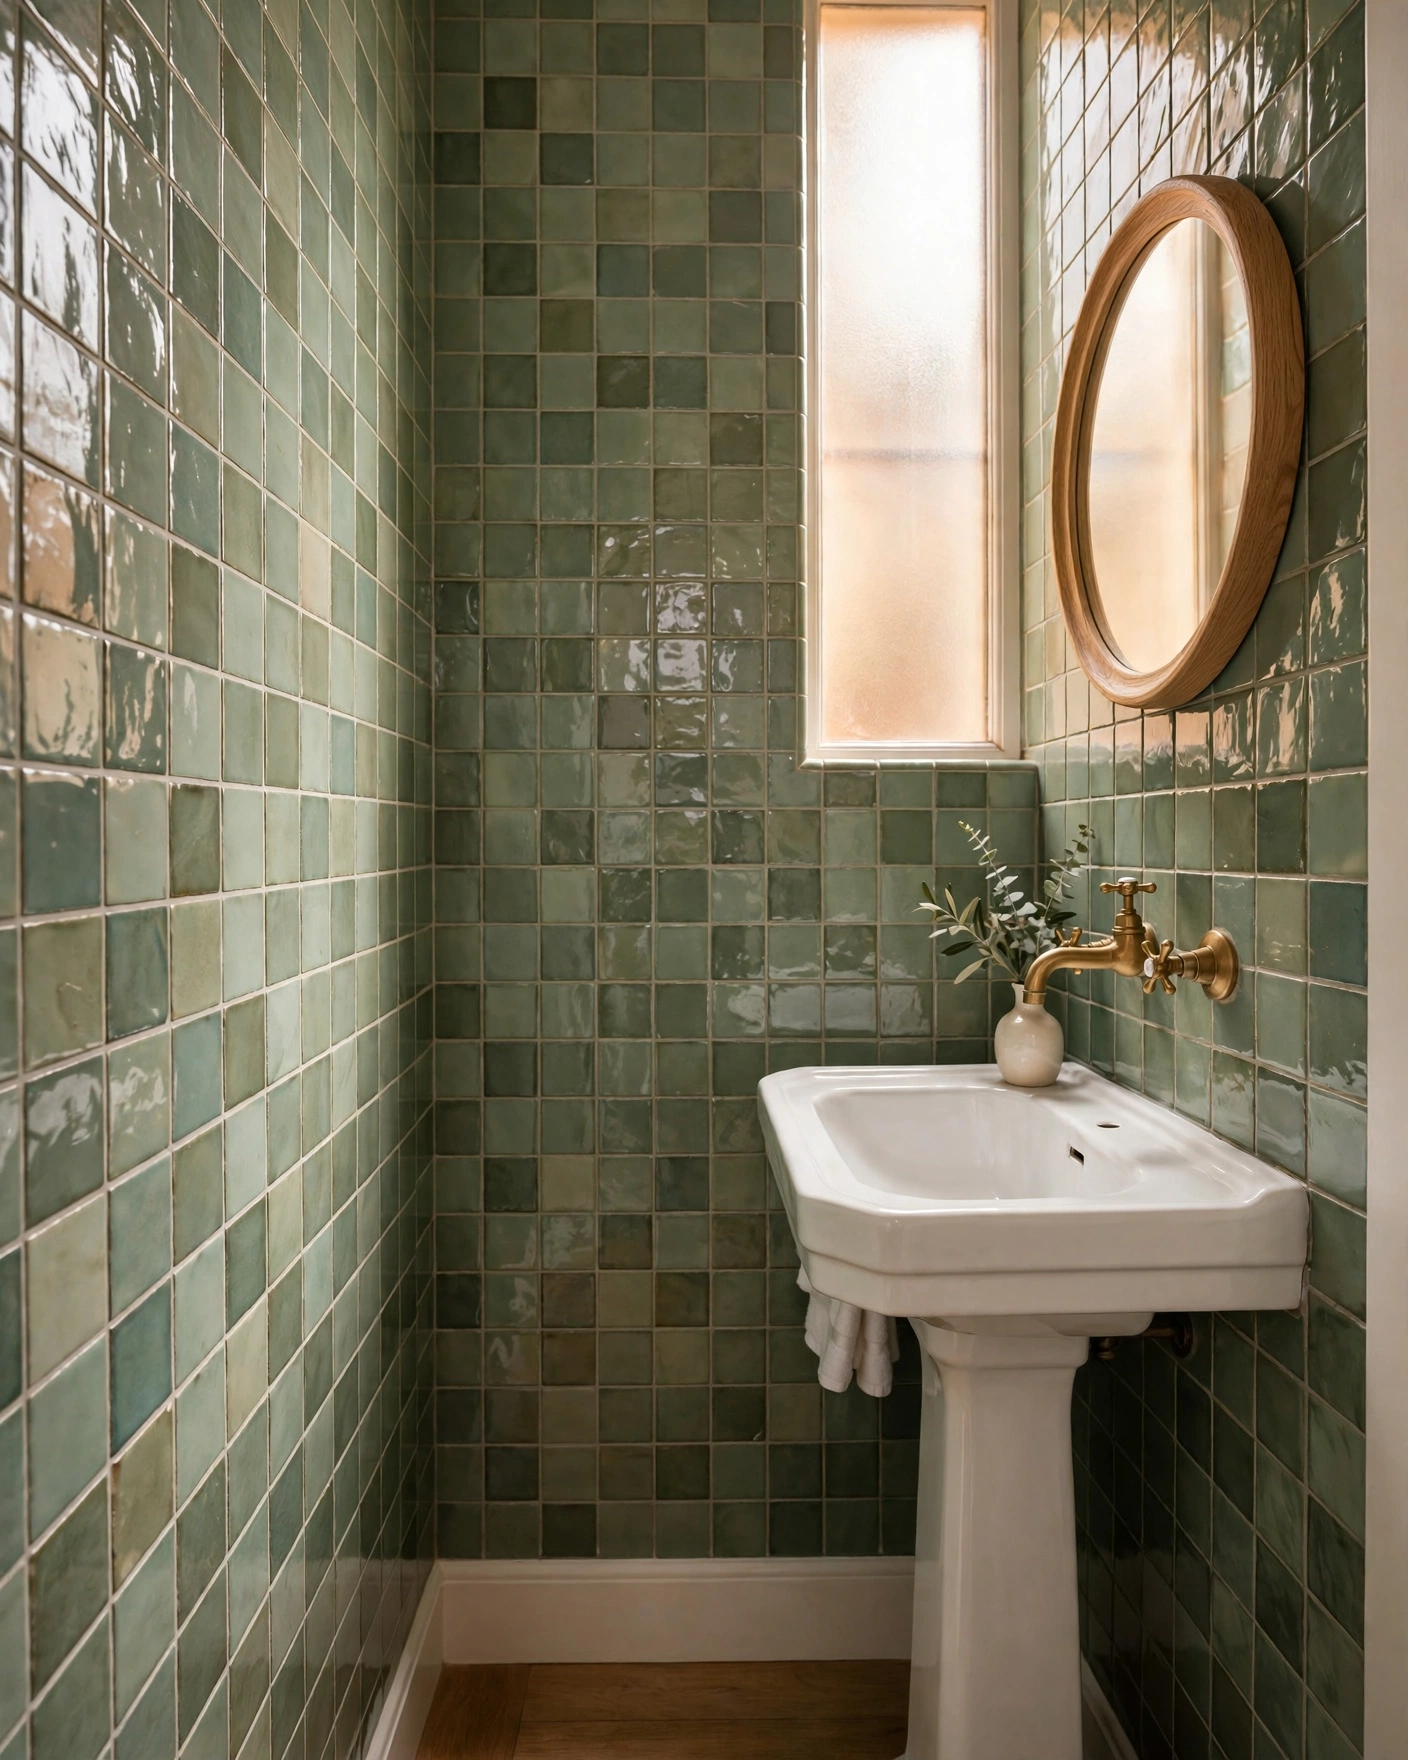
    Vanity wall in sage green zellige-look tiles with handmade surface variation

    Zellige-look tiles bring handmade ripples and tone shifts that flat tiles can’t match, in a sage that feels calm and crafted. Porcelain or ceramic copies give the look without the price or the sealing of real Moroccan clay. Tip: the varied shading hides soap splashes well, making this a forgiving choice behind sinks.

    5. Forest Green Large-Format Tiles
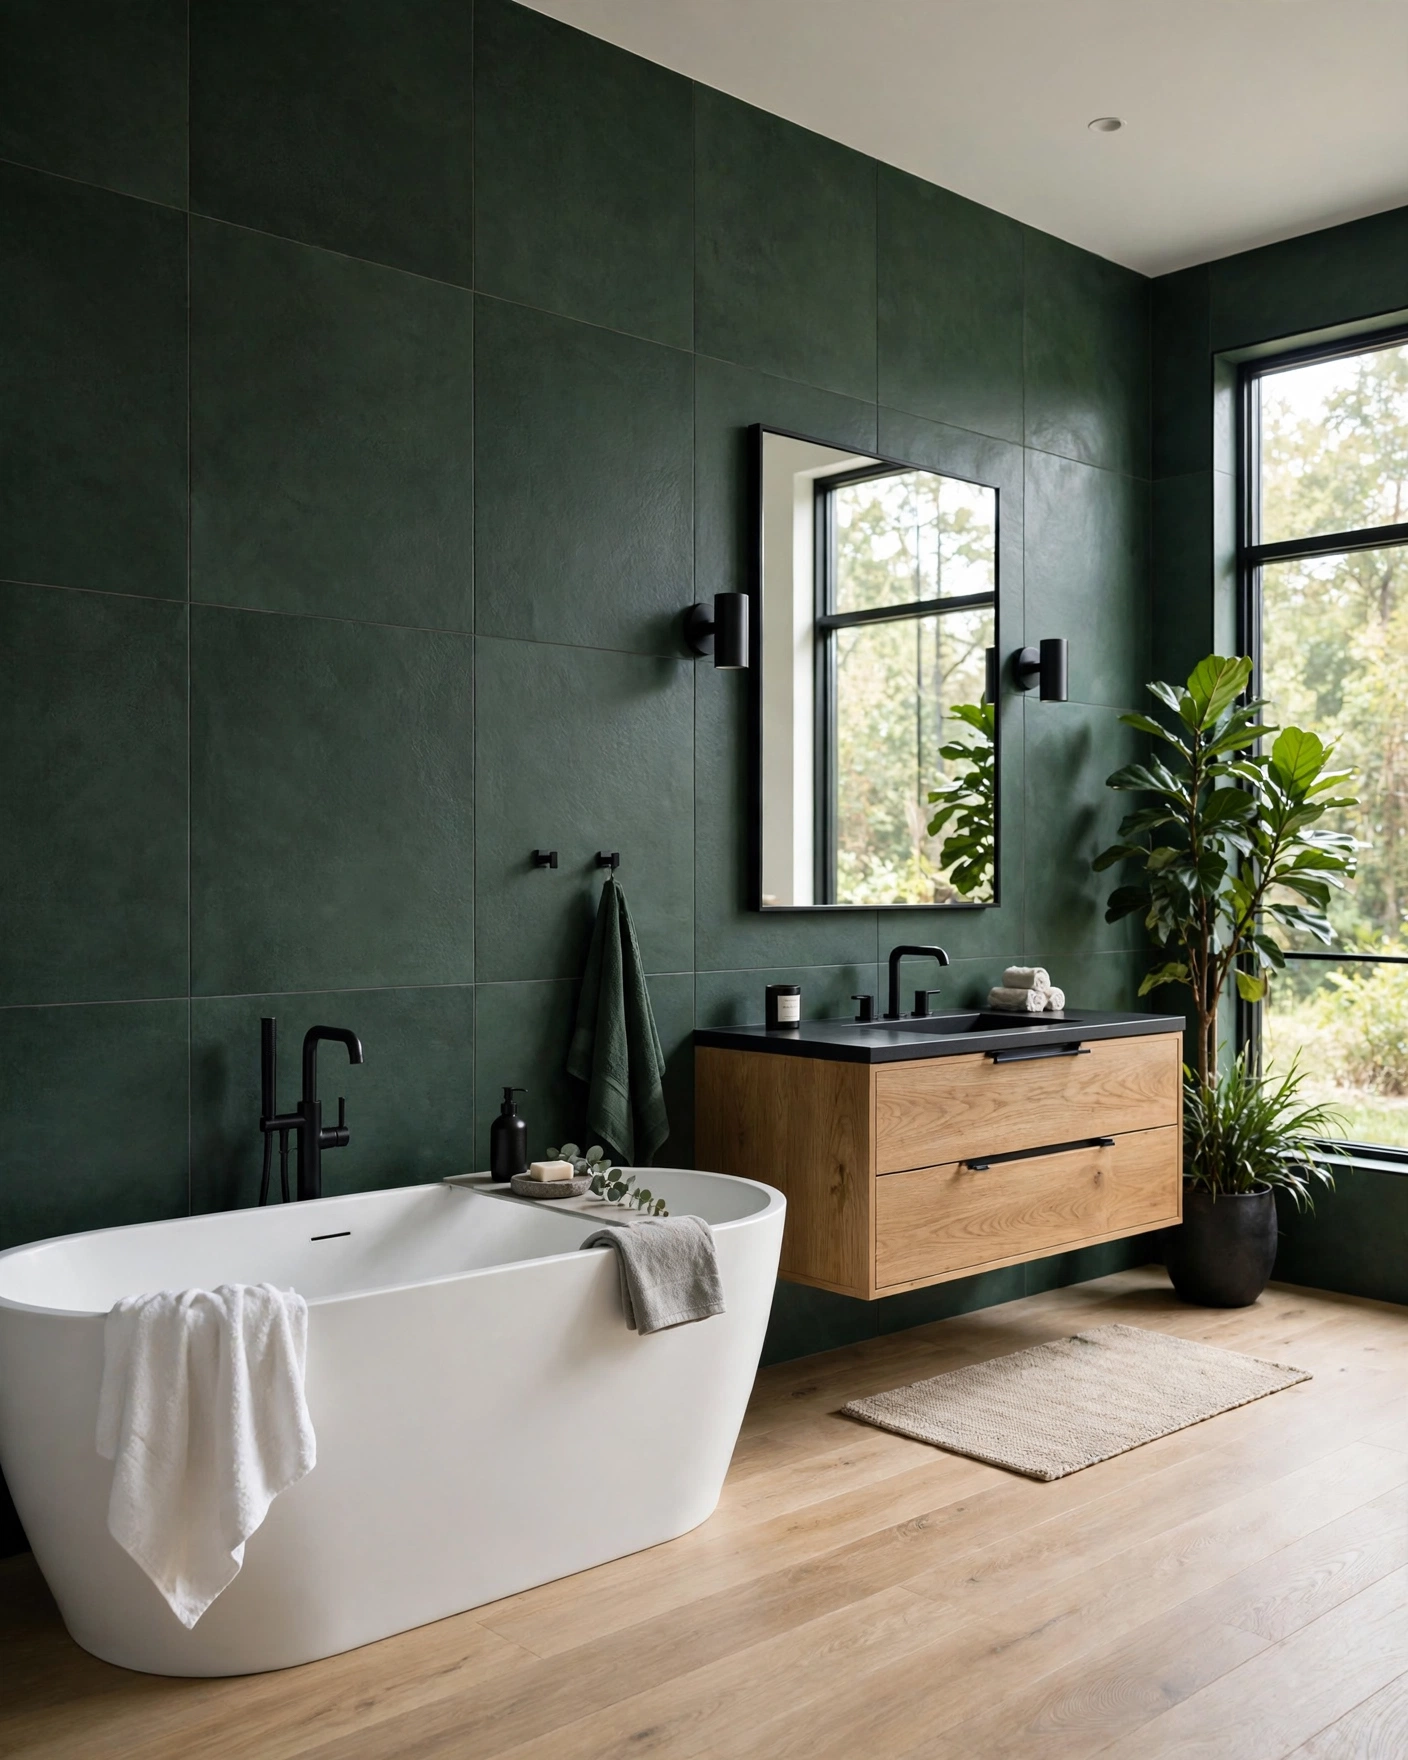
    Modern bathroom wrapped in deep forest green large-format porcelain tiles

    Large-format forest green porcelain feels like a boutique hotel: moody, smooth and short on grout lines. Use it on walls and floor in bigger bathrooms, balanced by a white tub and pale wood. Tip: dark large tiles need good lighting — plan layered light with sconces plus a ceiling light, not one bulb.

    6. Green Marble-Look Statement Tiles
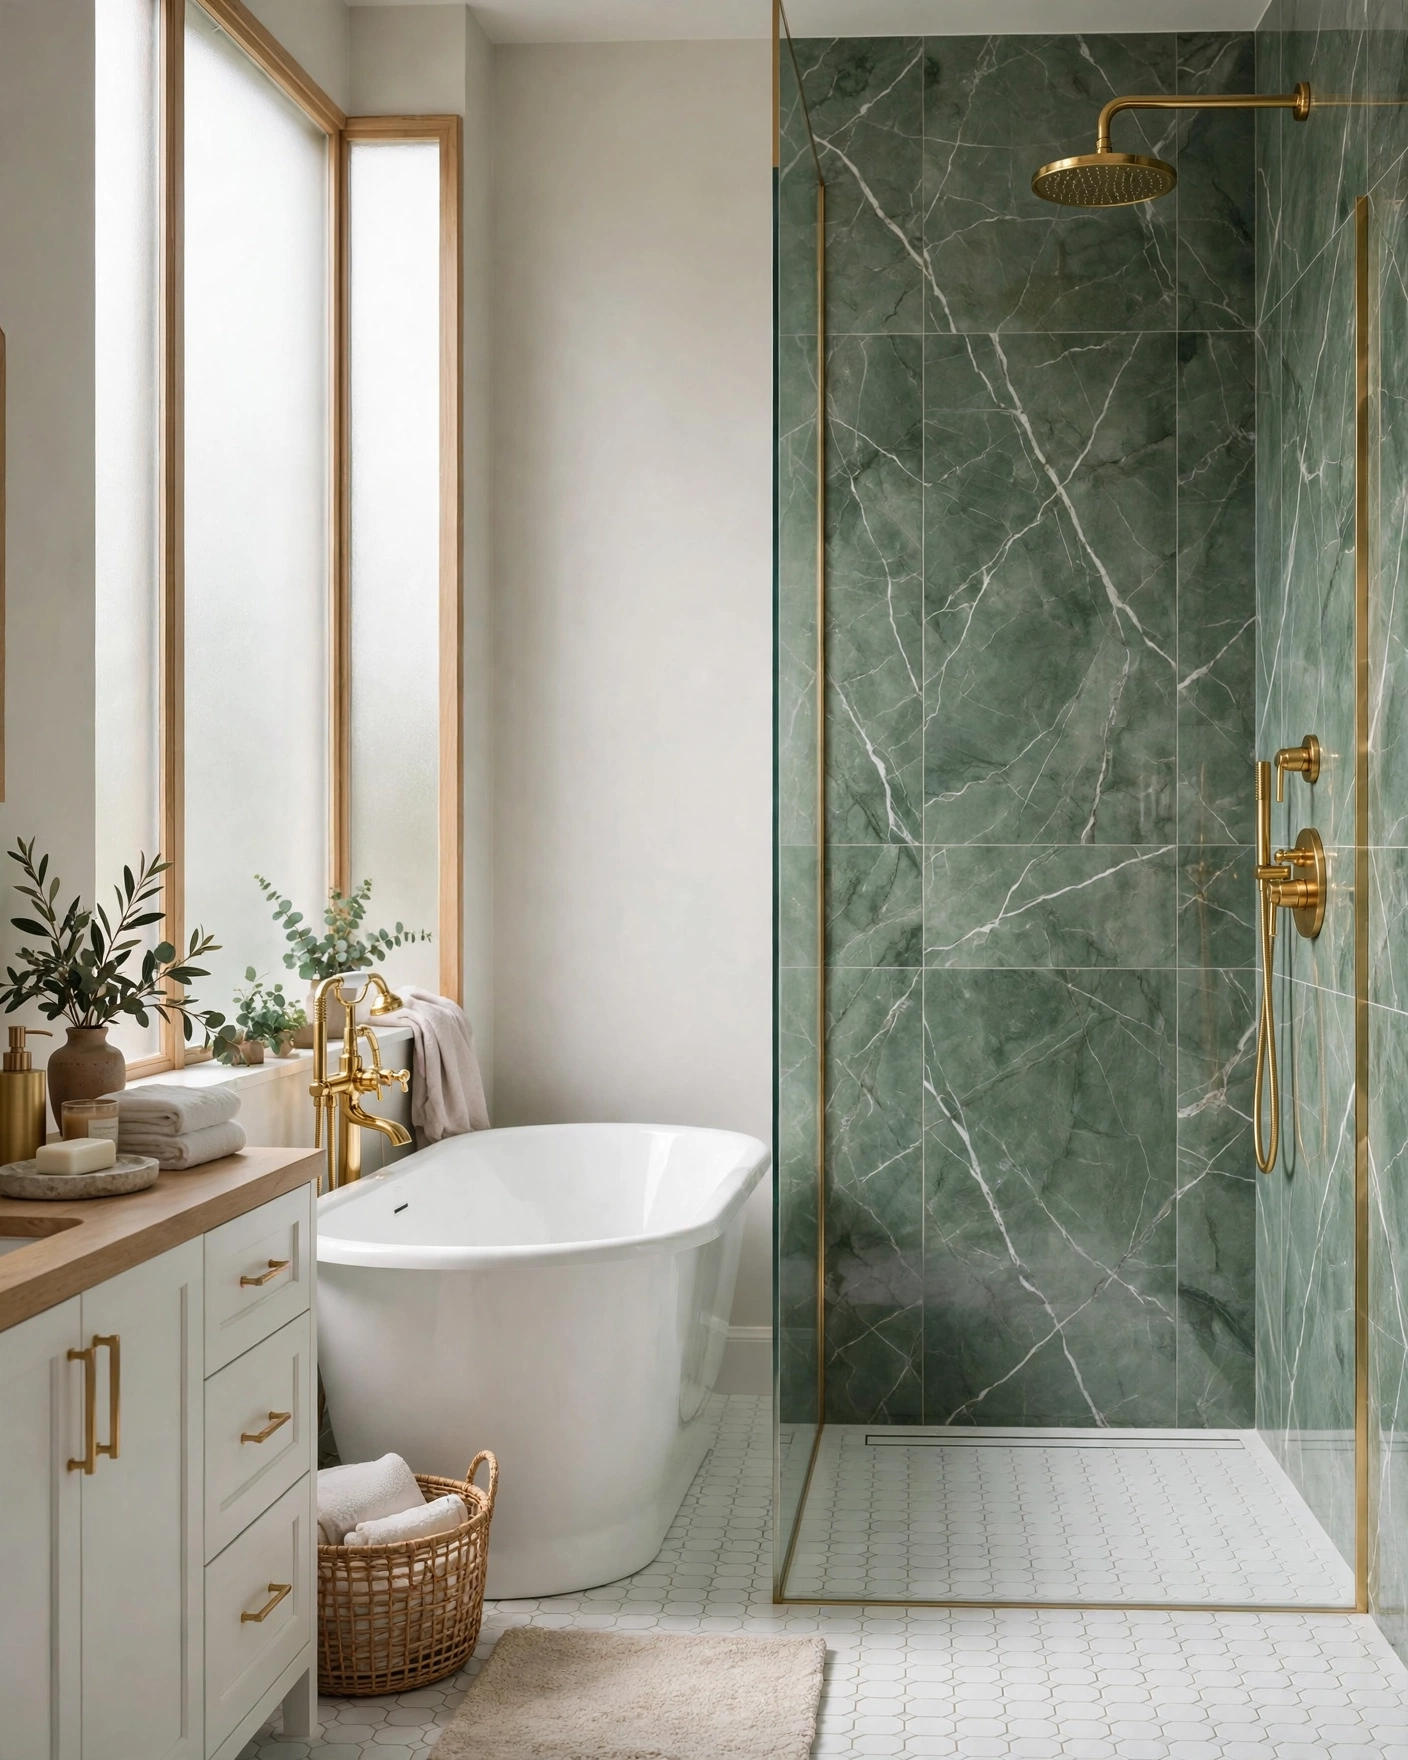
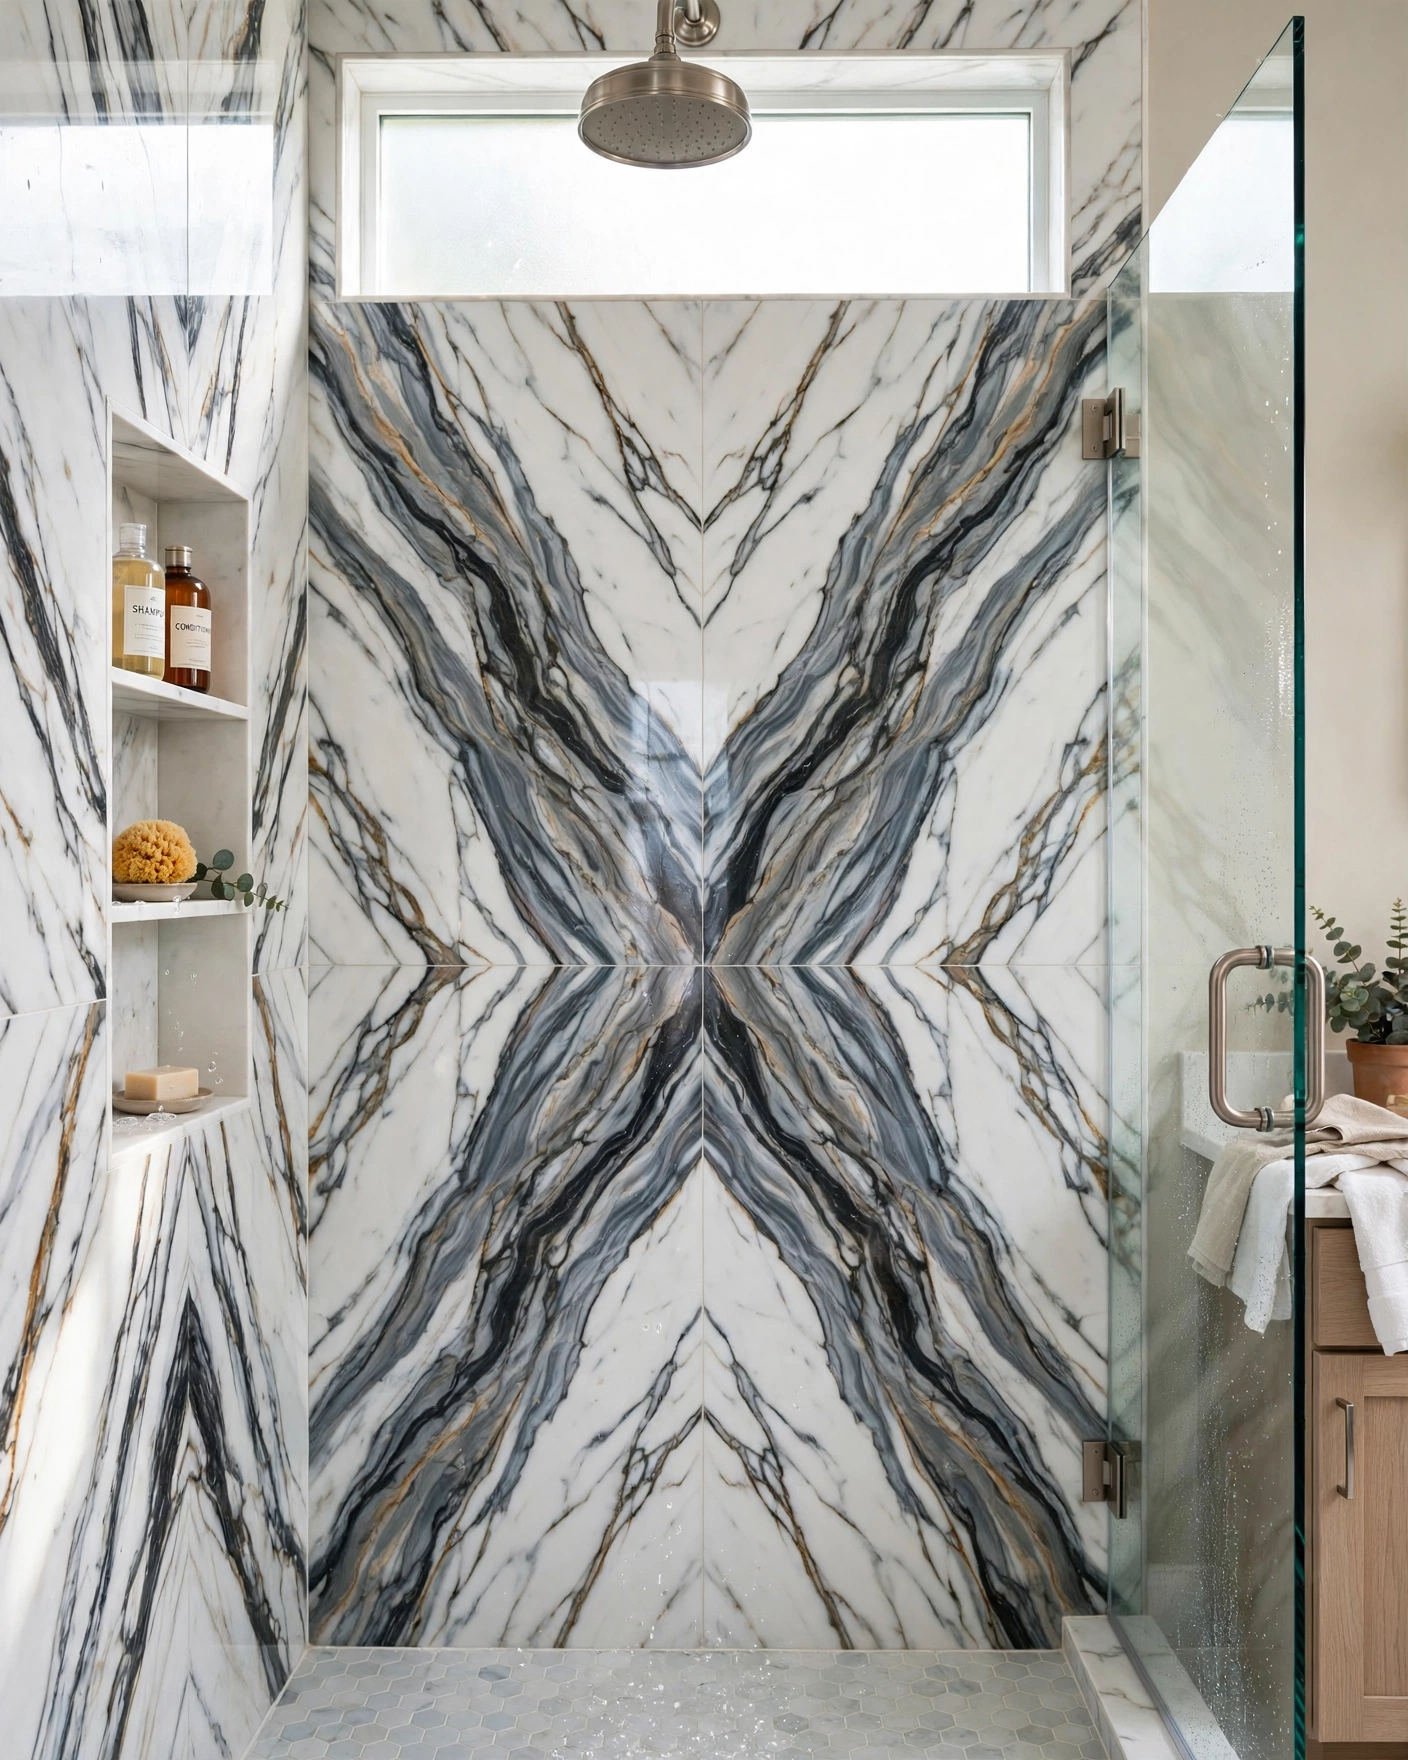
    Bathroom shower wall in green marble-look porcelain with white veining

    Green marble-look porcelain copies rich Verde Alpi stone, with white veining that keeps the depth from feeling heavy. Use it as a shower feature wall and let plain white tile do the supporting work. Tip: porcelain gives you the pattern at a fraction of real marble’s cost and never needs sealing.

    7. Mint Penny Round Mosaic Tiles
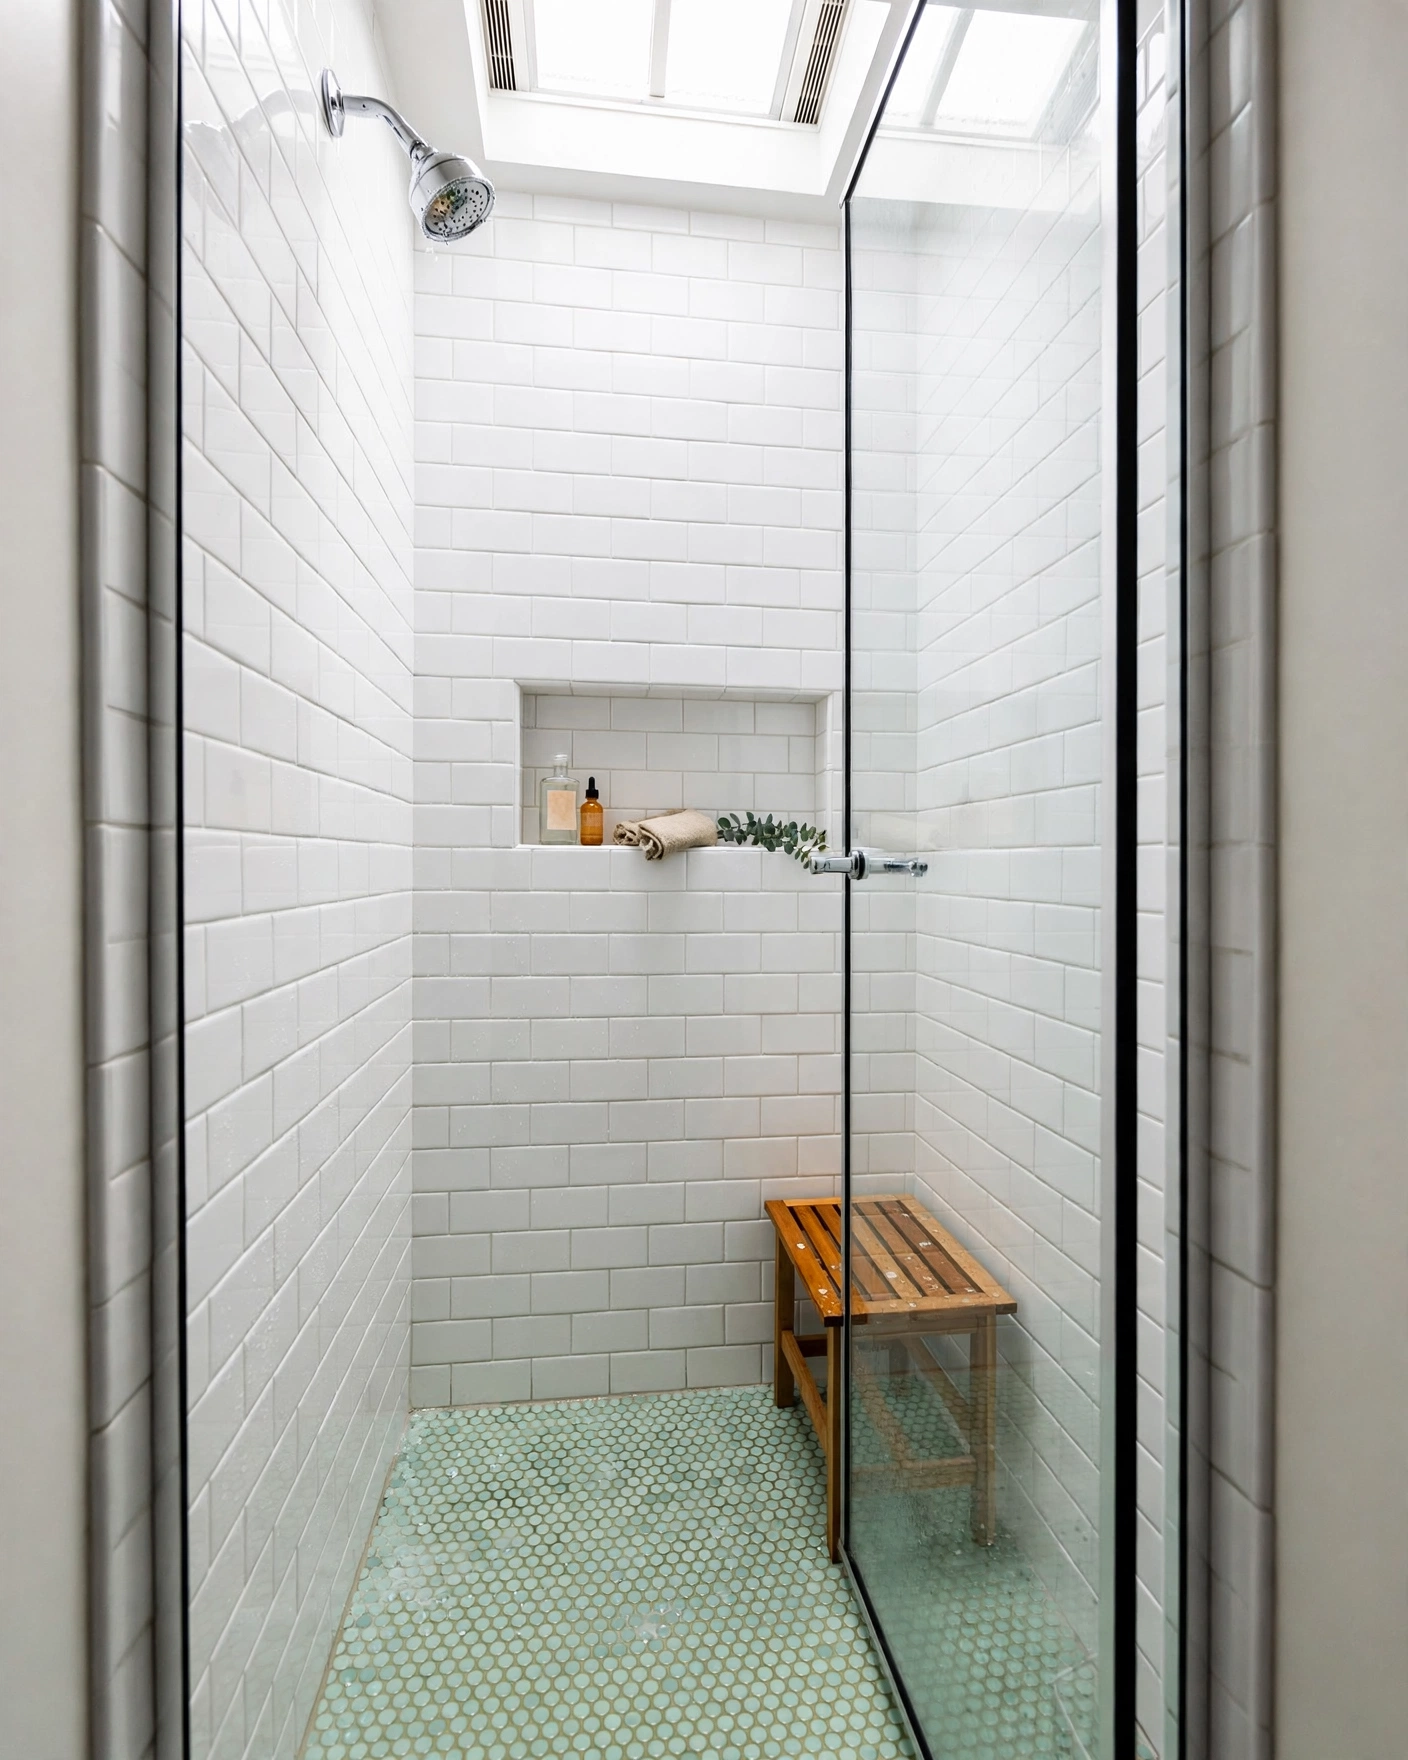
    Shower floor covered in mint green penny round mosaic tiles

    Penny rounds in soft mint bring a sweet, vintage note that still reads fresh with chrome and white. They’re ideal for shower floors, where the many grout joints add real grip underfoot. Tip: choose a grout one shade deeper than the tile to outline the circles and hide everyday grime.

    8. Olive Green Matte Wall Tiles
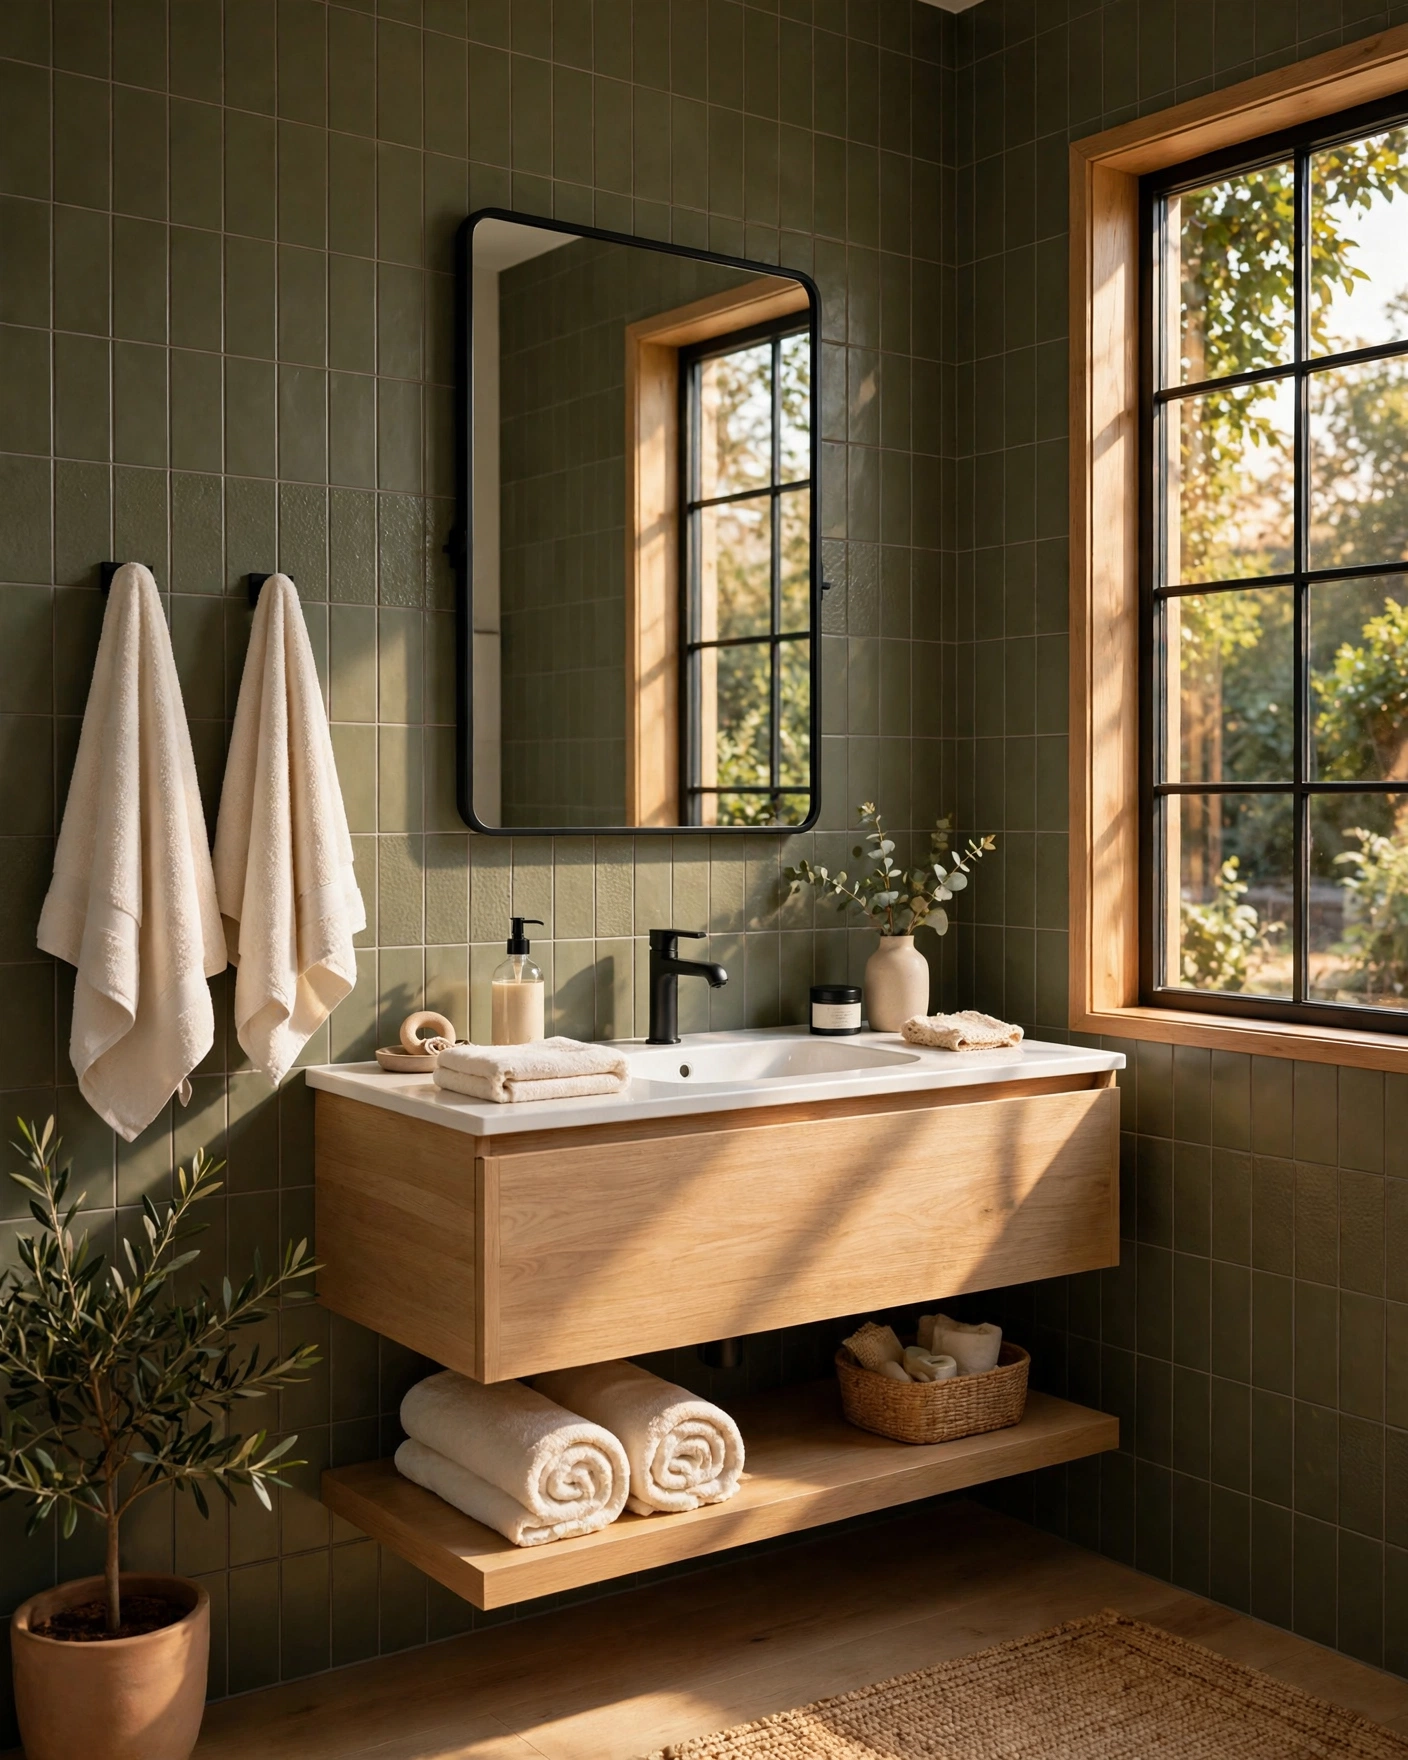
    Bathroom wall in warm olive green matte tiles with oak vanity

    Olive sits between sage and forest — earthier than sage, softer than emerald, and beautiful beside oak and cream. Matte large rectangles keep it current rather than country. Tip: olive loves warm metals; brass or brushed bronze taps will look richer here than chrome.

    9. Emerald Kit-Kat Finger Tiles
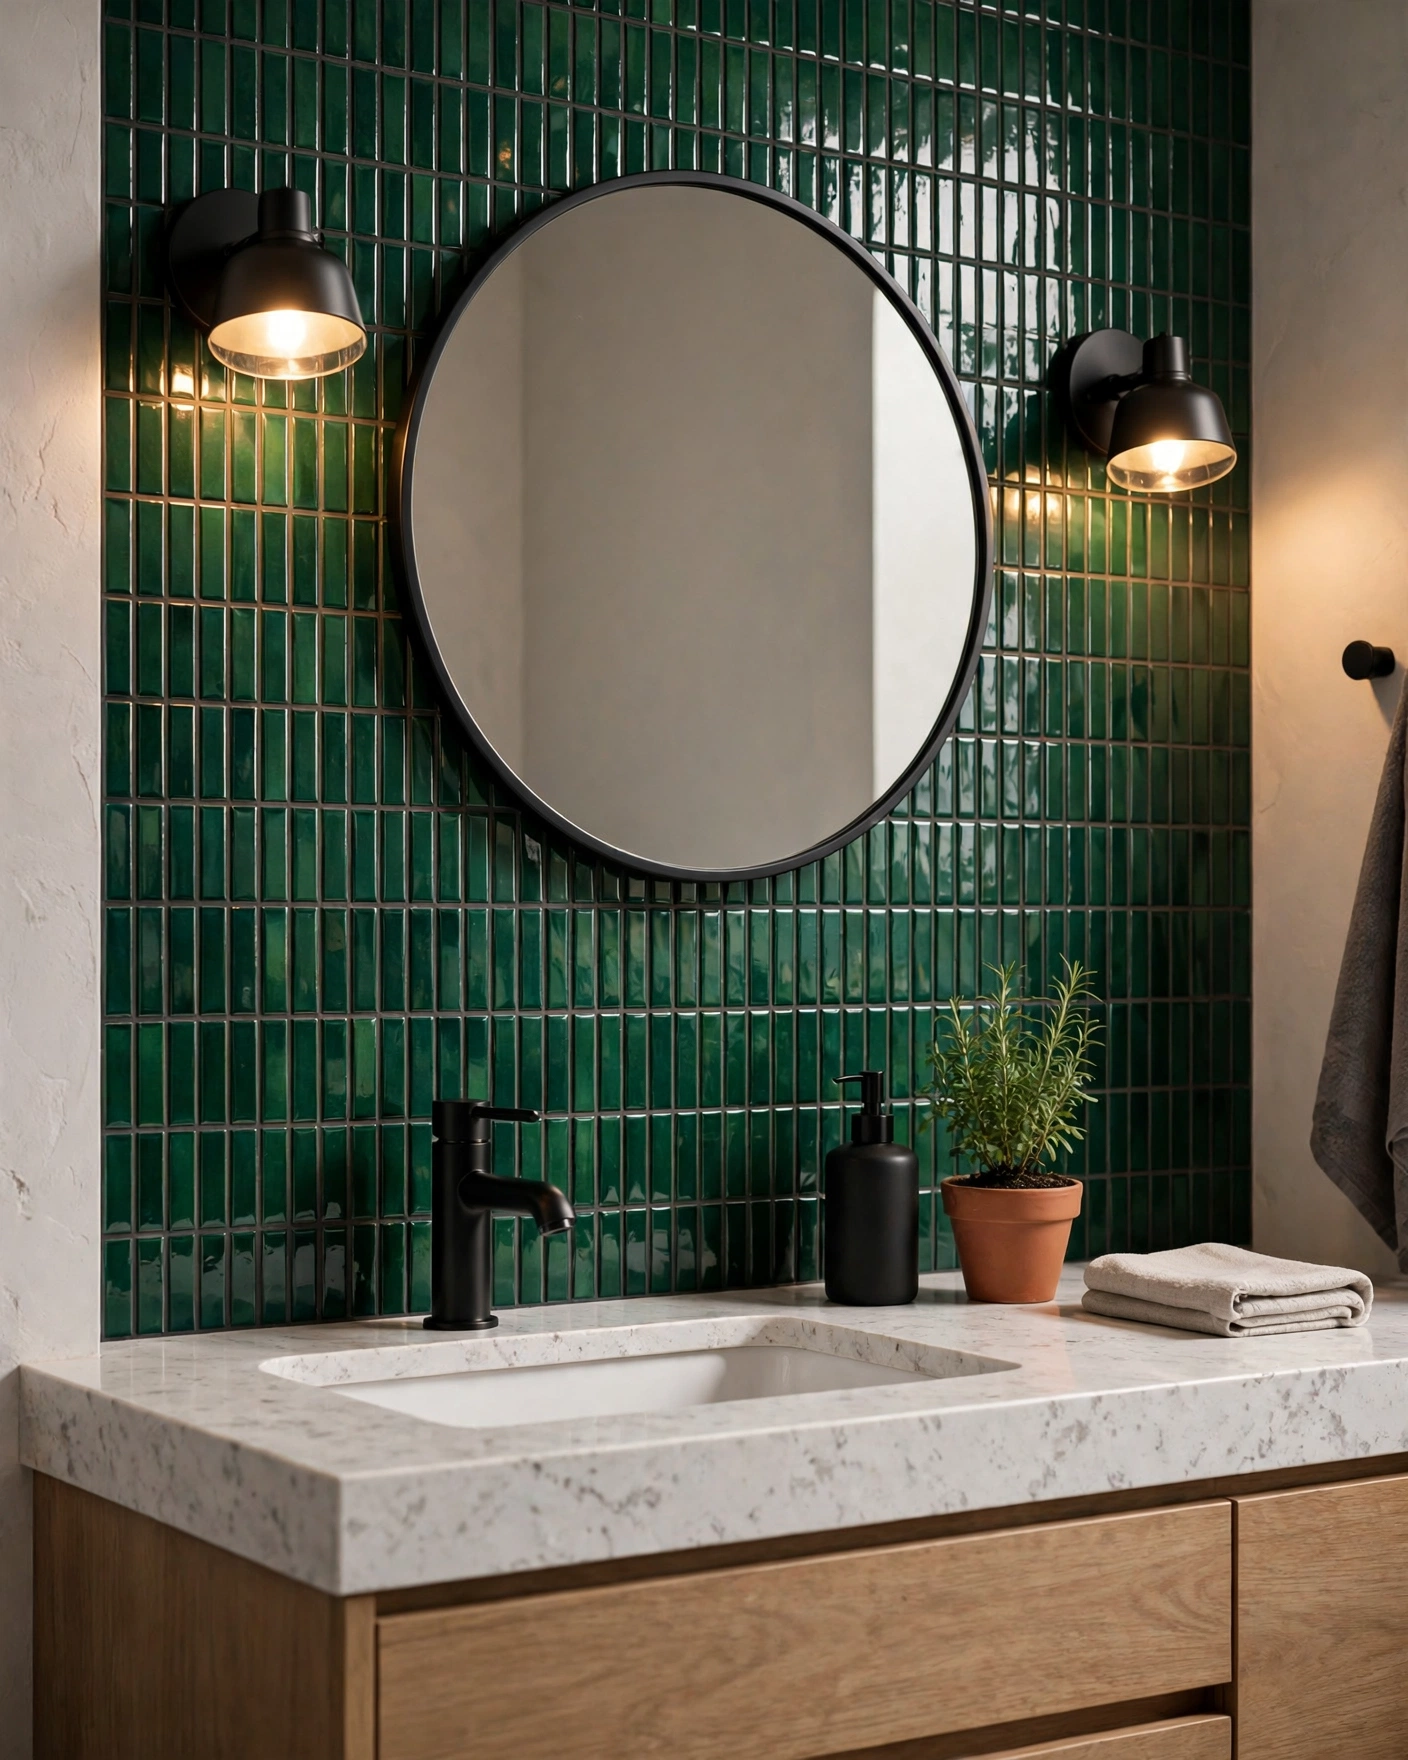
    Vanity backsplash in glossy emerald green kit-kat finger mosaic tiles

    Slim kit-kat mosaics in glossy emerald make a jewel-like backsplash or shower band with lots of texture per square foot. Run them vertically to lift the ceiling line. Tip: a feature band uses few tiles, so this is an affordable way to use a premium mosaic — spend on the band, save elsewhere.

    10. Sage and White Two-Tone Walls
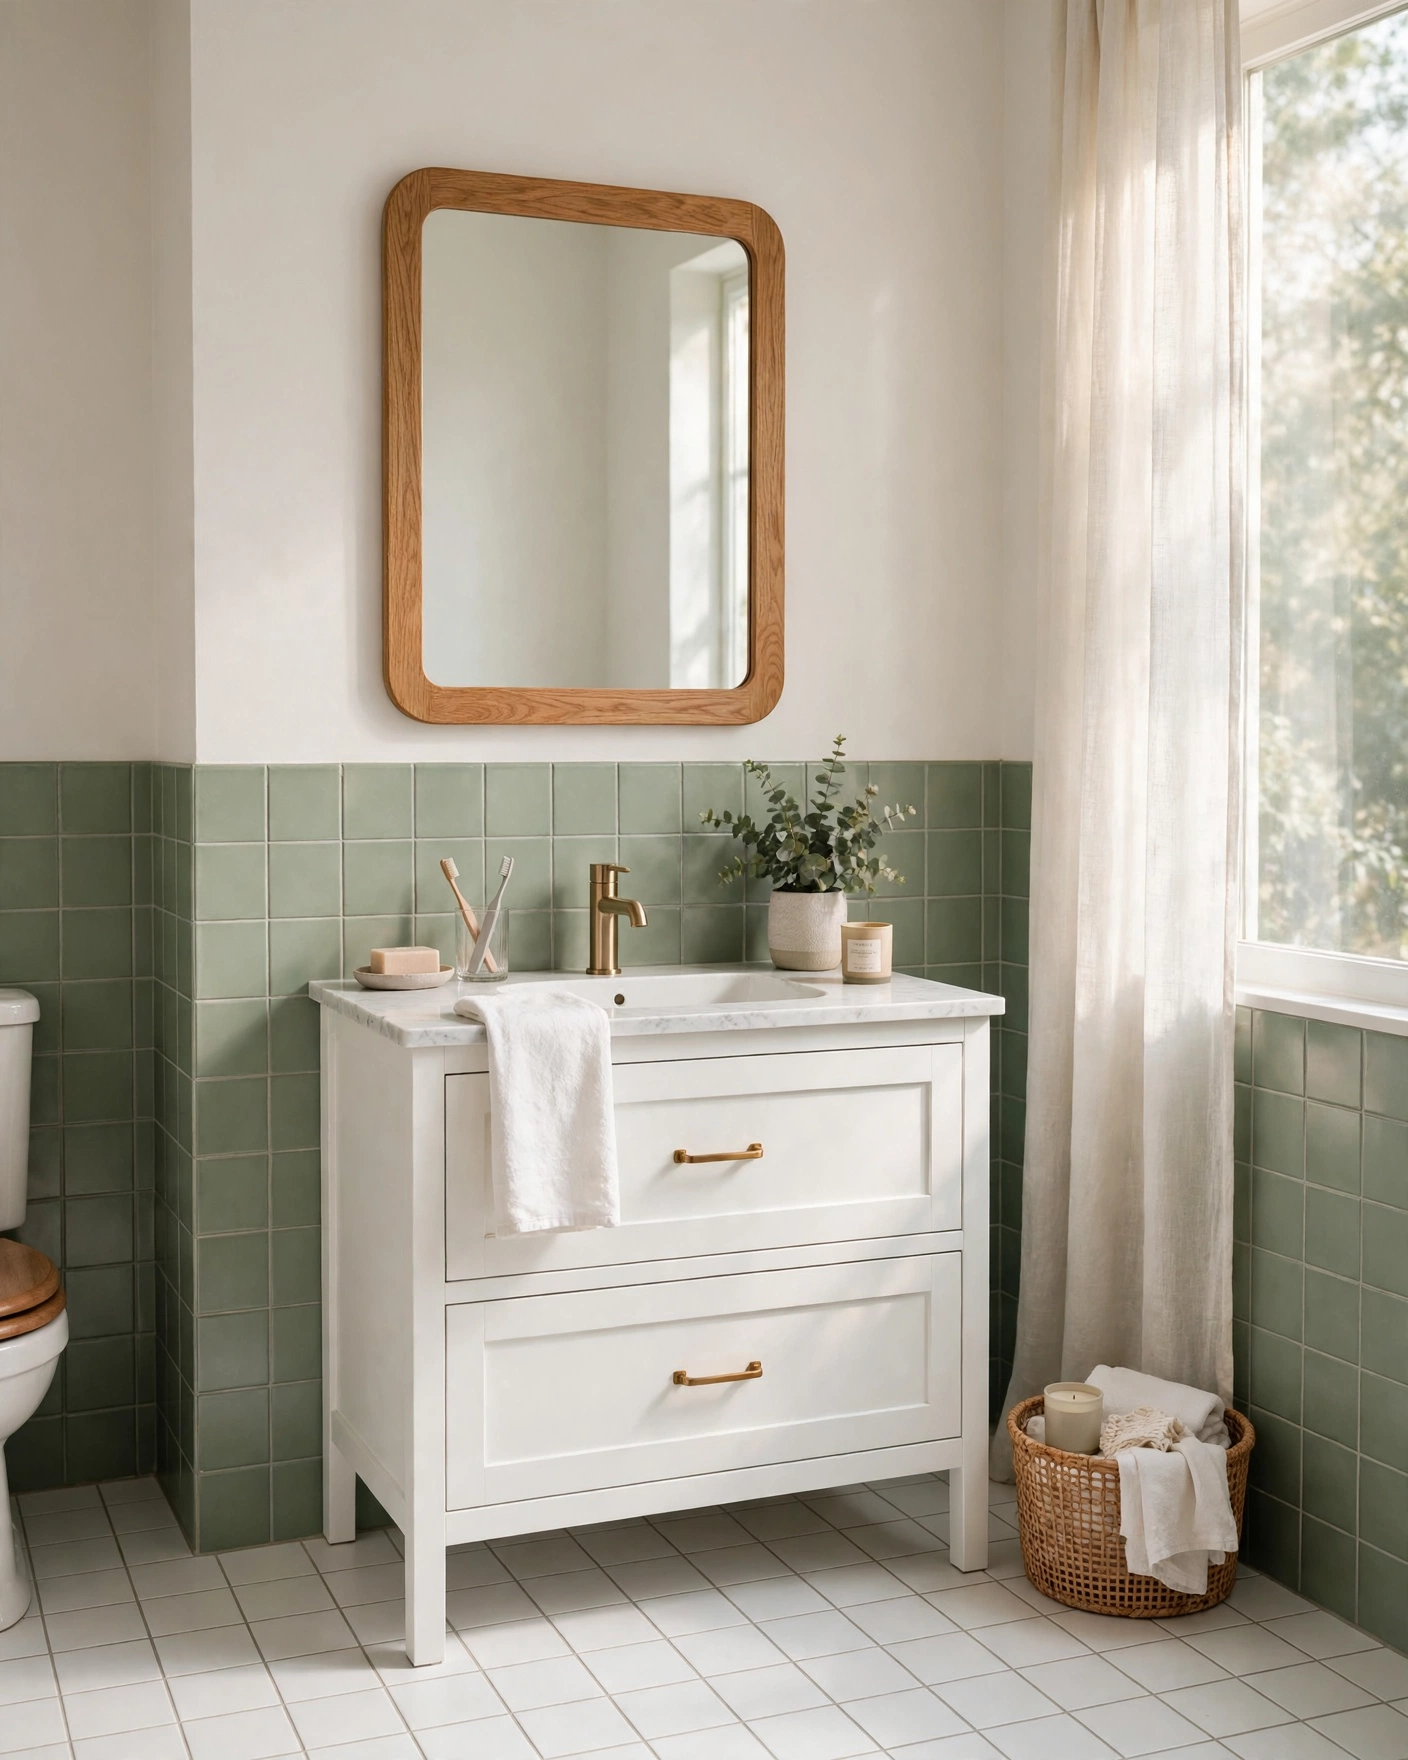
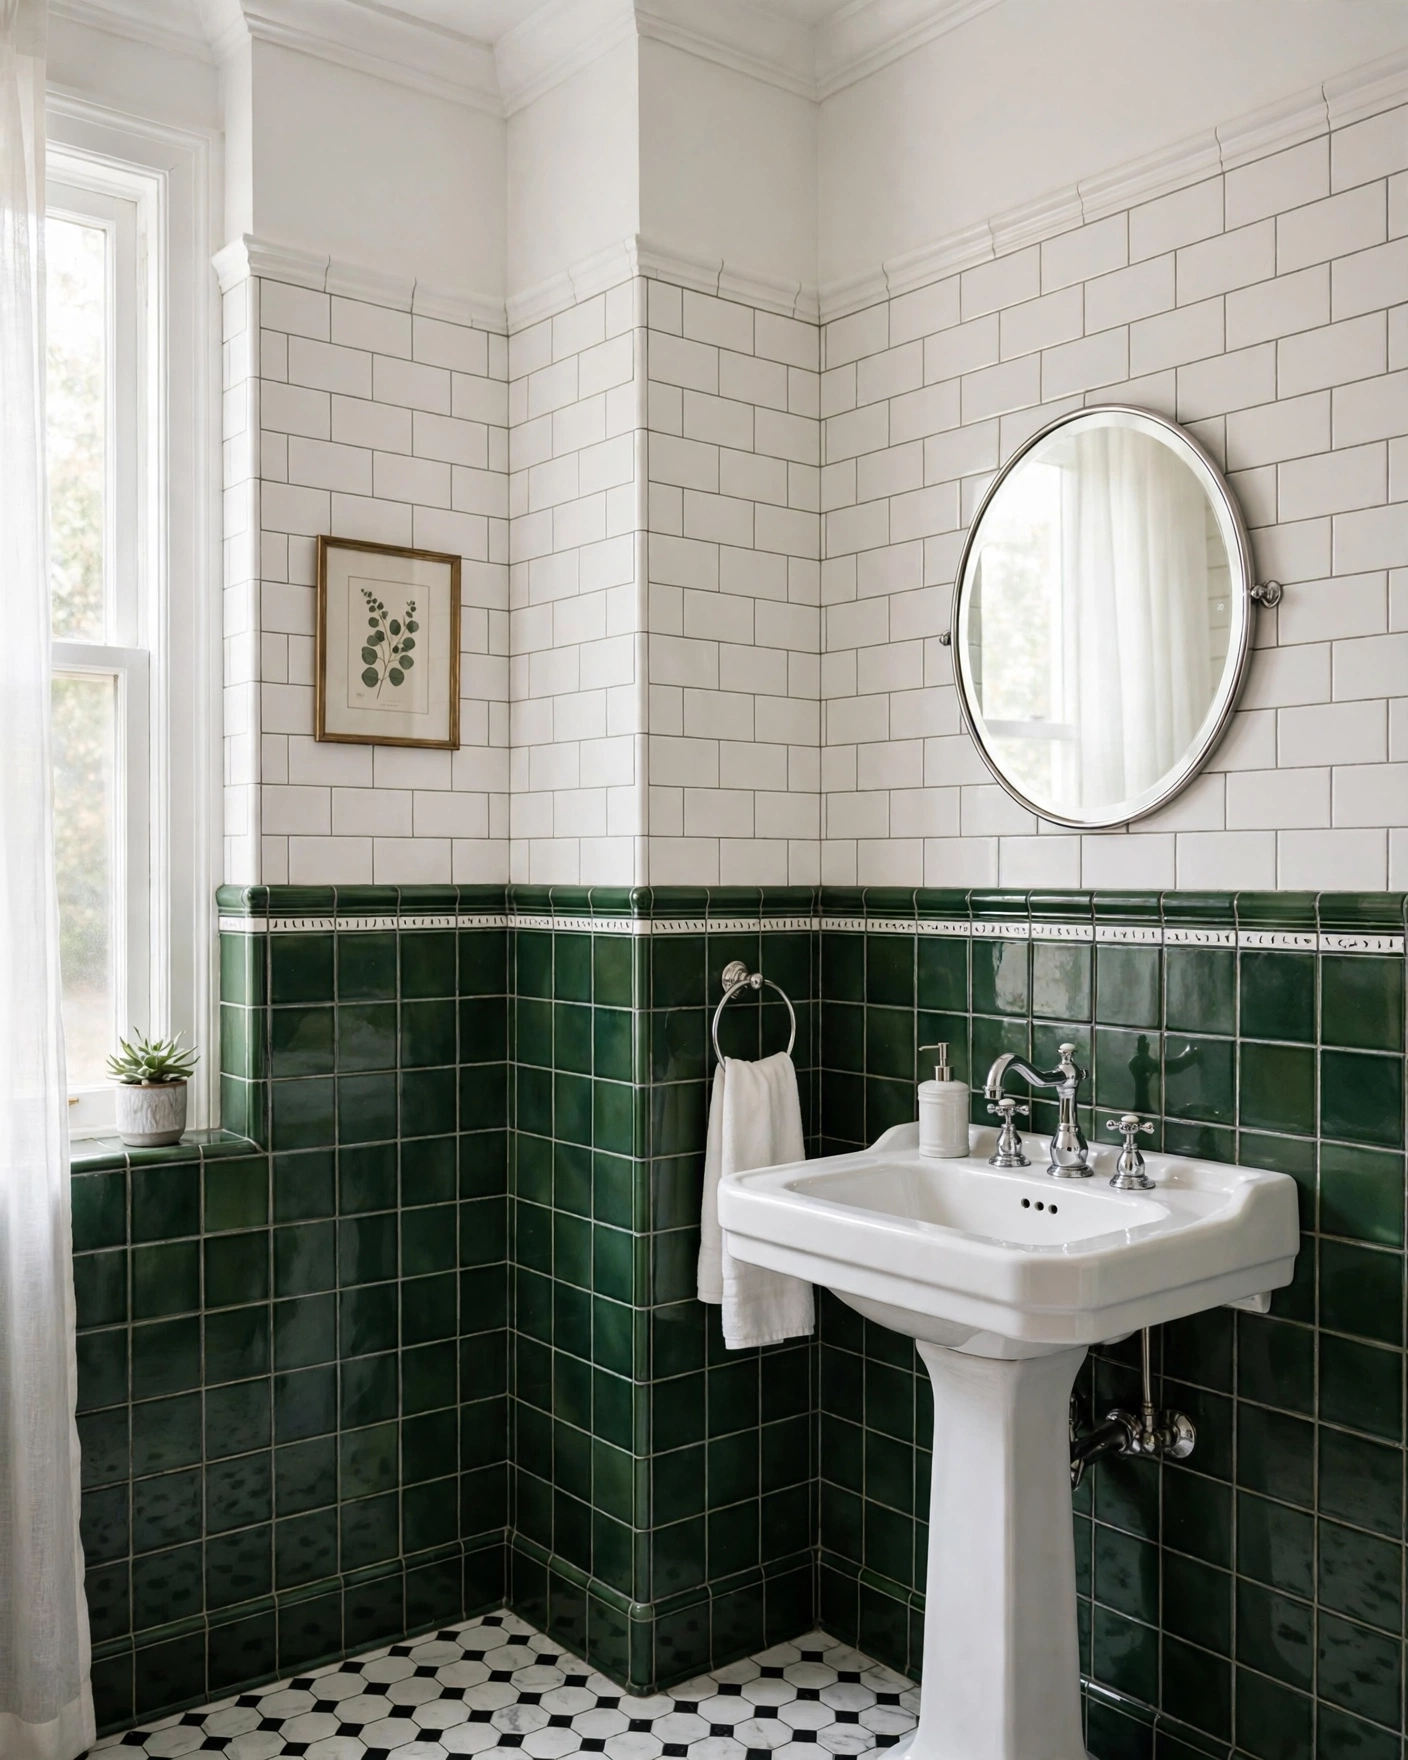
    Bathroom with sage green tiles below and white walls above the line

    Tile the splash zones in sage up to chair-rail height and paint above in warm white for color that never closes the room in. A slim trim tile or metal edge finishes the line neatly. Tip: this split uses about half the tile of full-height walls, so your budget stretches to a better-quality tile.

    11. Green Terrazzo-Look Tiles
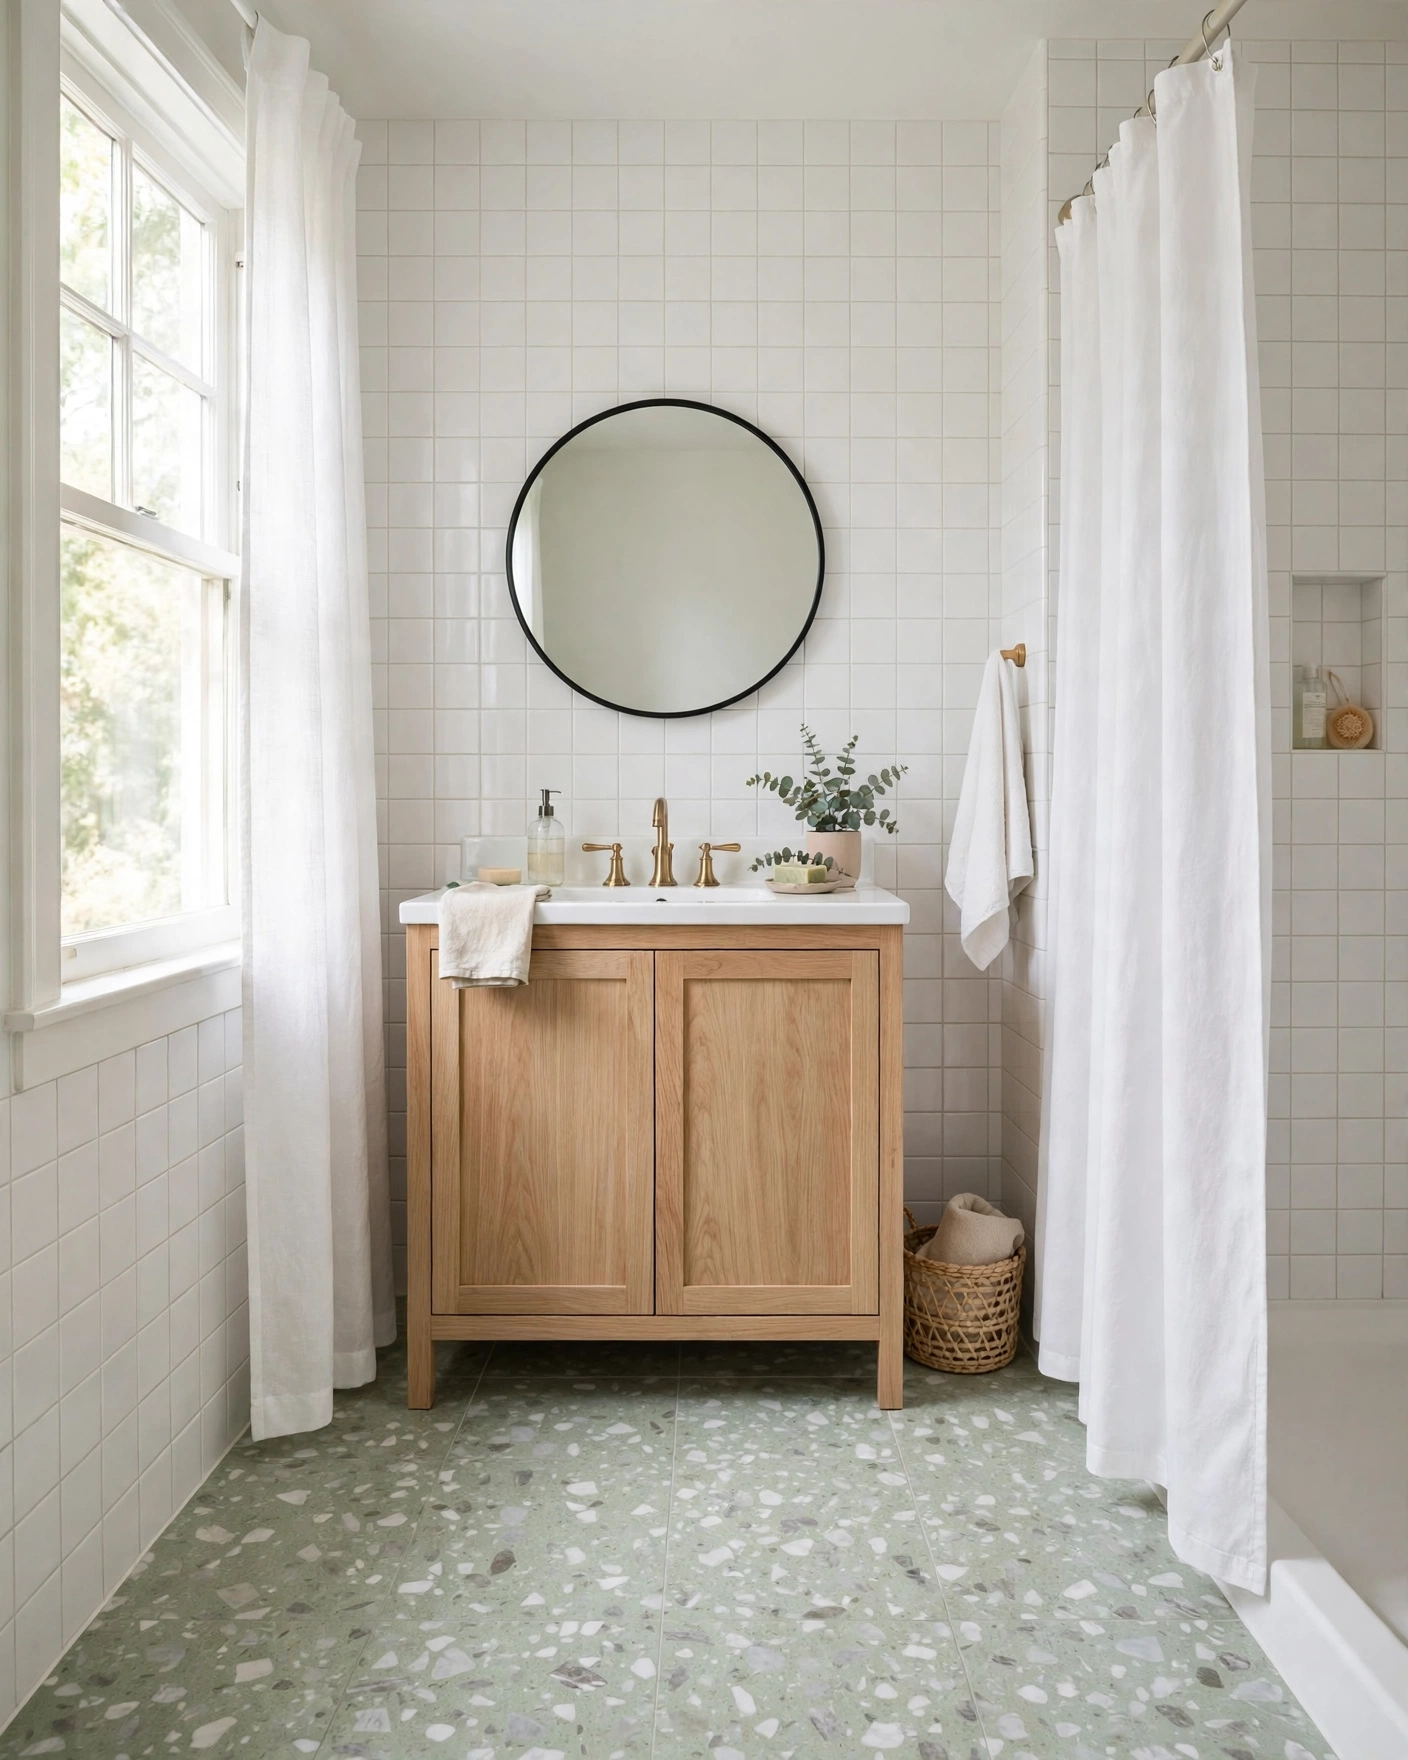
    Bathroom floor in pale green terrazzo-look tiles with marble chips

    Terrazzo-look tiles with a pale green base scatter color playfully while staying easy to live with. Keep walls plain and let the floor carry the pattern in a 24×24 format. Tip: the speckled surface is brilliant at hiding hair and dust, which makes it a low-stress floor for busy households.

    12. Seafoam Glass-Look Tiles
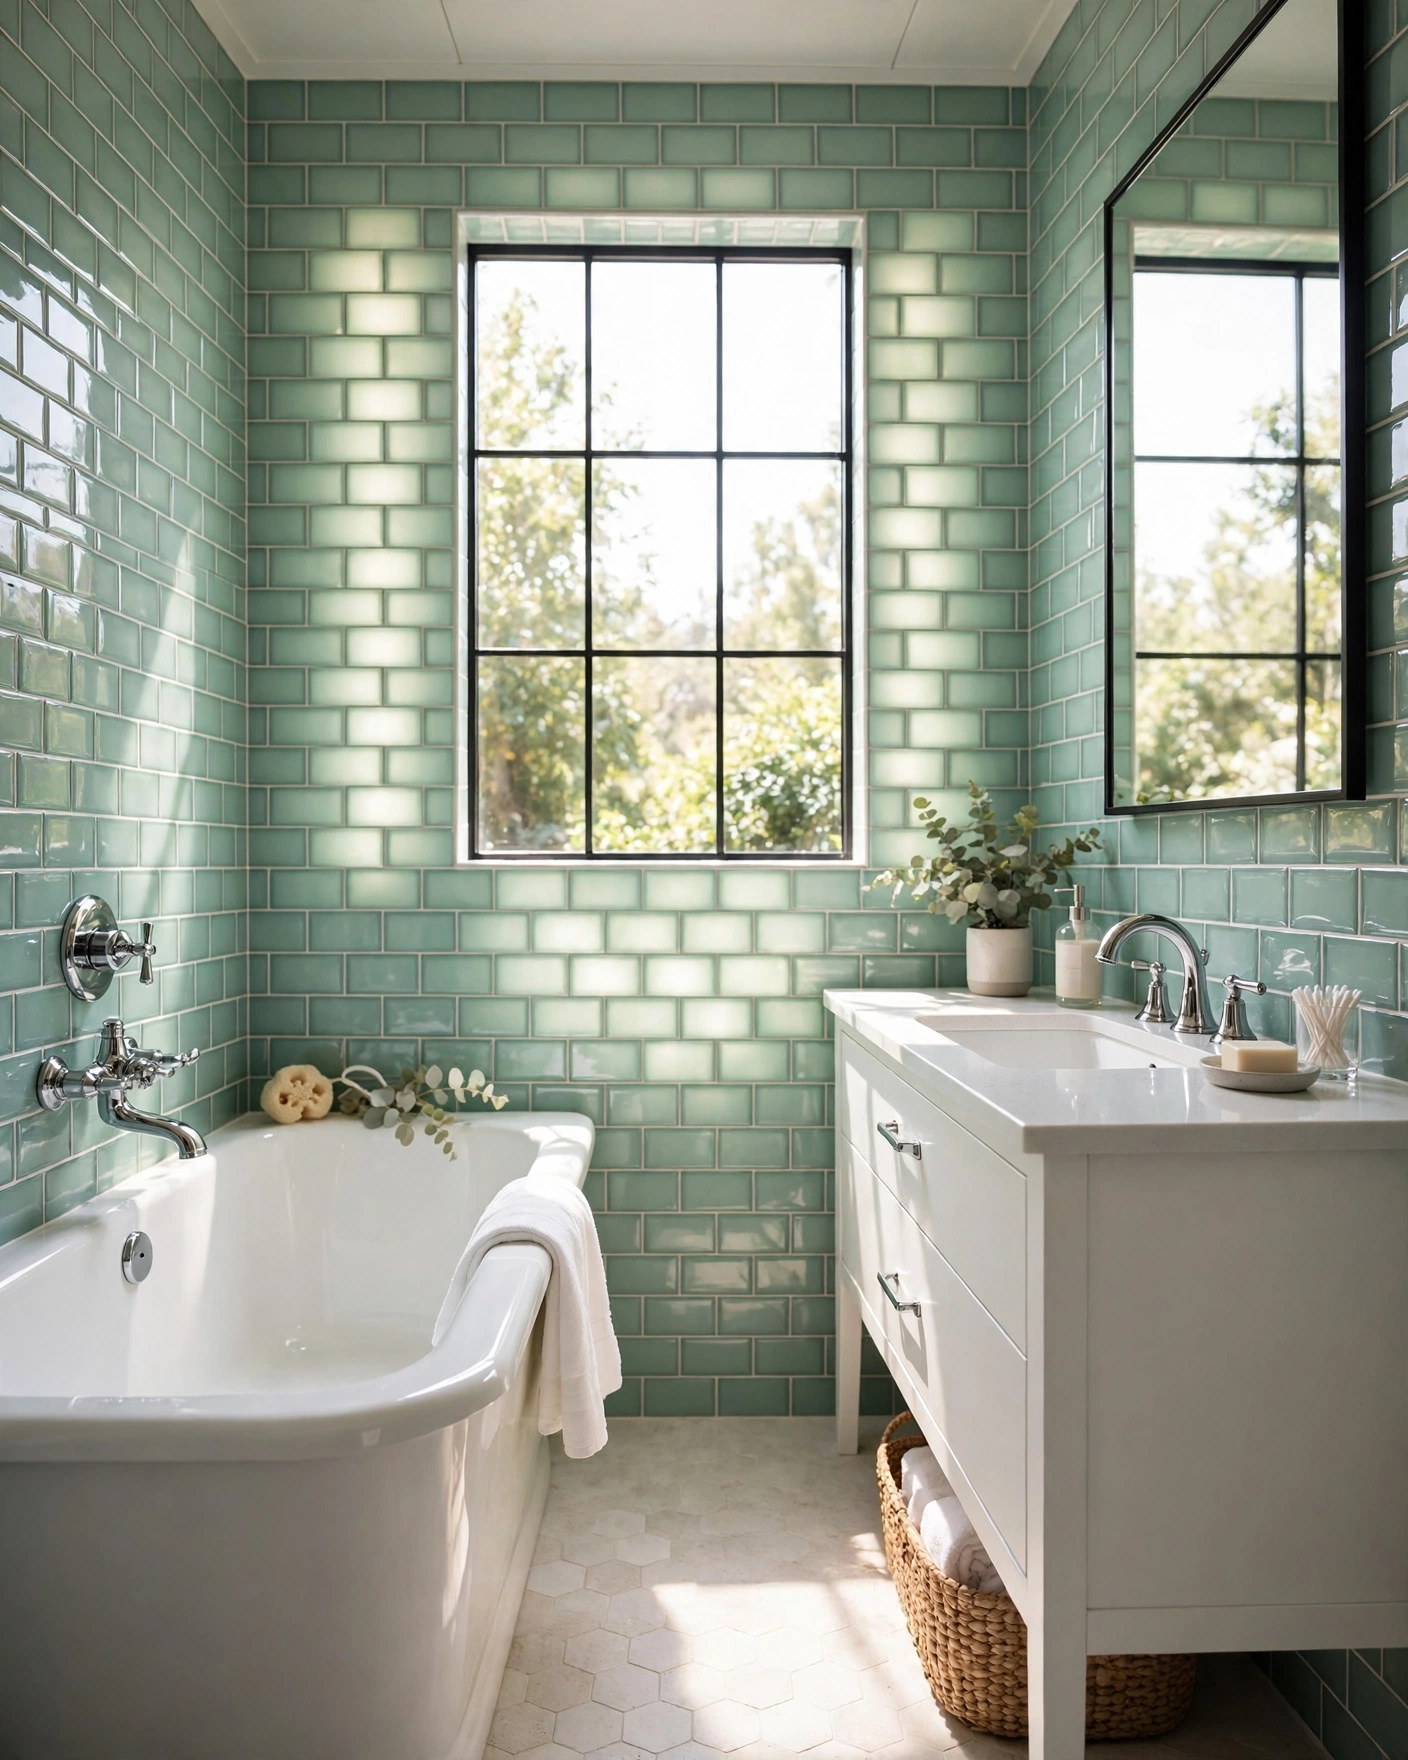
    Bathroom wall in translucent seafoam green glass-look tiles and white grout

    Seafoam glass-look tiles have a watery glow that makes small, dim bathrooms feel sunlit. Ceramic or porcelain versions are tougher and cheaper than real glass, with the same luminous color. Tip: glossy pale tiles reflect light best on the wall opposite the window — plan your layout around your light source.

    13. Deep Green Herringbone Floor Tiles
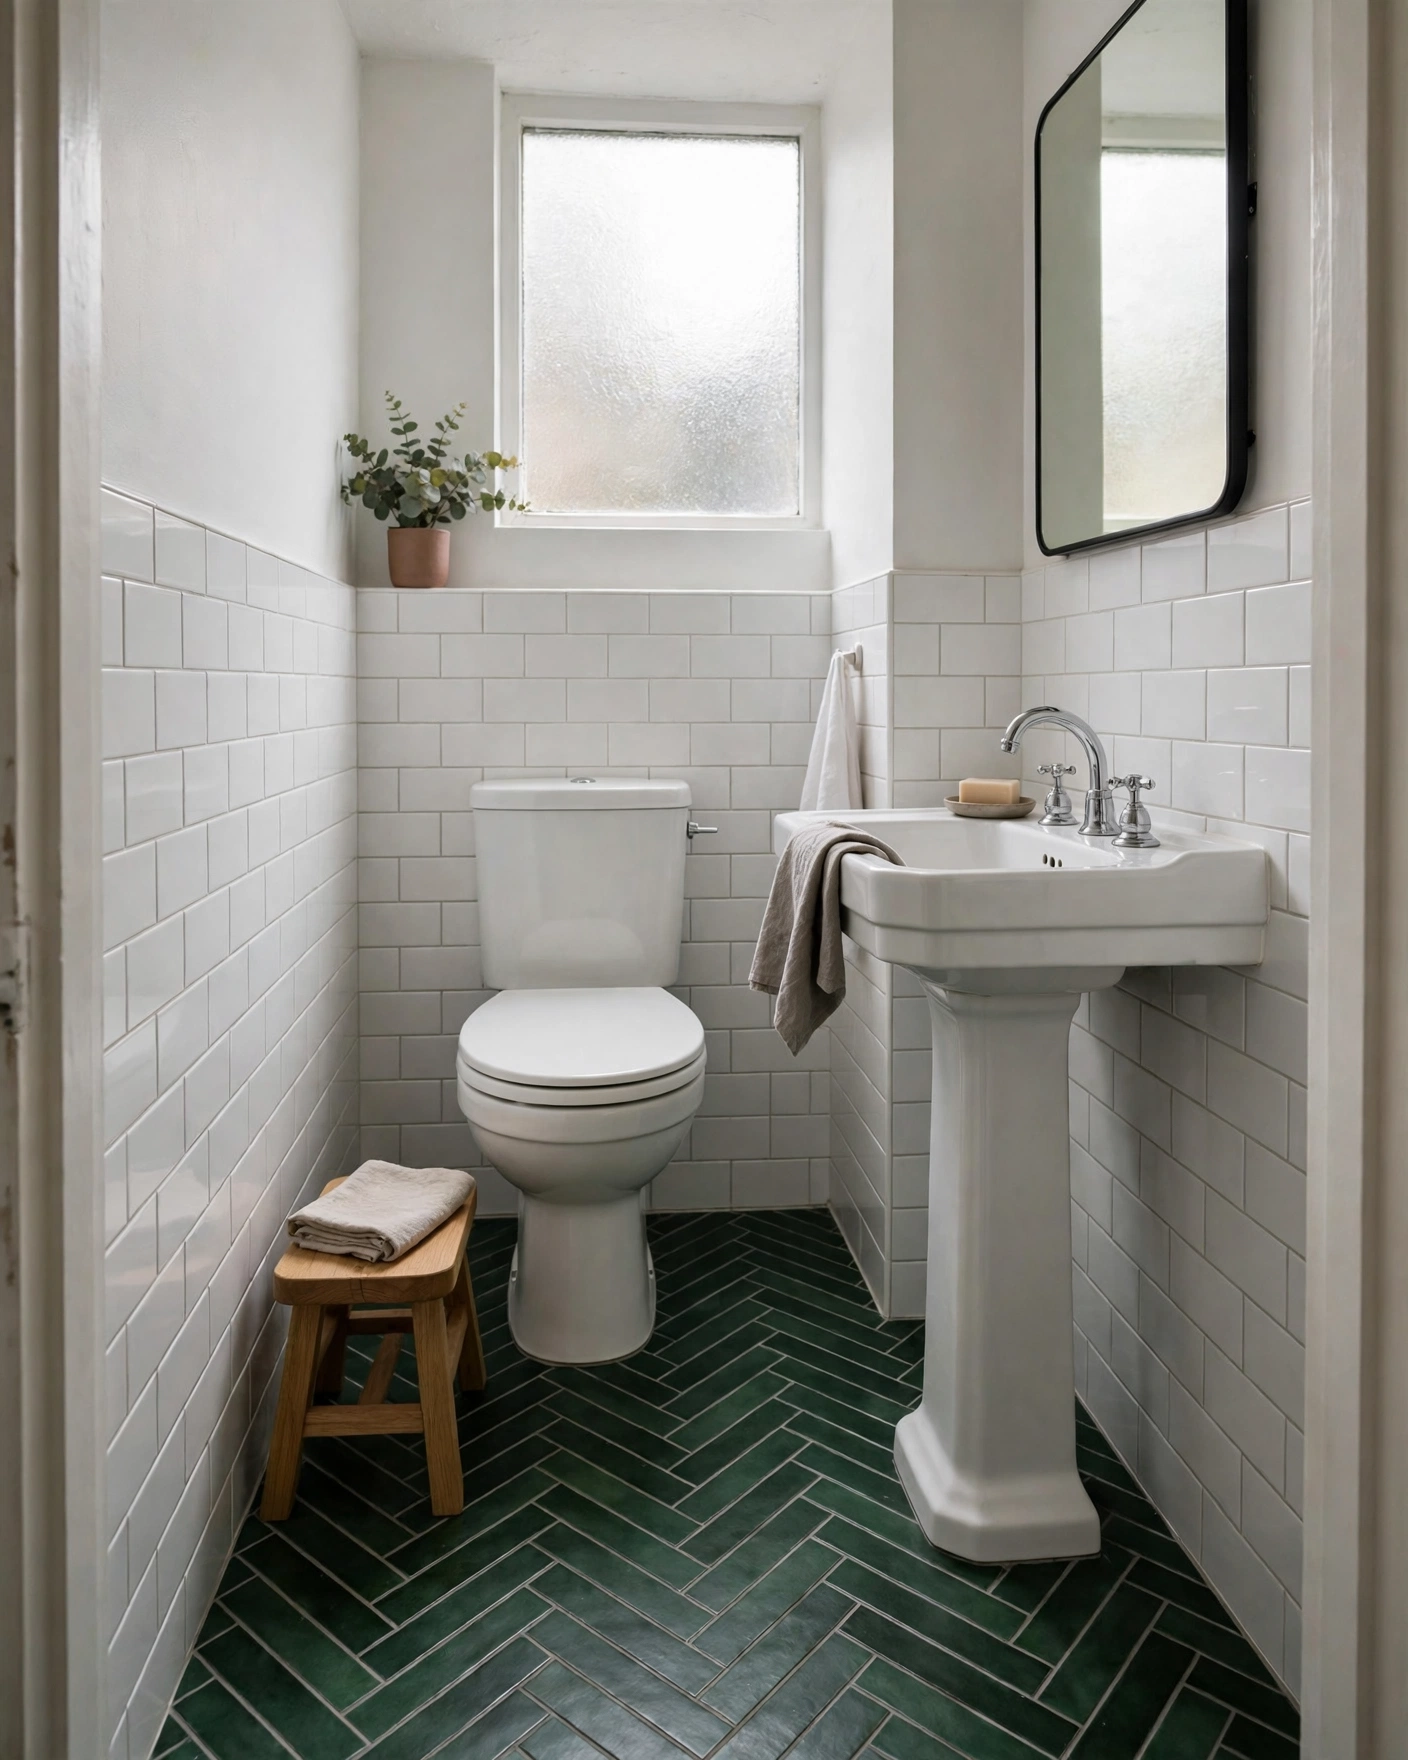
    Bathroom floor in deep green herringbone tiles with white walls

    A herringbone floor in deep green adds movement and formality, like a parquet floor translated into tile. Narrow 2×8 or 3×12 planks keep the zigzag crisp in small rooms. Tip: herringbone uses more cuts and labor than straight layouts — order 15 percent extra tile for waste and spares.

    14. Pistachio Square Tiles with White Grout
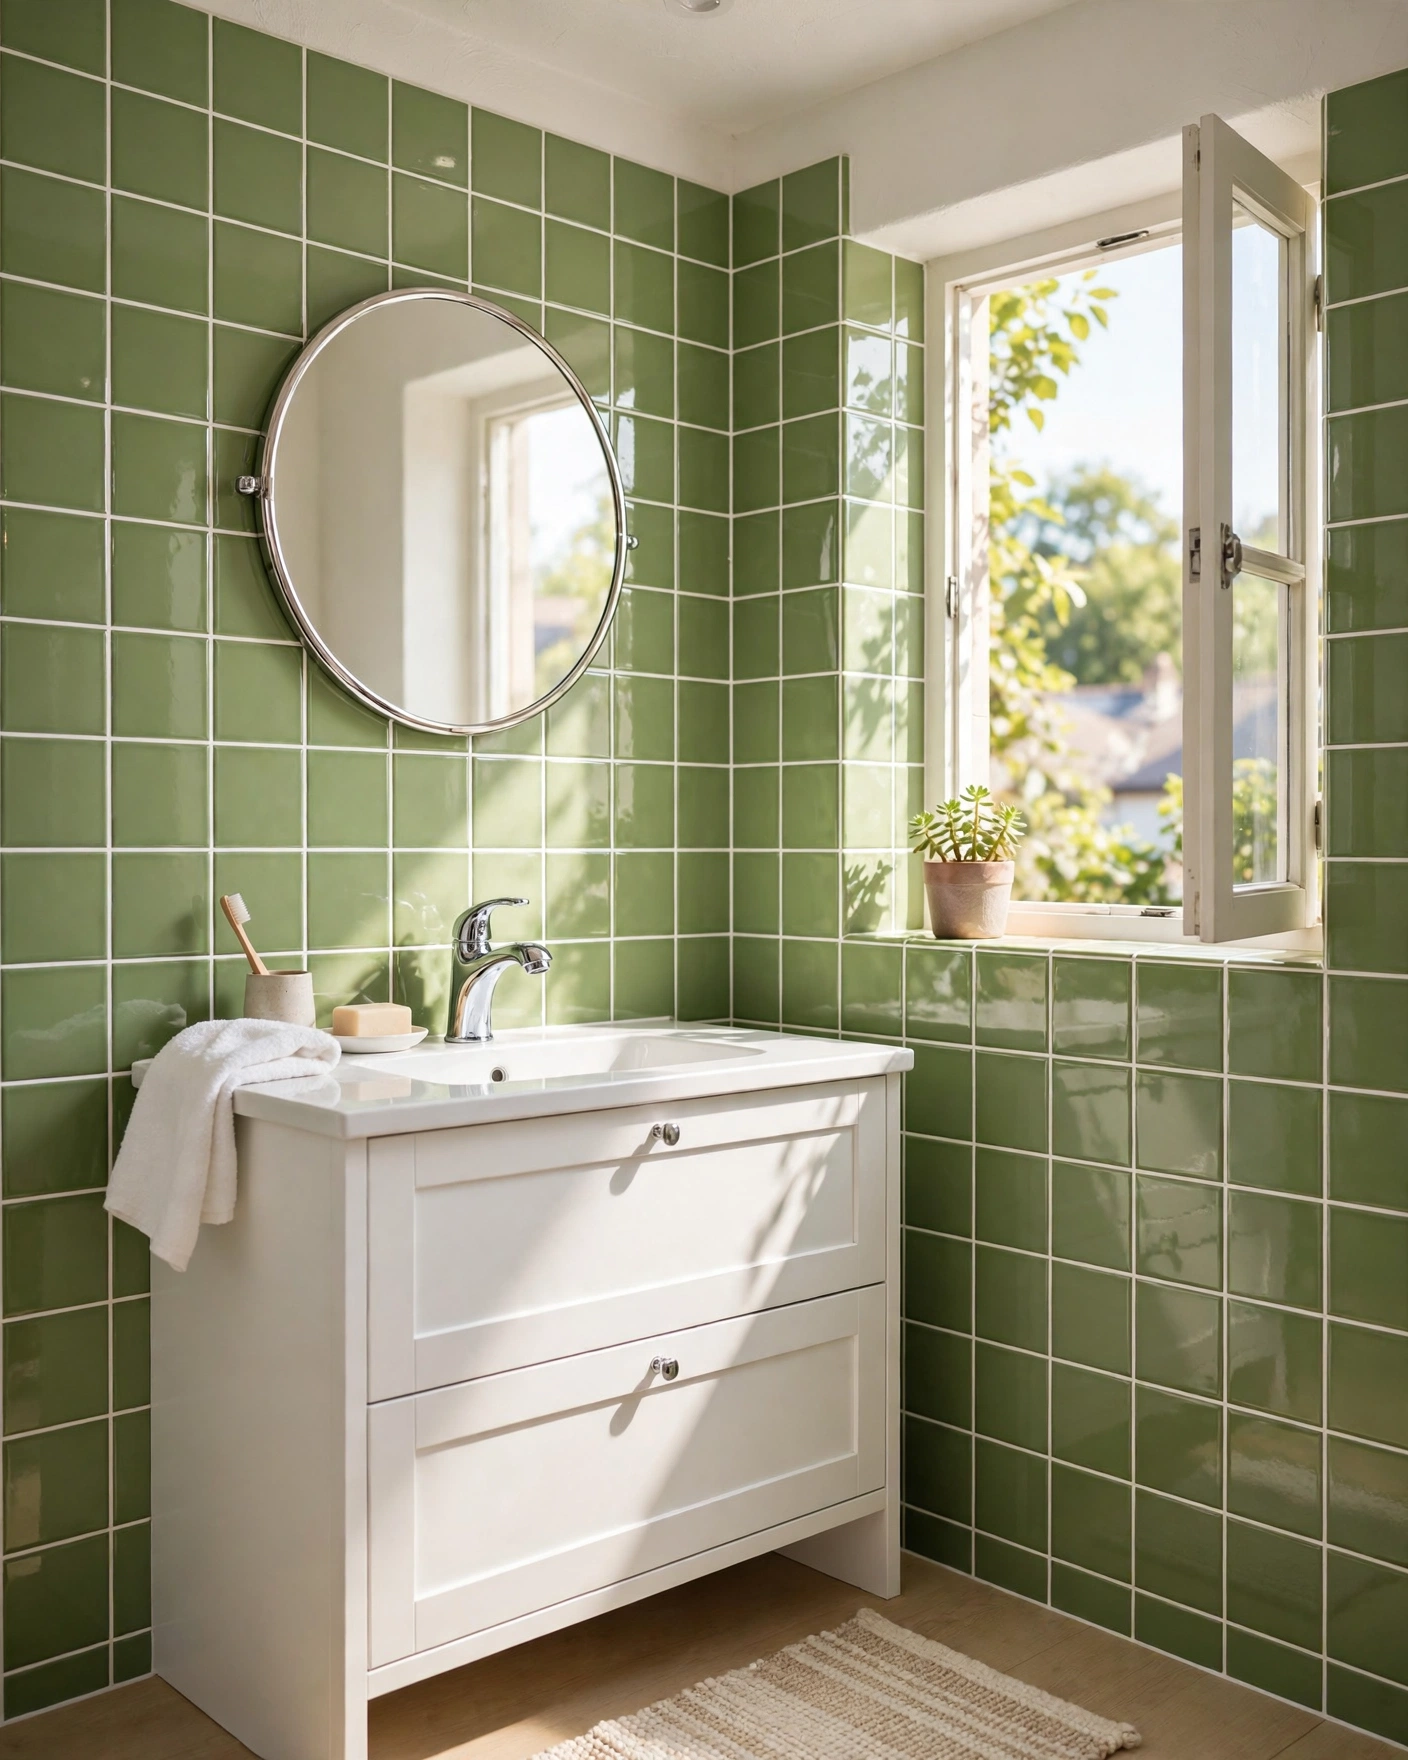
    Cheerful bathroom with pistachio green square tiles and bright white grout

    Pistachio is the playful end of sage — a yellow-tinged green that feels sunny even on gray days. Simple 4×4 or 5×5 squares with white grout keep it crisp and retro-modern. Tip: yellow-greens can clash with cool white LEDs; choose warm-white bulbs so the color stays soft, not sharp.

    15. Emerald Accent Wall Behind the Vanity
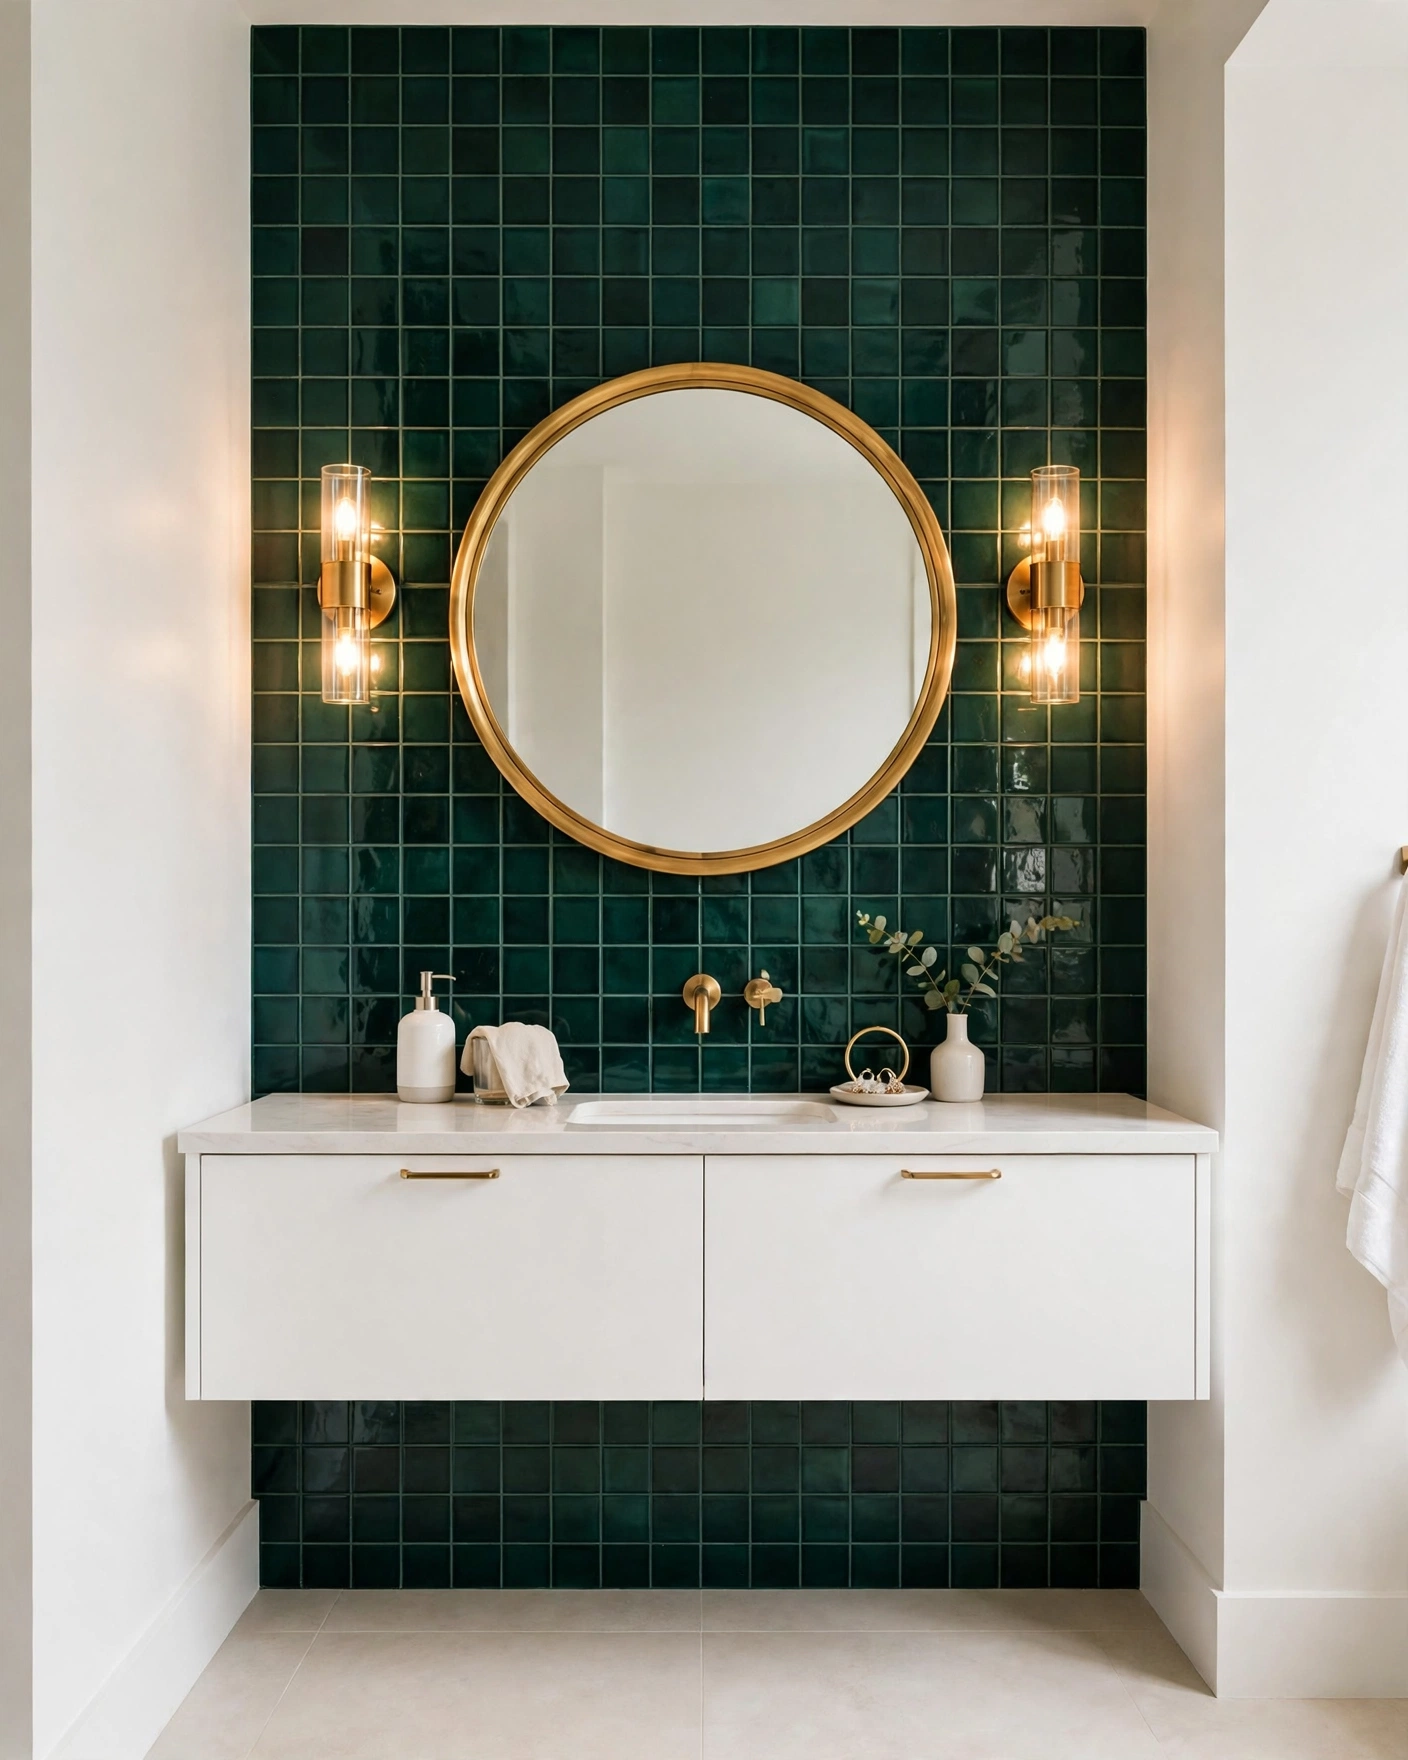
    Bathroom vanity backed by a deep emerald green tiled accent wall

    One emerald wall behind the vanity gives you the drama of dark green at a quarter of the tiling cost. Frame it with white side walls and a big mirror to bounce light back into the color. Tip: paint the ceiling warm white, not bright white, so the contrast with deep green feels soft rather than stark.

    16. Sage Green Checkerboard Floor Tiles
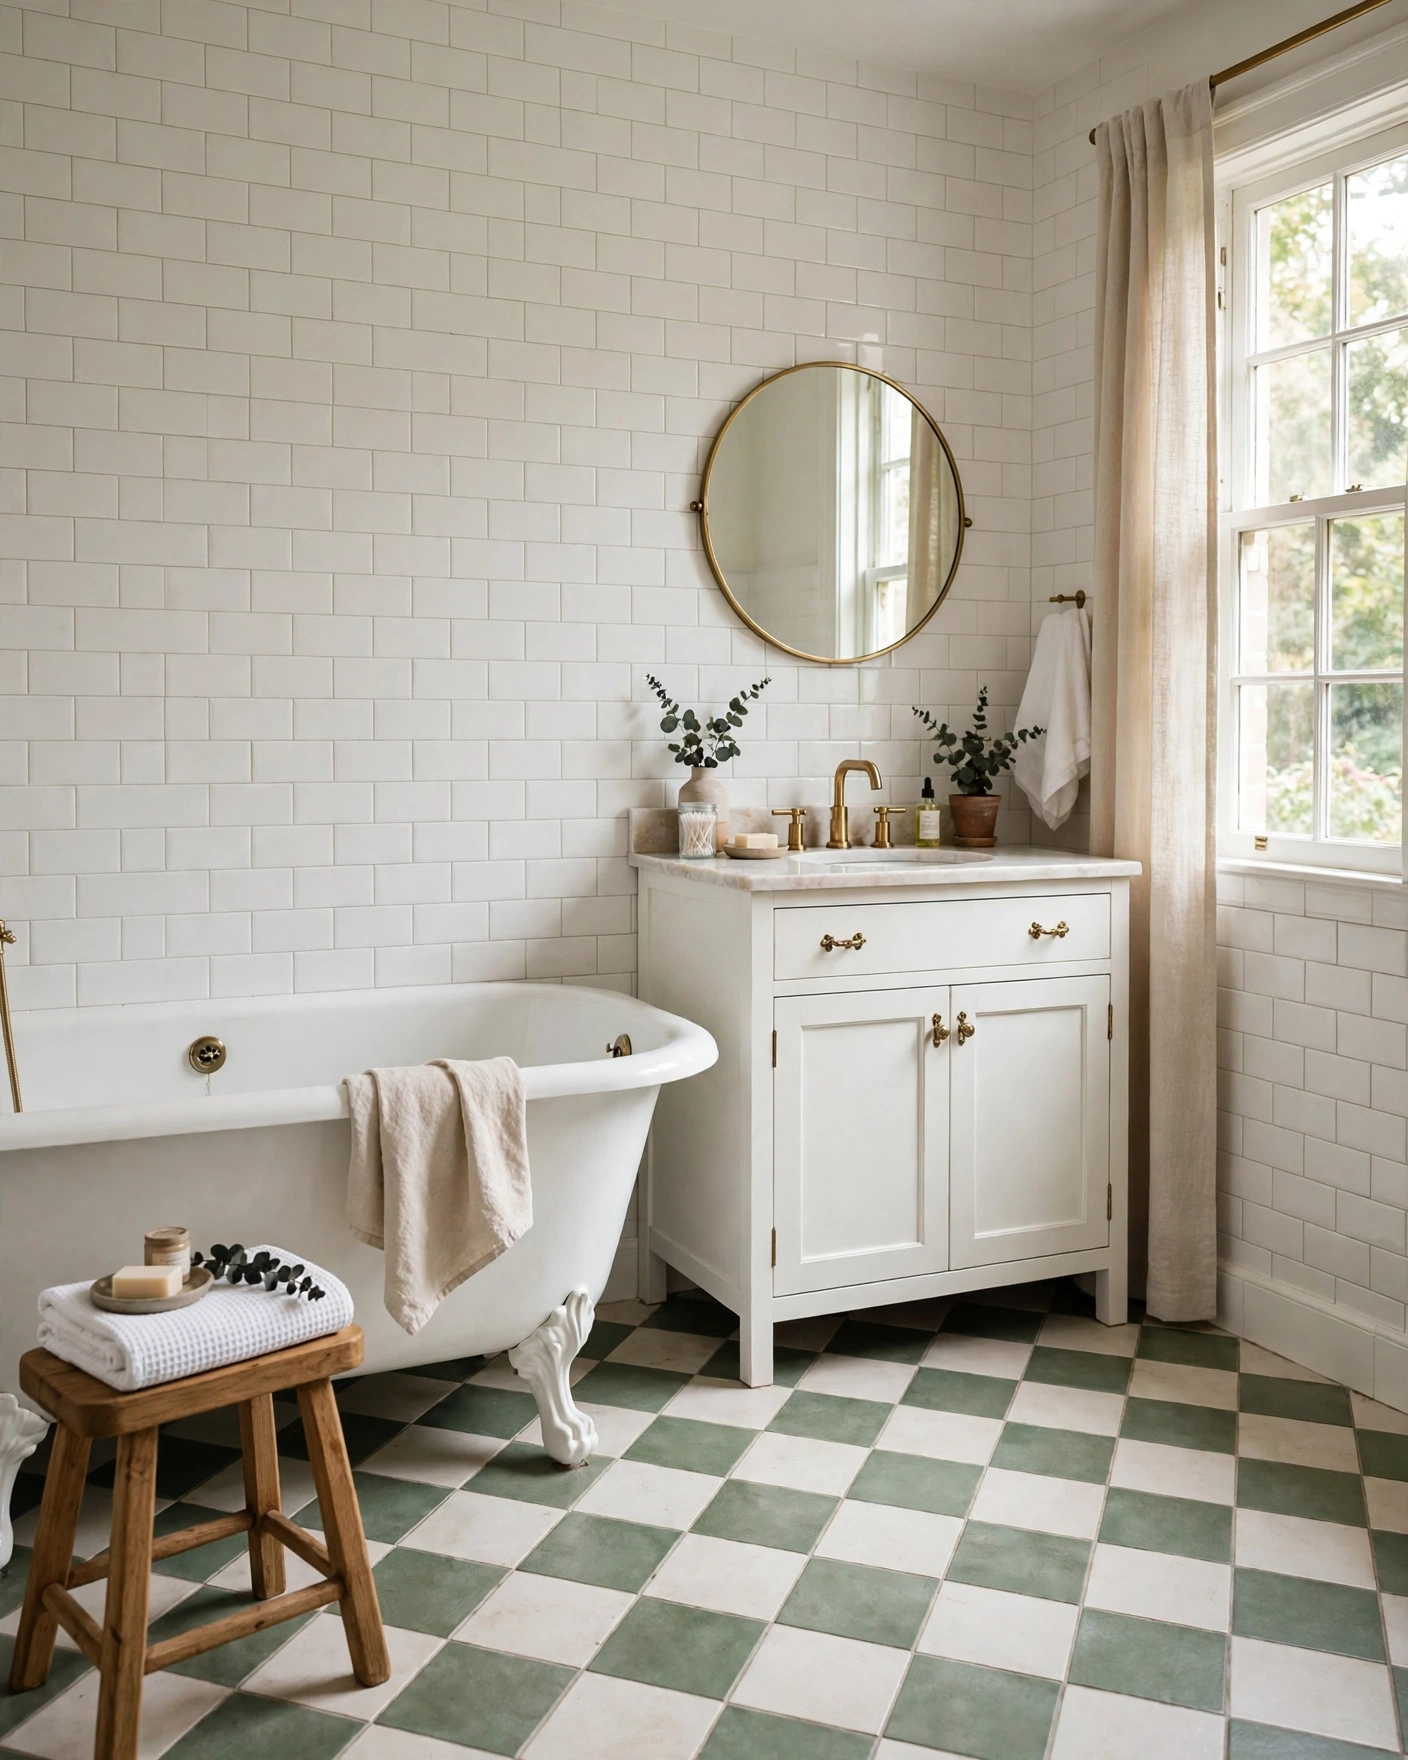
    Bathroom floor in sage green and white checkerboard tiles laid straight

    Swapping black for sage in a checkerboard floor softens the classic pattern into something calm and cottagey. Matte 8×8 or 12×12 porcelain squares keep it practical and slip-resistant. Tip: in small rooms lay the checks straight rather than diagonal — the simpler grid makes the floor feel wider and calmer.

    17. Bottle-Green Glazed Brick Tiles
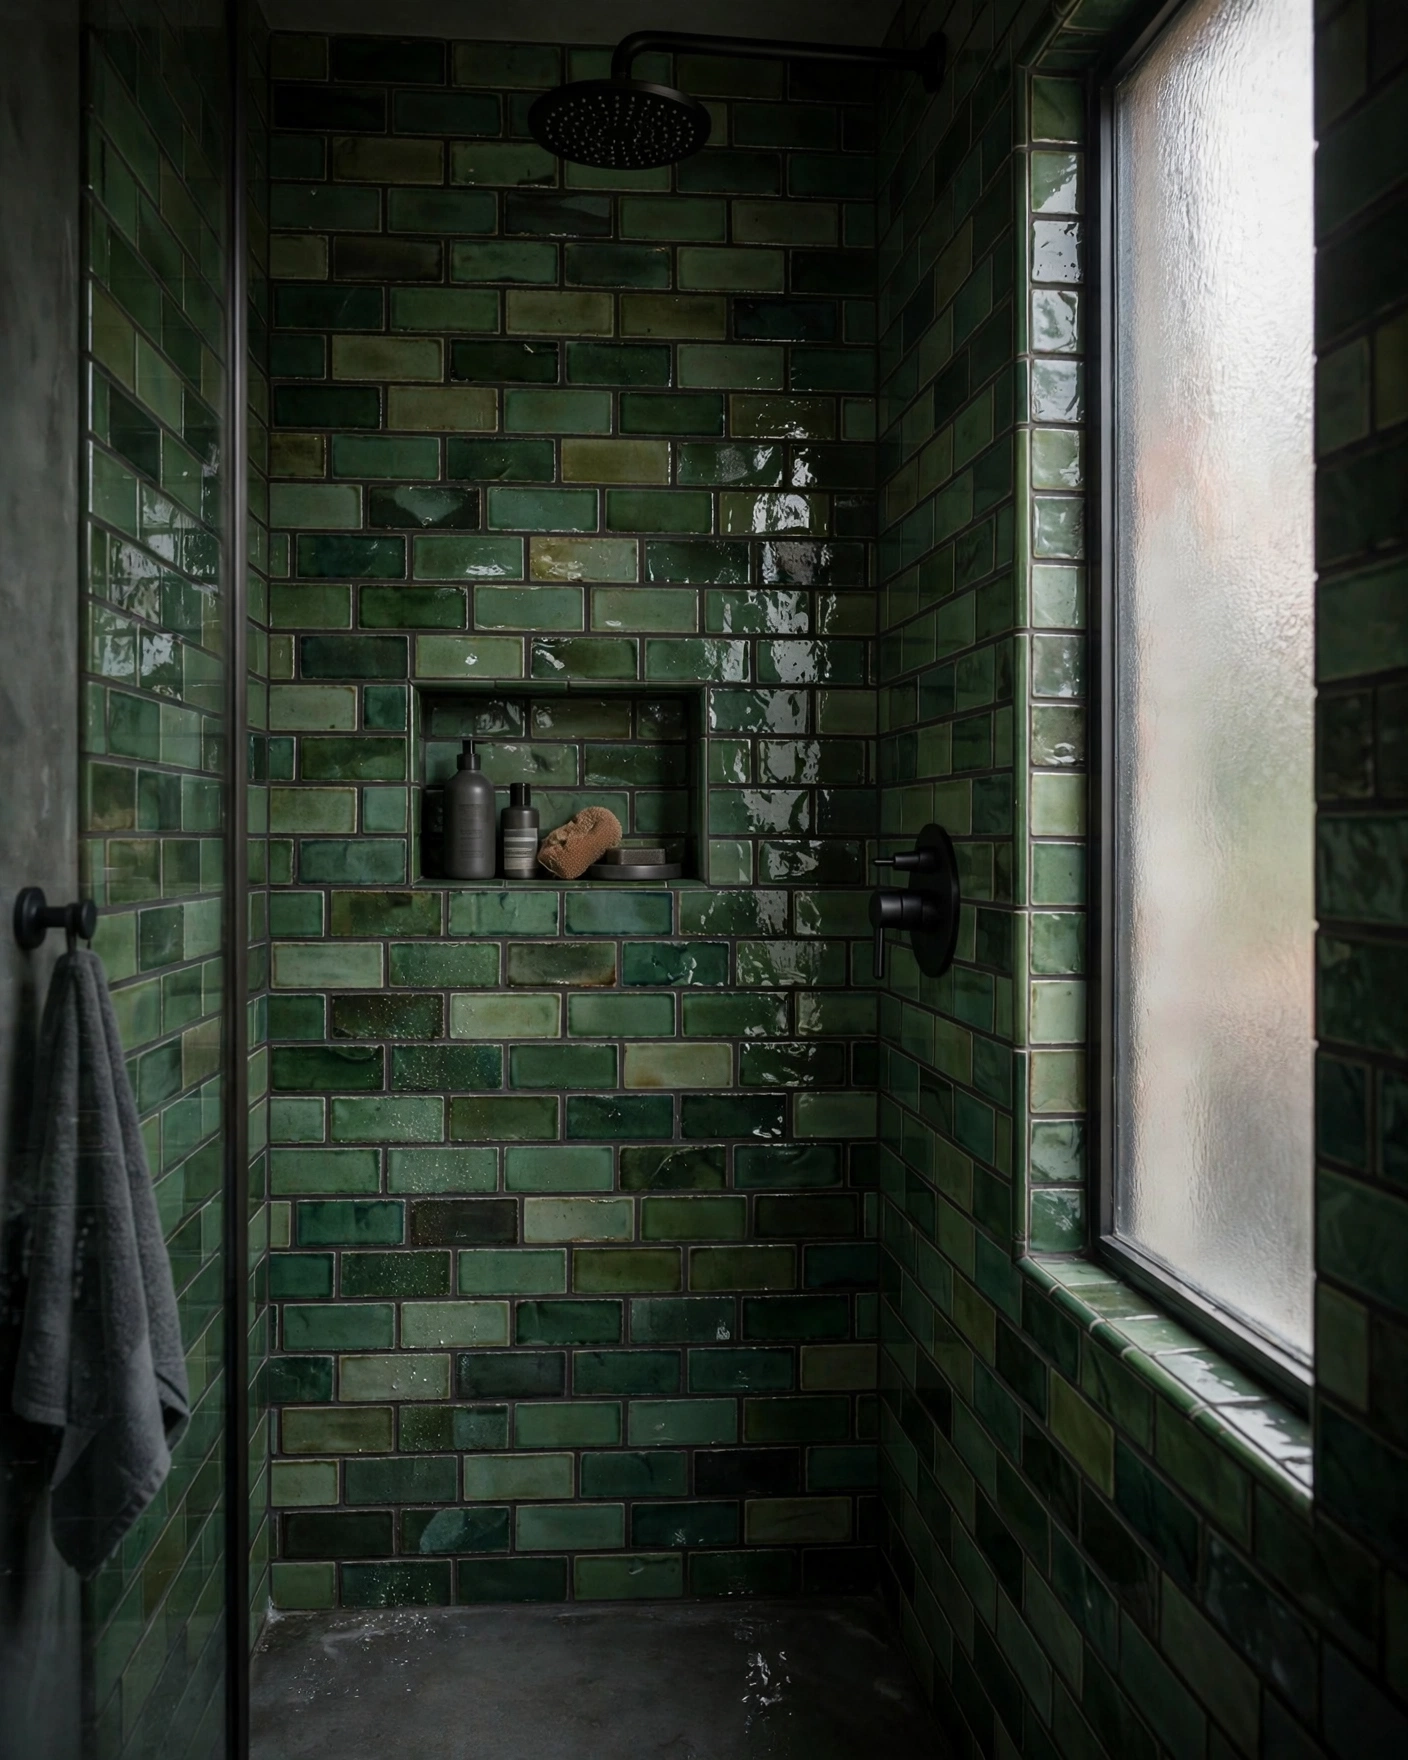
    Shower walls in deep bottle green glazed brick tiles with varied shine

    Glazed brick tiles in bottle green have inky depth and a handcrafted shine that changes with the light all day. Dark grout keeps the grid subtle and the mood cocooning. Tip: deep glossy tiles are the highest-maintenance look here — a water softener or a post-shower squeegee habit makes all the difference.


    In Summary

    Green rewards a bit of bravery. Start pale if your room is small or north-facing, go deep if you have light to spare, and remember that tile is the most permanent layer in the room — everything else, from towels to paint, can shift around it.

    Order samples across the range, not just your favorite: sage, olive and emerald look like cousins on a screen but behave very differently on your wall. Live with them through a full day of changing light before you commit.

    Whichever shade wins, you’ll end up with a bathroom that feels calmer, fresher and more personal than plain white ever could — and that’s a room worth walking into every morning.
  • 18 Modern Bathroom Tile Ideas That Feel Clean and Fresh

    18 Modern Bathroom Tile Ideas That Feel Clean and Fresh

    Some bathrooms never quite feel clean, even right after you’ve scrubbed them. Busy grout lines, dated colors and small, fussy tiles can make a room look tired no matter how tidy it is.

    Modern tile fixes that feeling at the source. Bigger formats, calmer colors, matching grout and simple layouts cut the visual noise, so the whole room reads bright, open and easy to care for.

    Below are 18 modern bathroom tile ideas that feel clean and fresh, from large-format porcelain to soft terrazzo and ribbed feature walls. Each one names the exact materials and sizes to look for, plus a practical tip on budget, upkeep or layout.

    Whether you’re planning a full renovation or a weekend refresh, pick the look that matches your light and your floor plan, and let the tile do the heavy lifting.


    1. Large-Format Porcelain Tiles in Soft Gray

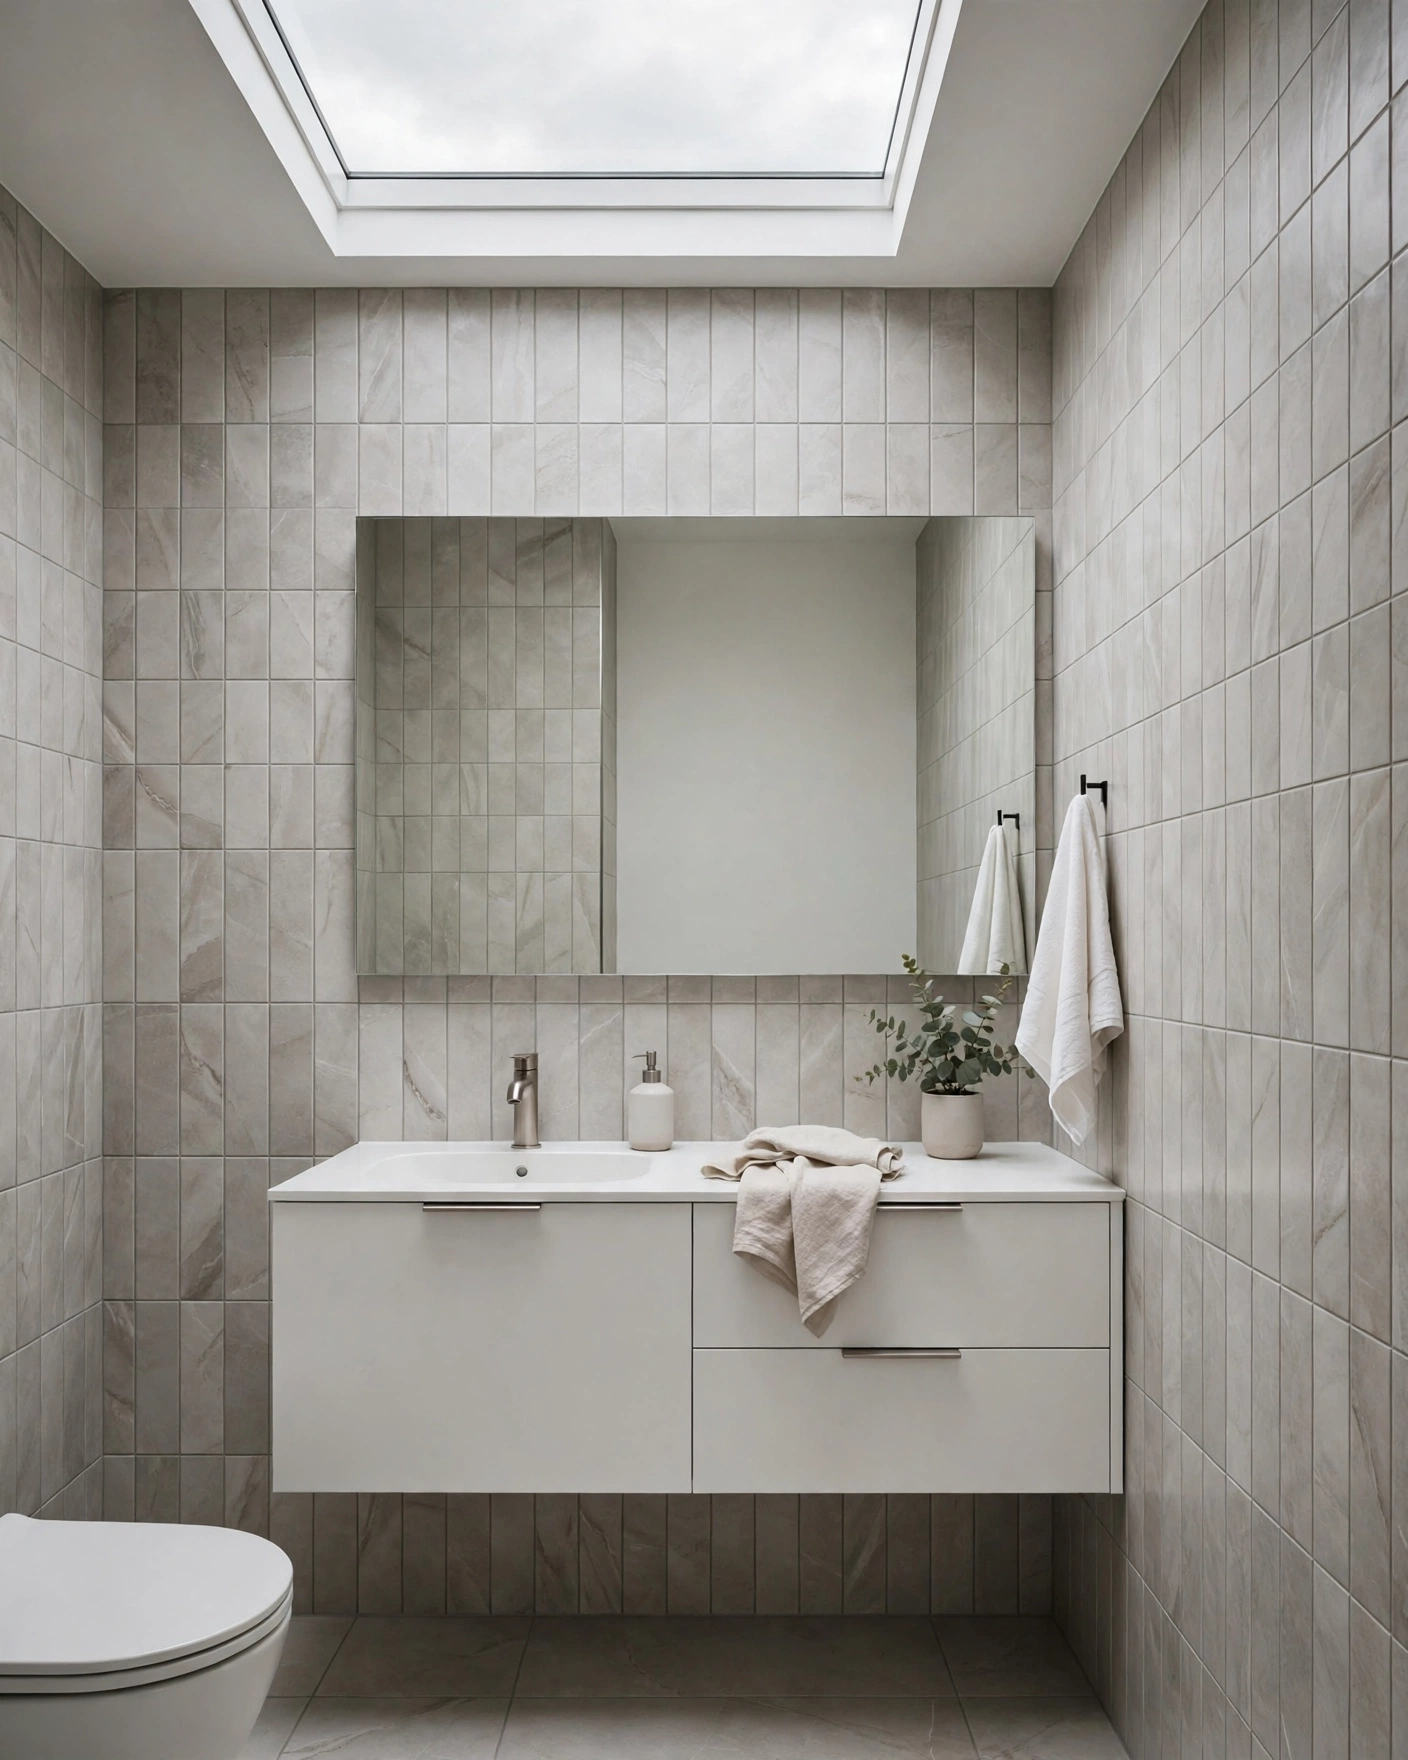
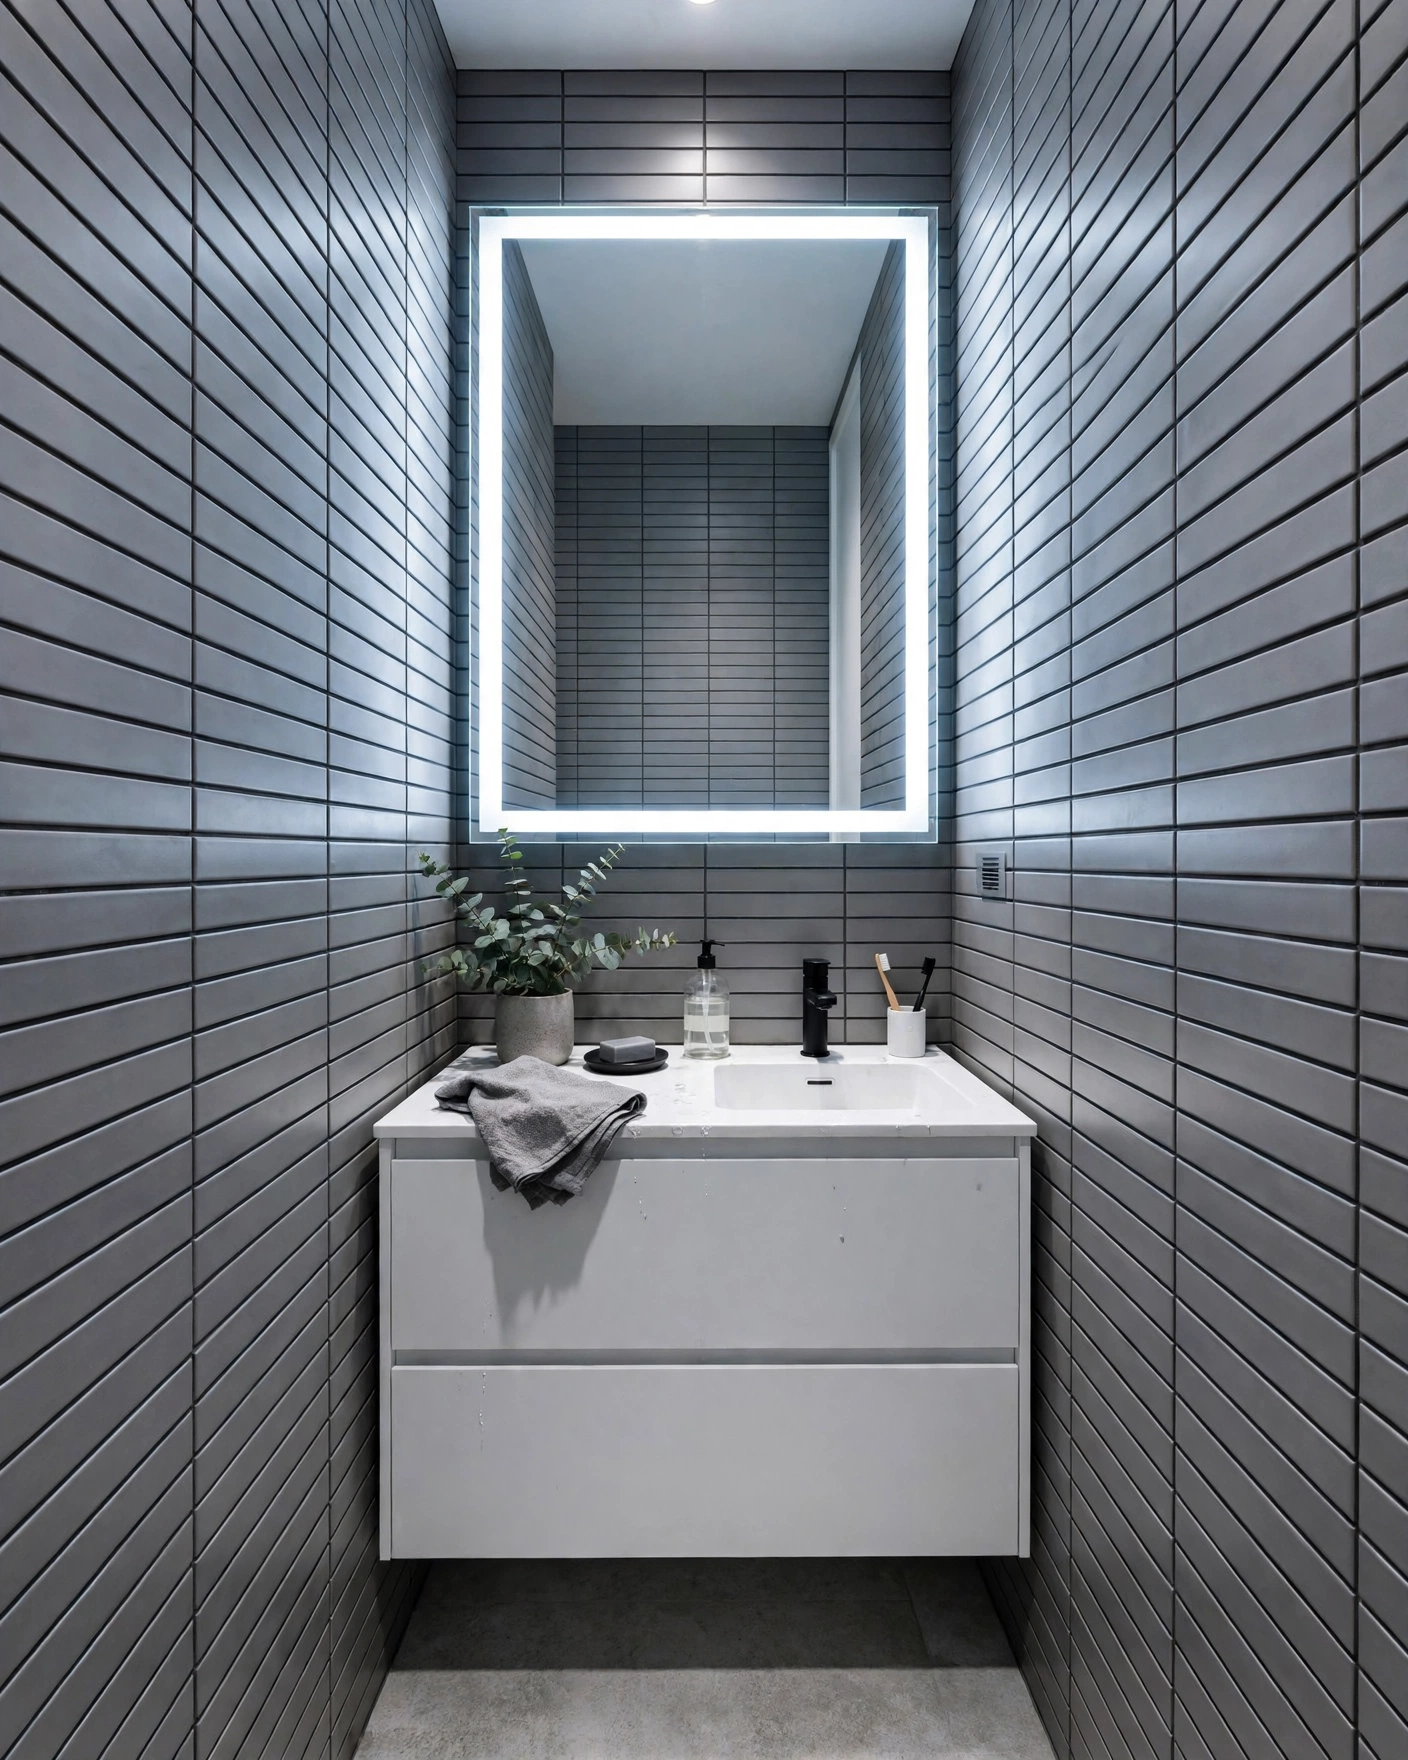
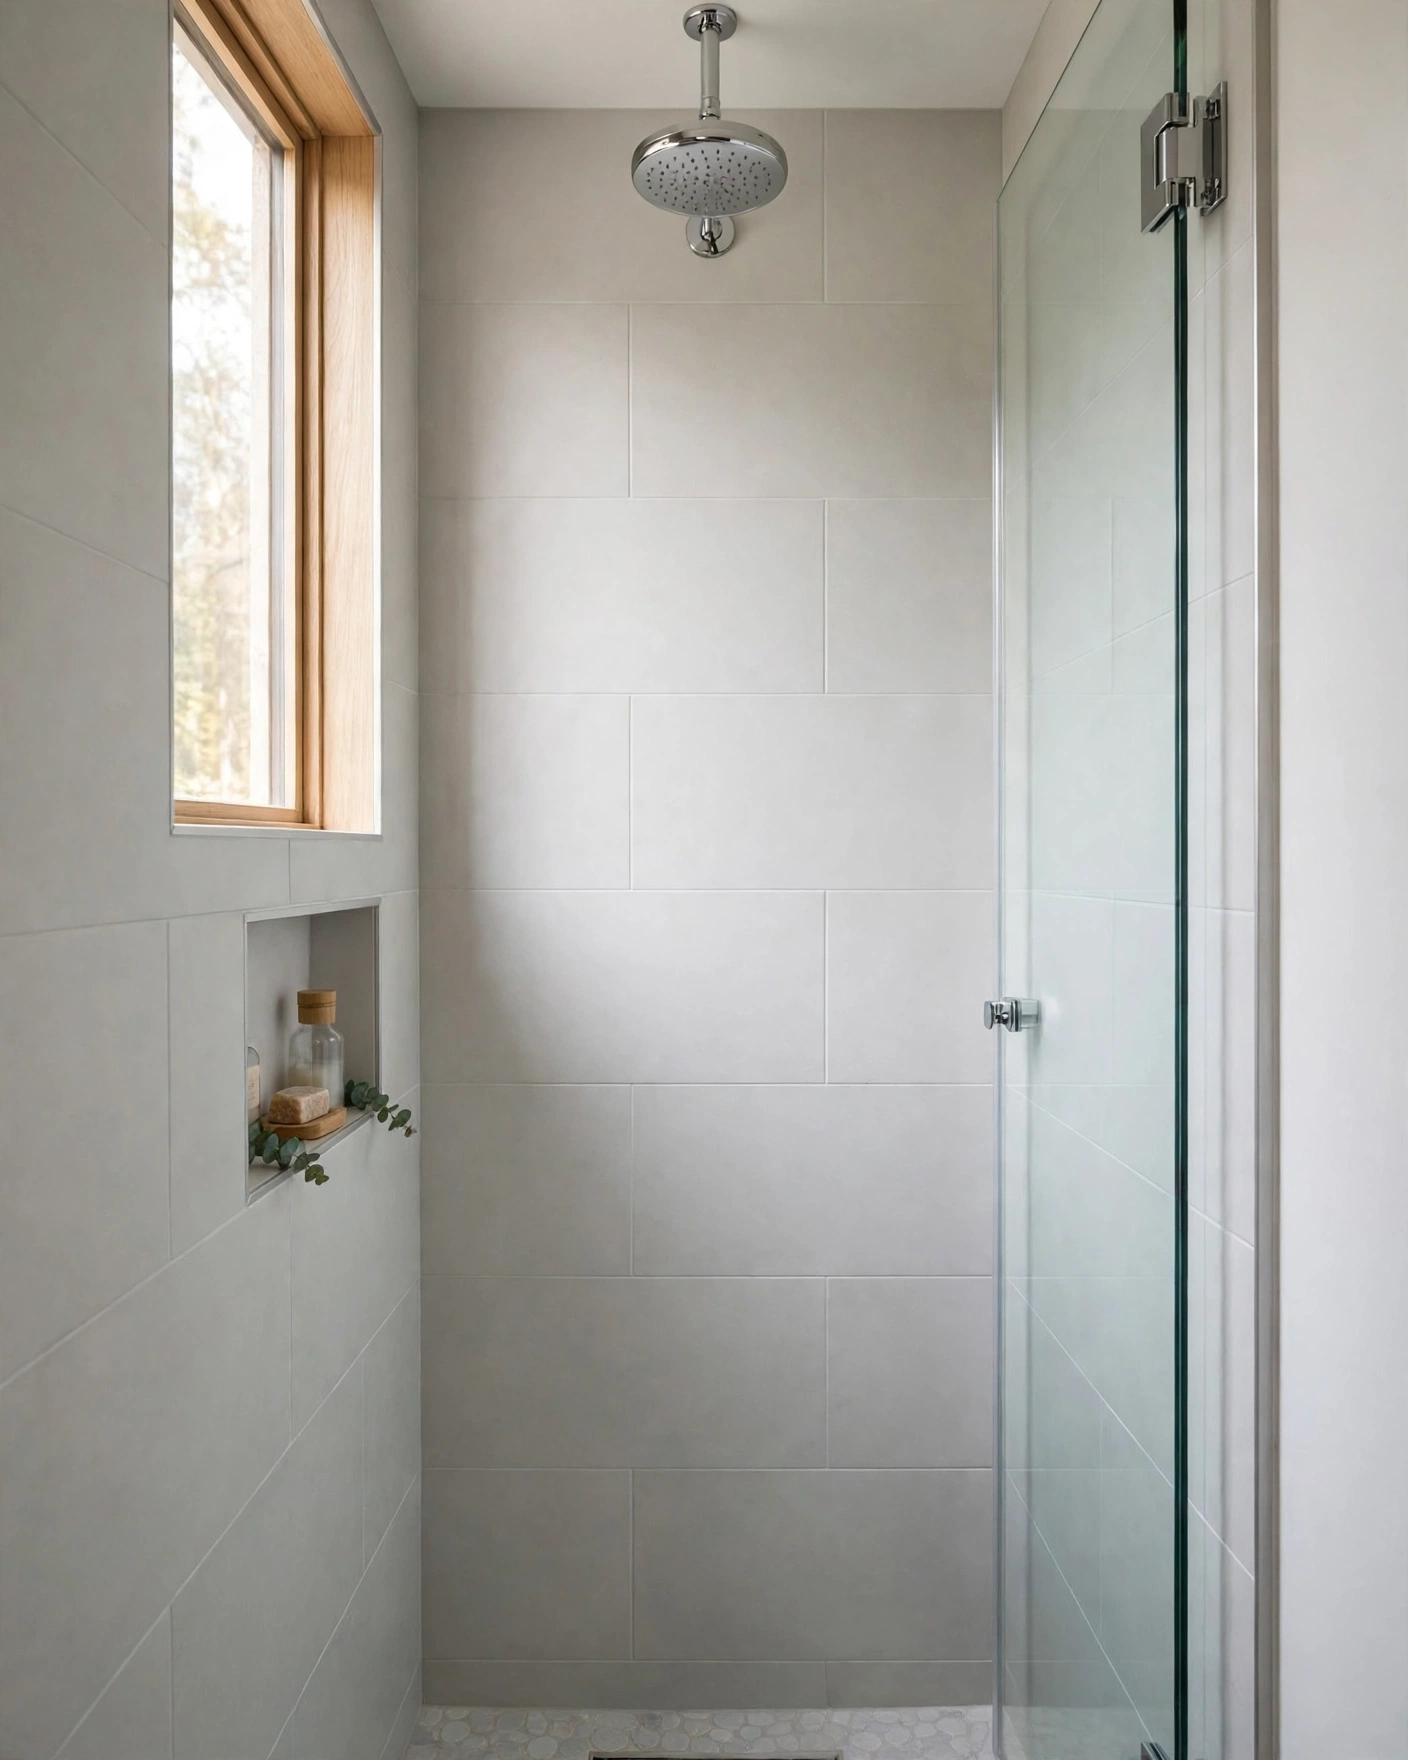
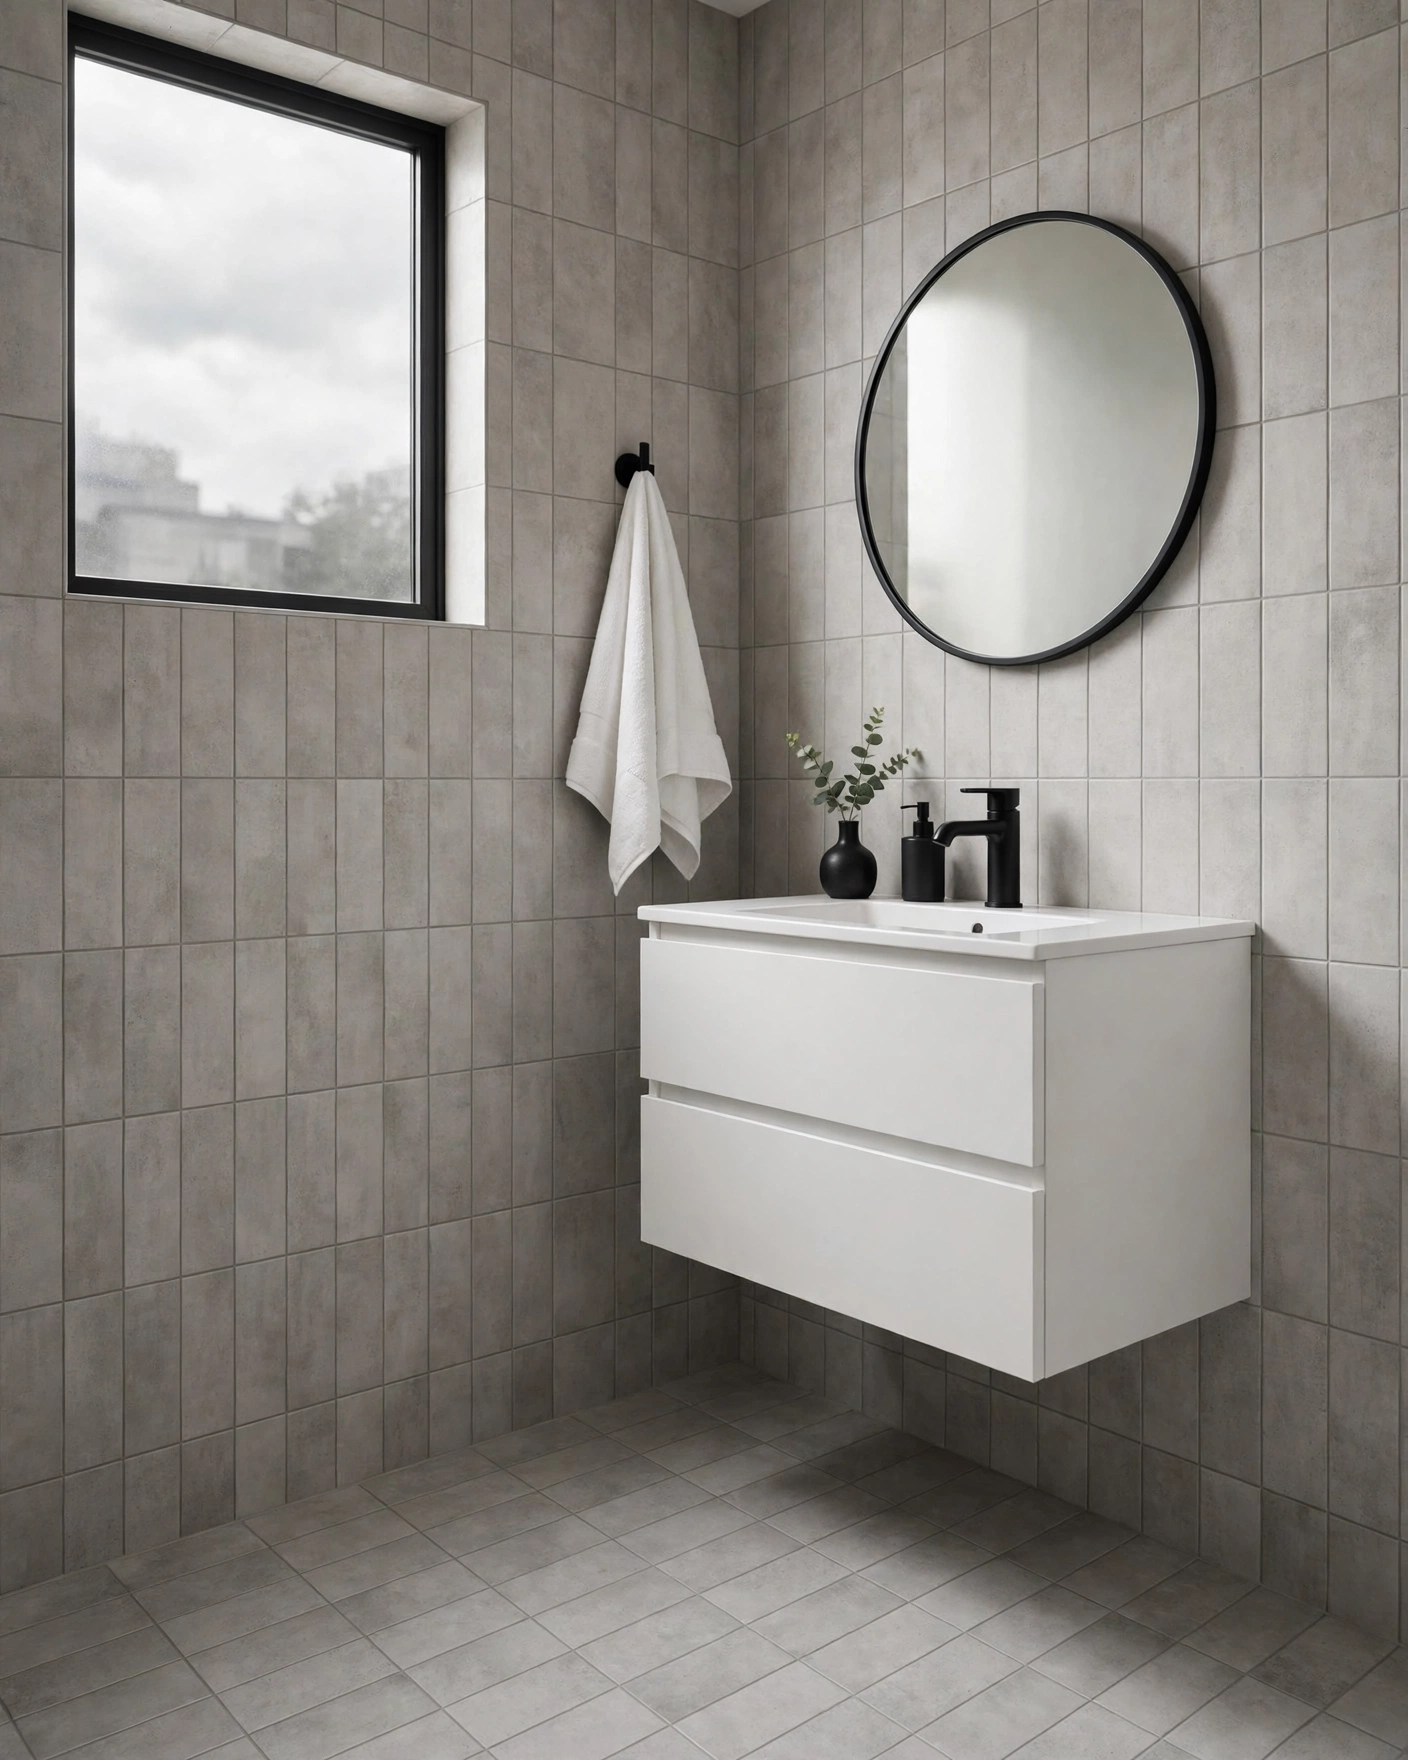
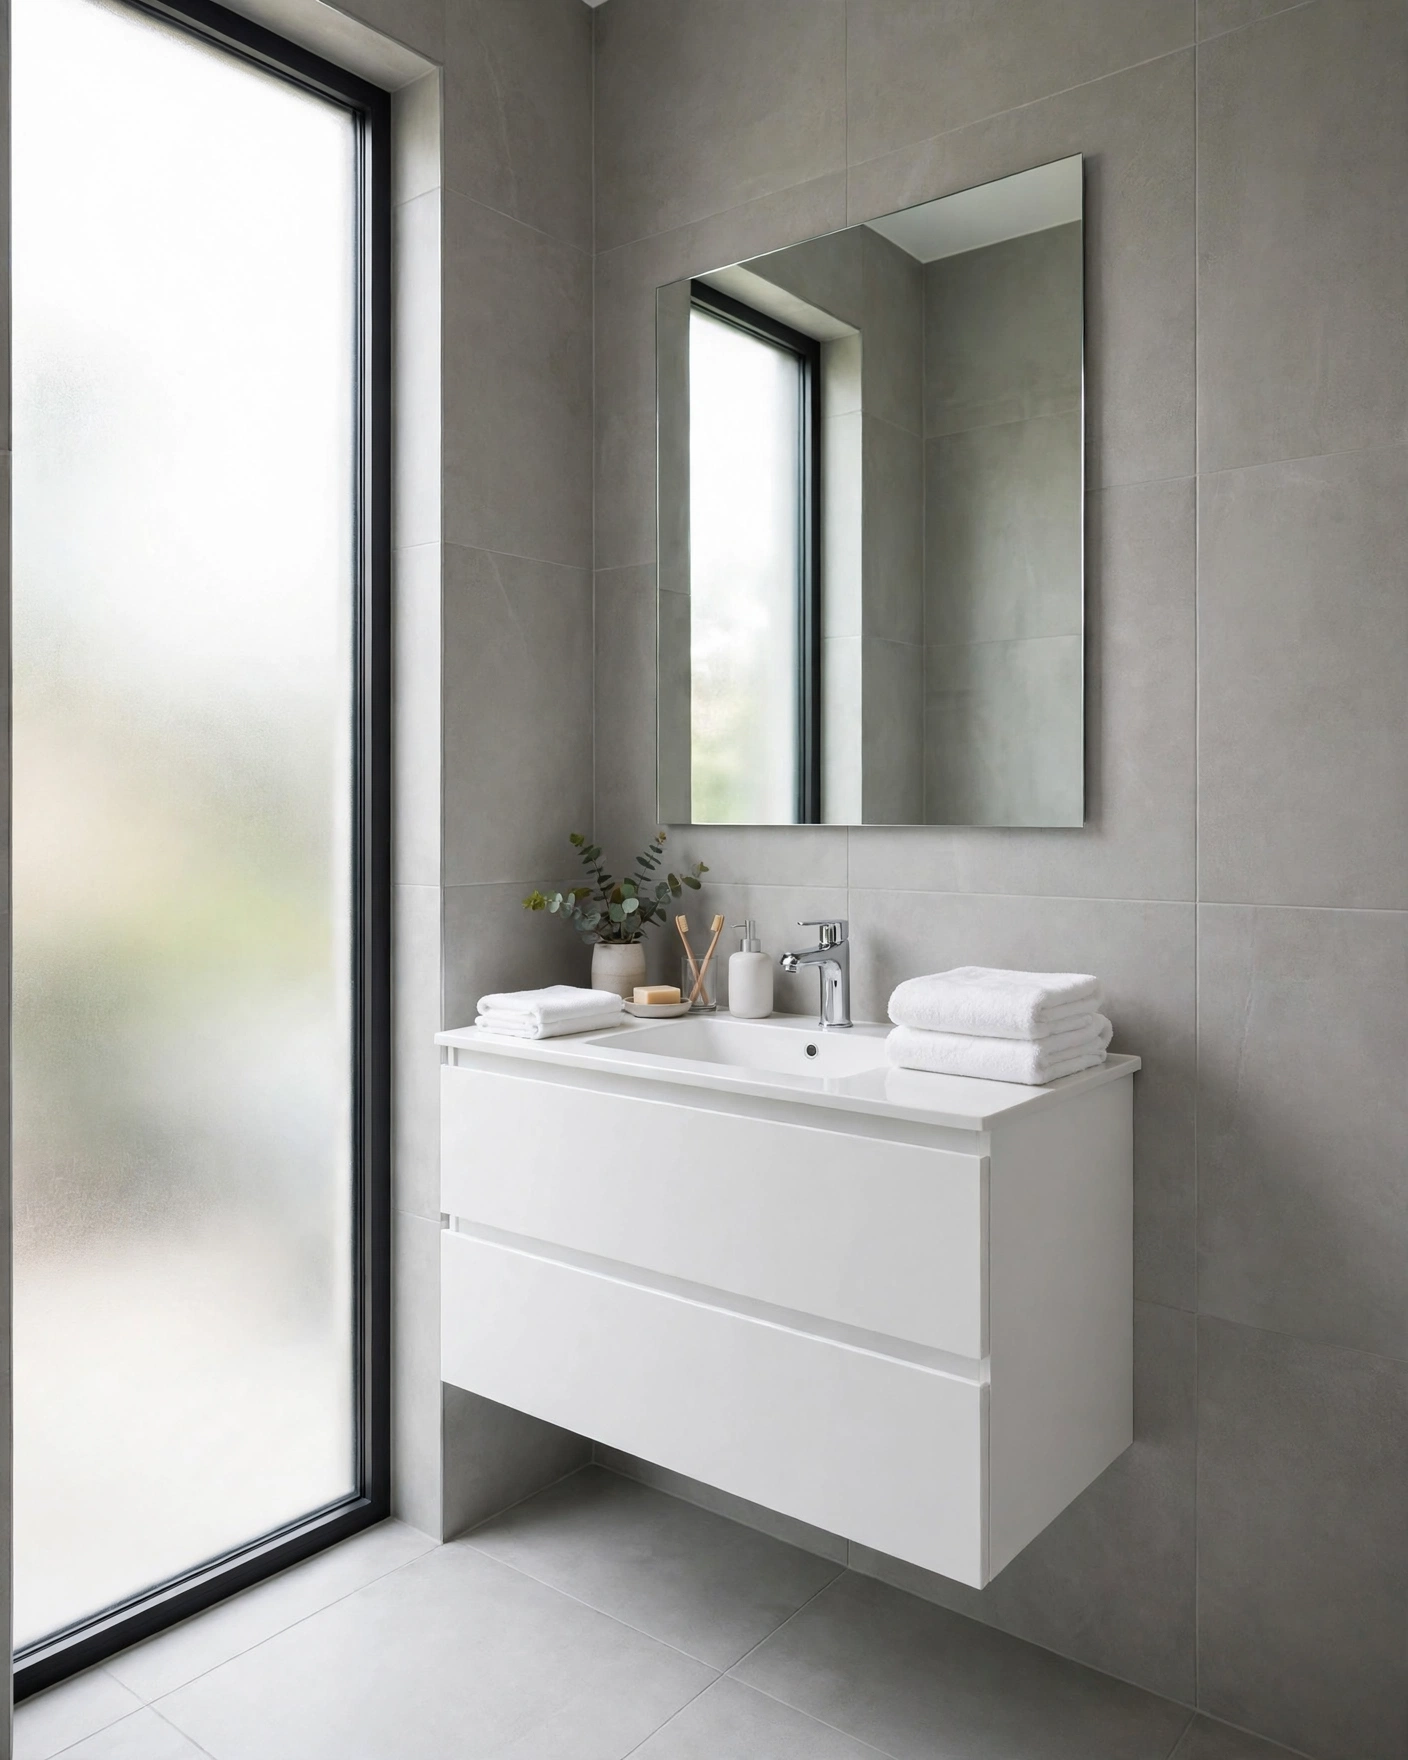
    Small modern bathroom with large soft gray porcelain tiles and minimal grout lines

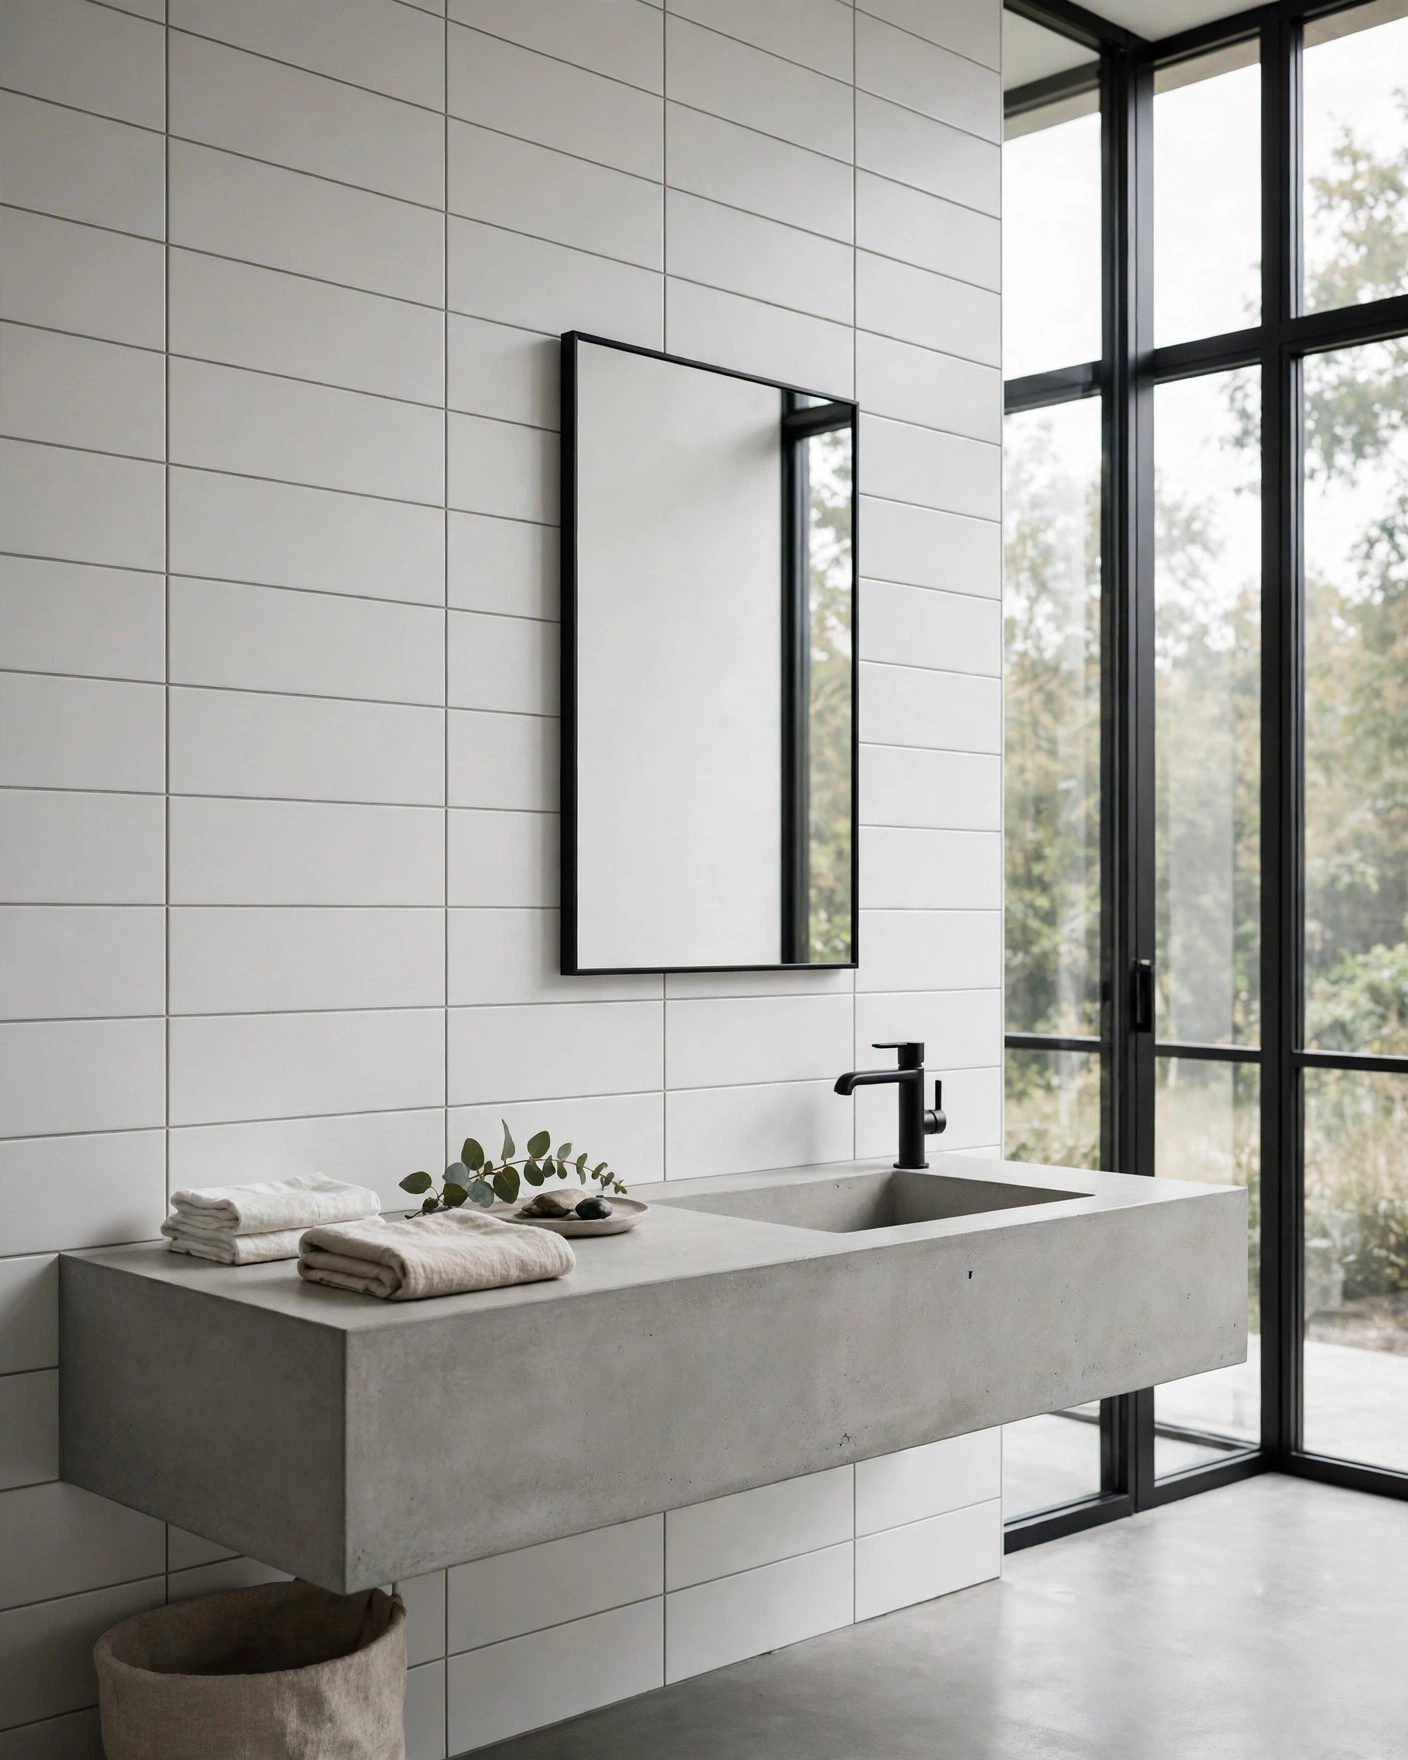
    Oversized 24×48 porcelain tiles in a soft concrete gray calm a room because there are far fewer grout lines to catch the eye. Run them up the walls and across the floor for one continuous surface, and pair with a floating vanity to keep the floor clear. Tip: large tiles need a very flat subfloor, so budget for leveling compound first.

    2. Seamless Microcement-Look Wall Tiles

    Modern bathroom walls covered in seamless warm white microcement-look porcelain tiles

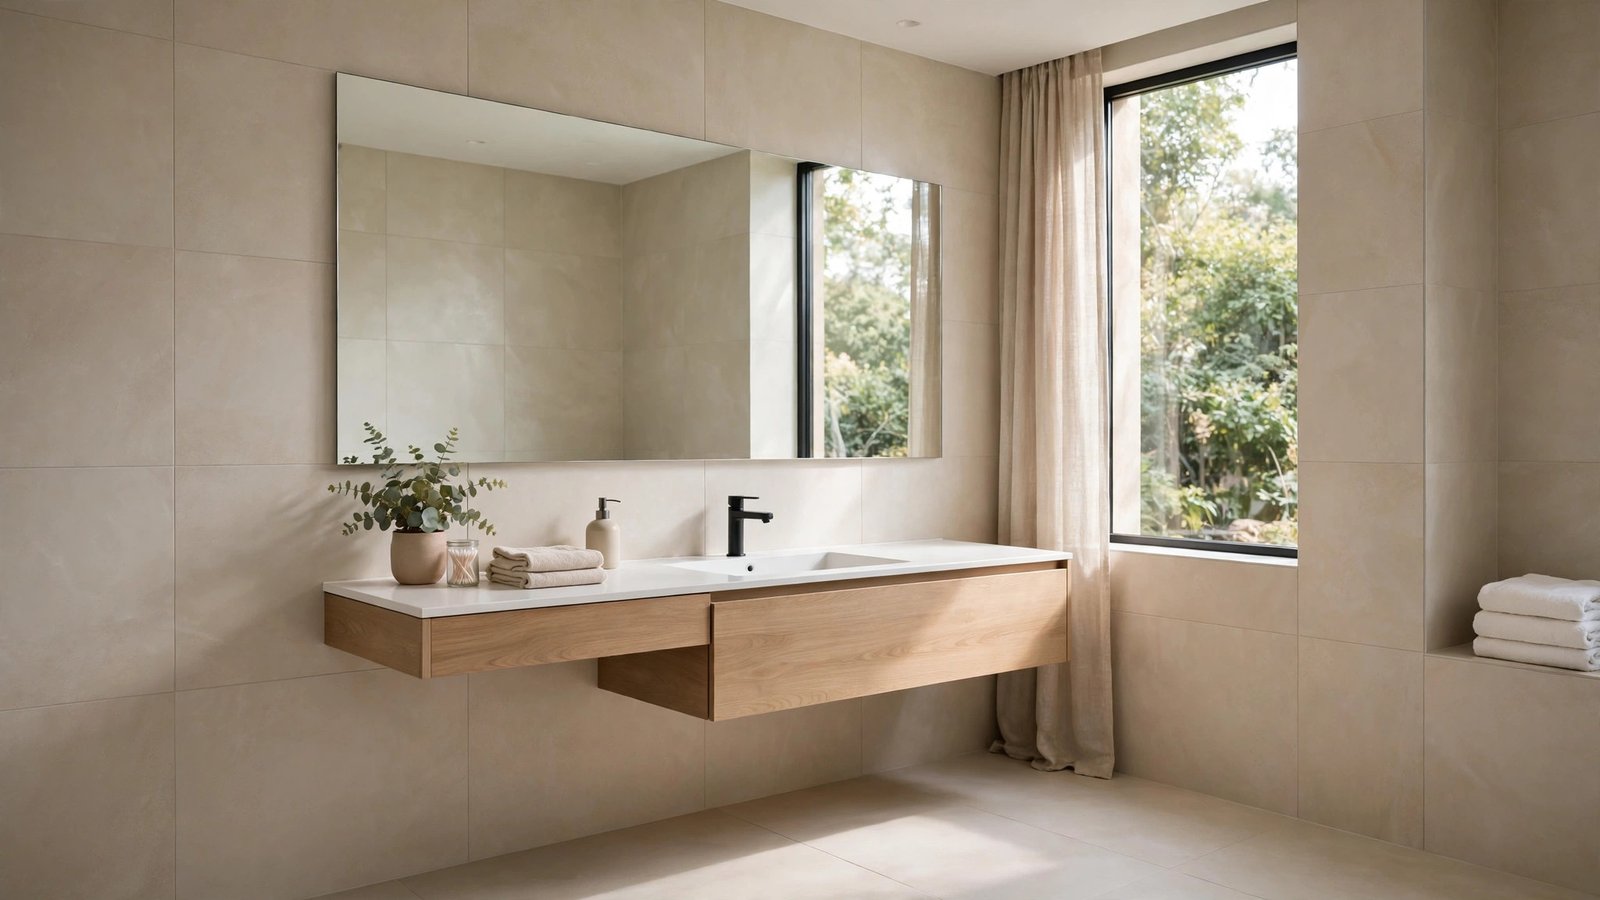
    Microcement-look porcelain gives you that smooth, spa-like plaster finish without the sealing and cracking worries of real microcement. Choose large matte tiles in warm white or pale greige and use matching grout so the joints nearly disappear. Tip: porcelain copies wipe clean with plain water, which makes this a smart pick for busy family bathrooms.

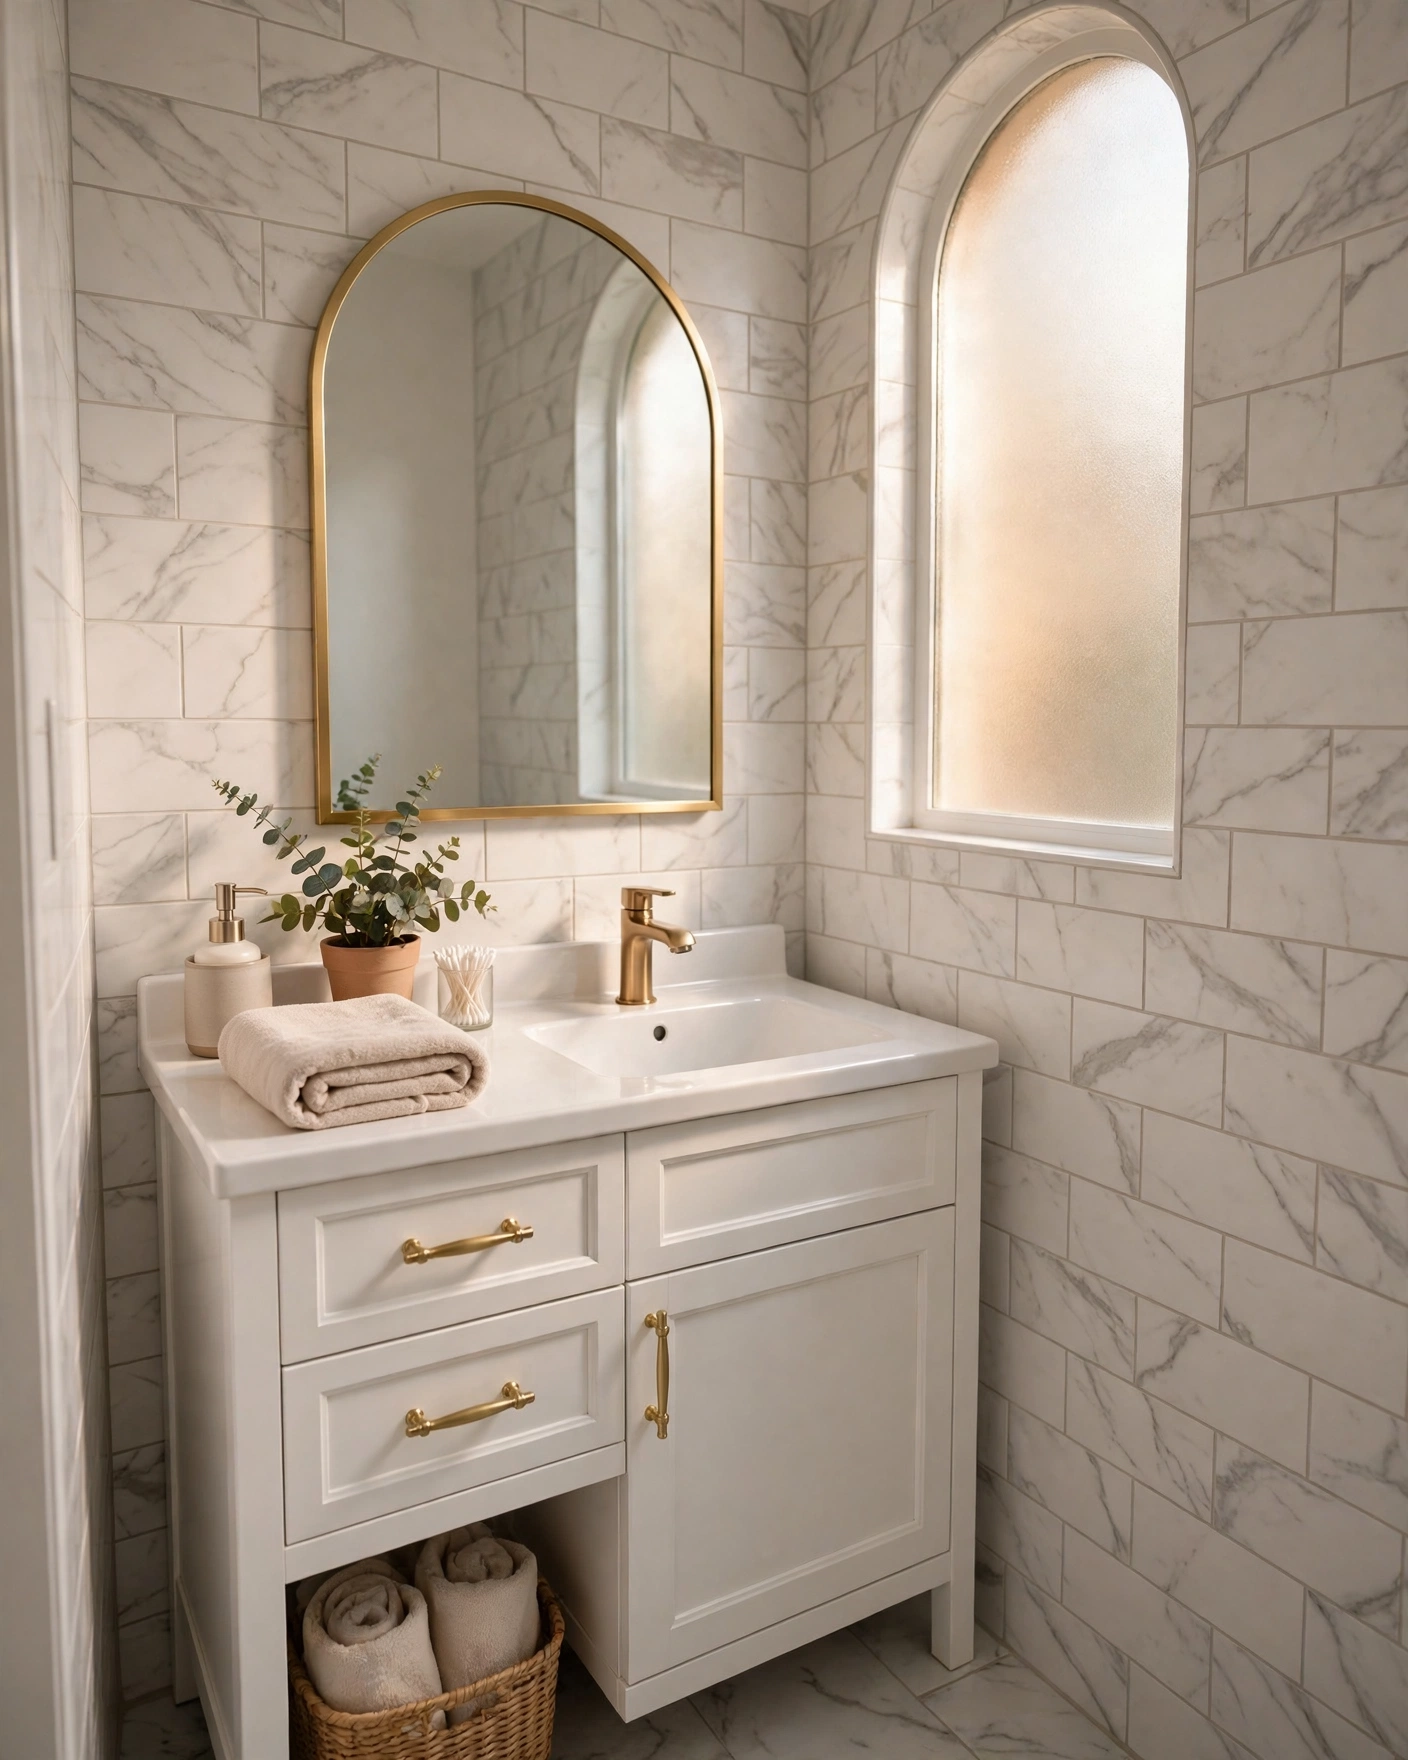
    3. White Marble-Look Tiles with Soft Veining

    Bright modern bathroom with white marble-look tiles and gentle gray veining throughout

    Marble-look porcelain in 24×24 keeps the luxury of stone but reads cleaner because the veining is soft and evenly spread. Use it on both floor and walls, and keep fittings simple so the pattern stays the hero. Tip: porcelain needs no sealing and shrugs off makeup and hard-water marks that would stain real marble.

    4. Matte Black Tile Accent Wall

    Modern bathroom with one matte black tiled accent wall behind the vanity

    One wall of matte black 12×24 tiles gives a white bathroom instant architecture and makes chrome and white ceramics look crisper. Keep the other walls and floor pale so the room stays fresh rather than dark. Tip: matte black shows water spots, so choose a shower-free wall for the accent or keep a squeegee handy.

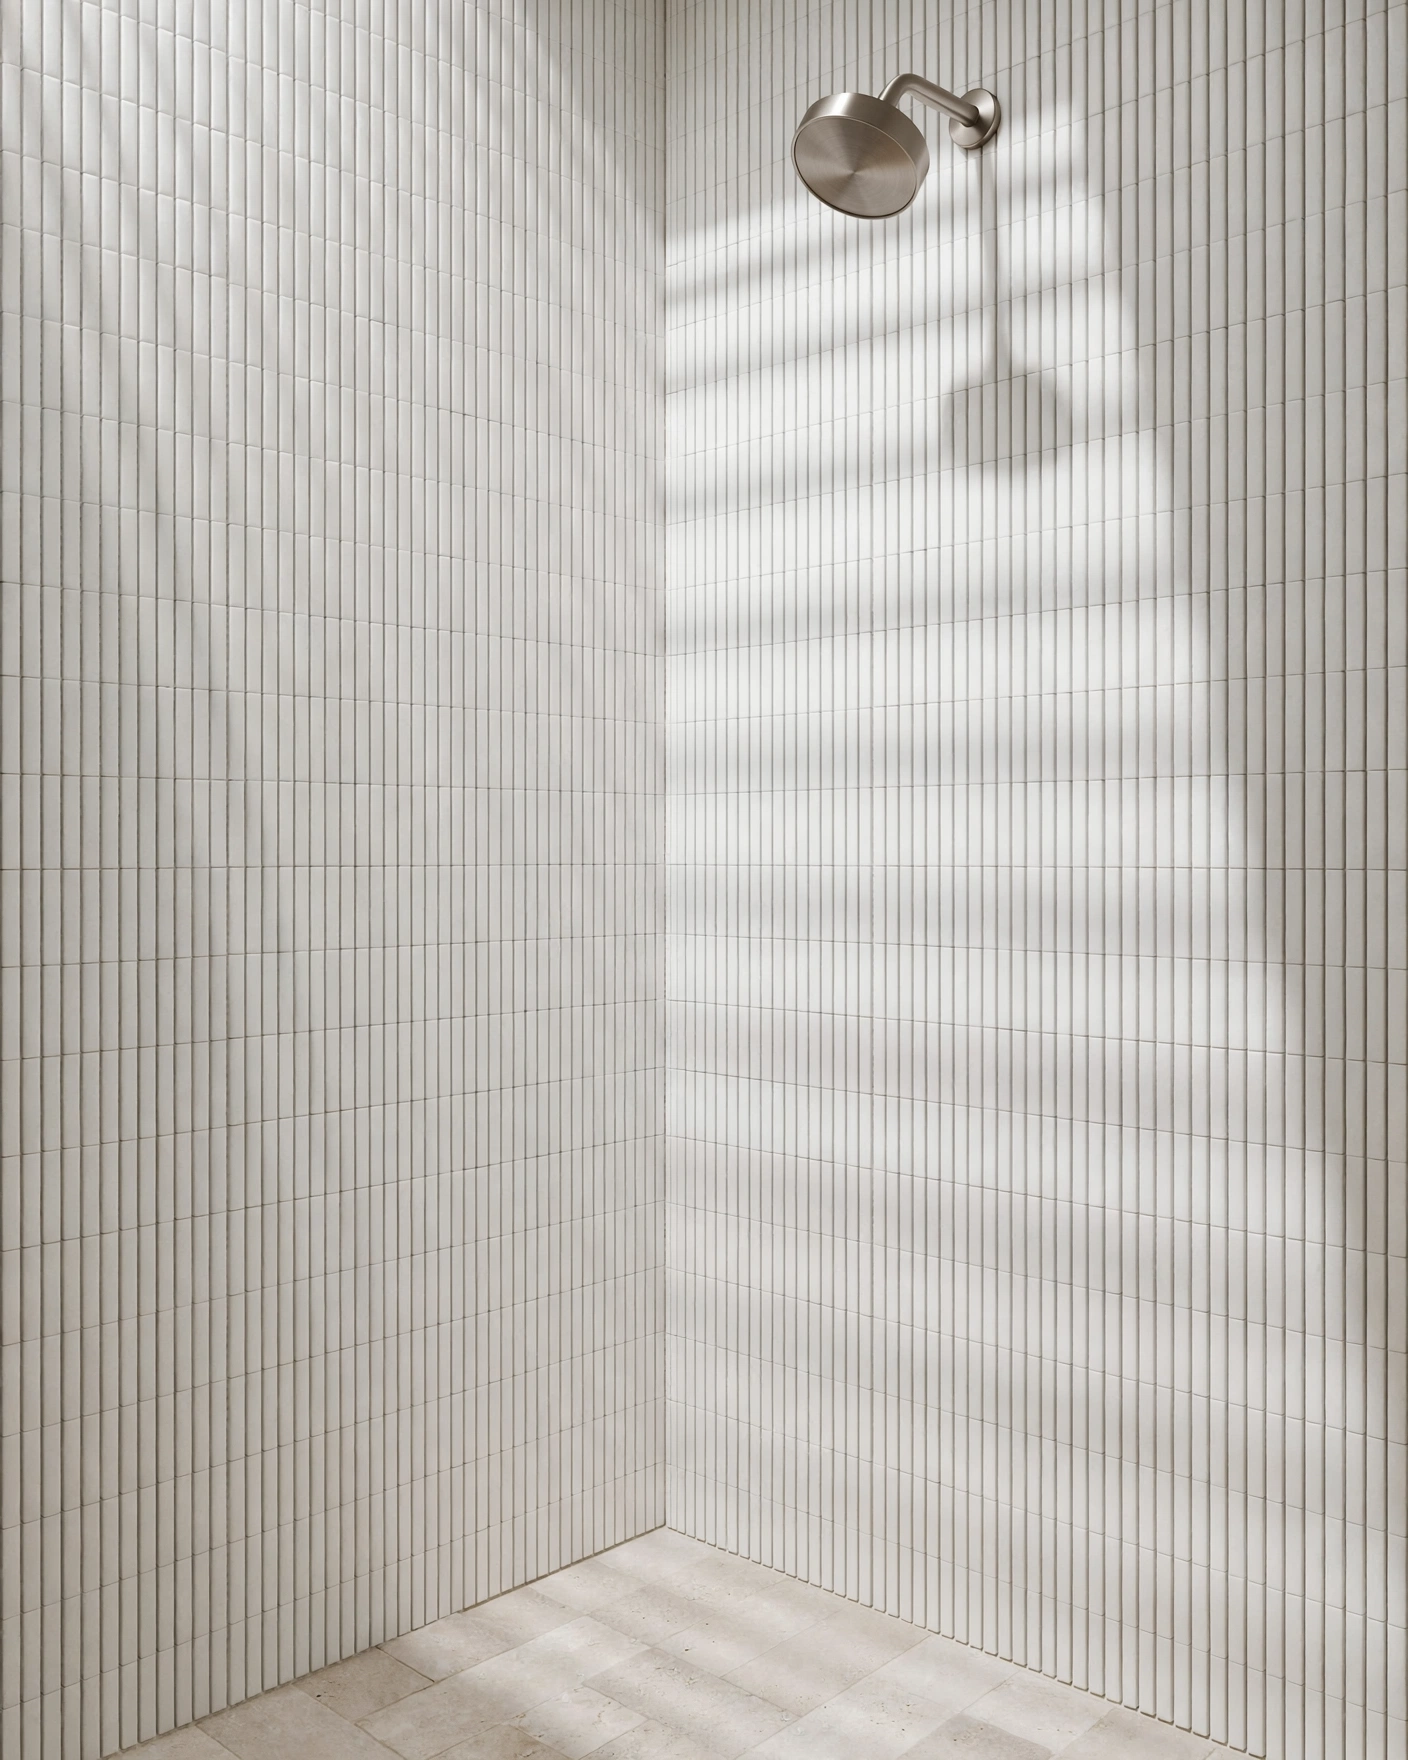
    5. Vertical Kit-Kat Mosaic Tiles

    Shower wall covered in slim vertical kit-kat mosaic tiles in soft white

    Kit-kat tiles — those slim finger mosaics — add fine texture and draw the eye upward, which makes ceilings feel higher. Run them vertically inside the shower or behind the vanity in soft white, sage or pale gray. Tip: mosaics mean more grout, so pick a stain-resistant grout to keep the lines bright.

    6. Fine-Chip Terrazzo-Look Porcelain

    Modern bathroom floor in pale terrazzo-look porcelain with fine stone chips

    Terrazzo-look porcelain with tiny, even chips feels playful but still tidy, and the speckled pattern hides dust and hair between cleans. Pair a 24×24 floor with plain walls so the room doesn’t get busy. Tip: the busier the chip pattern, the less often you’ll feel the need to mop — a genuine low-maintenance win.

    7. Warm Greige Tiles for Soft Minimalism

    Calm modern bathroom wrapped in warm greige tiles with light oak accents

    Pure white can feel chilly; warm greige tiles keep the same clean lines but add softness. Use one greige tone in a large square format everywhere, then warm it up with oak and off-white textiles. Tip: order samples and check them at night as well as in daylight — greige shifts color more than most shades.

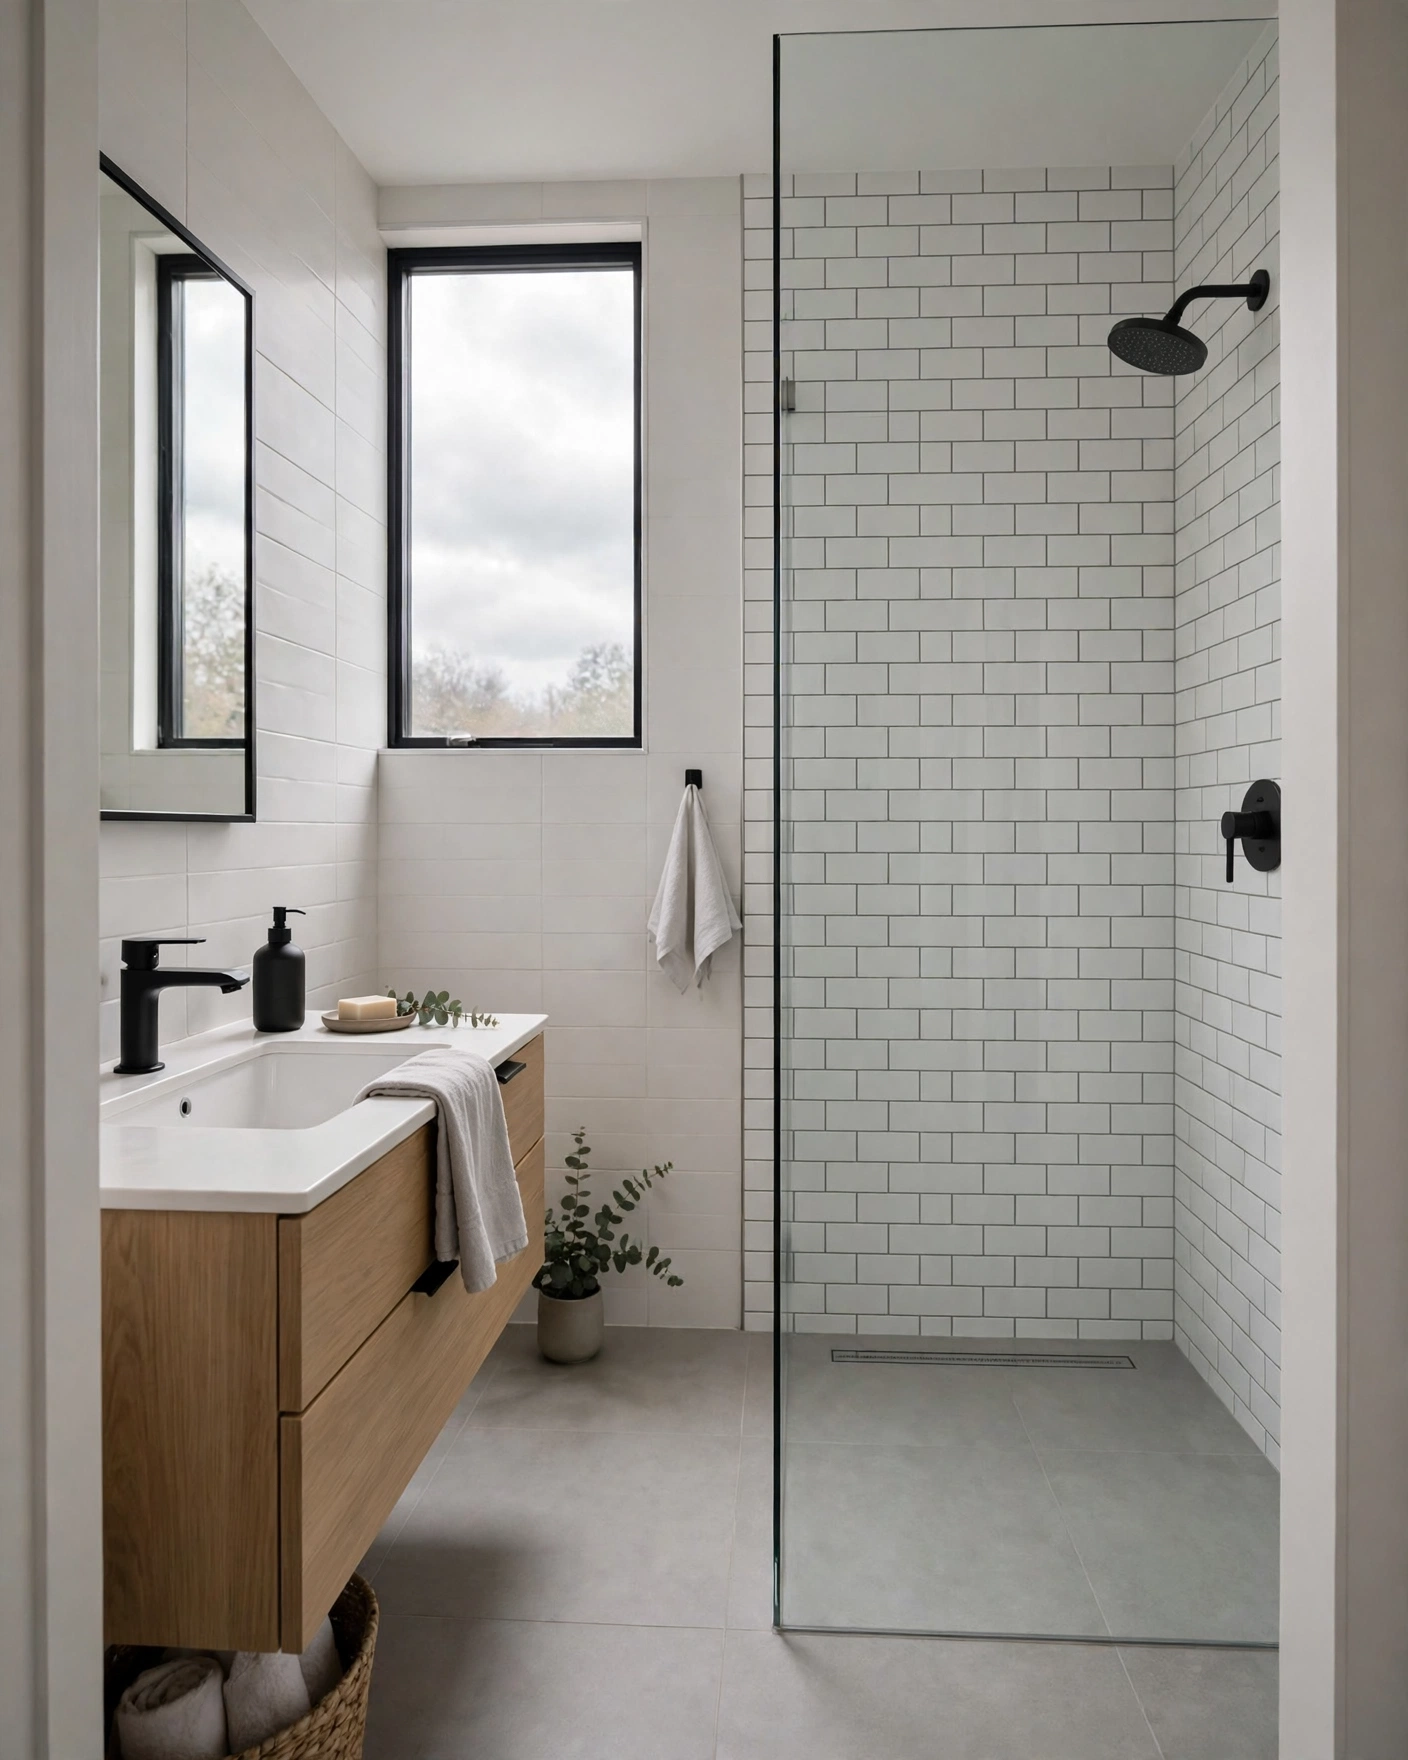
    8. Stacked White Subway Tiles

    Modern bathroom wall with white subway tiles in a clean vertical stack

    The classic subway tile turns modern when you stack it in straight columns instead of the usual brick offset. A 3×12 format with thin, matching grout lines looks tailored and graphic. Tip: stacking shows every wobble, so use tile spacers and a laser level — or choose the horizontal stack, which is more forgiving.

    9. Pale Gray Hexagon Floor Tiles

    Modern bathroom floor covered in pale gray hexagon tiles with white grout

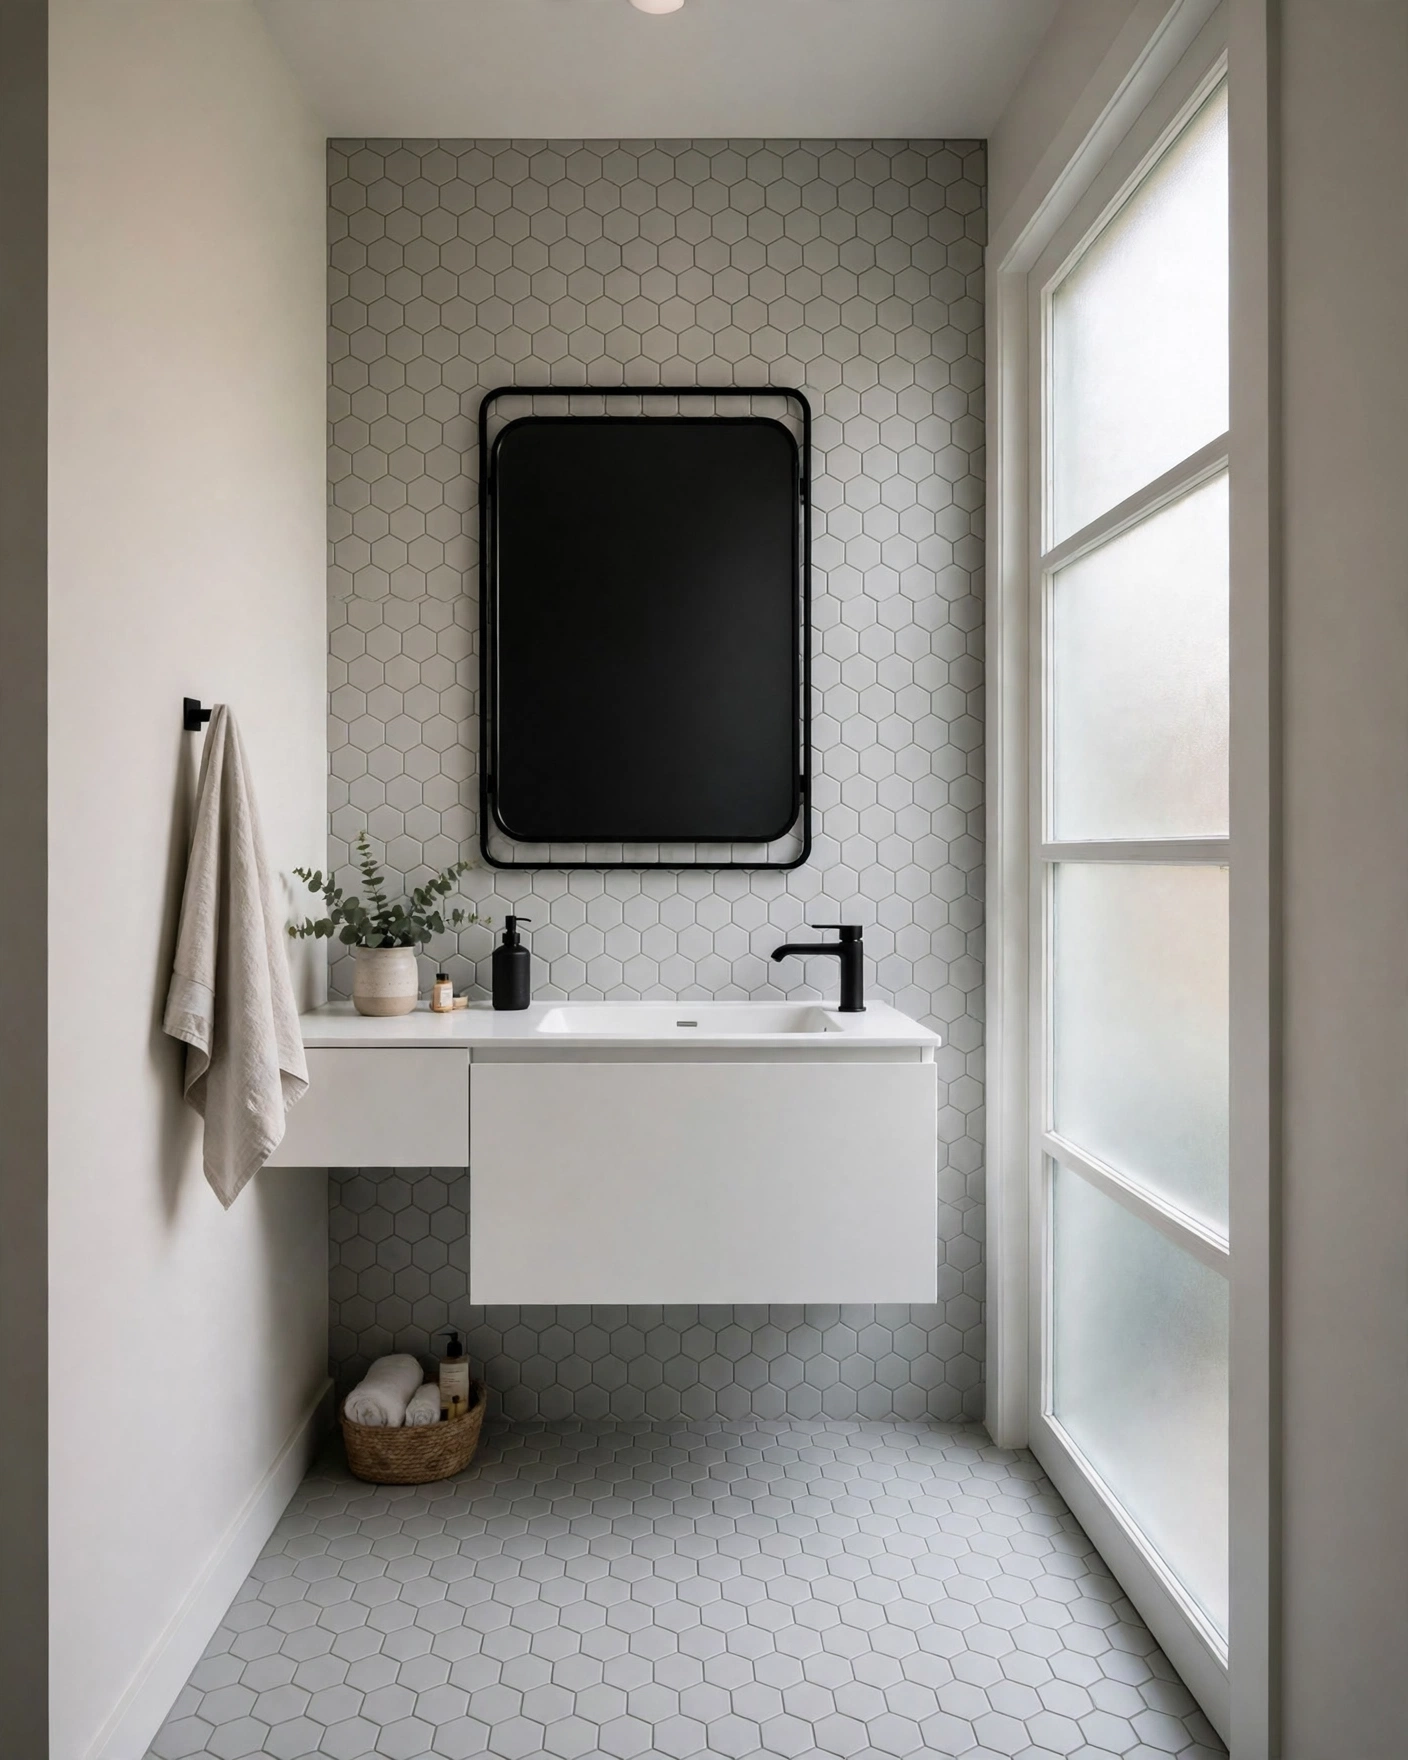
    Hexagons bring pattern without color, which keeps a modern scheme feeling fresh. Pale gray 2-inch hex mosaics on the floor pair well with plain large tiles on the walls. Tip: mosaic sheets make slopes easy, so hex is a practical choice for shower floors where grip and drainage both matter.

    10. Ash-Tone Wood-Look Plank Tiles

    Modern bathroom floor with ash-tone wood-look porcelain planks and white walls

    Wood-look planks in a cool ash tone warm up a modern bathroom while staying completely waterproof. Lay 8×48 planks lengthwise to stretch a narrow room, and keep the walls plain and pale. Tip: porcelain planks cost less than real wood over time because they never need sanding, sealing or replacing after a leak.

    11. One Tile Throughout, Shower Included

    Modern bathroom where the same pale tile flows into the open shower

    Running one tile across the floor, walls and into a curbless shower removes every visual break, so the room feels bigger and calmer. A light stone-look porcelain in 12×24 works beautifully here. Tip: use a smaller mosaic of the same tile inside the shower for slip resistance while keeping the seamless look.

    12. Ribbed 3D Texture Wall Tiles

    Modern vanity wall covered in white ribbed three-dimensional tiles catching soft light

    Ribbed and fluted tiles add shadow play that keeps an all-white room interesting without any color at all. Use them on one feature wall behind the vanity and keep the other surfaces smooth for contrast. Tip: textured tiles collect dust in the grooves, so give them a quick vacuum with a brush attachment now and then.

    13. Pale Blue-Gray Tiles for a Fresh Feel

    Fresh modern bathroom with pale blue-gray wall tiles and white fixtures

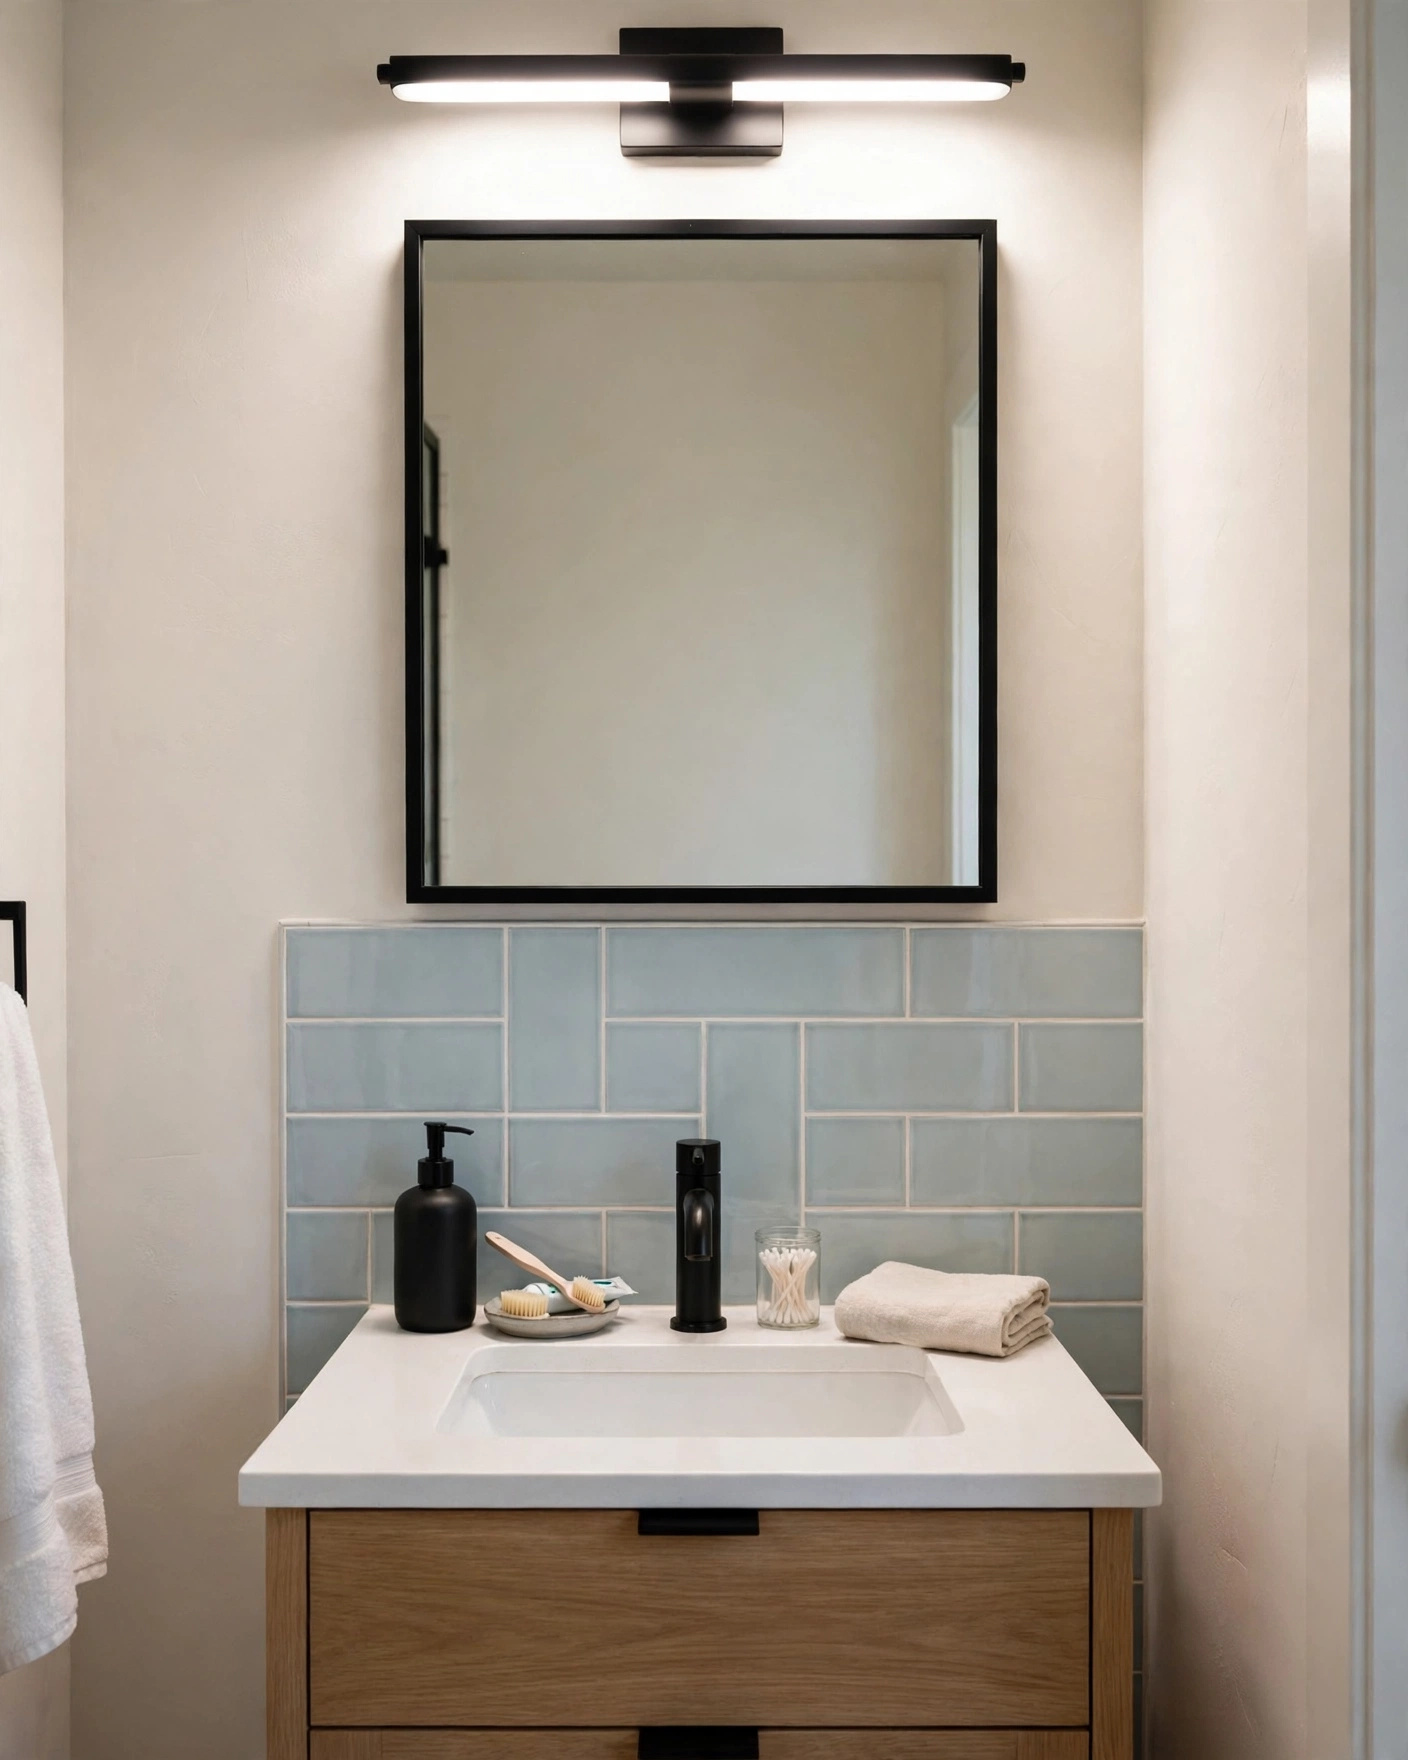
    A wash of pale blue-gray reads like clean water and fresh air — perfect if white feels too stark. Glossy 4×4 or 5×5 squares bounce light around and pair neatly with white sanitaryware. Tip: keep grout pale gray rather than white with blue-gray tile; it looks more deliberate and hides discoloration better.

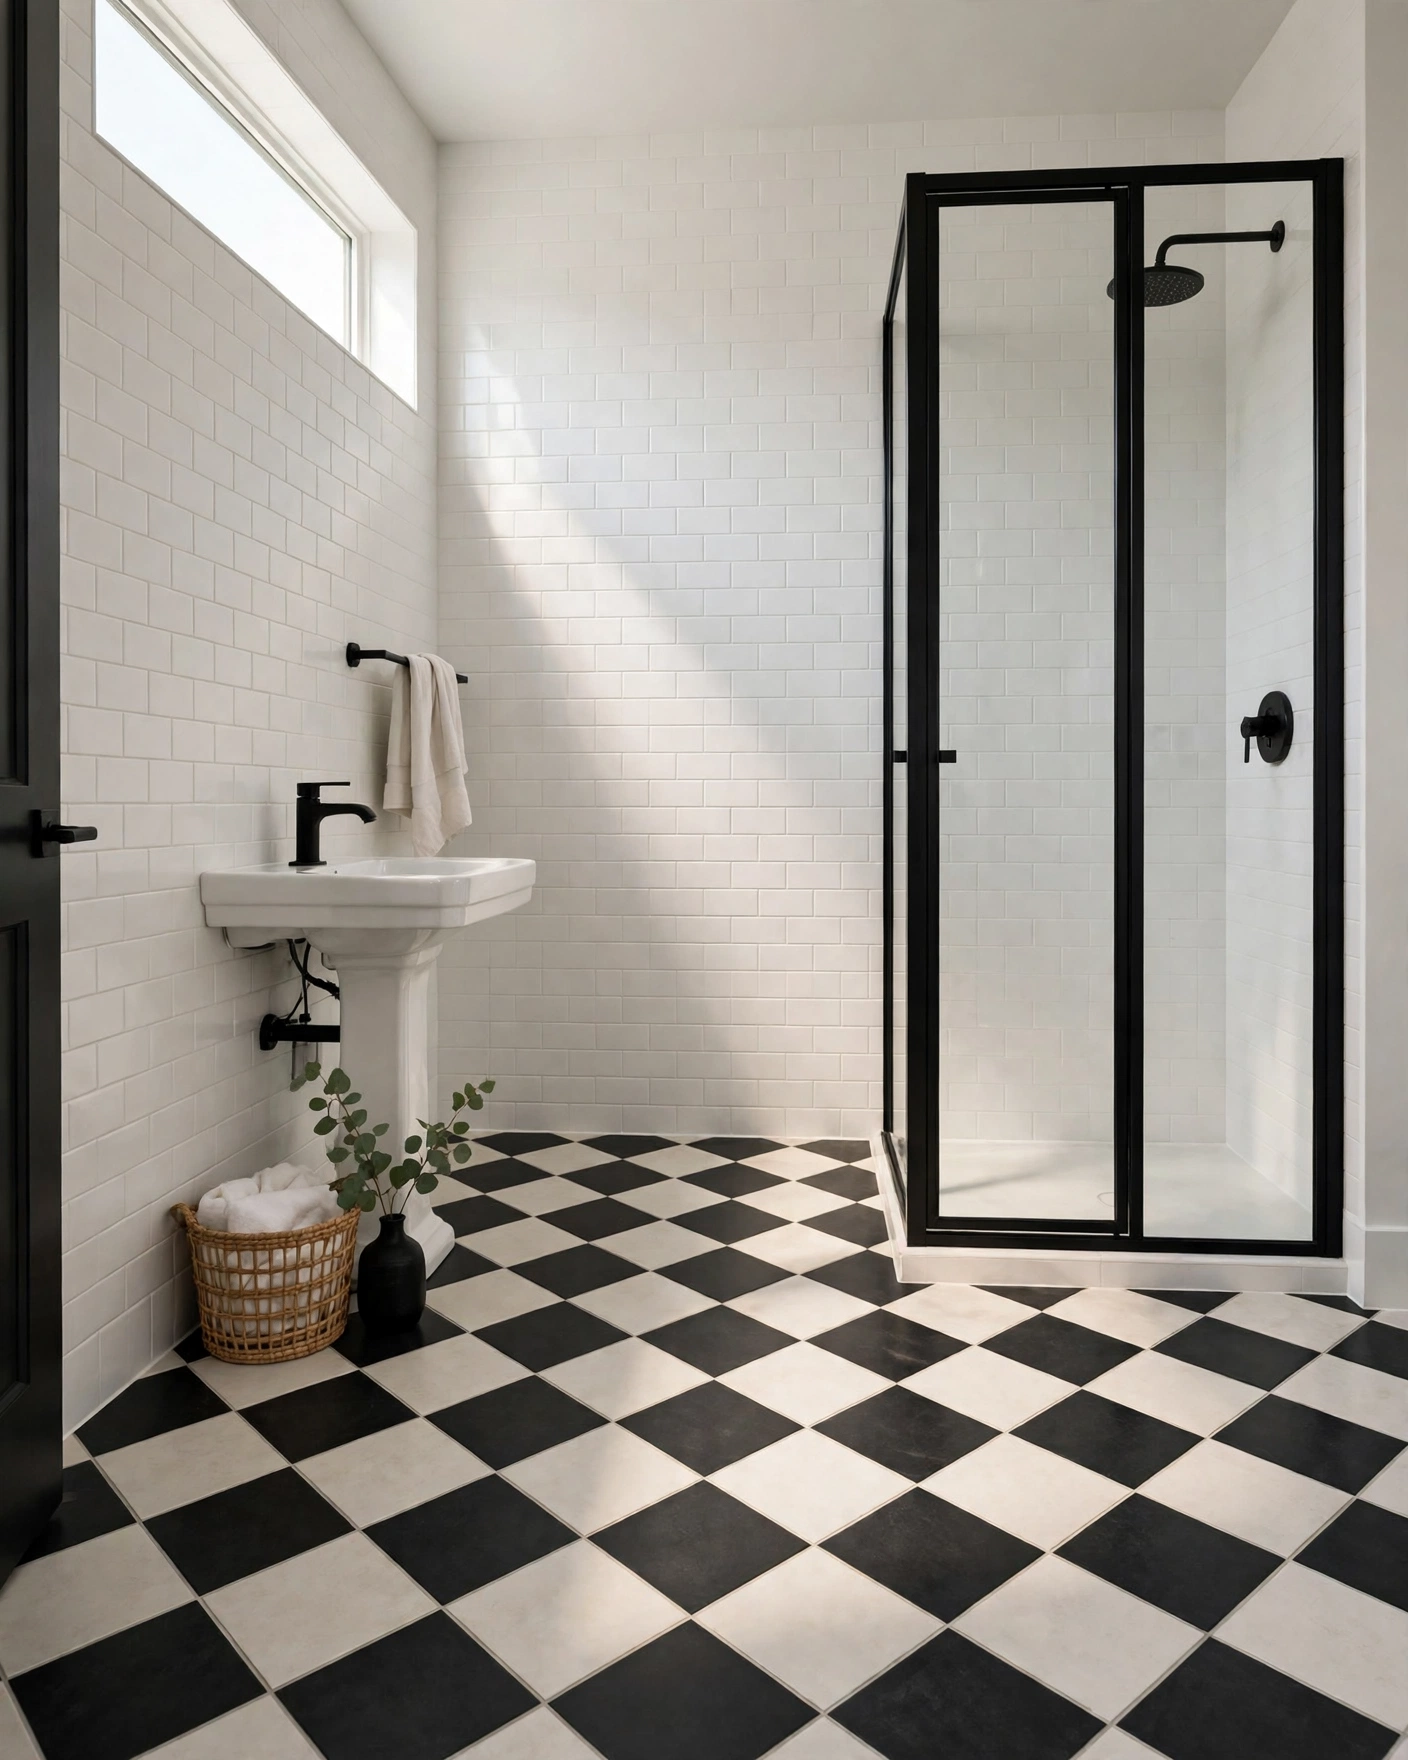
    14. Soft Black-and-White Checkerboard Floor

    Modern bathroom with a soft black and white checkerboard porcelain floor

    Checkerboard is back, but the modern version uses soft black and warm white in a matte finish, laid on the diagonal for movement. Keep walls plain so the floor can carry the pattern. Tip: 12×12 tiles suit most bathrooms; in a tiny room, drop to 8×8 squares so the grid doesn’t overwhelm the space.

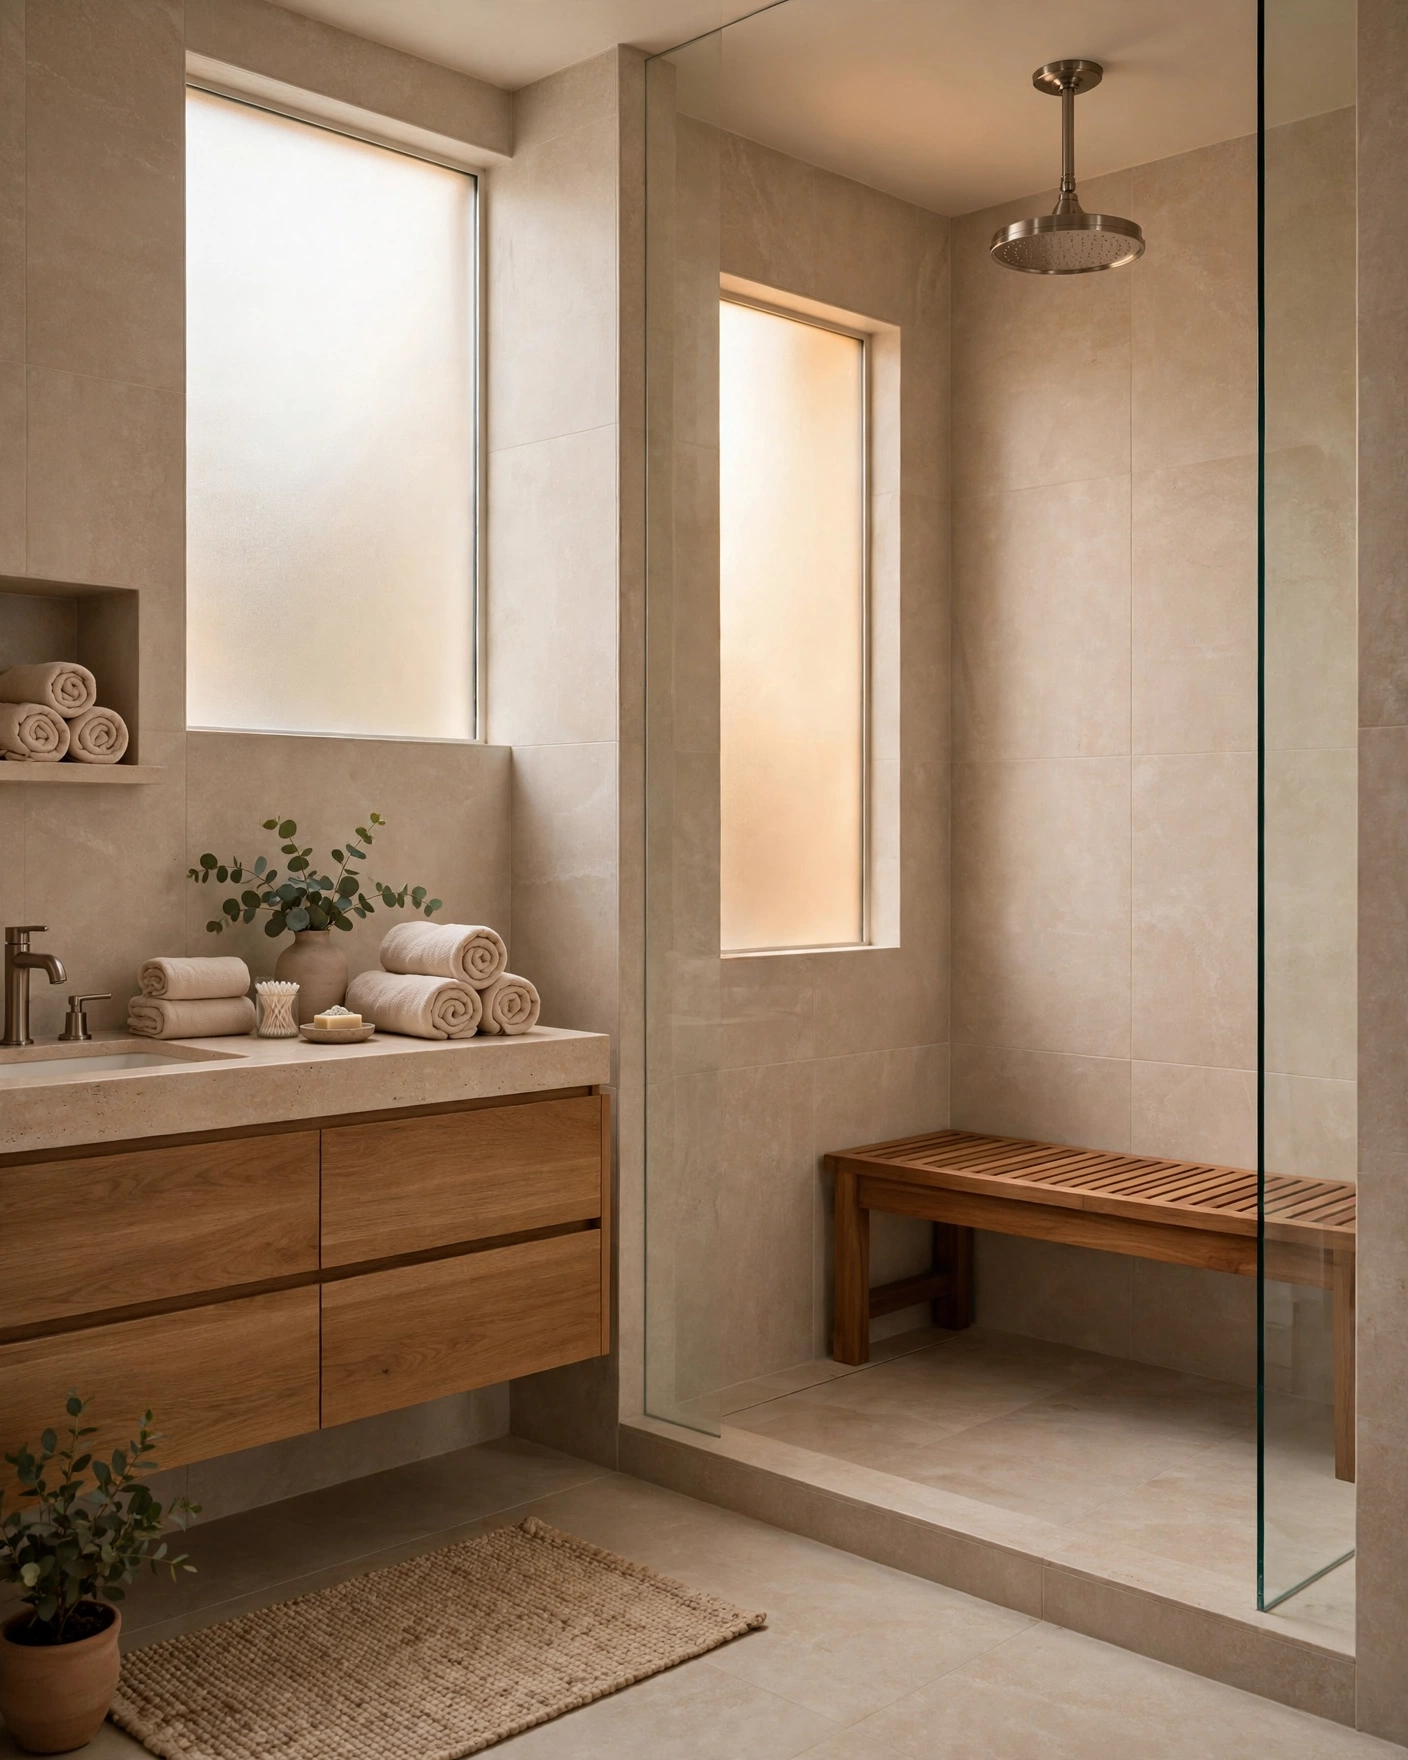
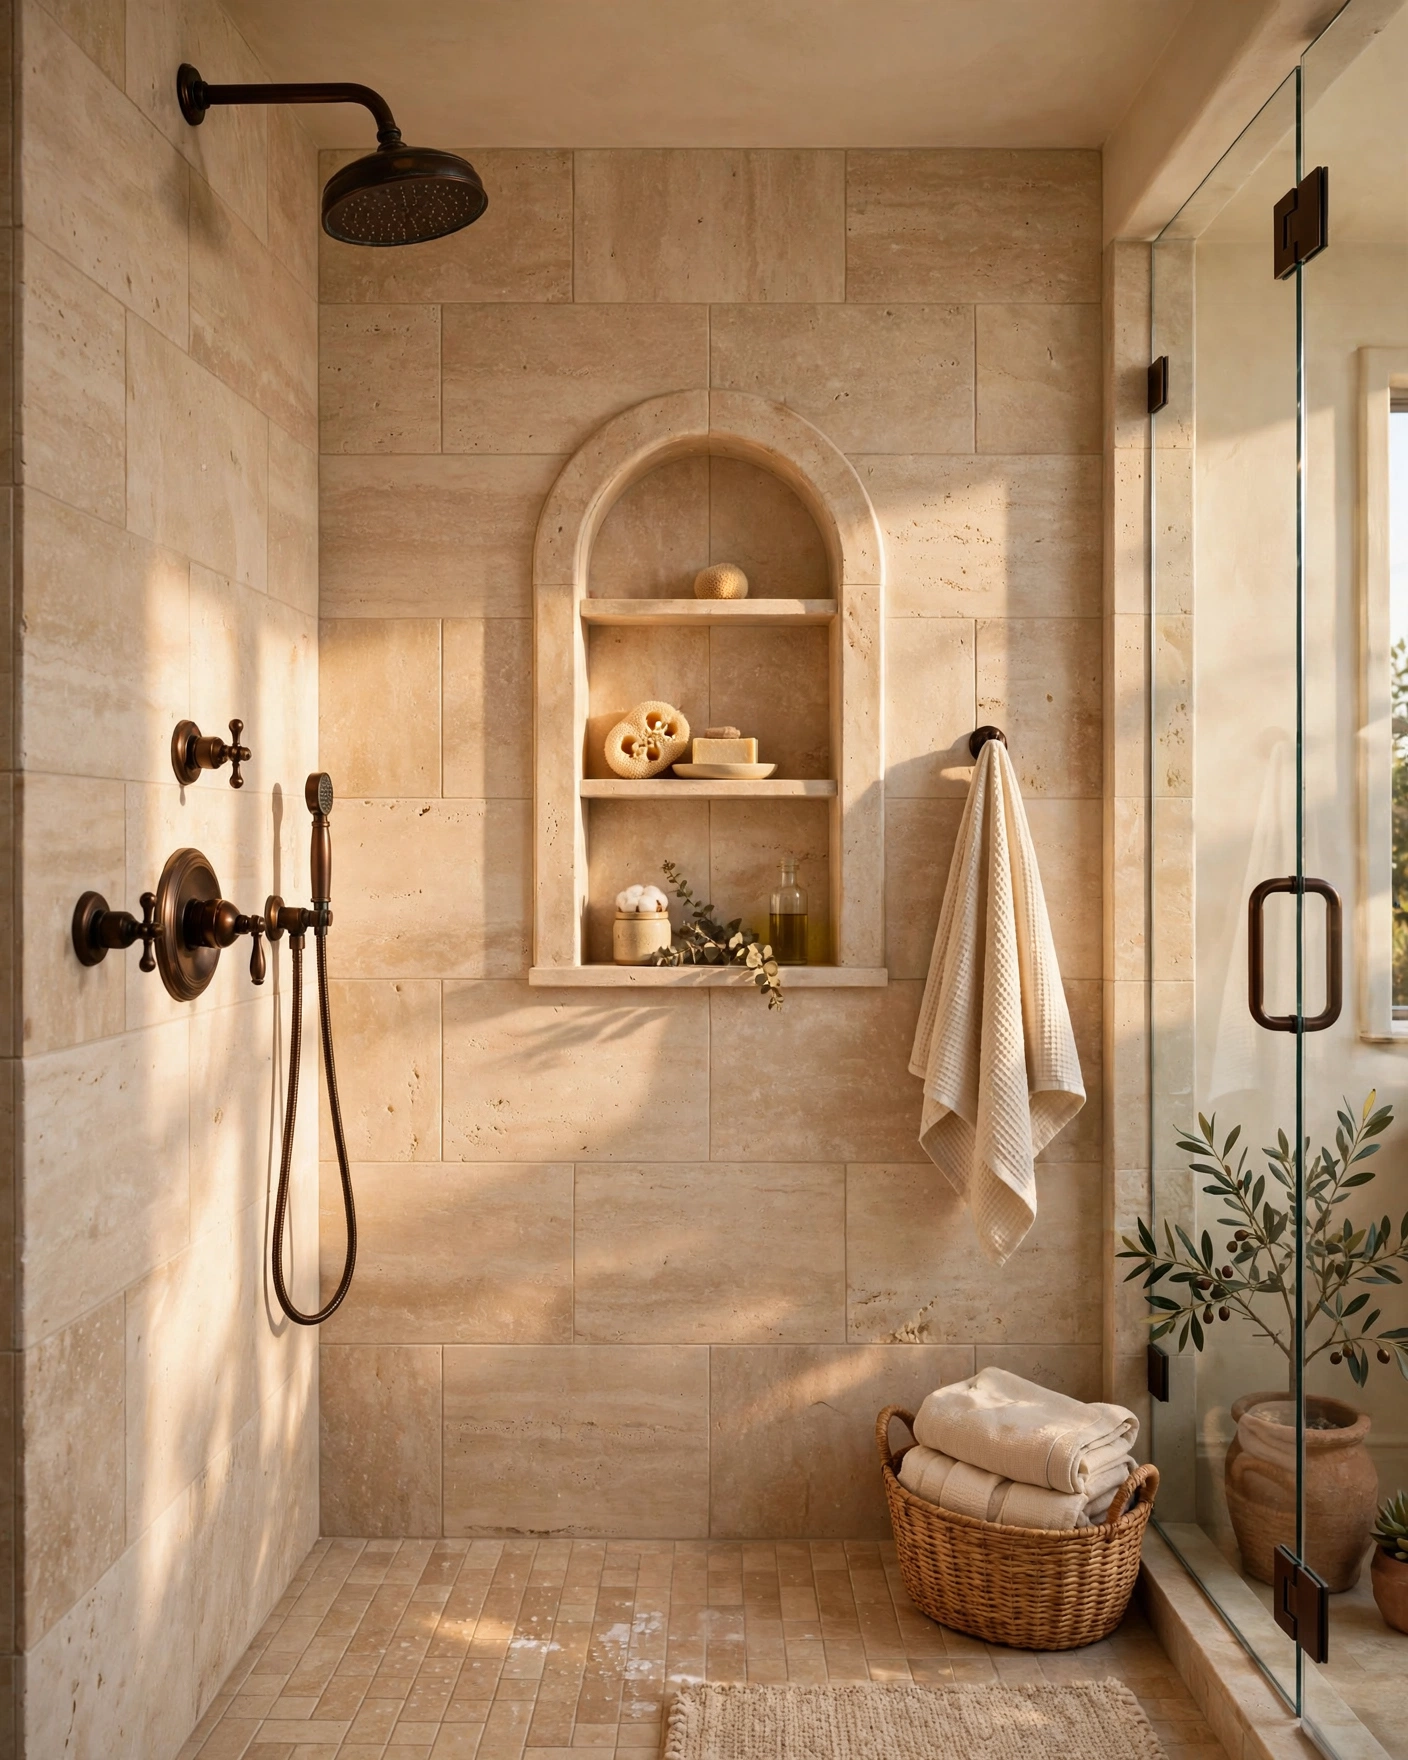
    15. Travertine-Look Tiles in a Matte Finish

    Spa-like modern bathroom with beige travertine-look tiles and a walk-in shower

    Travertine-look porcelain brings the calm, sandy tones of a boutique hotel bath without the porous surface of real stone. Large matte tiles wall-to-wall keep it serene and current. Tip: check the print repeat before you buy, so the same pattern doesn’t obviously repeat every few tiles across a big wall.

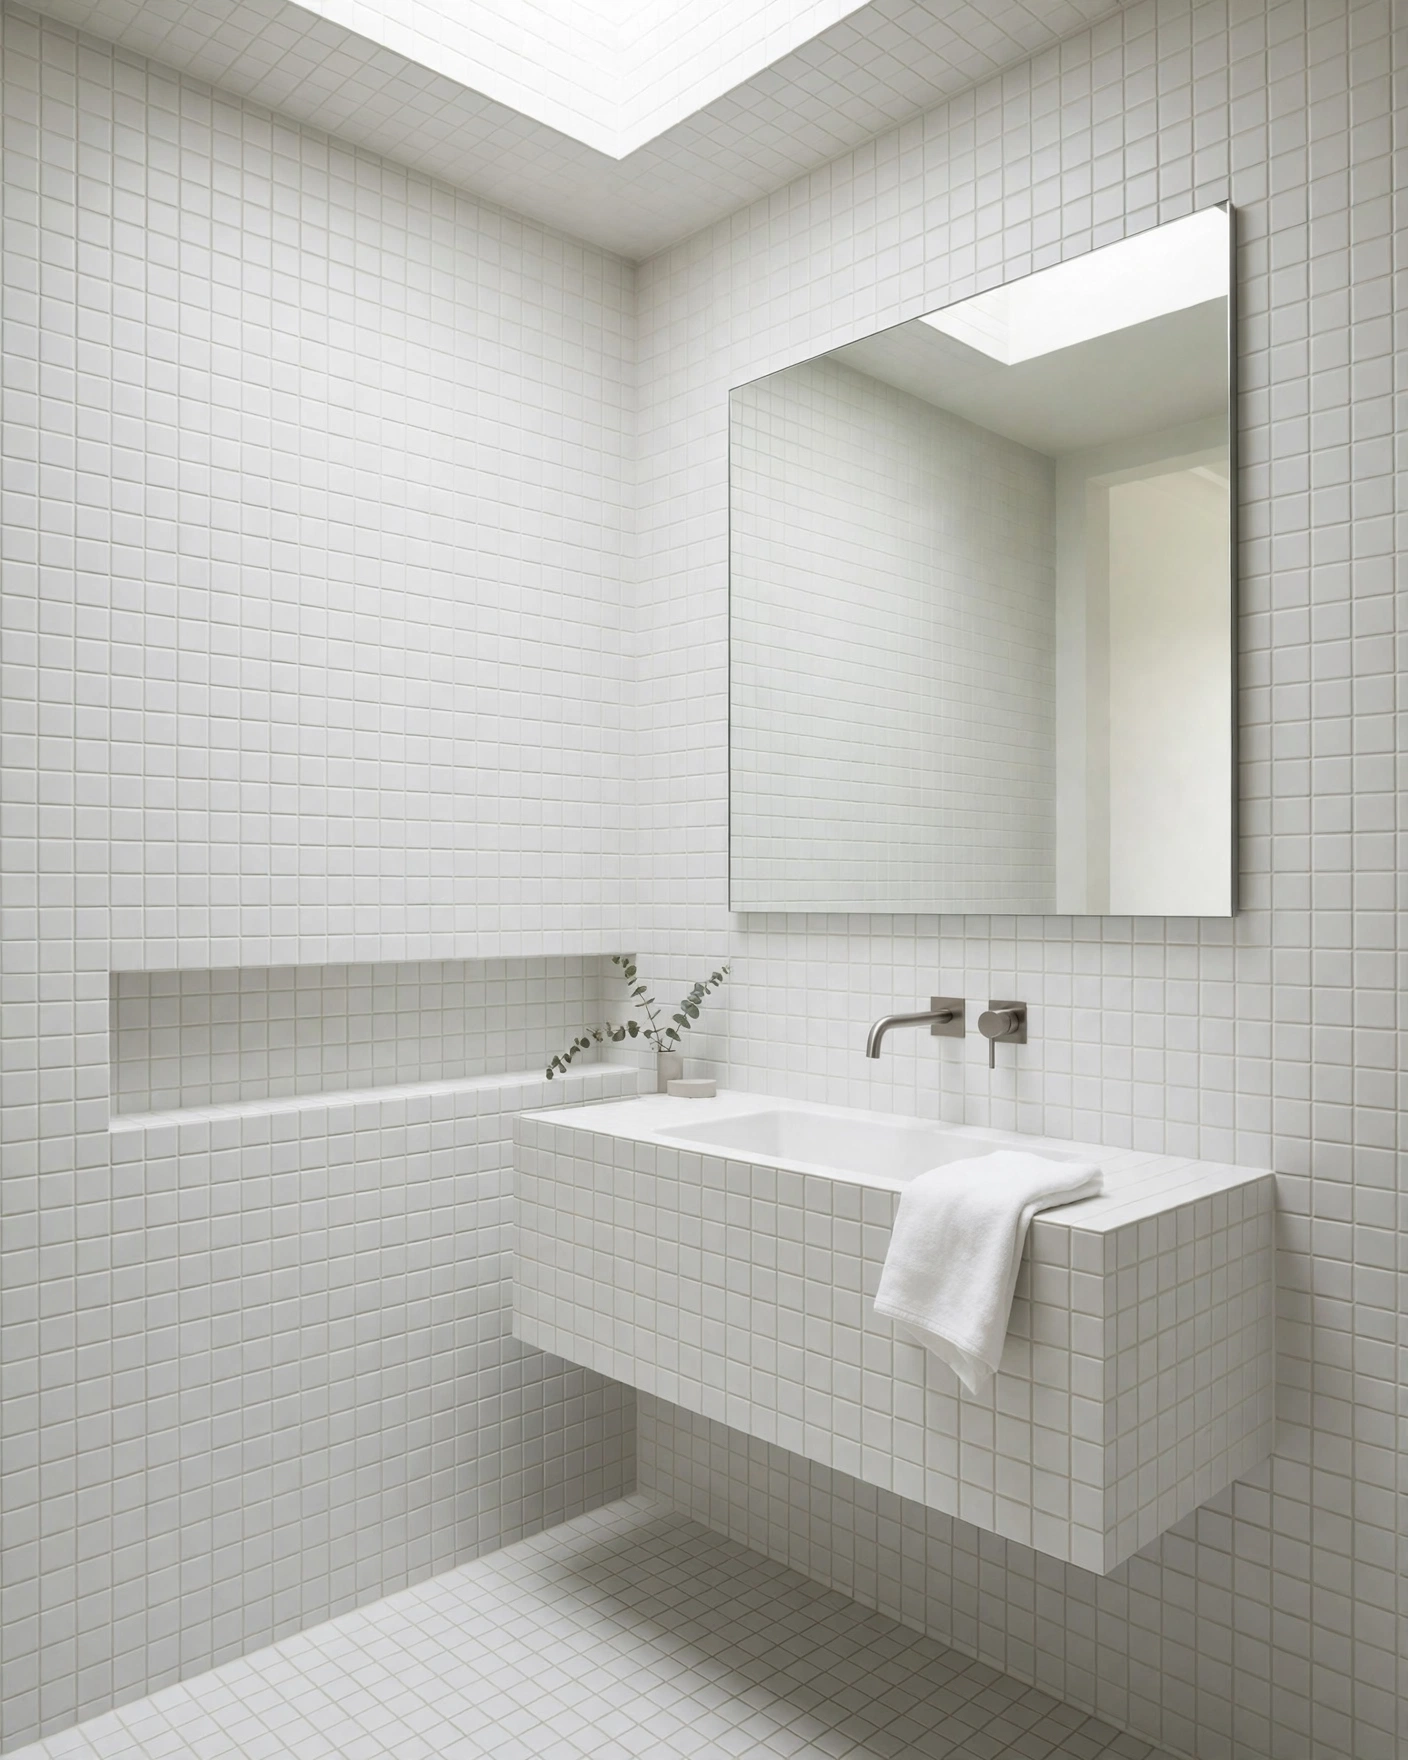
    16. Monochrome Tiles with Matching Grout

    Modern bathroom fully tiled in one soft white tone with matching grout

    Tiling a whole room in a single color, with grout matched as closely as possible, creates a cocoon of calm with almost no visual breaks. Soft white, warm gray or pale sand all work in large or small formats. Tip: matching grout is unforgiving about dirty joints, so seal the grout or choose a pre-sealed epoxy grout in wet areas.

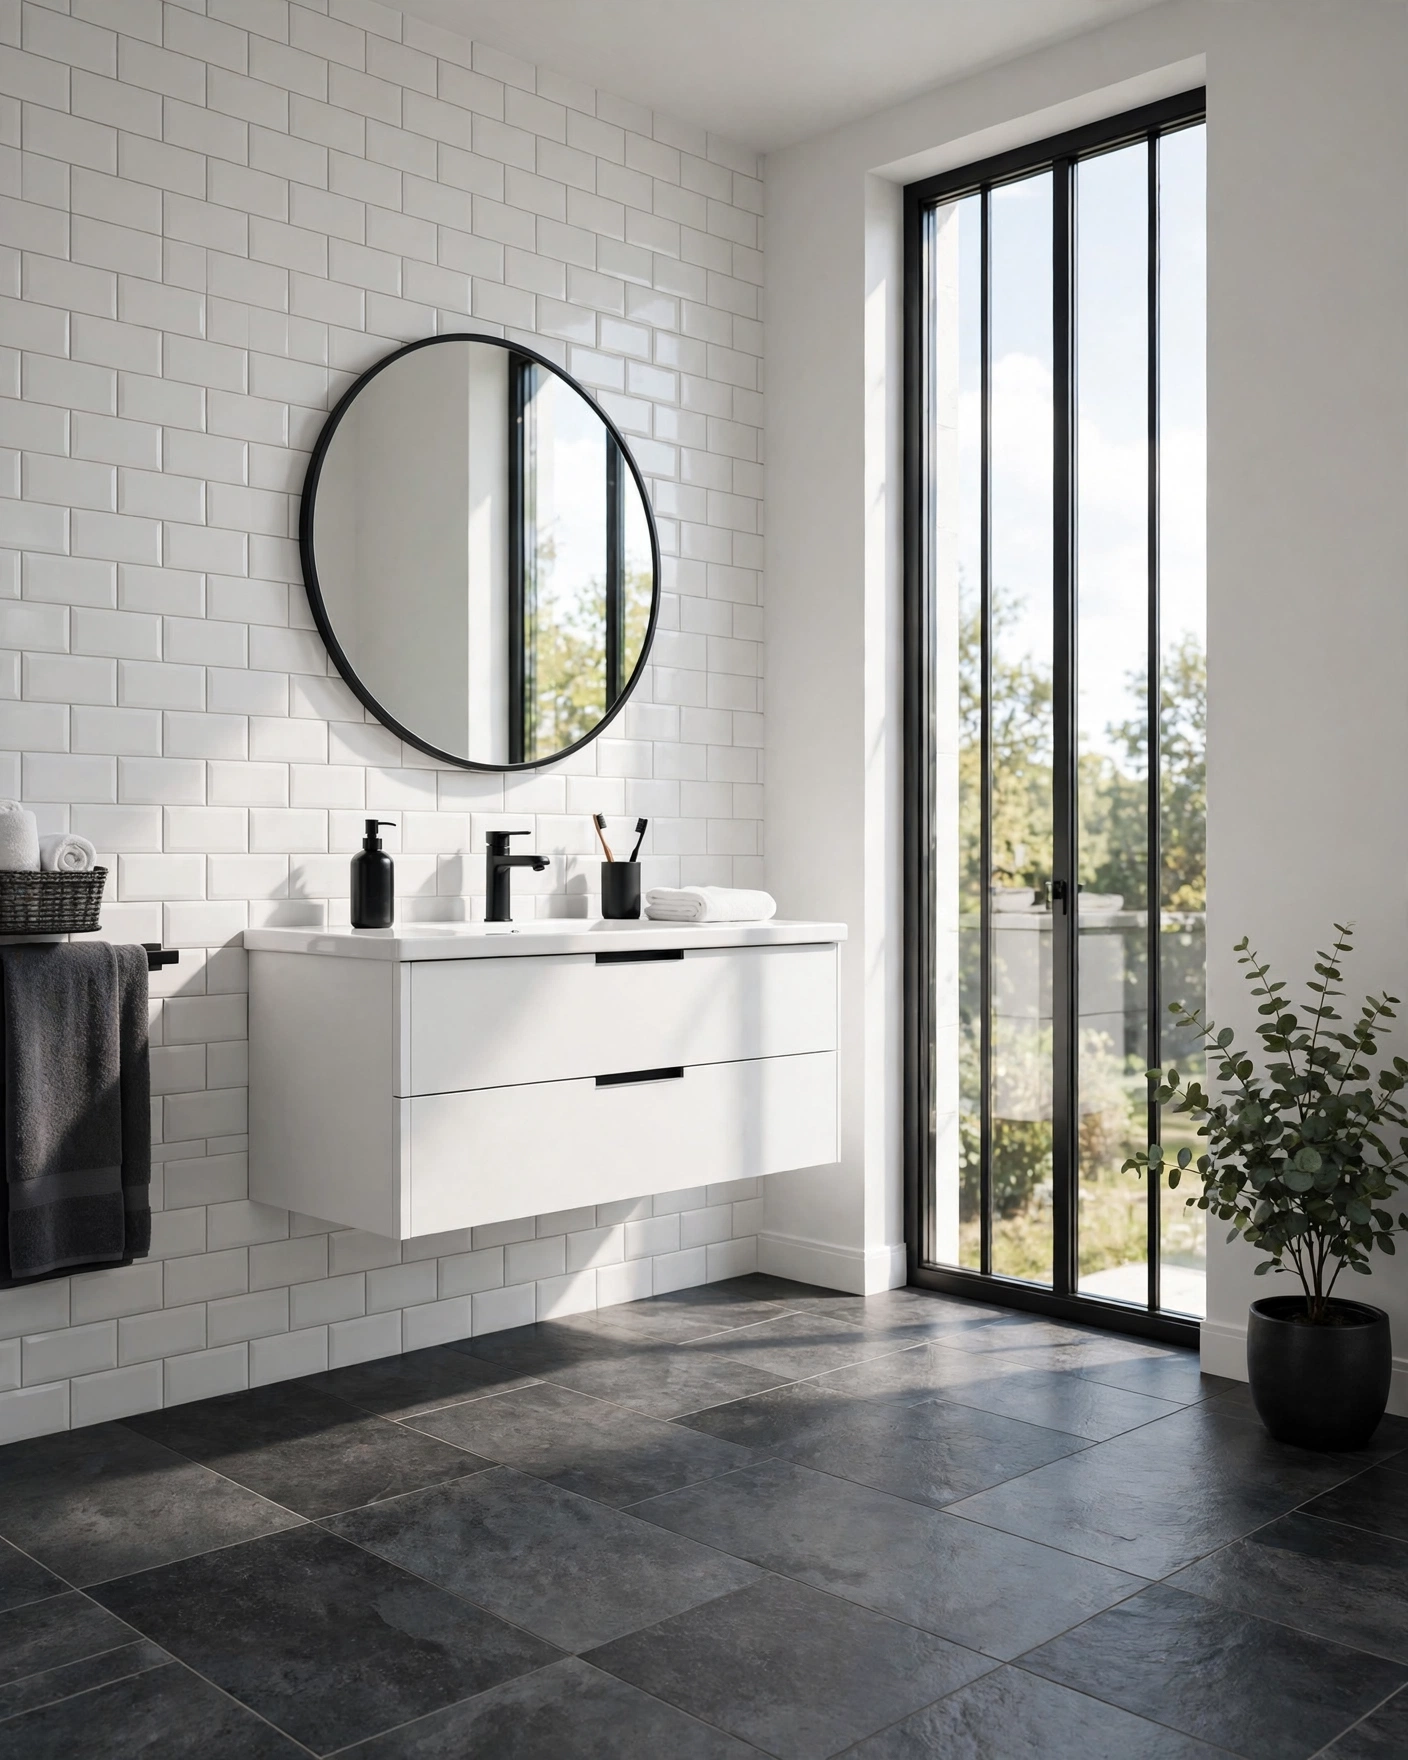
    17. Charcoal Slate-Look Tiles for Contrast

    Modern bathroom with charcoal slate-look floor tiles and bright white walls

    Charcoal slate-look tiles ground a bright bathroom and make white walls and ceramics glow by contrast. Use them on the floor only, in a 12×24 matte porcelain with subtle tonal movement. Tip: dark floors show light dust and limescale, so this finish suits bathrooms that get a quick weekly wipe rather than deep-clean-only homes.

    18. Half-Height Tile Wainscot with Painted Top

    Modern bathroom with half-height white tiles and soft painted walls above

    Tiling only the lower half of the walls and painting above keeps the wet zones protected while the room stays light and flexible. Finish the tile edge with a slim metal trim for a crisp modern line. Tip: this uses roughly half the tile of a full-height scheme — an easy way to afford a nicer tile on a tight budget.


    In Summary

    Clean and fresh is less about one magic tile and more about a few calm choices repeated well: bigger formats, fewer grout lines, matched grout and a palette that lets light do the work. Any of the ideas above can anchor a whole renovation, or you can borrow just one — a stacked subway wall, a checkerboard floor — to lift a room you’re not ready to gut.

    Start by looking at your bathroom’s light. Bright rooms can carry charcoal and black accents, while darker rooms shine with glossy whites, pale blue-grays and terrazzo. Order two or three samples, live with them for a day, and notice which one still looks clean at night.

    Whichever direction you choose, keep the palette tight and the grout quiet, and your bathroom will feel fresher every single morning — no constant scrubbing required.

  • 16 Herringbone Tile Ideas That Add Movement to Any Bathroom

    16 Herringbone Tile Ideas That Add Movement to Any Bathroom

    Some bathrooms are perfectly fine — and completely forgettable. The tile is neat, the grout is straight, and nothing makes you look twice. Nine times out of ten, what’s missing is movement.

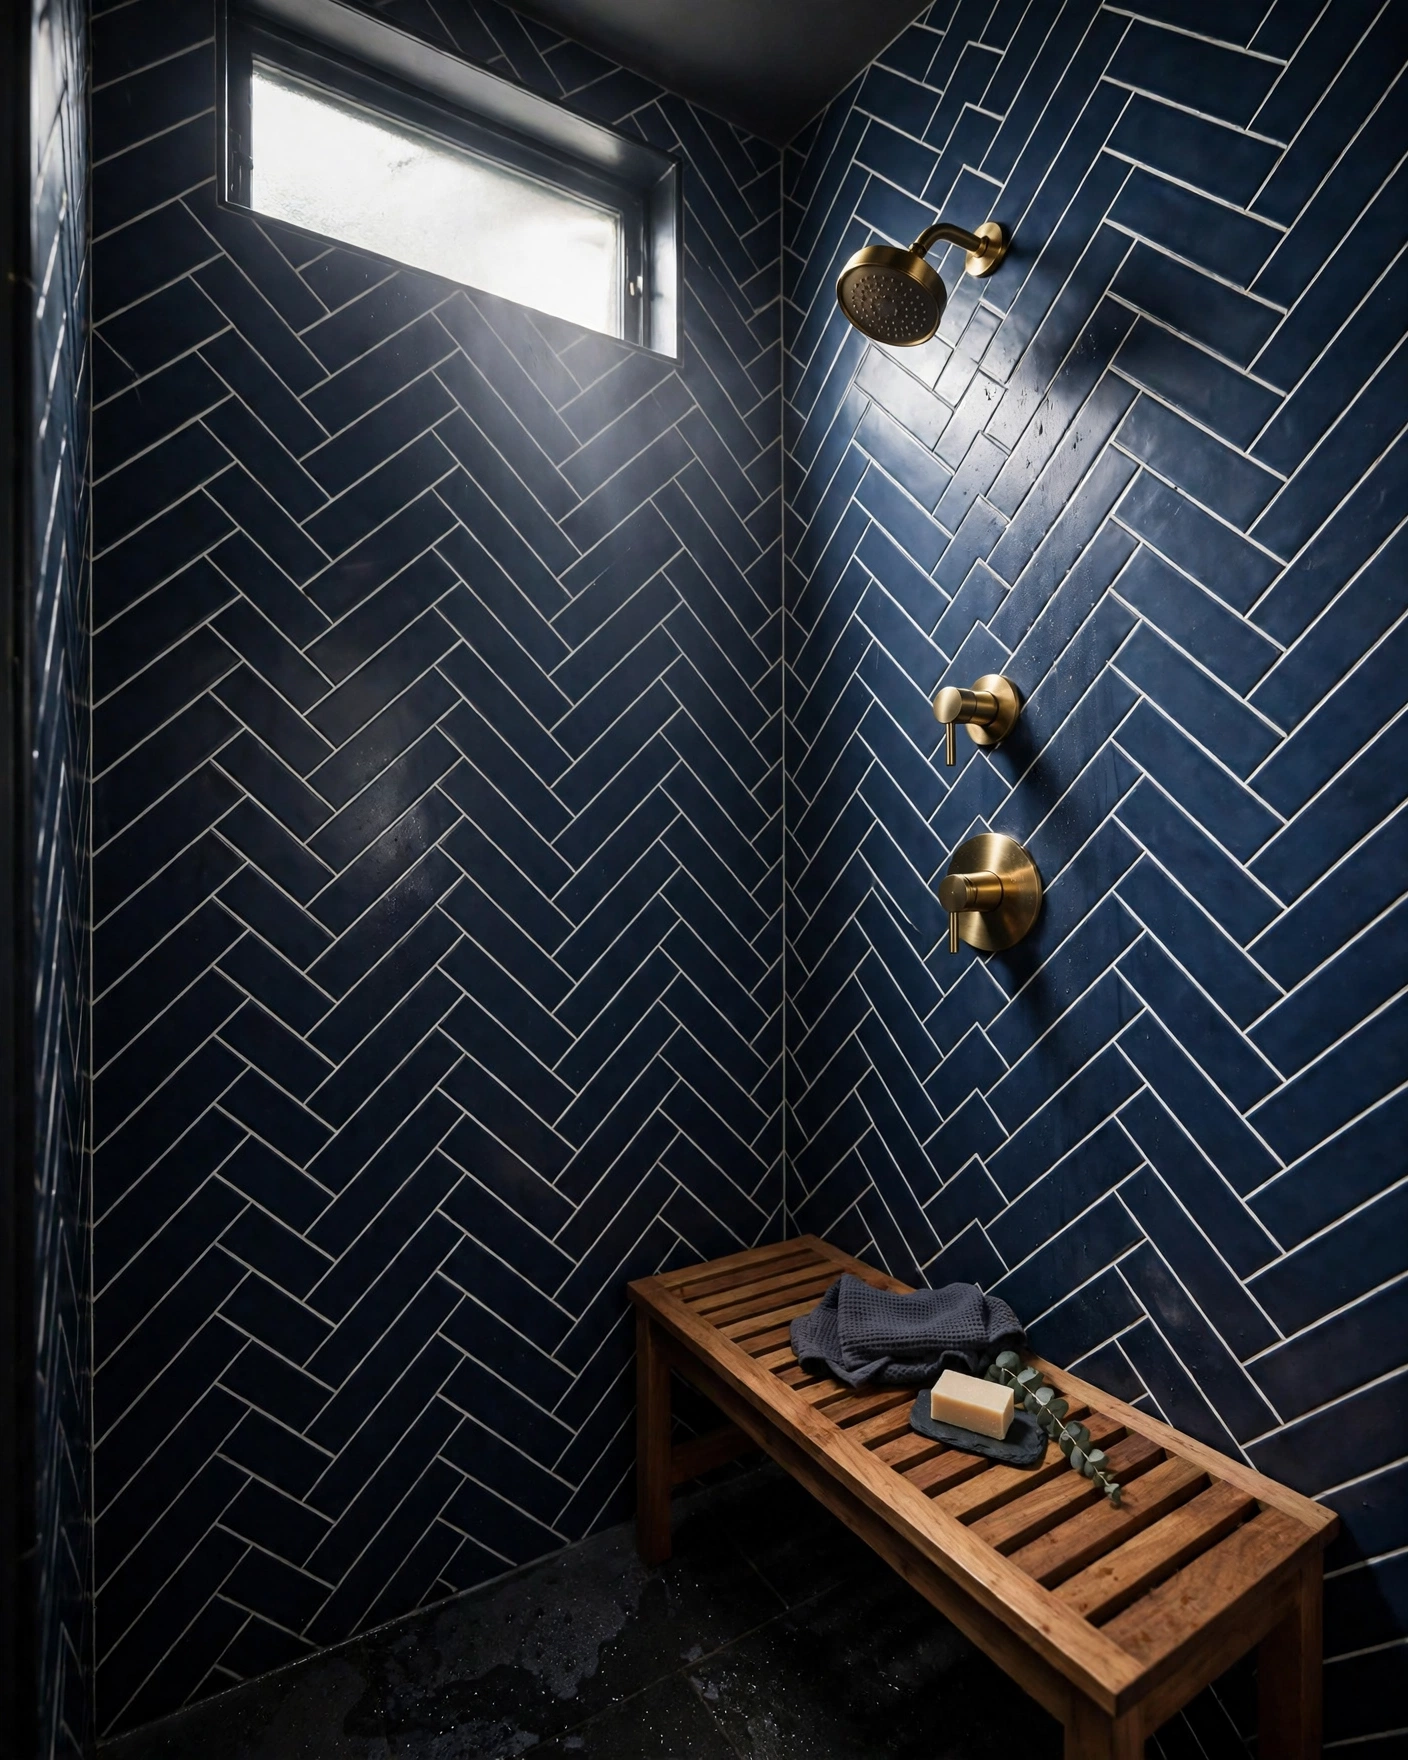
    Herringbone is the easiest way to add it. The zigzag turns ordinary rectangular tiles into a pattern with rhythm and direction, leading the eye across a floor or up a shower wall and making small rooms feel deliberately designed.

    Here are 16 herringbone tile bathroom ideas for floors, showers, vanity walls and niches, each with the sizes, materials and layout details to copy, plus a practical tip for getting the pattern right first time.


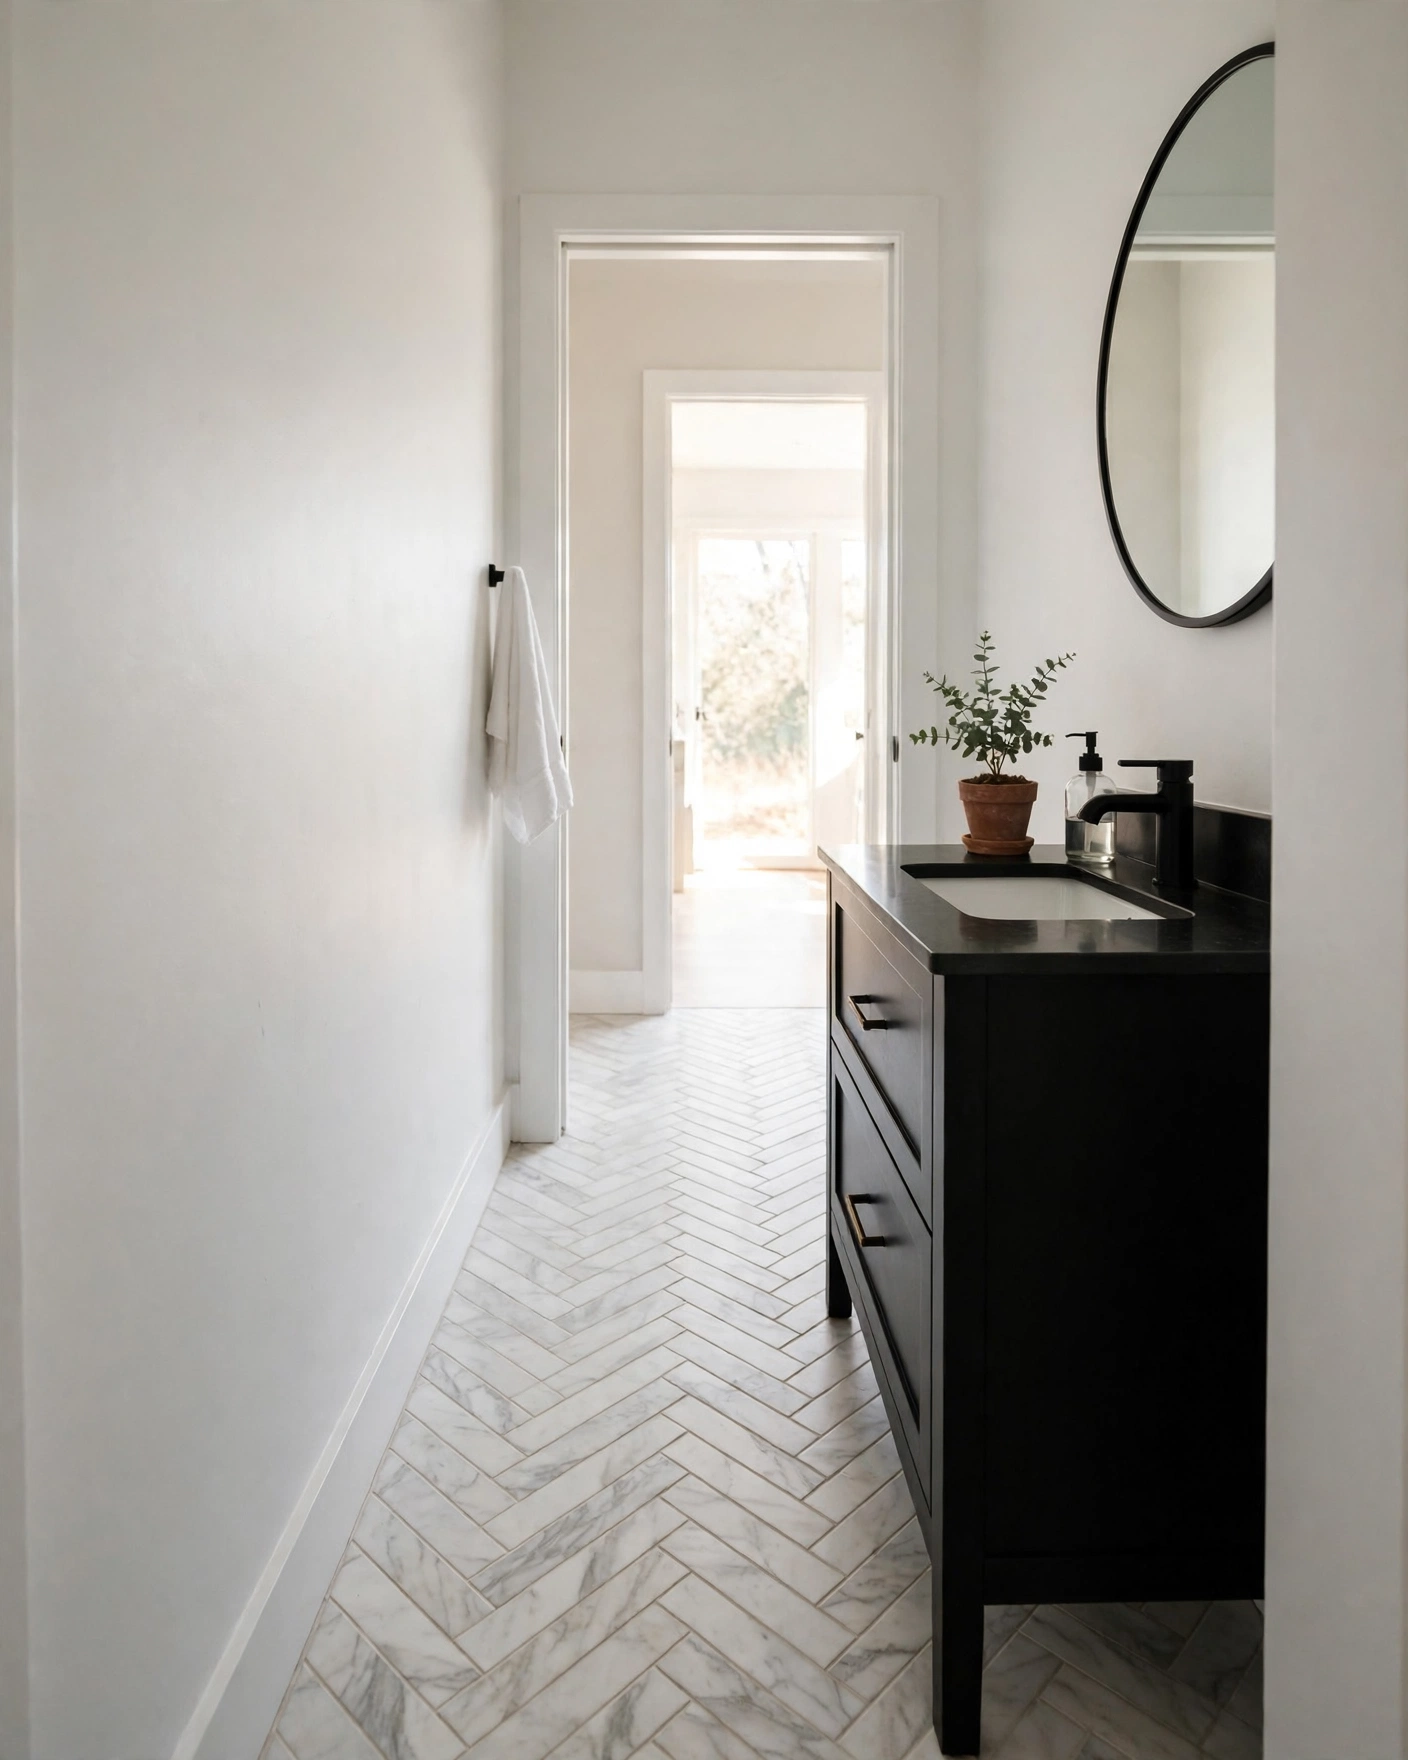
    1. Classic White Ceramic Herringbone Floor

    Classic white ceramic herringbone floor tiles with gray grout in bright bathroom

    The timeless version: glossy white 3×6 ceramic laid at 45 degrees across the whole floor. It suits nearly every style, brightens dark rooms and pairs with any vanity color. Tip: choose a mid-gray grout — white grout shows every speck of dirt between the many joints this pattern creates.

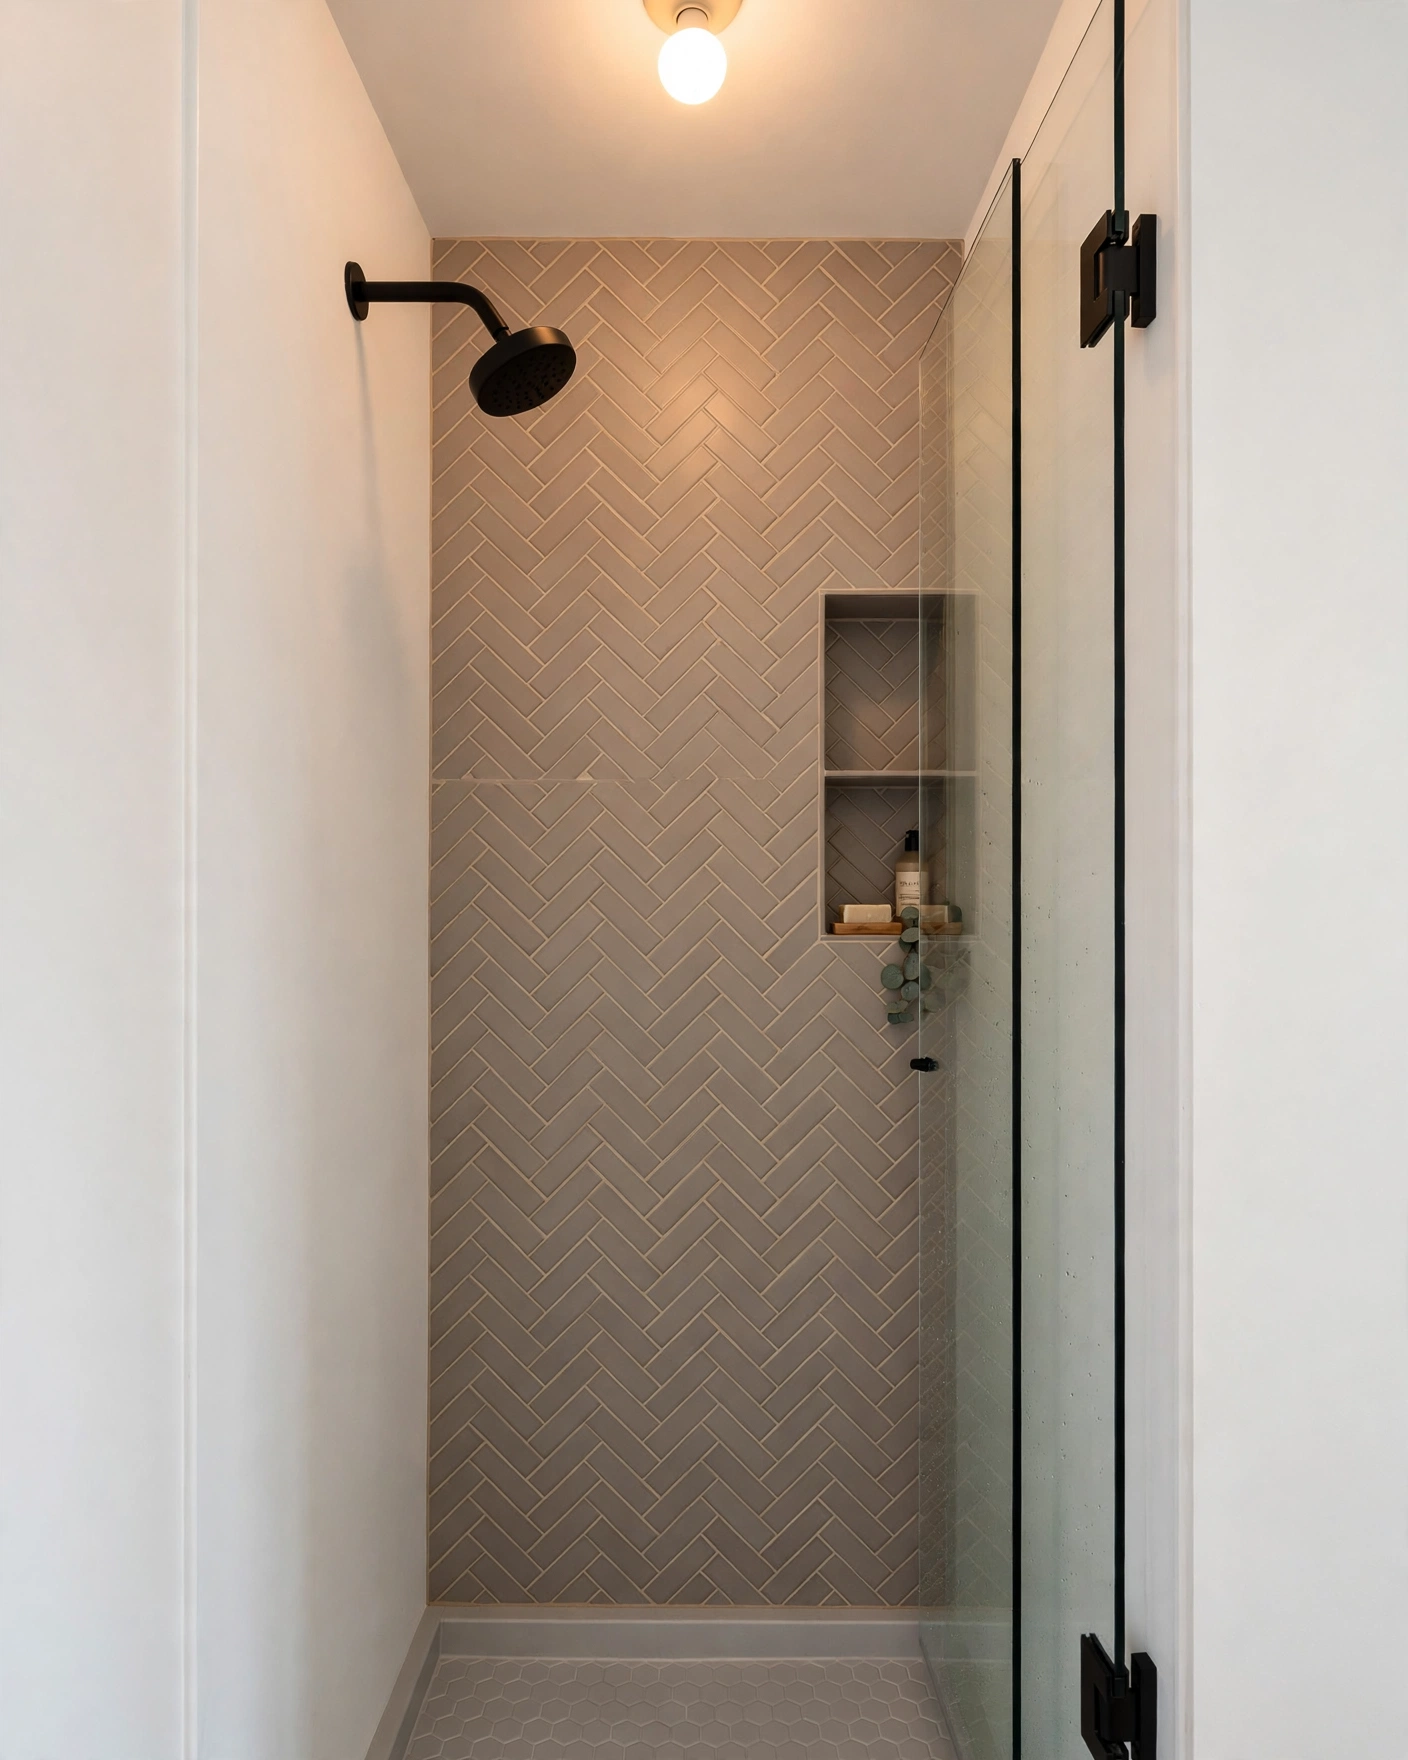
    2. Soft Gray Herringbone Shower Wall

    Soft gray herringbone tiles covering a shower back wall to the ceiling

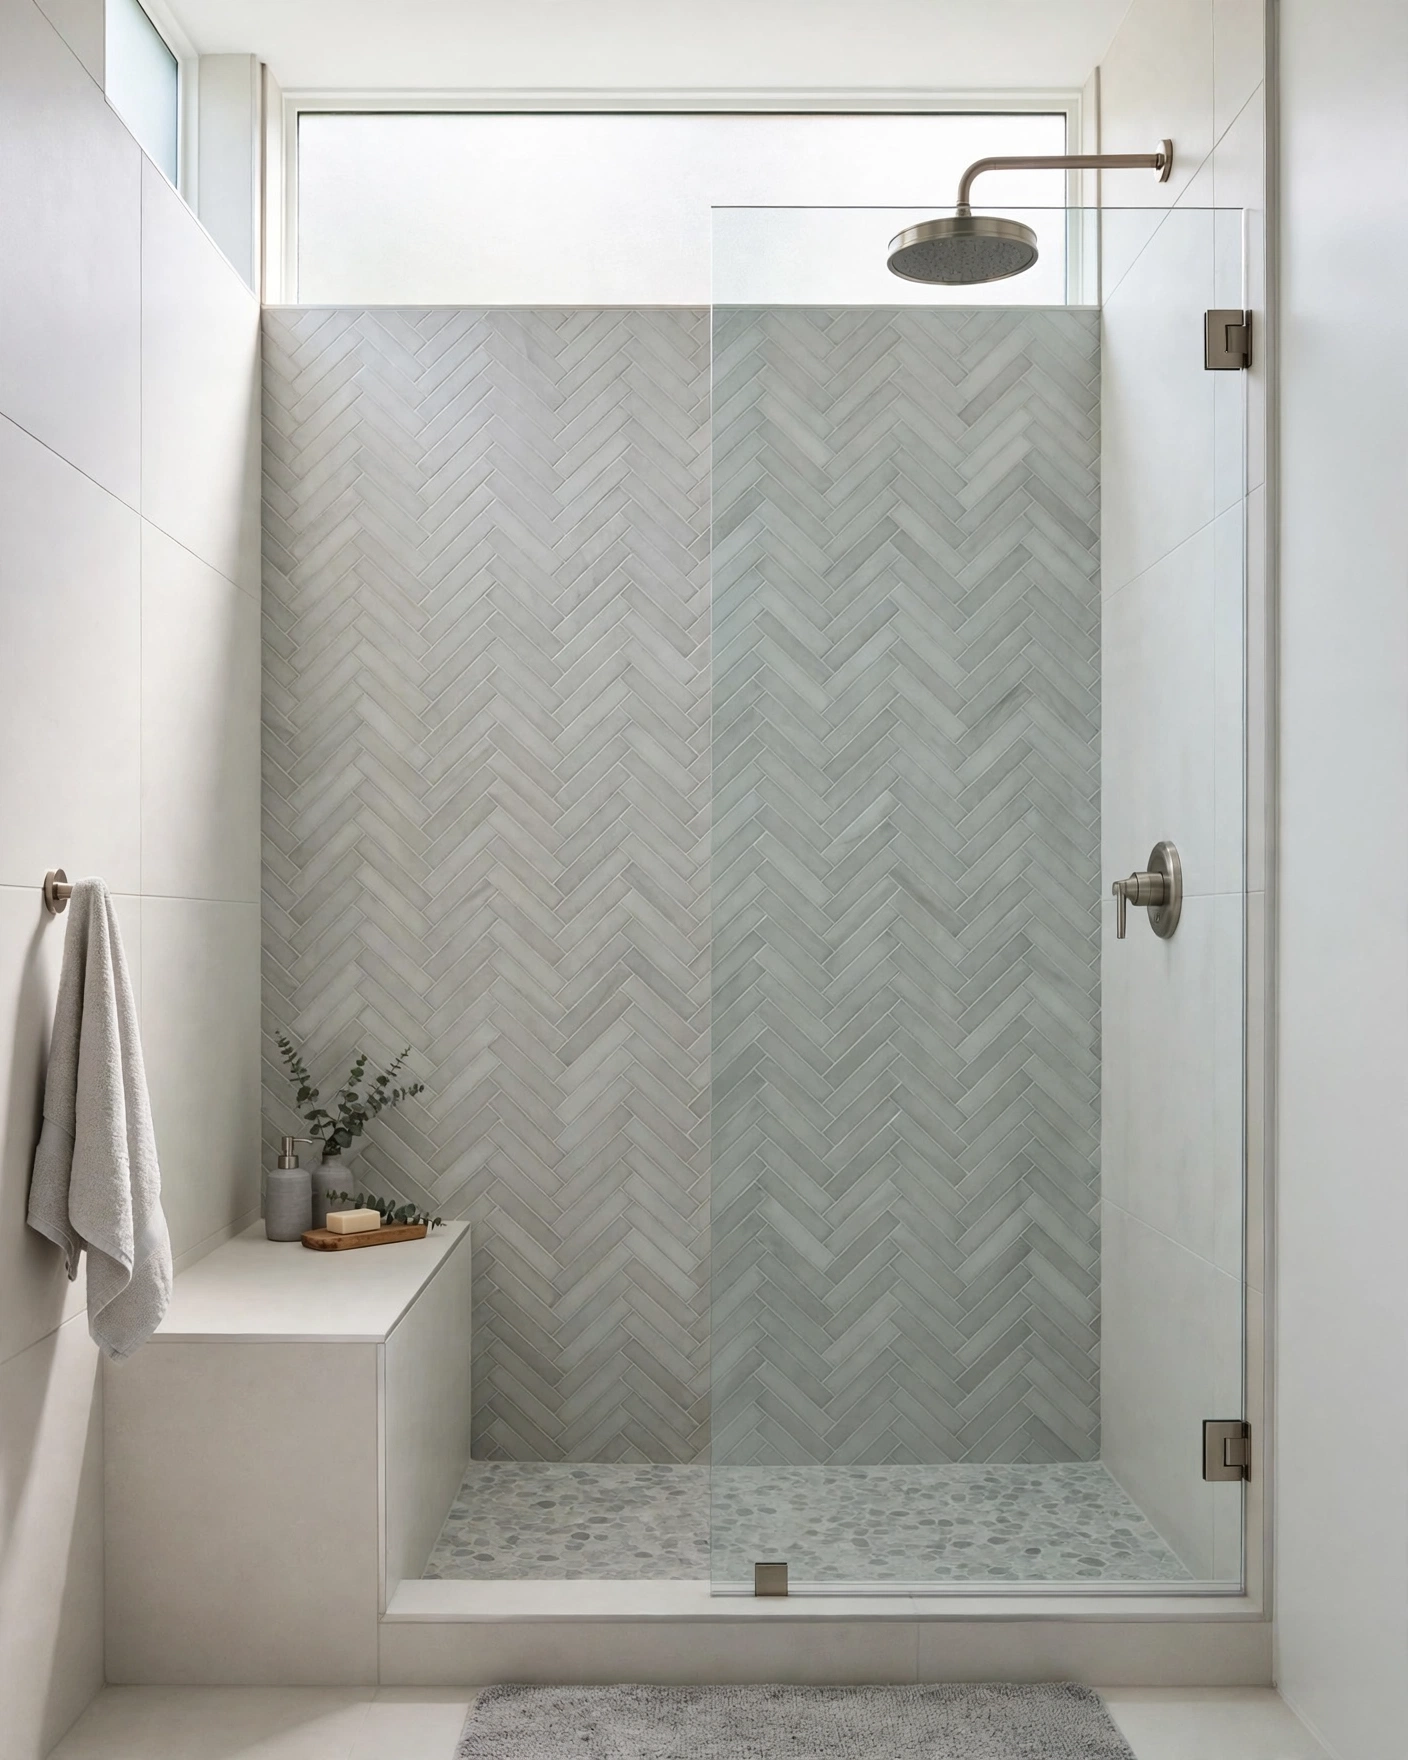
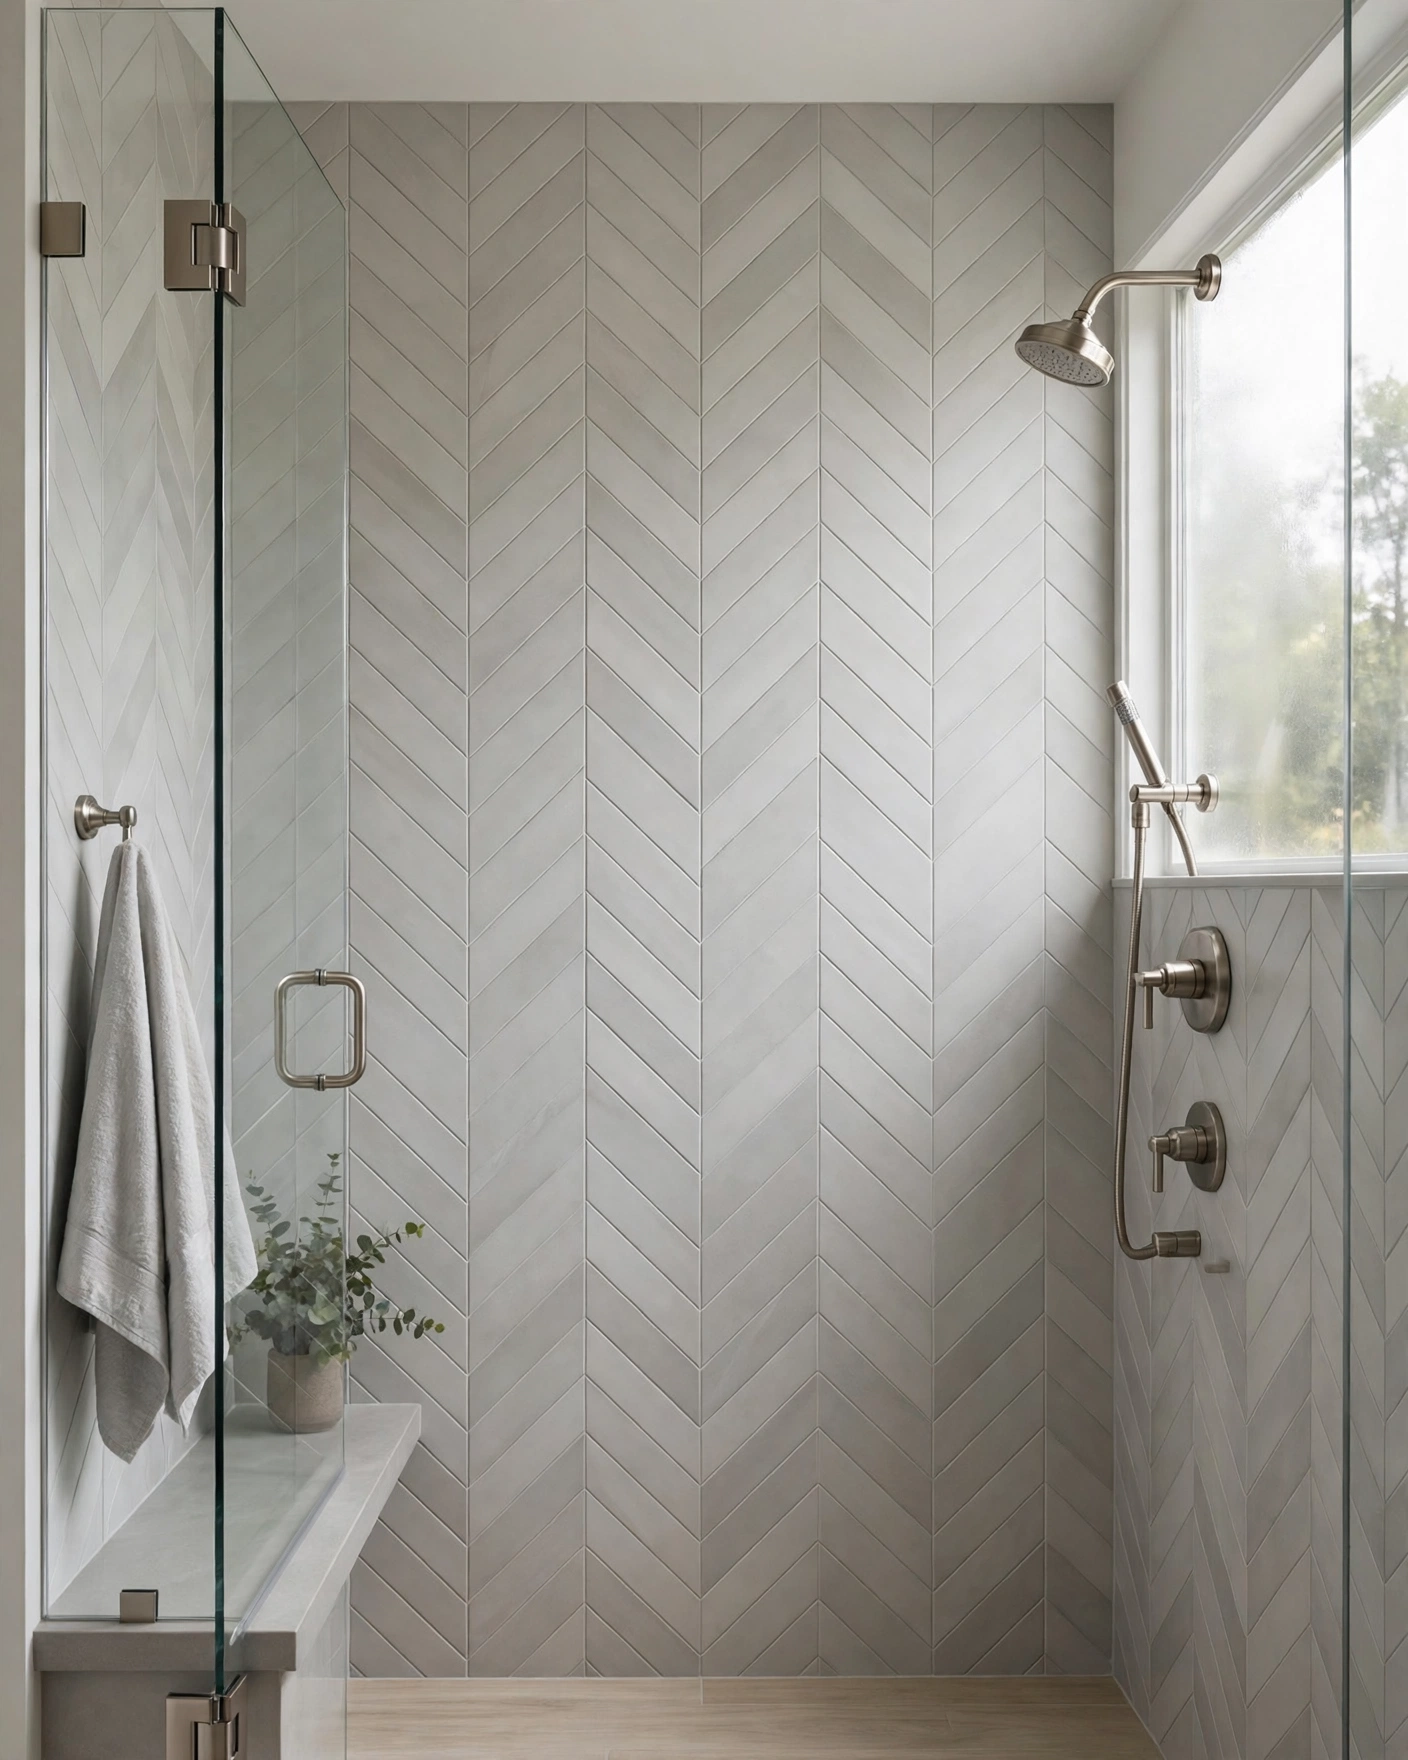
    In the shower, herringbone turns a plain enclosure into the focal point. Use matte 2×8 gray porcelain on the back wall, run it to the ceiling, and keep side walls in large plain tiles for contrast. Tip: plan from the center line outward so cuts at both corners come out even.

    3. Vertical Herringbone Vanity Wall

    Vertical herringbone tiles in pale aqua climbing a bathroom vanity wall

    Rotate the pattern so the zigzag climbs instead of spreads, and a low-ceilinged room suddenly feels taller. Glossy 3×12 ceramic in pale aqua or soft white works beautifully behind the mirror. Tip: vertical herringbone is less expected than the classic floor layout, so it reads as a deliberate designer choice.

    4. Wood-Look Plank Herringbone Floor

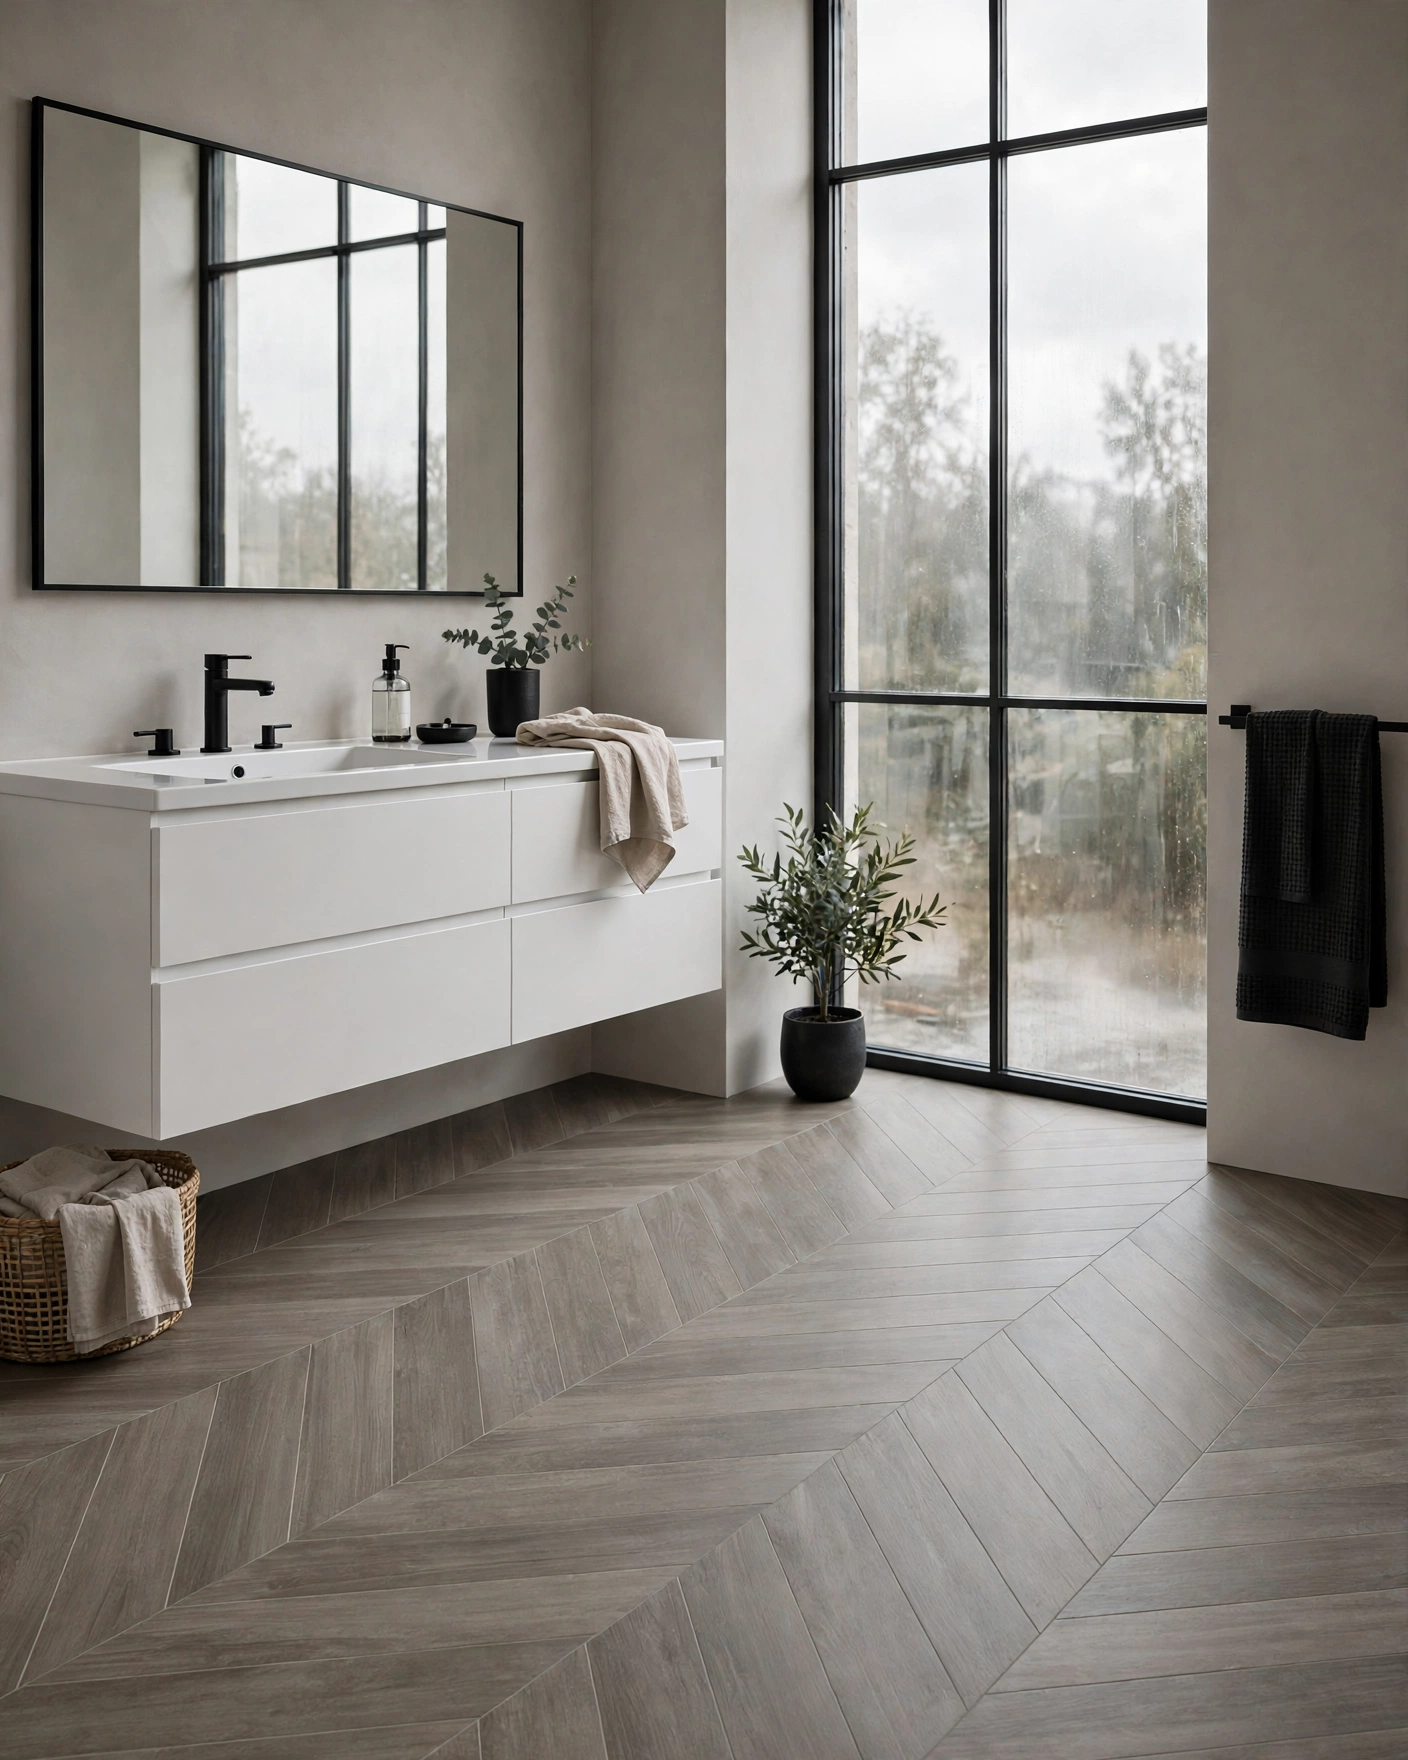
    Wood-look porcelain planks in herringbone pattern on a narrow bathroom floor

    Wood-look porcelain planks in herringbone give you a parquet floor’s elegance with none of wood’s fear of water. Choose mid-oak planks in 4×16 or 6×24, run lengthwise down the room. Tip: keep joints tight and grout close to the plank color, so it reads as real timber.

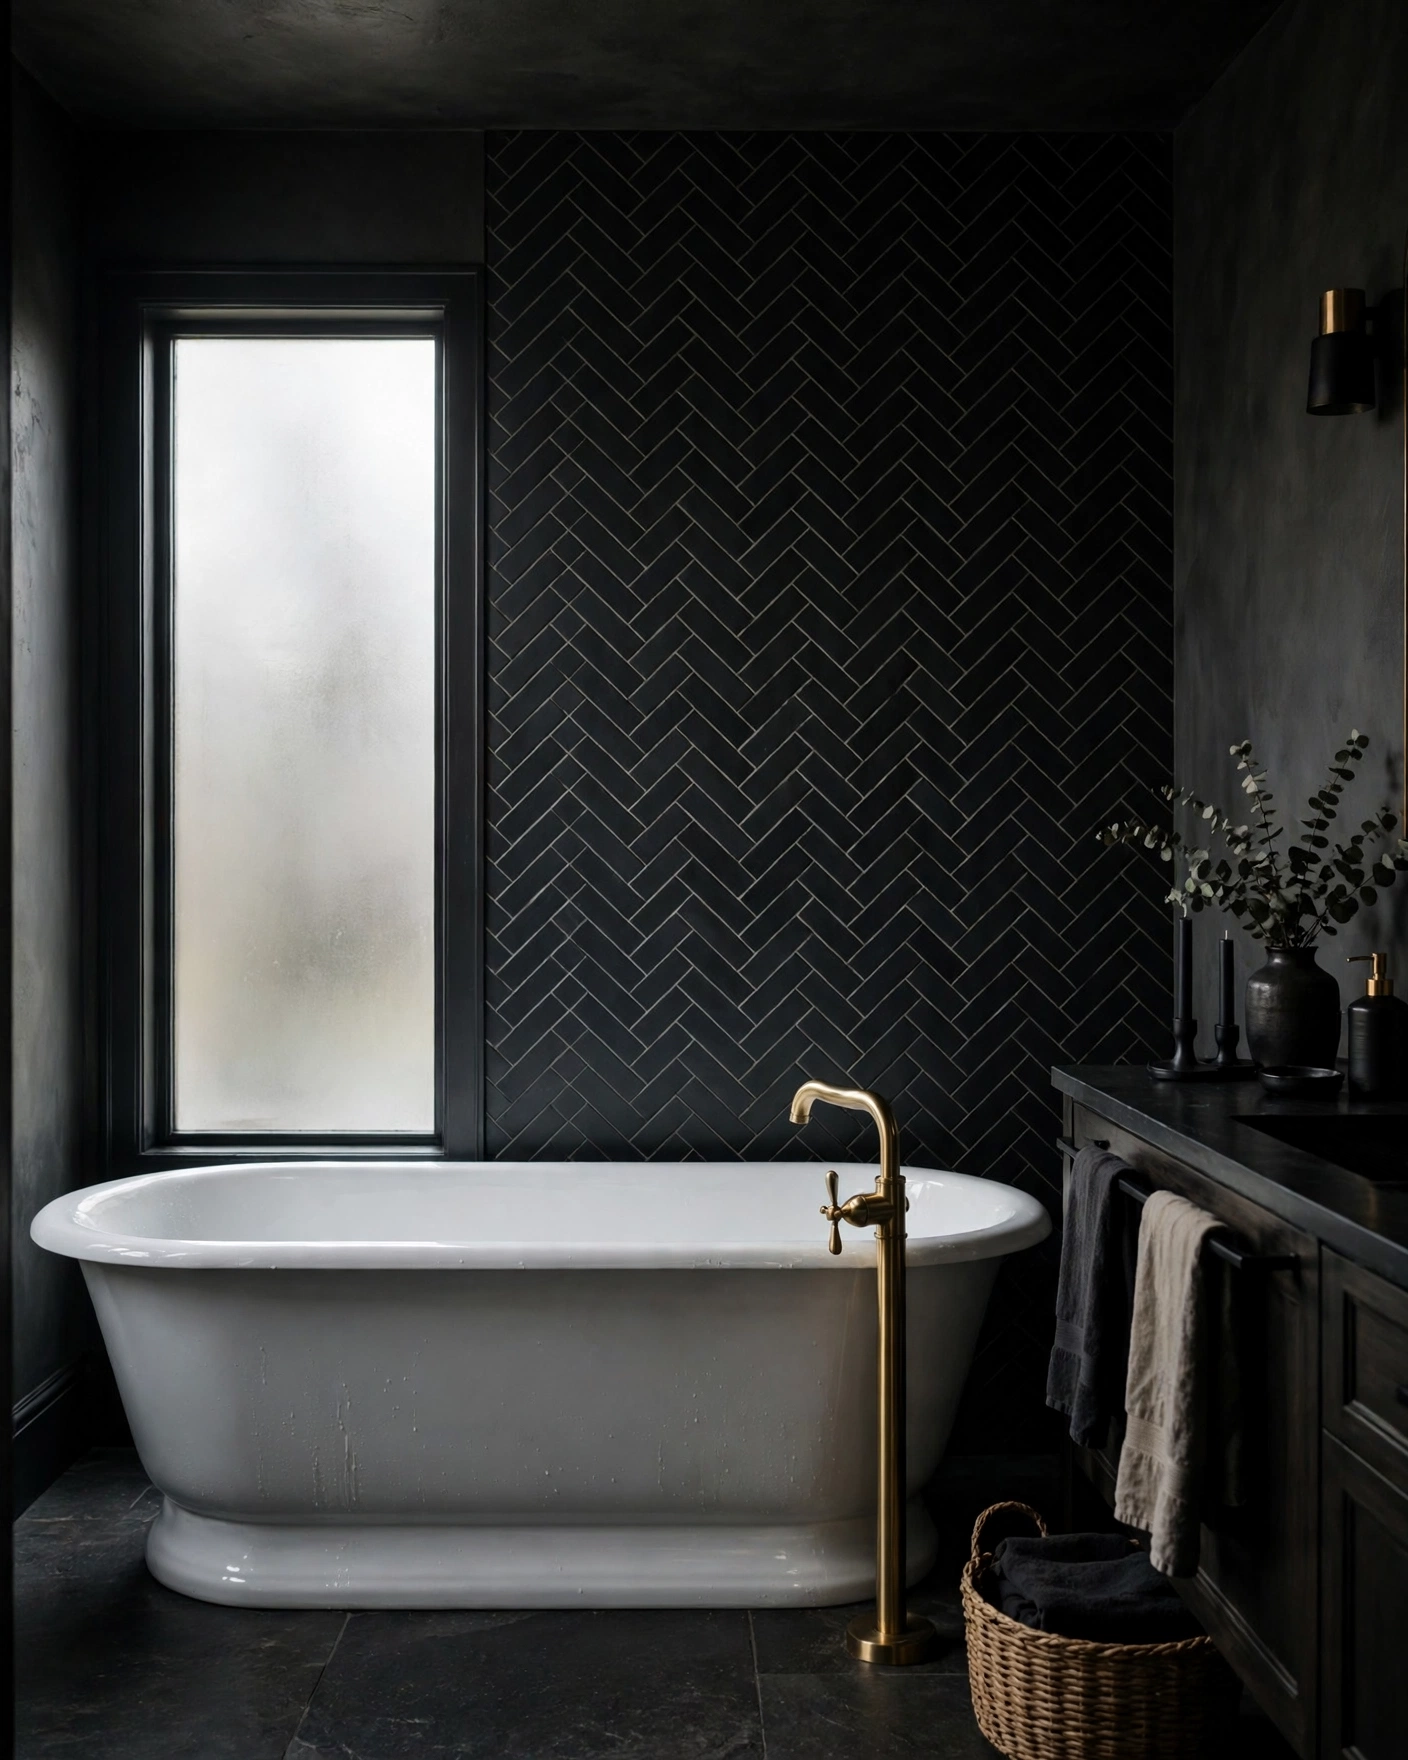
    5. Matte Black Herringbone Feature Wall

    Matte black herringbone feature wall behind a white freestanding bathtub

    For drama, few things beat matte black herringbone behind a white tub or vanity — the zigzag keeps the dark wall from feeling flat. Use 2×8 or 3×12 matte porcelain and a light gray grout to trace the pattern. Tip: black tile shows soap scum and water spots, so keep it outside the direct spray zone.

    6. Double Herringbone for Bold Energy

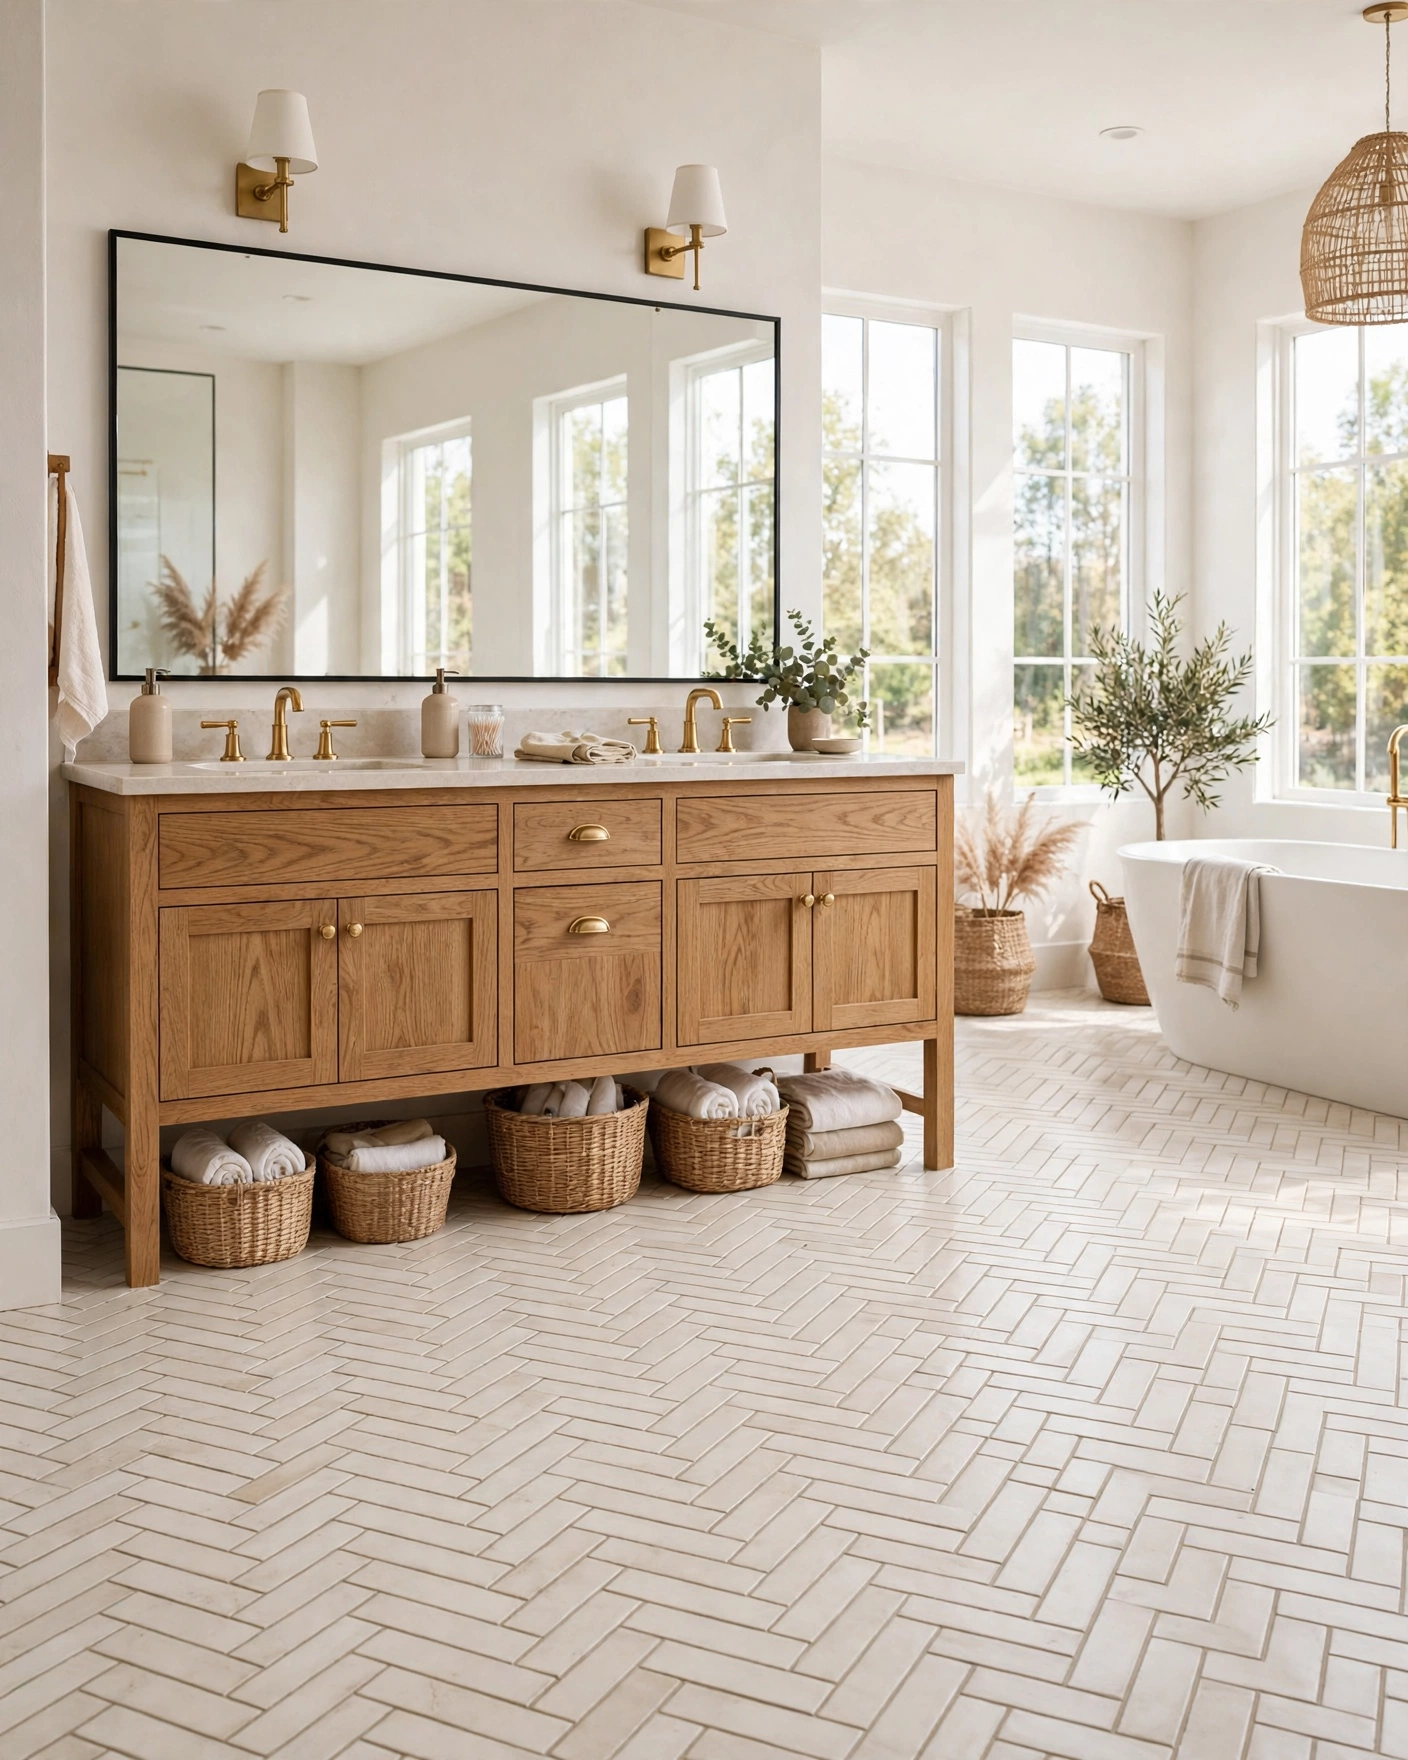
    Double herringbone floor pattern in warm white tiles in a spacious bathroom

    Double herringbone pairs tiles two by two before zigzagging, doubling the pattern’s scale and energy — ideal for larger floors. A warm white 3×12 ceramic keeps it bold but not busy. Tip: this layout involves more cuts and time, so dry-lay a full repeat on the floor before mixing any adhesive.

    7. 90-Degree Herringbone with a Modern Edge

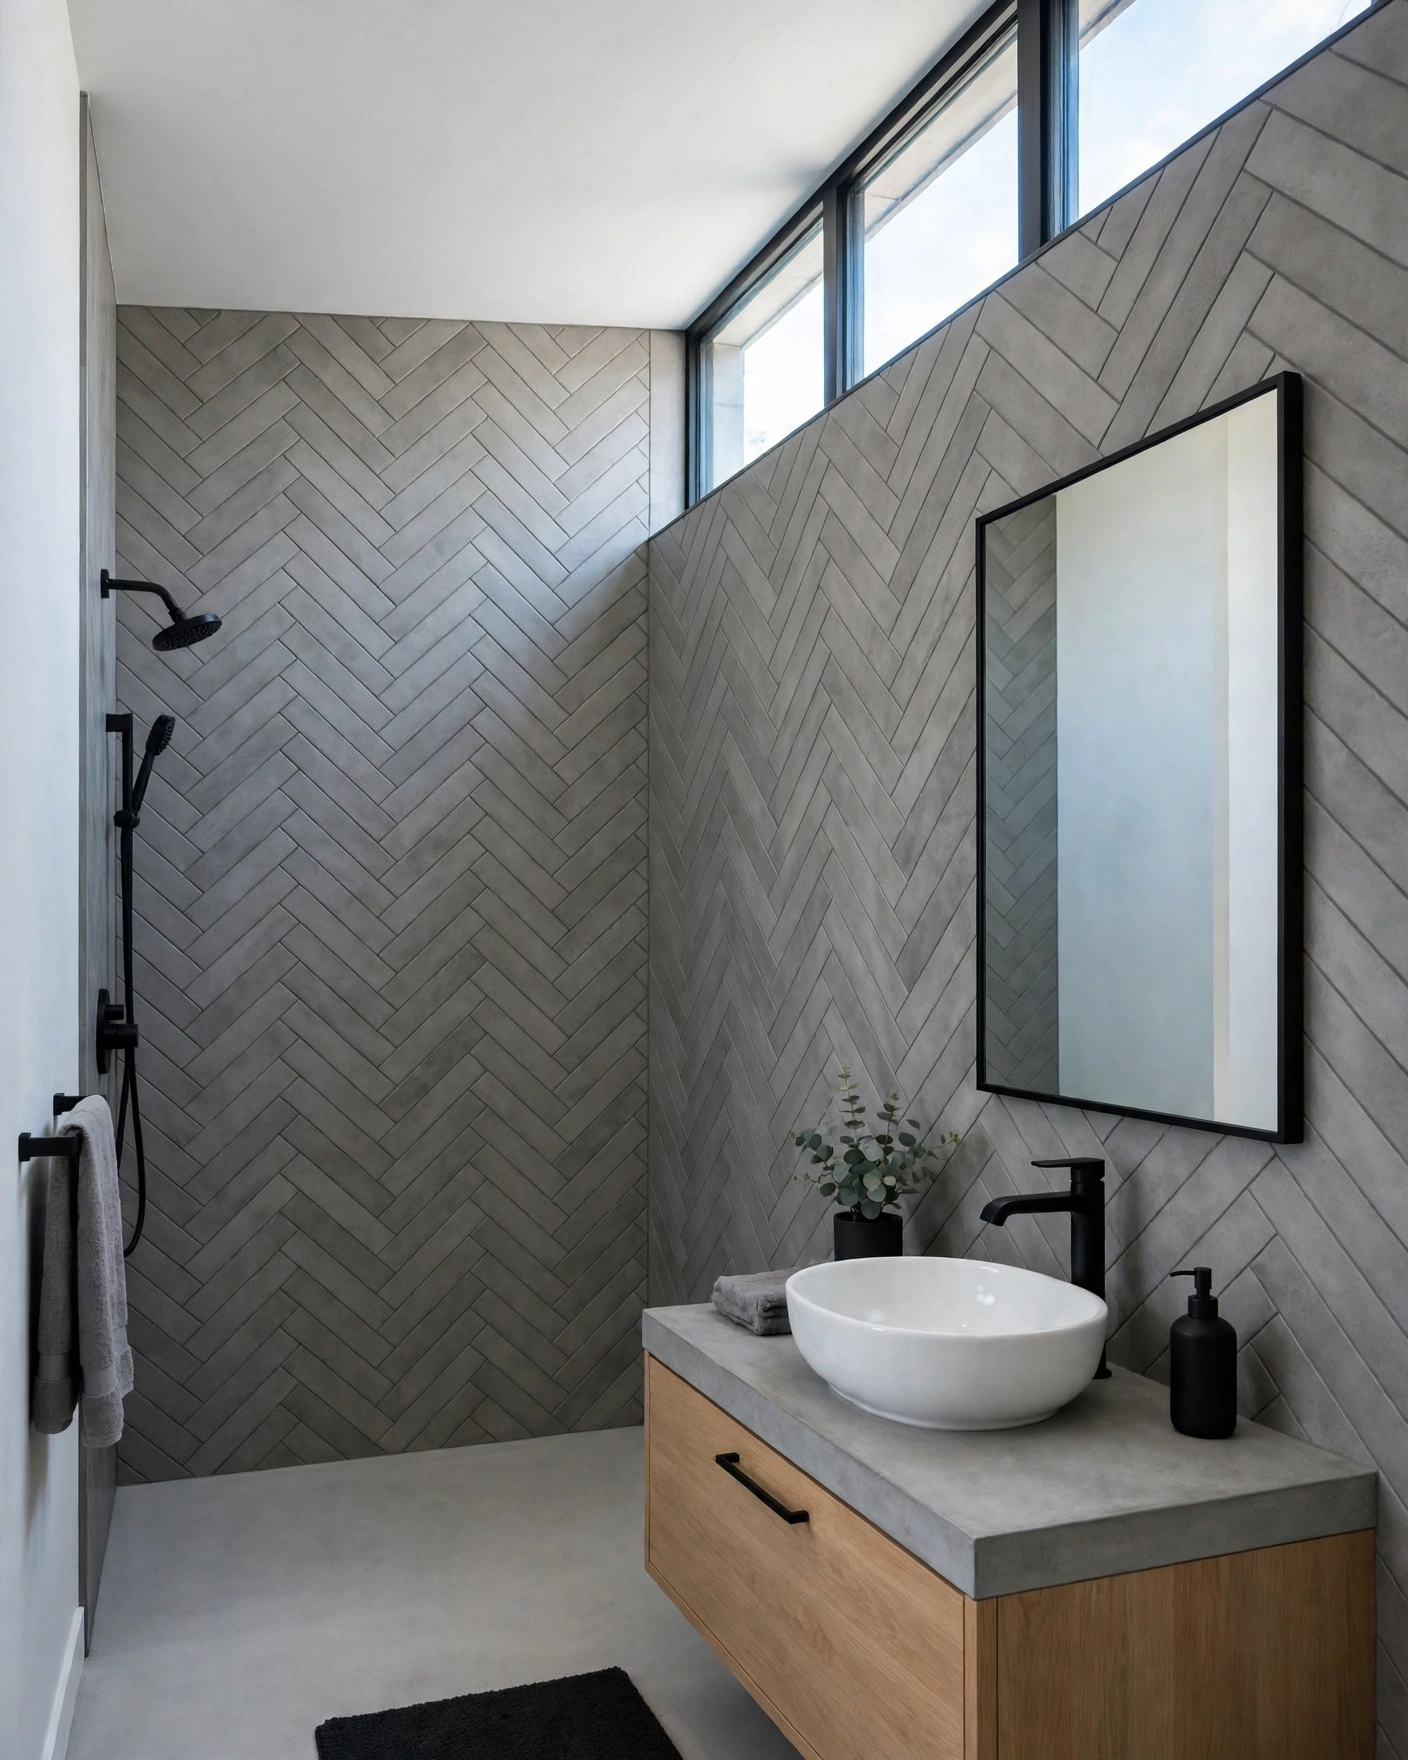
    Ninety-degree herringbone tiles in concrete-look gray on a modern bathroom wall

    Turning the pattern to a straight 90-degree angle trades vintage charm for crisp, architectural lines. Try it in concrete-look or solid matte tiles on a shower or vanity wall. Tip: the straighter geometry is more forgiving for first-time tilers than the classic 45-degree layout, with simpler cuts at the edges.

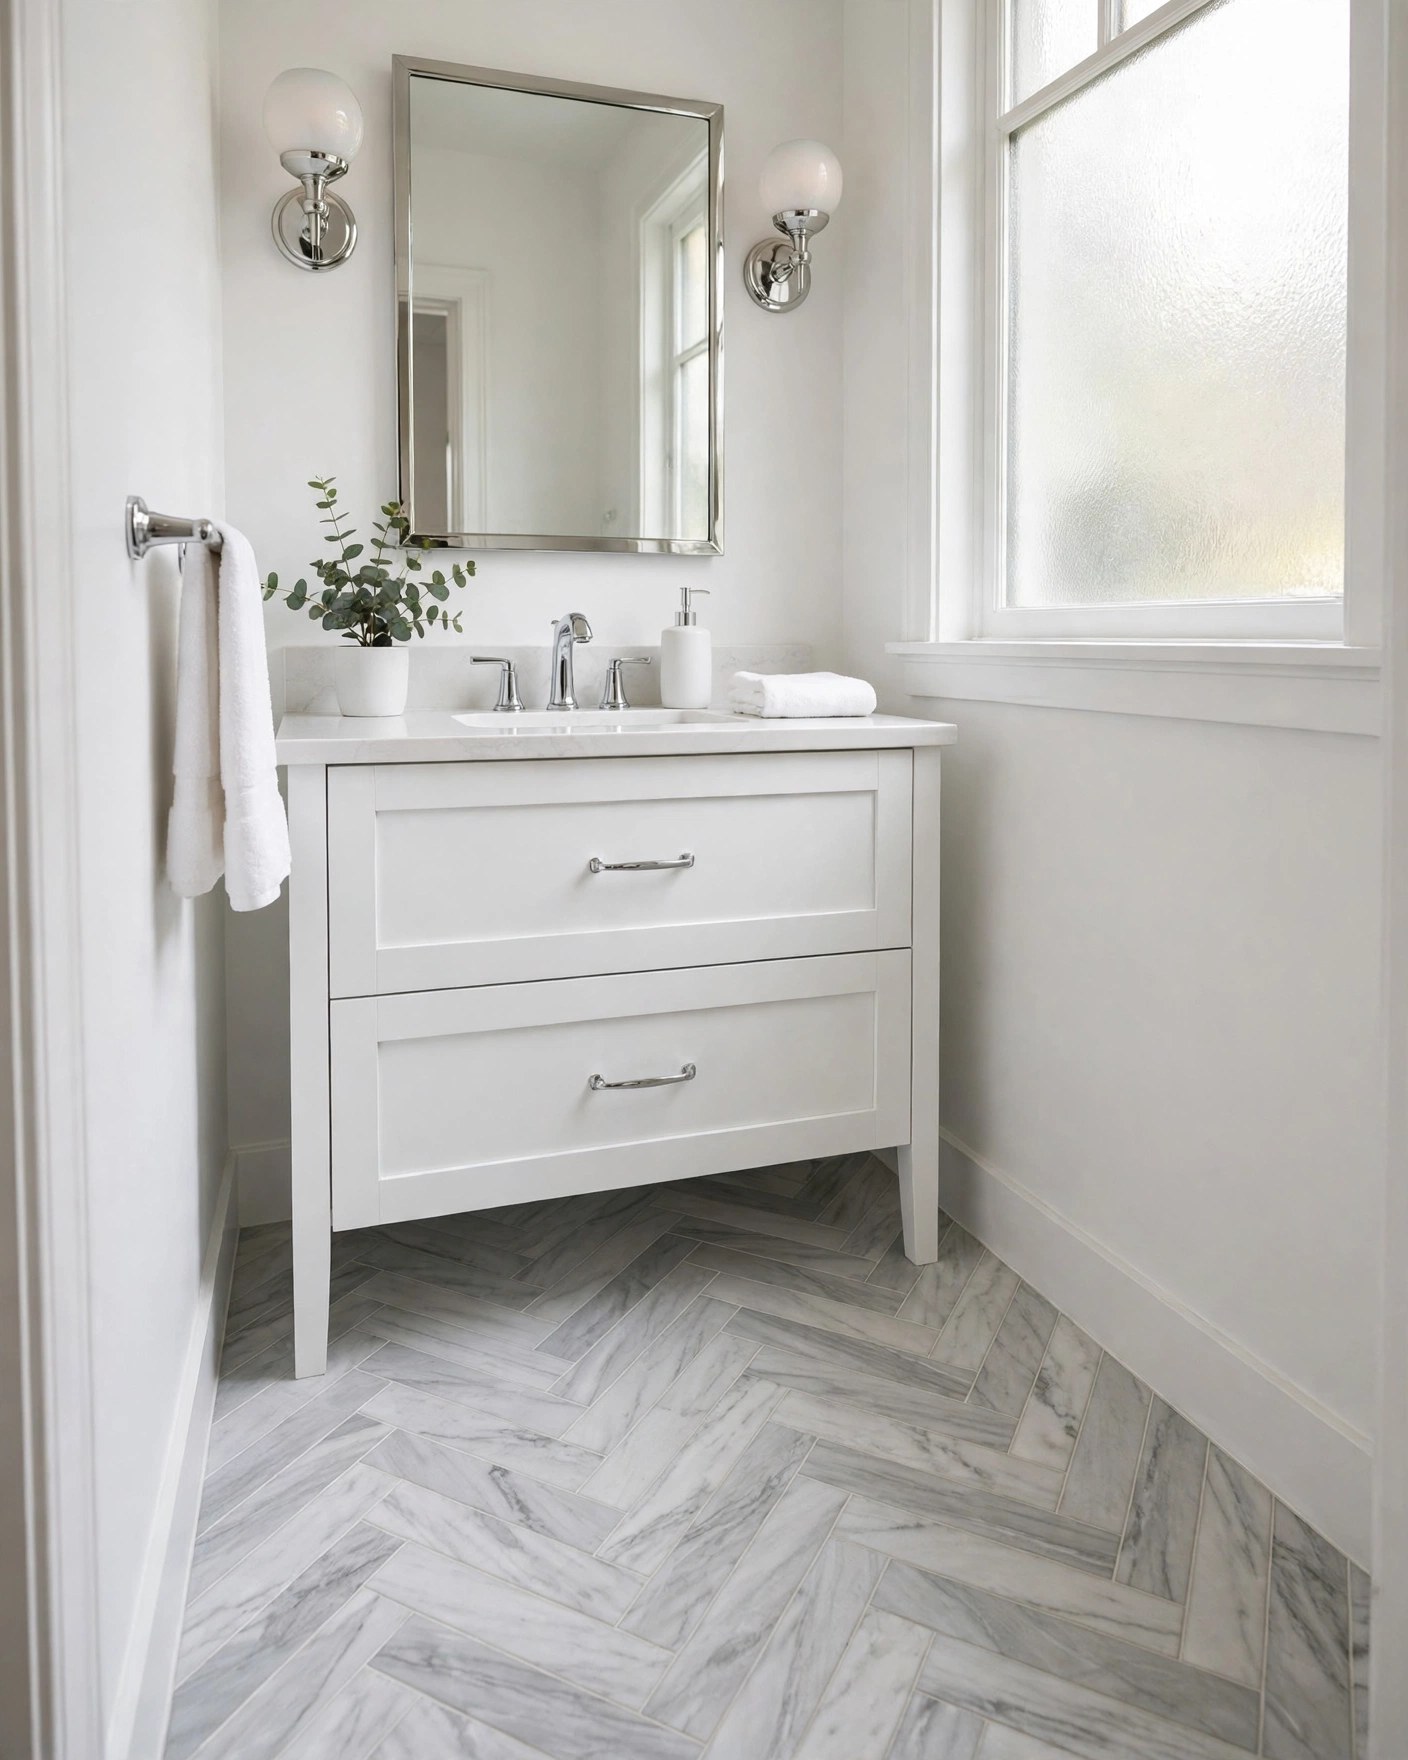
    8. Marble-Look Herringbone Floor

    Marble-look herringbone floor tiles with soft veining in an elegant bathroom

    Marble-look porcelain in herringbone layers two luxuries at once: flowing veining and lively movement. Keep the format small — 3×12 planks — so the vein dances across the zigzag; let walls stay plain. Tip: because so many tiles meet at angles, order at least 15 percent extra to cover cuts and waste.

    9. Sage Green Herringbone Wall Tile

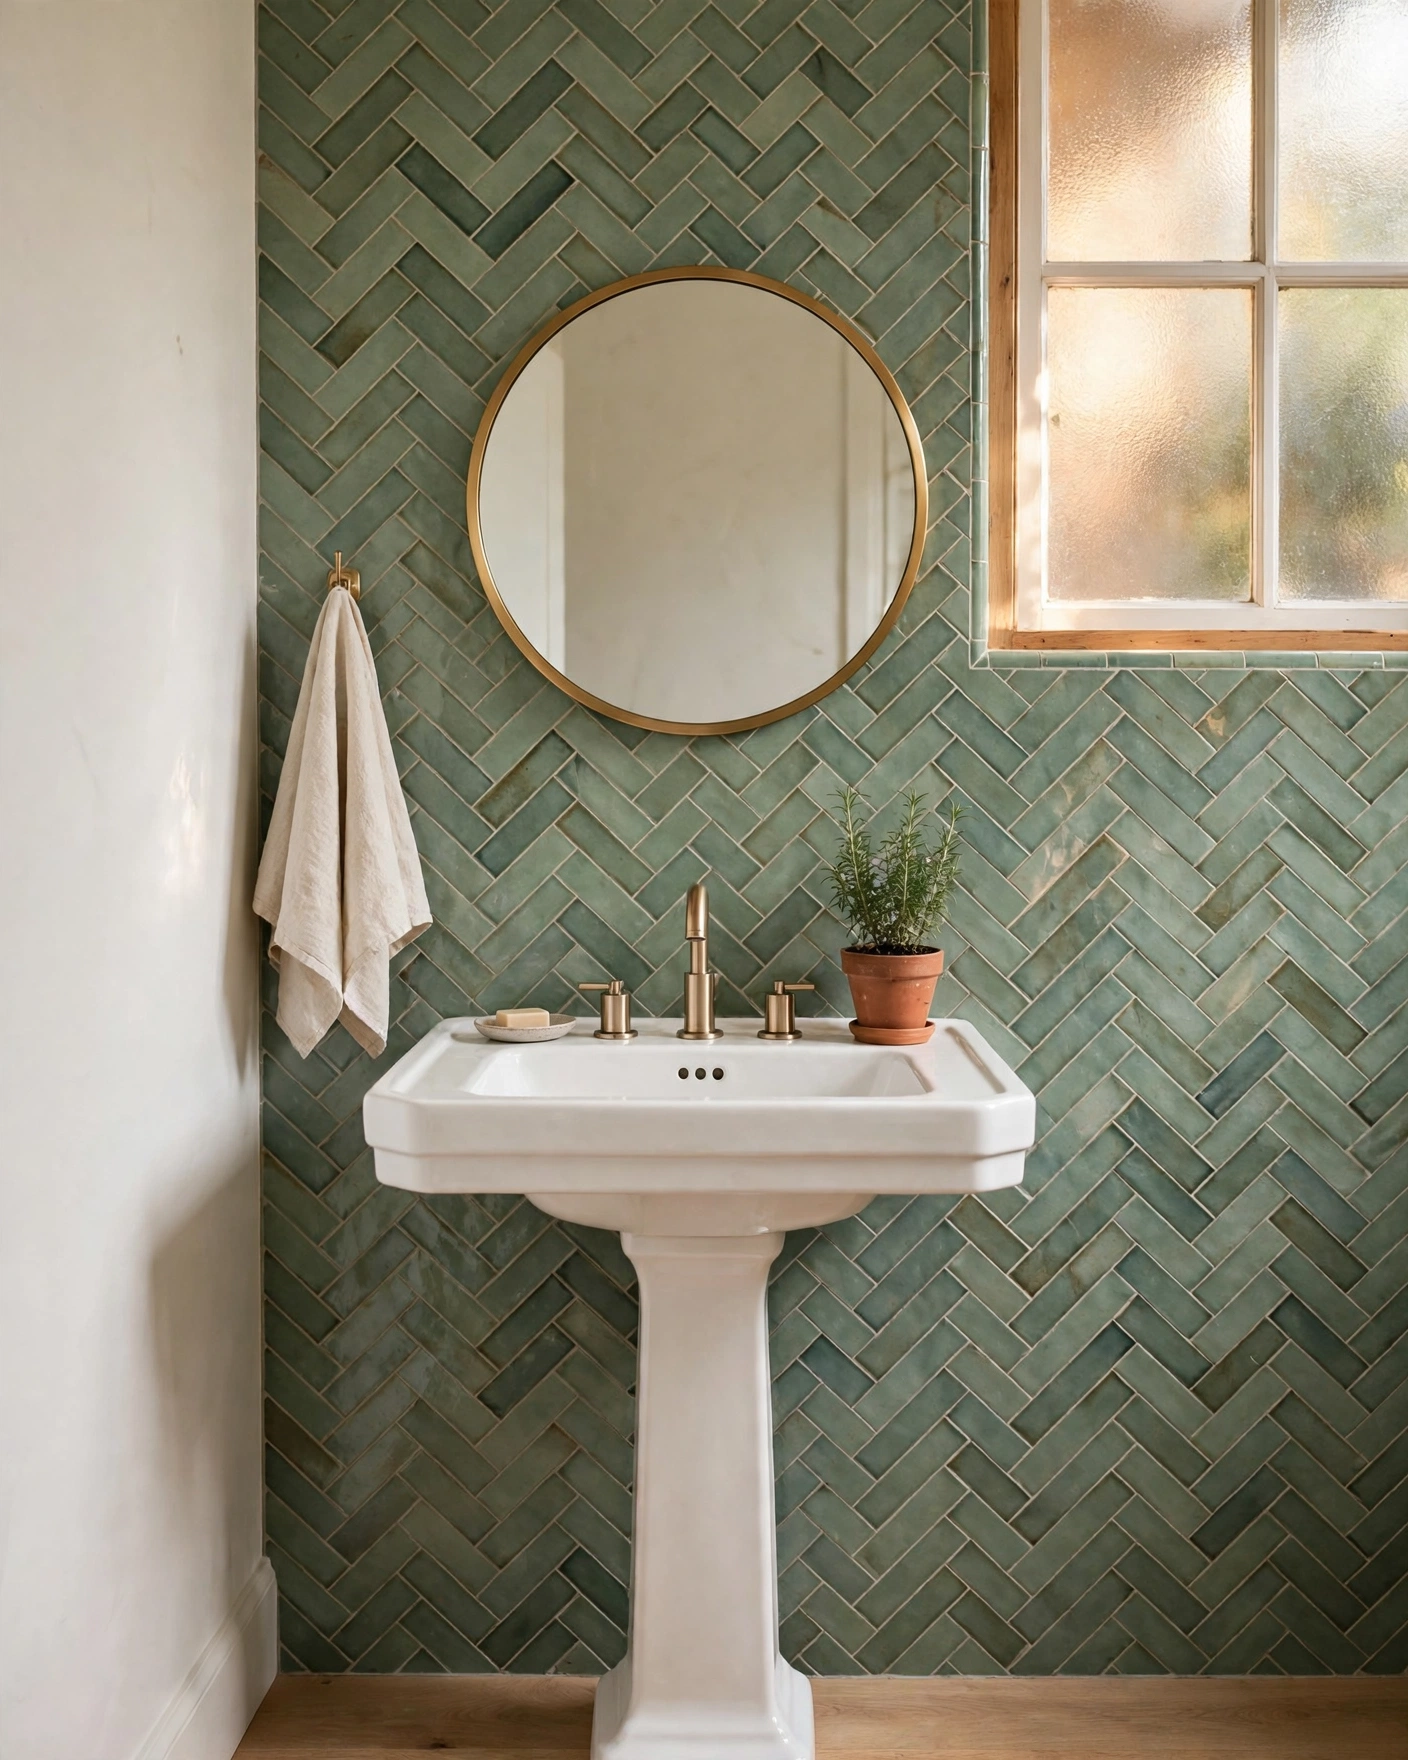
    Sage green herringbone wall tiles behind a pedestal sink with brass mirror

    Sage green herringbone brings color and pattern in one move, and the zigzag makes the soft green feel alive. A glossy zellige-look 2×8 tile behind the vanity or in the shower is the sweet spot. Tip: green tiles vary by batch, so buy all your boxes at once and blend tiles from several boxes as you lay.

    10. Large-Format Herringbone with Fewer Grout Lines

    Large-format herringbone planks with few grout lines on a contemporary bathroom floor

    Herringbone doesn’t have to mean hundreds of tiny pieces — 6×24 or 8×32 planks create the same zigzag with a fraction of the grout joints, for a calmer, quicker lay. Tip: large tiles demand a flat base, so budget time to level the floor or every bump will telegraph through the corners.

    11. Herringbone Wainscot Half-Wall

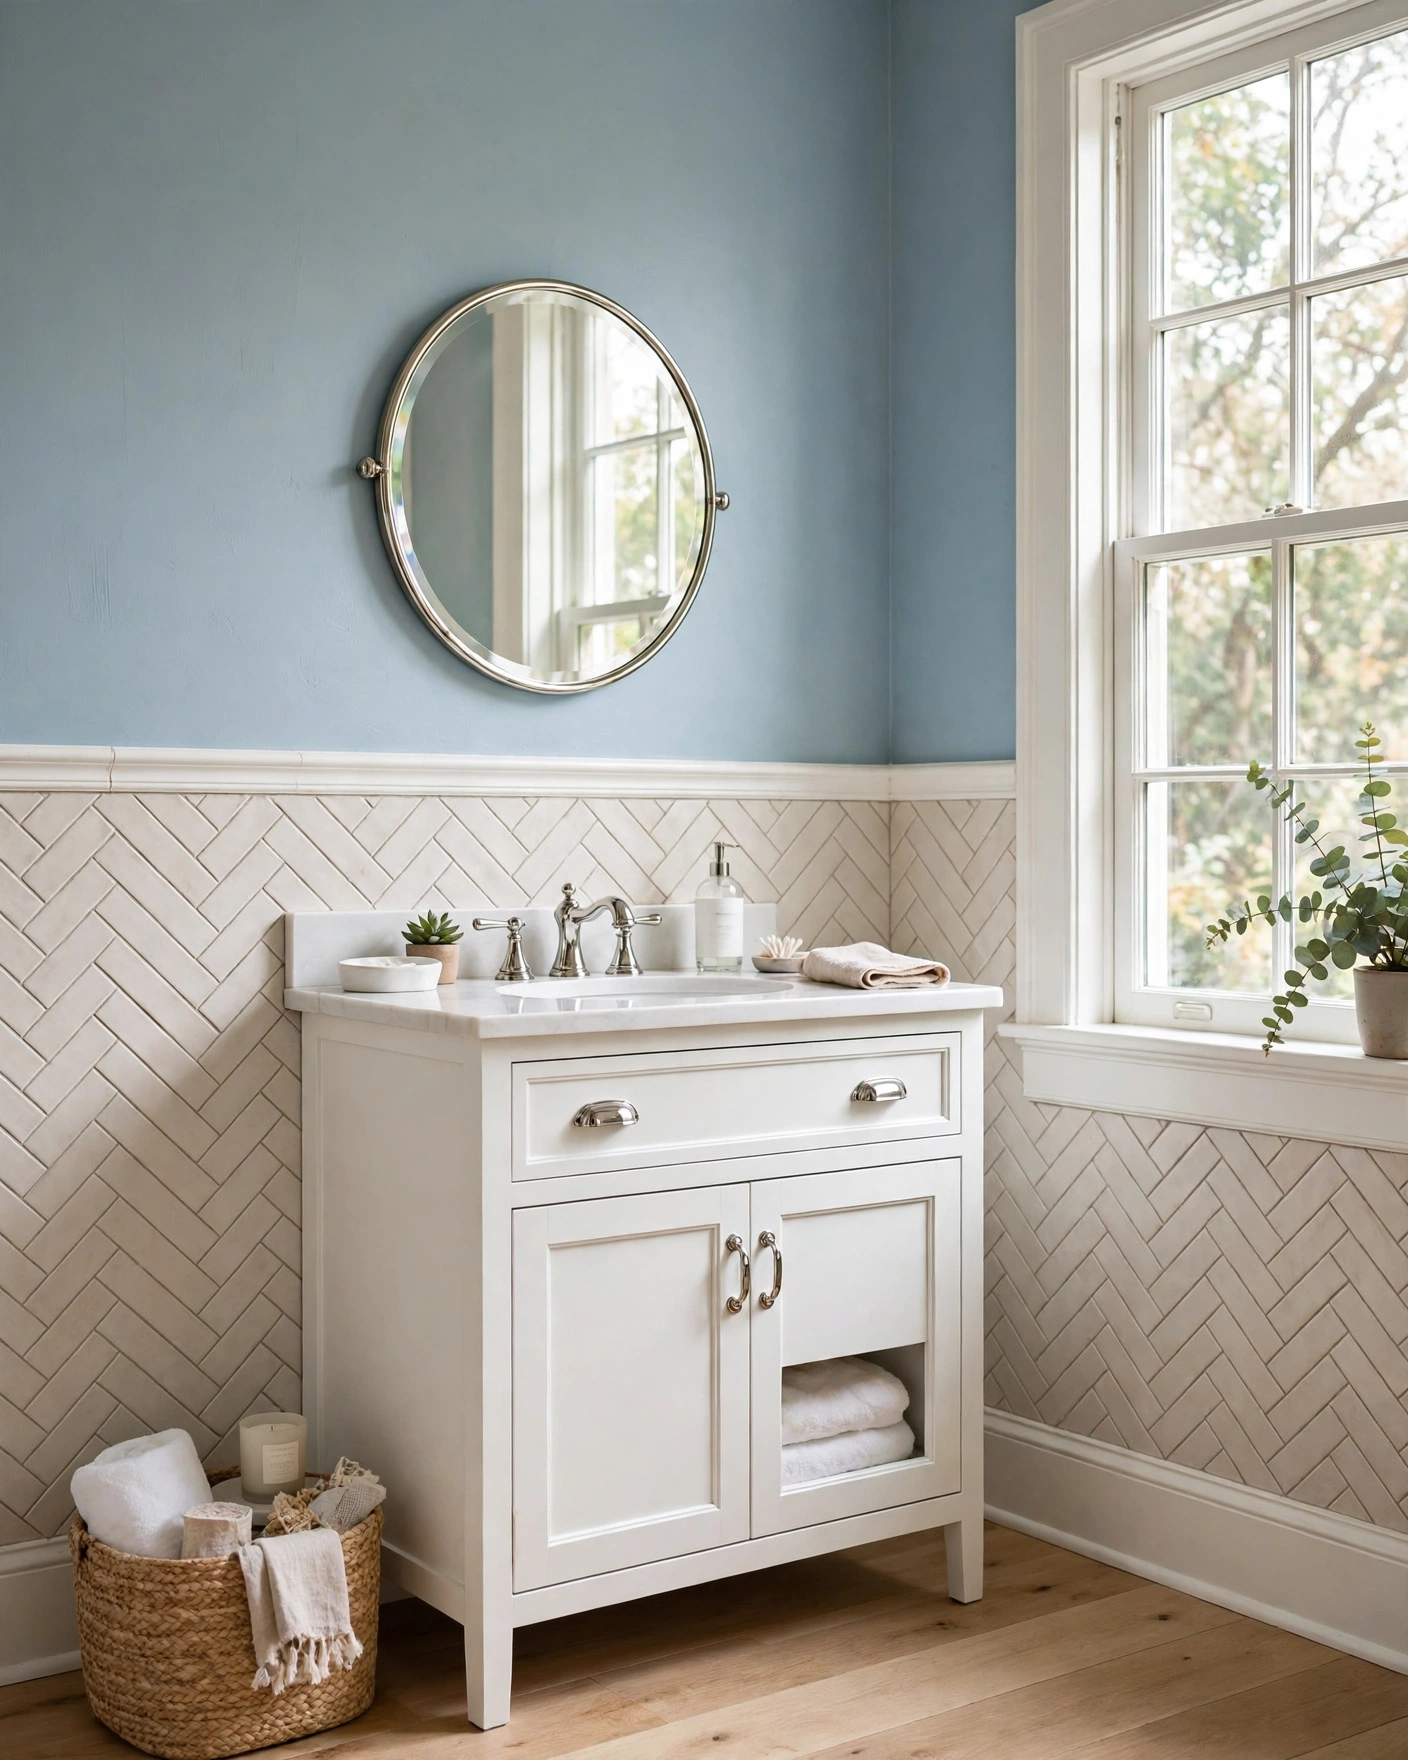
    Herringbone tile wainscot half-wall with trim cap and blue painted walls

    A herringbone wainscot — pattern to chair-rail height, capped with a trim tile — adds craftsmanship at splash height only. Painted walls above keep the budget and visual weight down. Tip: end the pattern at a natural break like a door frame or corner, so the cut edge all but disappears.

    12. Terracotta Herringbone Floor

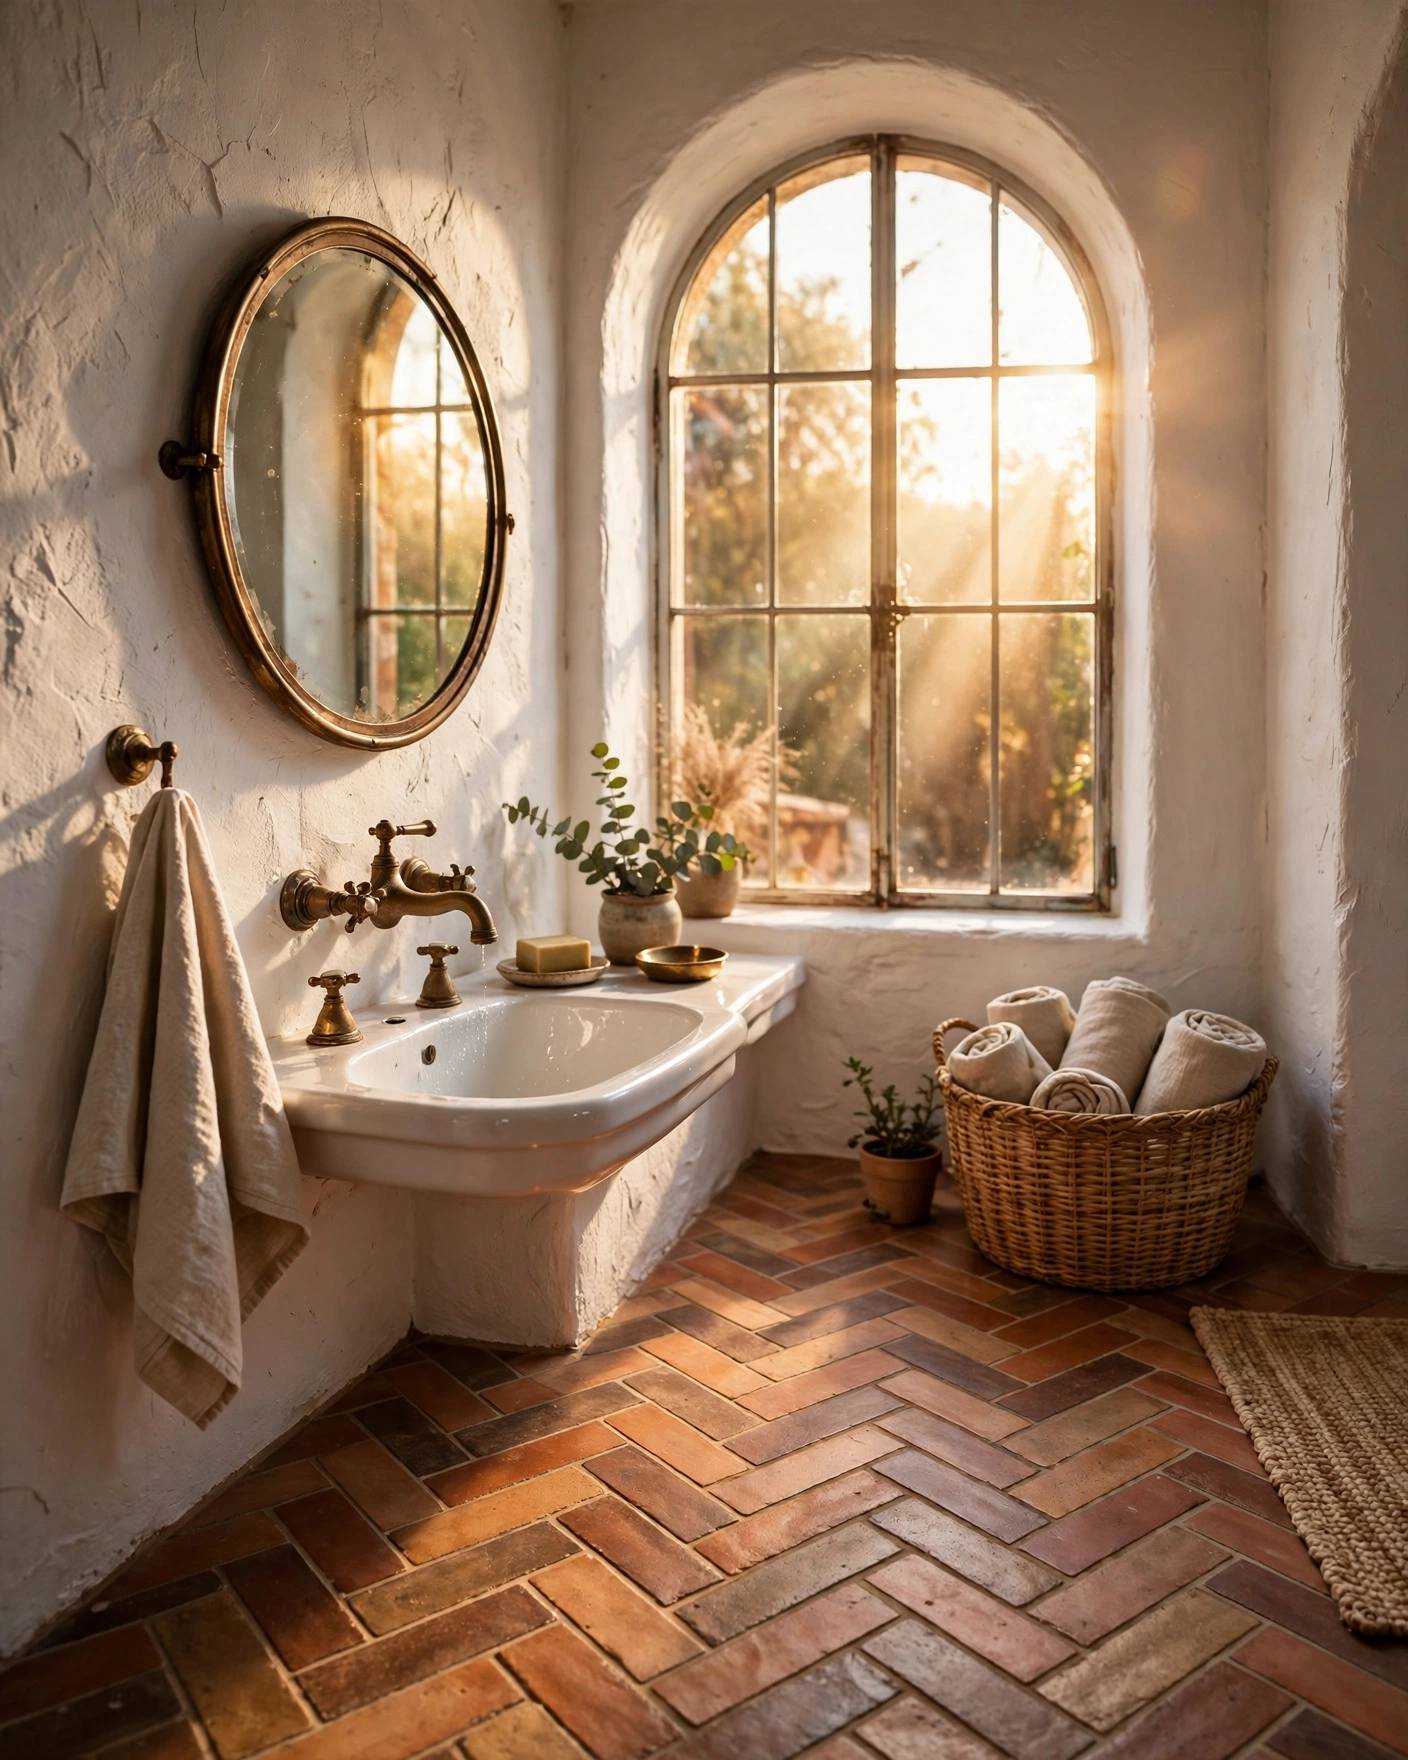
    Terracotta herringbone floor tiles in mixed clay tones with brass fixtures

    Terracotta-look herringbone brings Mediterranean warmth and hides everyday dust between cleans. Matte porcelain in mixed clay tones pairs beautifully with white walls and aged brass. Tip: porcelain needs no sealer, so just choose a warm tan grout to keep the earthen, sun-baked feel.

    13. Herringbone Shower Niche Accent

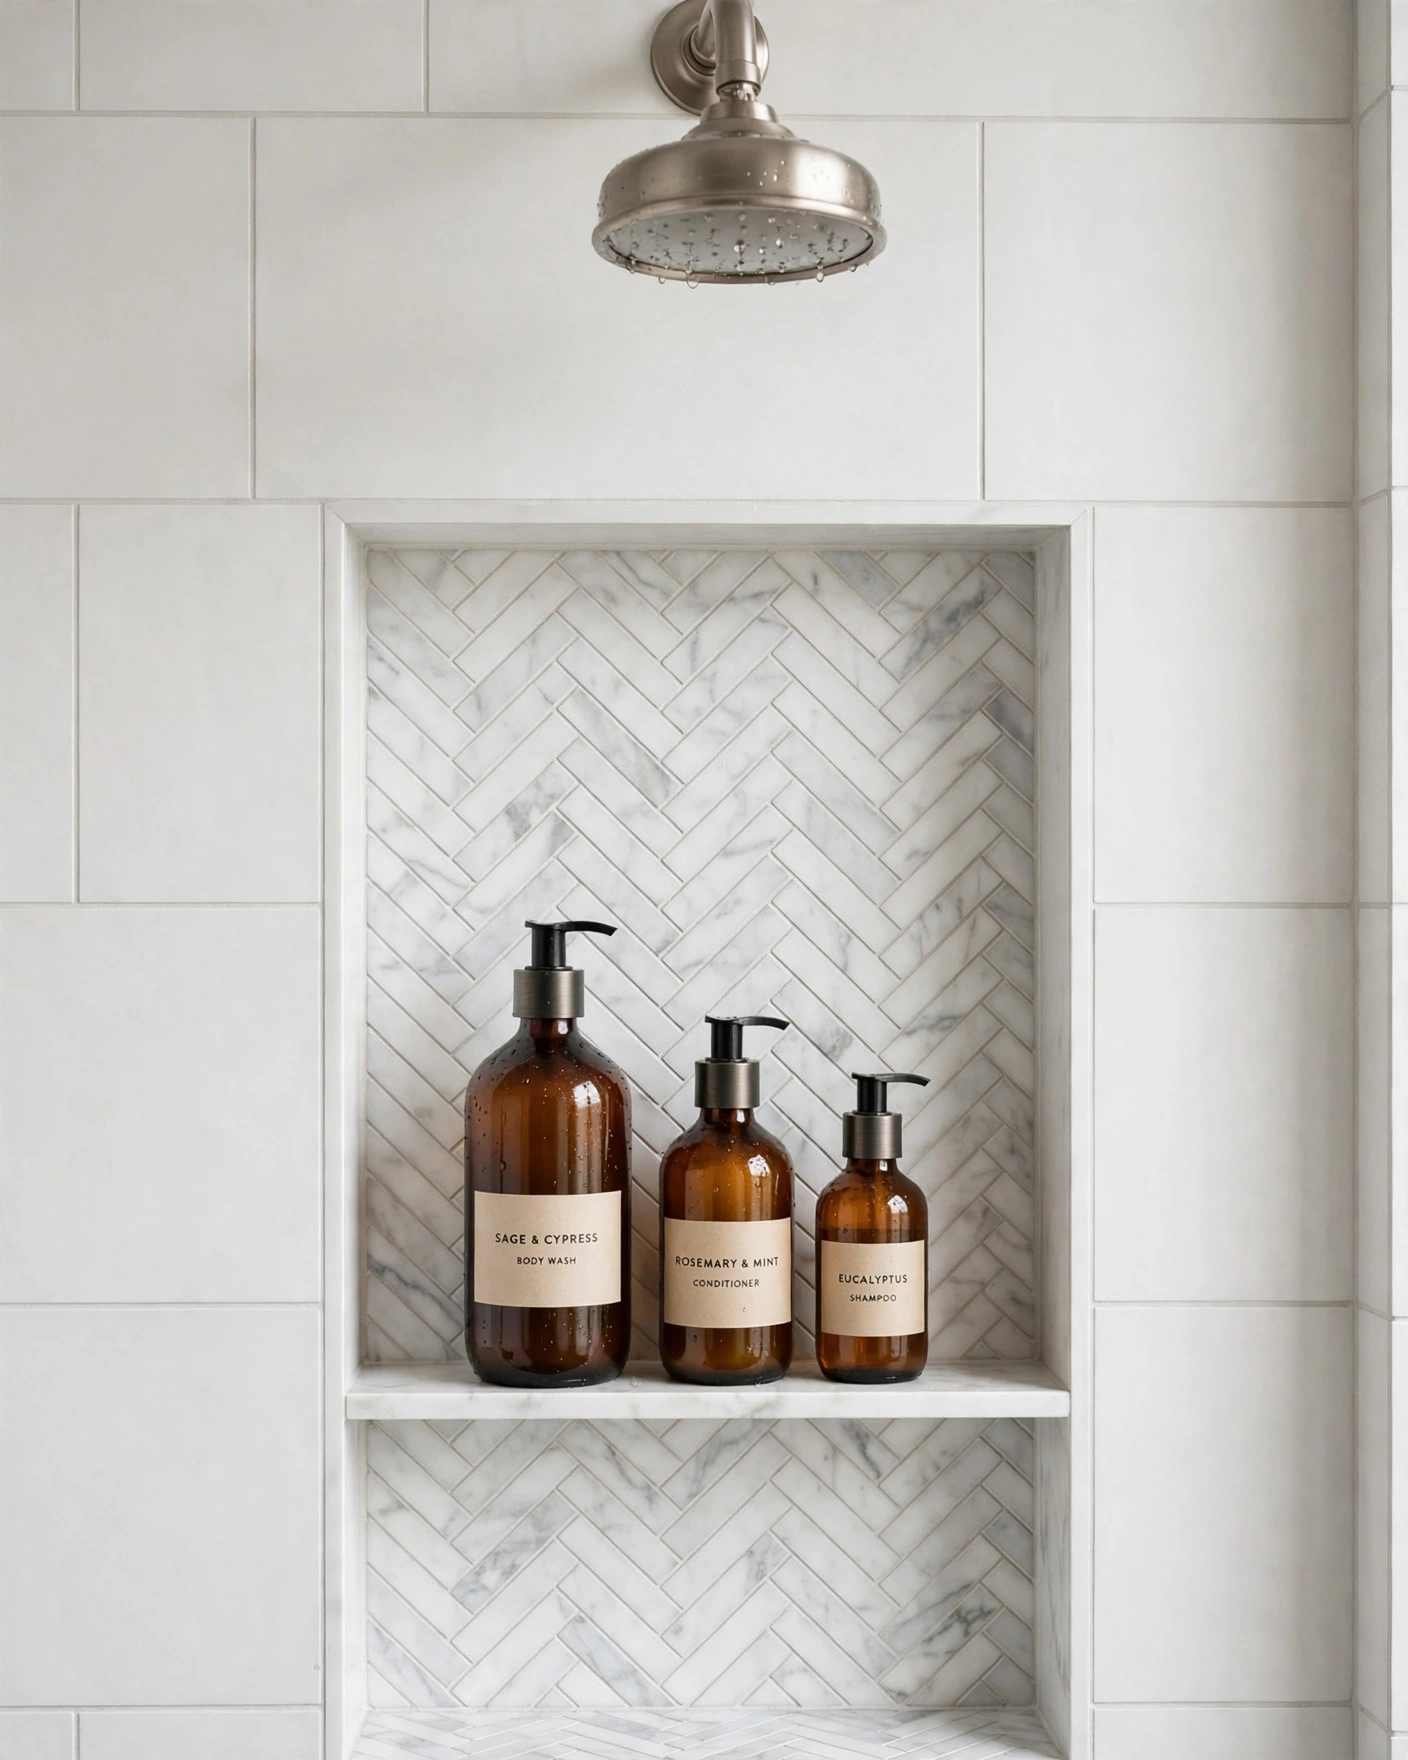
    Shower niche lined with herringbone mosaic tile holding amber bath bottles

    If a whole herringbone wall feels like too much commitment, tile just the shower niche in a contrasting herringbone. It’s a small canvas, so bold colors and marble-look mosaics become affordable. Tip: use mesh-backed mosaic herringbone sheets for the niche — the backing makes that fiddly little cavity far easier to tile neatly.

    14. Two-Tone Herringbone in White and Gray

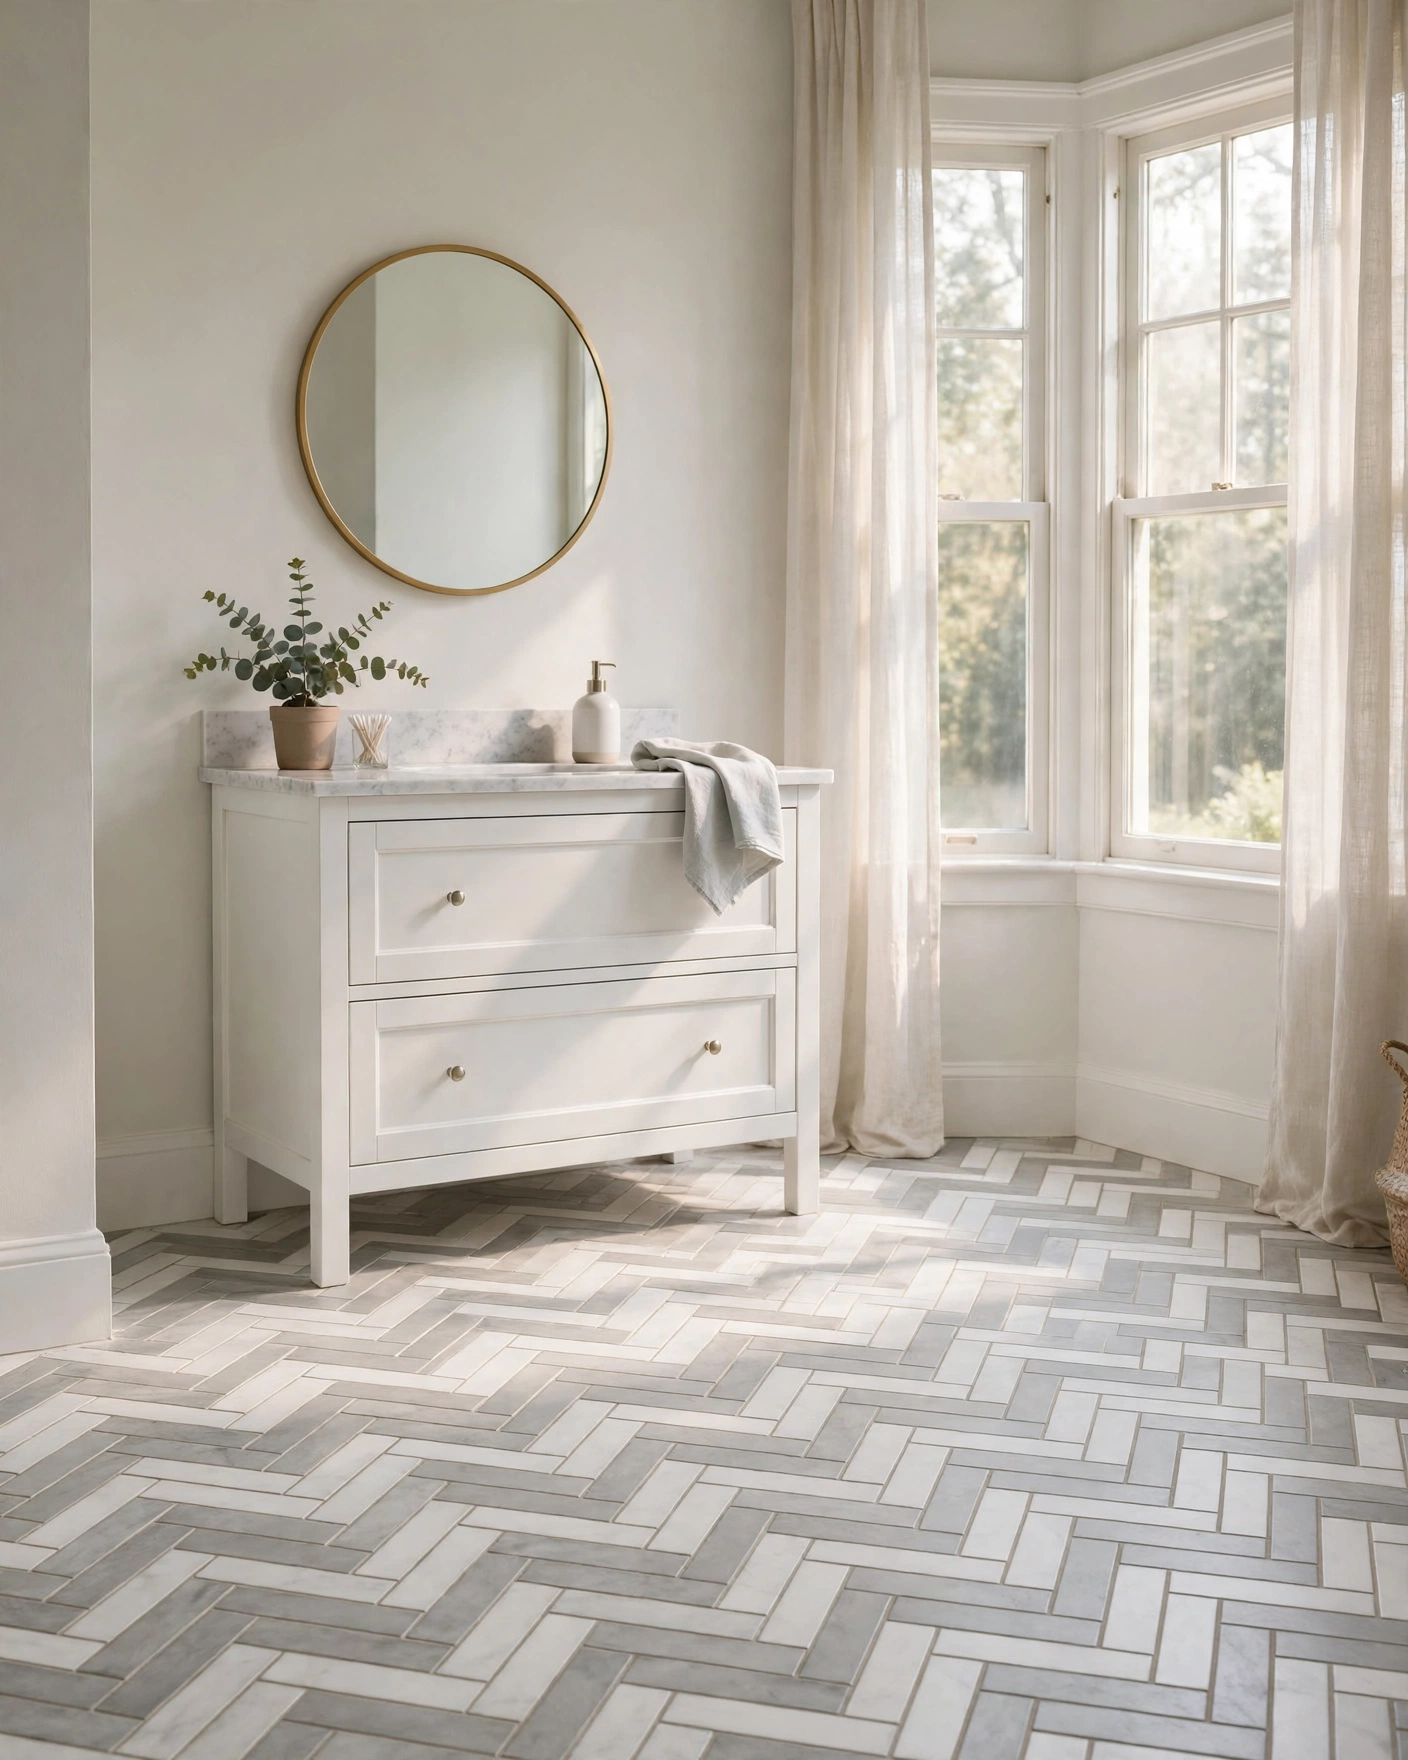
    Two-tone herringbone floor tiles alternating white and soft gray shades

    Alternating white and soft gray tiles in one herringbone field creates a gentle rhythm inside the zigzag — pattern on pattern, still calm. Use one grout shade for both colors so transitions stay seamless. Tip: sort tiles by tone first and keep the alternation strict; random mixing reads as a mistake, not a design.

    15. Herringbone Border Strip

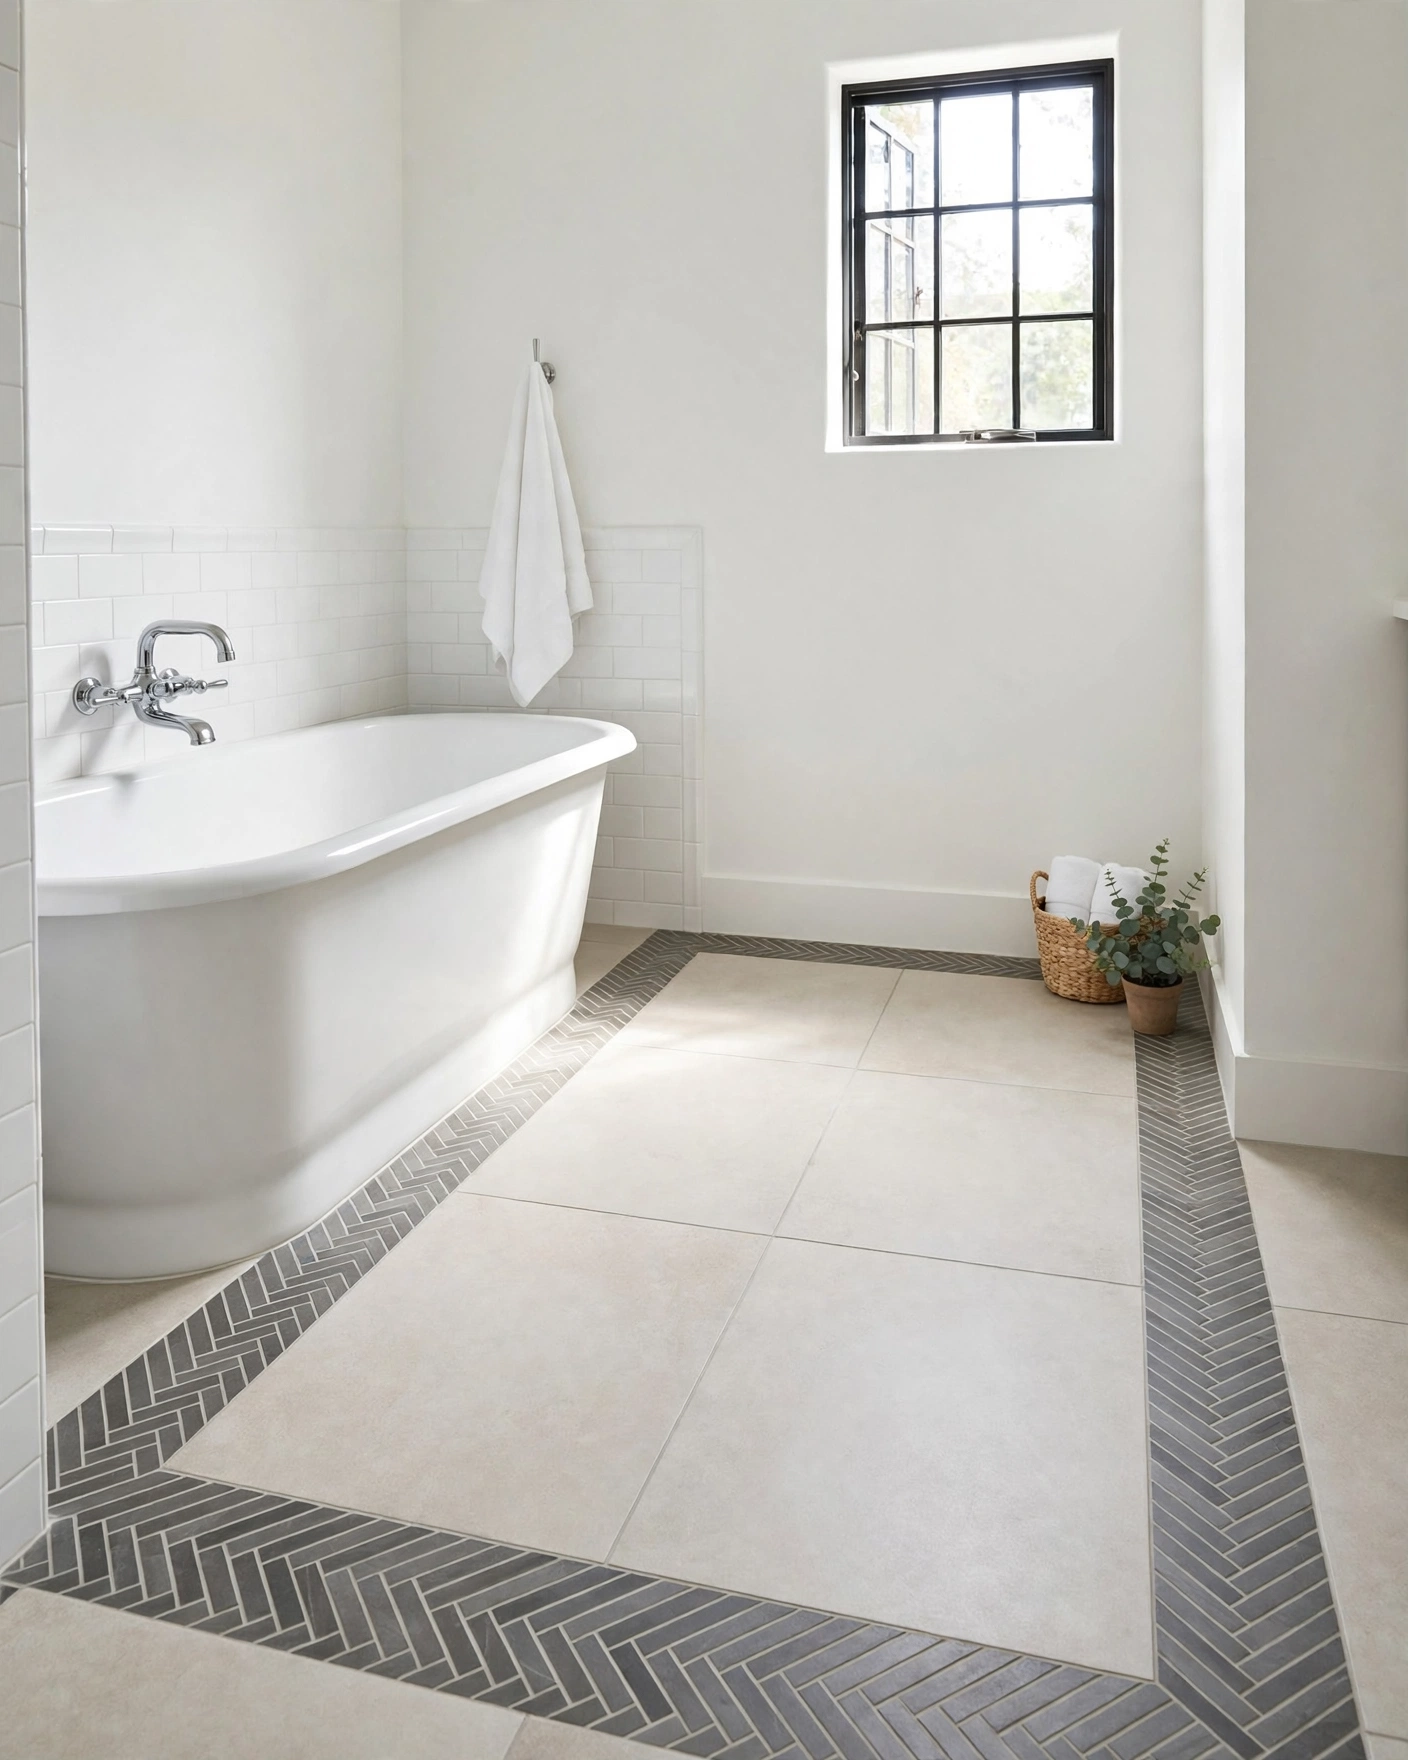
    Plain tiled floor framed by a contrasting herringbone border strip

    A band of herringbone around the edge of a plain floor delivers the pattern where it frames the room best. It’s also a clever way to use leftover tiles. Tip: borders forgive imperfect walls, because the plain field tile — not the patterned strip — meets the edges.

    16. Tiny Herringbone Mosaic in a Powder Room

    Tiny powder room floor in deep navy herringbone mosaic with brass faucet

    Powder rooms are where small-scale herringbone shines — a 1×3 mosaic covers the floor in intricate zigzag for little material cost. Deep navy or forest green turns it into a jewel box. Tip: in a room this small, splurge freely — even premium mosaic rarely covers more than a few square feet.


    In Summary

    Herringbone proves layout is a design material all by itself. The same rectangle of tile can feel classic, modern, rustic or glamorous depending on its size, finish and angle — and it adds movement plain stacked tile can’t match.

    Pick the surface your eye lands on first — the floor, the shower’s back wall, the niche you reach into every morning — and let the zigzag work there. Dry-lay the pattern, mind your center line, and order a little extra: you’ll get a bathroom considered down to the last tile.

  • 17 Marble-Look Tile Ideas for the Luxe Look Without the Price

    17 Marble-Look Tile Ideas for the Luxe Look Without the Price

    Real marble makes a bathroom feel like a boutique hotel — but it also empties renovation budgets, and it asks for sealing, gentle cleaners and constant vigilance against stains.

    Marble-look porcelain and ceramic close that gap beautifully. Modern printing captures the veining and soft sheen of Calacatta and Carrara so convincingly that guests lean in for a closer look — on a surface that shrugs off water and daily mess.

    Below are 17 marble look tile bathroom ideas for floors, showers, walls and powder rooms, each with the format, finish and layout to copy, plus one practical tip to keep it affordable.

    Whether you’re planning a full remodel or a weekend refresh behind the vanity, there’s a marble moment here that fits your room and your budget.


    1. Large-Format Calacatta-Look Porcelain Walls

    Large-format Calacatta-look porcelain wall tiles with gold veining in bright bathroom

    Cover the main walls in 24×48-inch Calacatta-look porcelain with bold gold-gray veining, polished finish — a plain bathroom instantly reads five-star. Lay the tiles in a straight stack with tight joints so the vein flows like real slab. Tip: large formats mean fewer tiles to buy and set, which trims both material and labor costs.

    2. Carrara-Look Hexagon Mosaic Floor

    Carrara-look hexagon mosaic floor tiles with soft gray veining and matte finish

    A Carrara-look hexagon mosaic brings classic pattern underfoot, and the small pieces forgive slightly uneven floors. Choose 2-inch matte hexagons on mesh sheets with soft gray veining, set with light gray grout. Tip: mosaic sheets install fast, and the many grout lines add welcome grip in wet zones.

    3. Book-Matched Marble-Look Shower Wall

    Book-matched marble-look porcelain shower wall with mirrored veining and glass screen

    Book-matching mirrors two tile panels so the veining opens like the pages of a book — the signature look of luxury hotel showers. Use a porcelain range sold in matched A/B pairs on the shower’s back wall, framed by plainer field tile. Tip: dry-lay the matched pairs before setting to confirm the mirror image lines up.

    4. Marble-Look Subway Tile Vanity Wall

    Glossy marble-look subway tiles in brick pattern behind an oak vanity

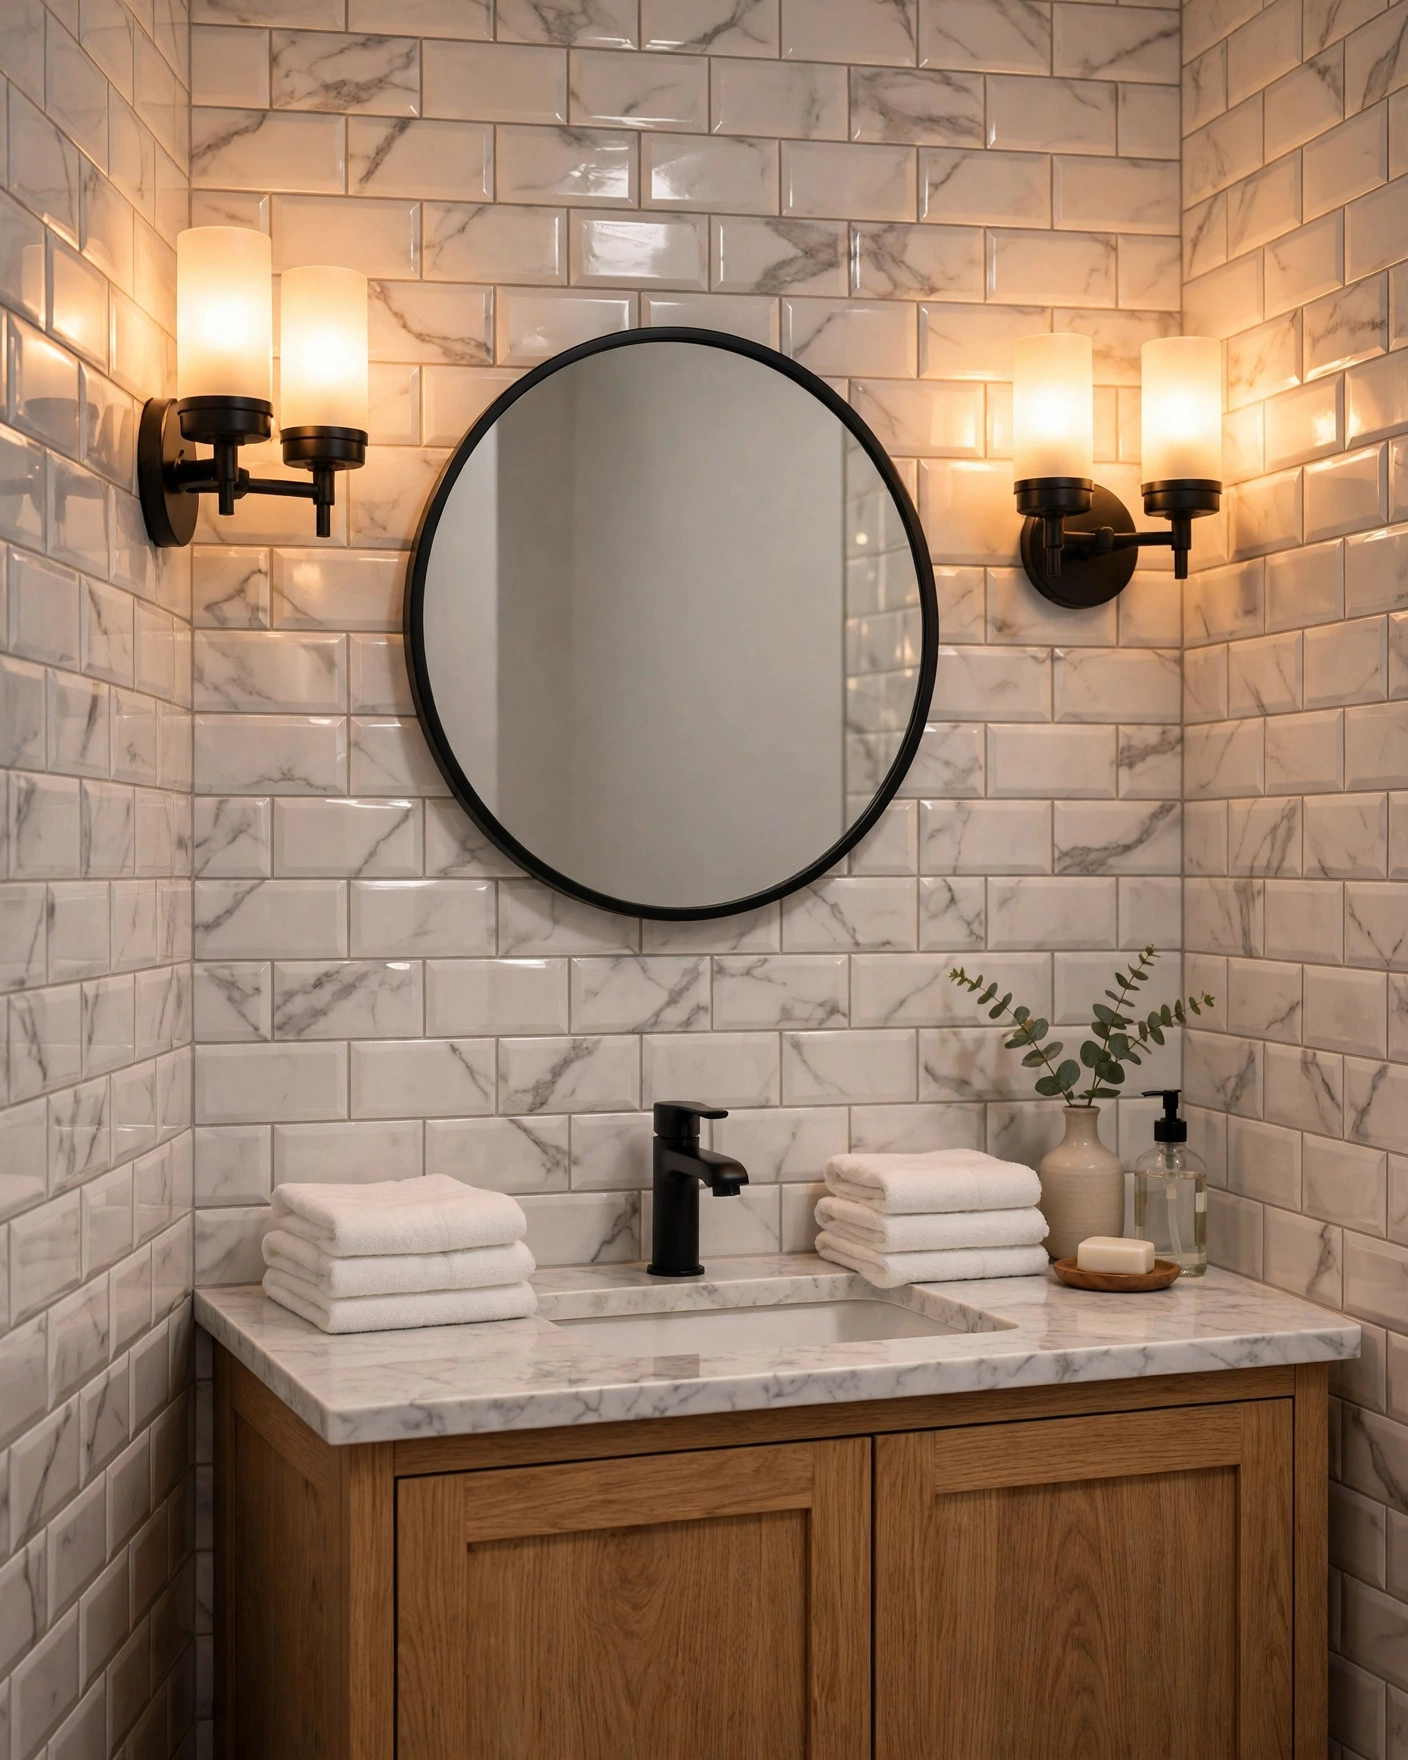
    The familiar 3×6 subway shape feels completely fresh printed with soft Carrara veining. Run it in a classic brick offset from the vanity top to the ceiling for a wall that looks custom without a custom price. Tip: a glossy finish bounces light around small bathrooms and wipes clean in seconds.
    5. Marble-Look Penny Rounds for Vintage Charm

    Marble-look penny round mosaic floor with white clawfoot tub and vintage fixtures

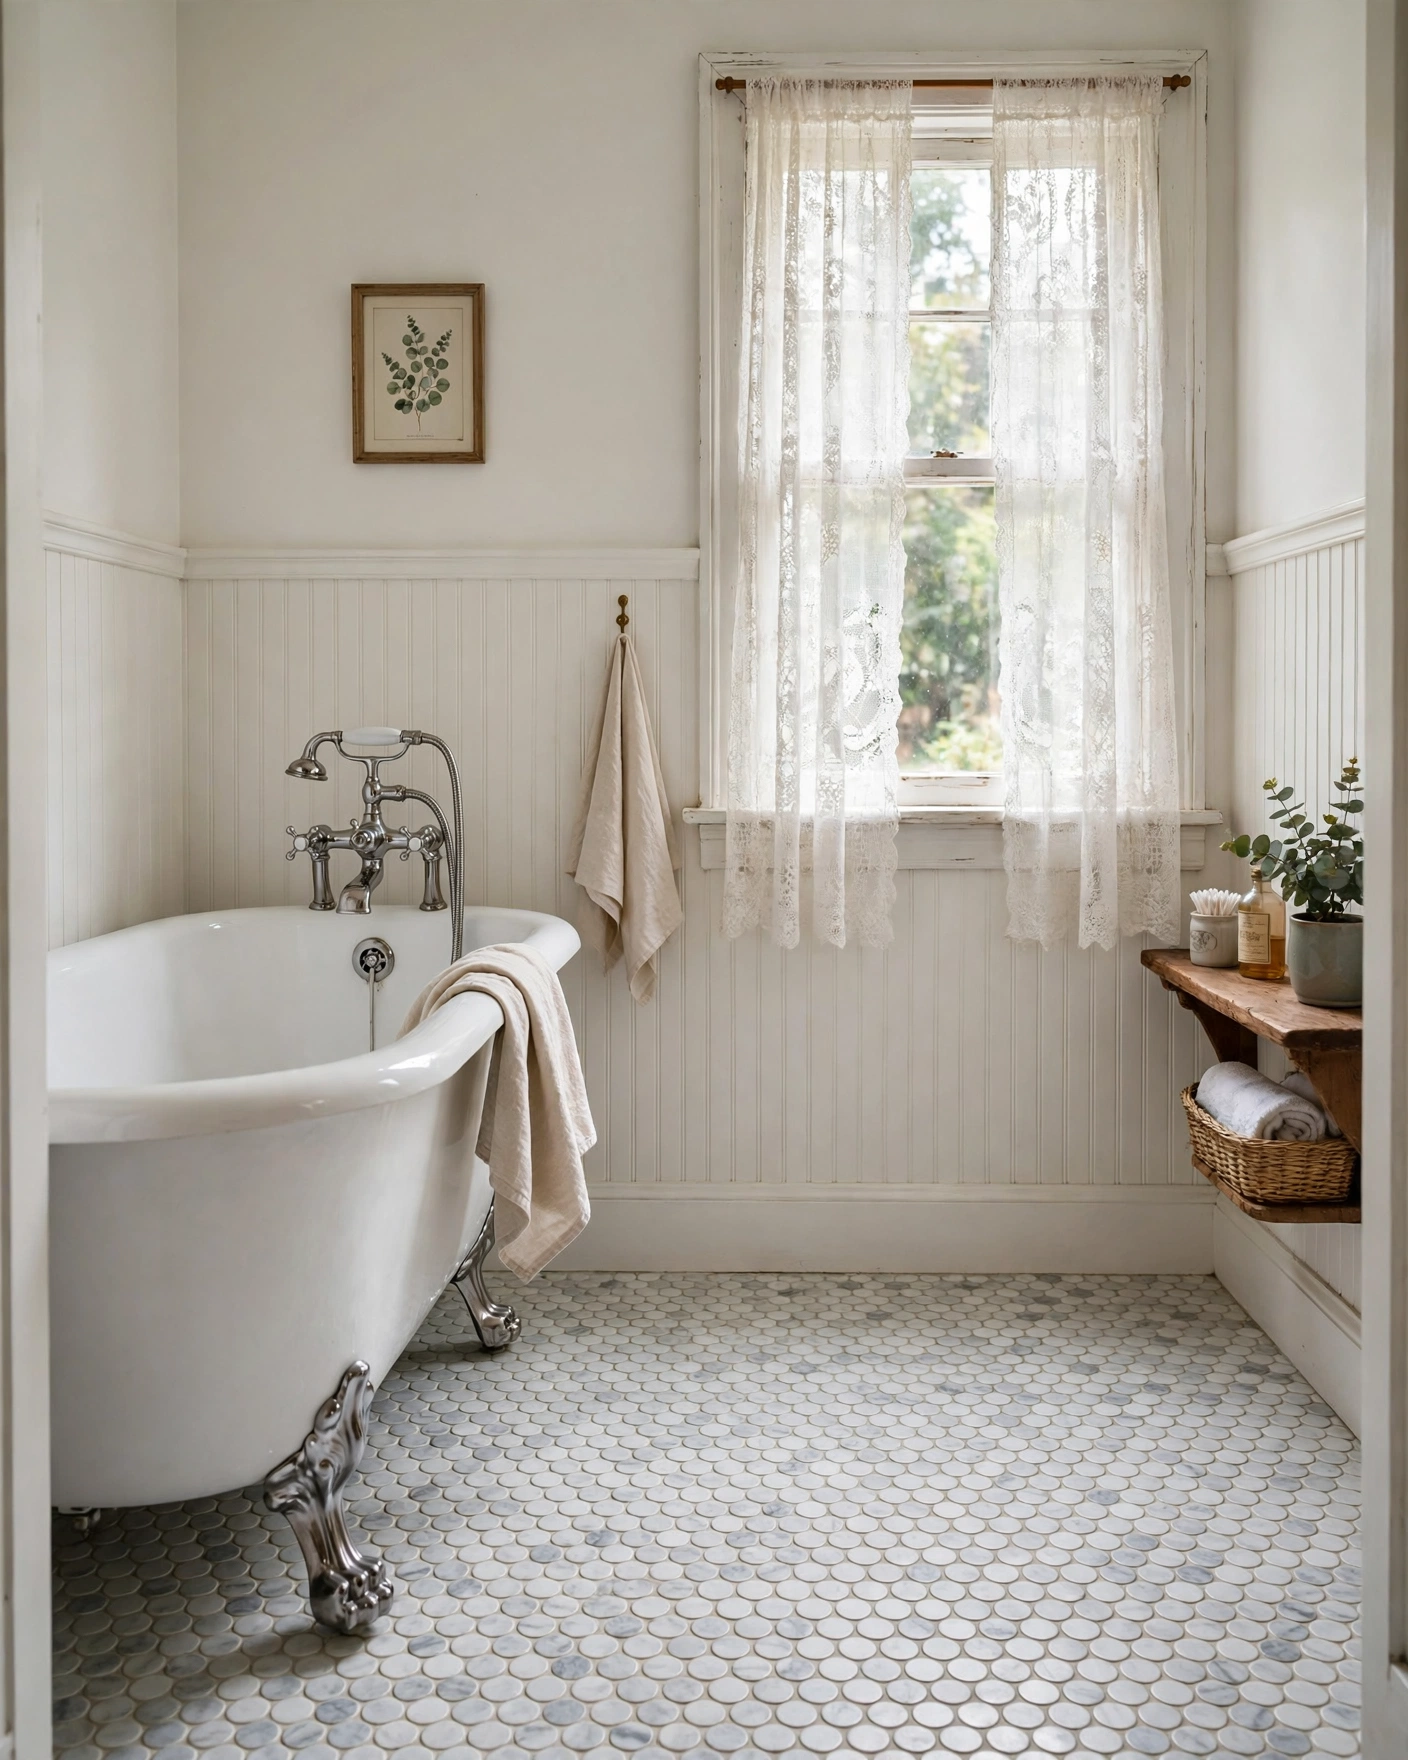
    Penny rounds pair the marble look with old-house character, perfect for period homes. Pick a matte white penny mosaic with faint gray veining and use a slightly darker grout to make the pattern pop. Tip: pennies are forgiving around toilet bases and curved tub feet, where large tiles are awkward to cut.

    6. Black Marble-Look Accent Wall

    Black marble-look accent wall with gold veining behind brass powder room fixtures

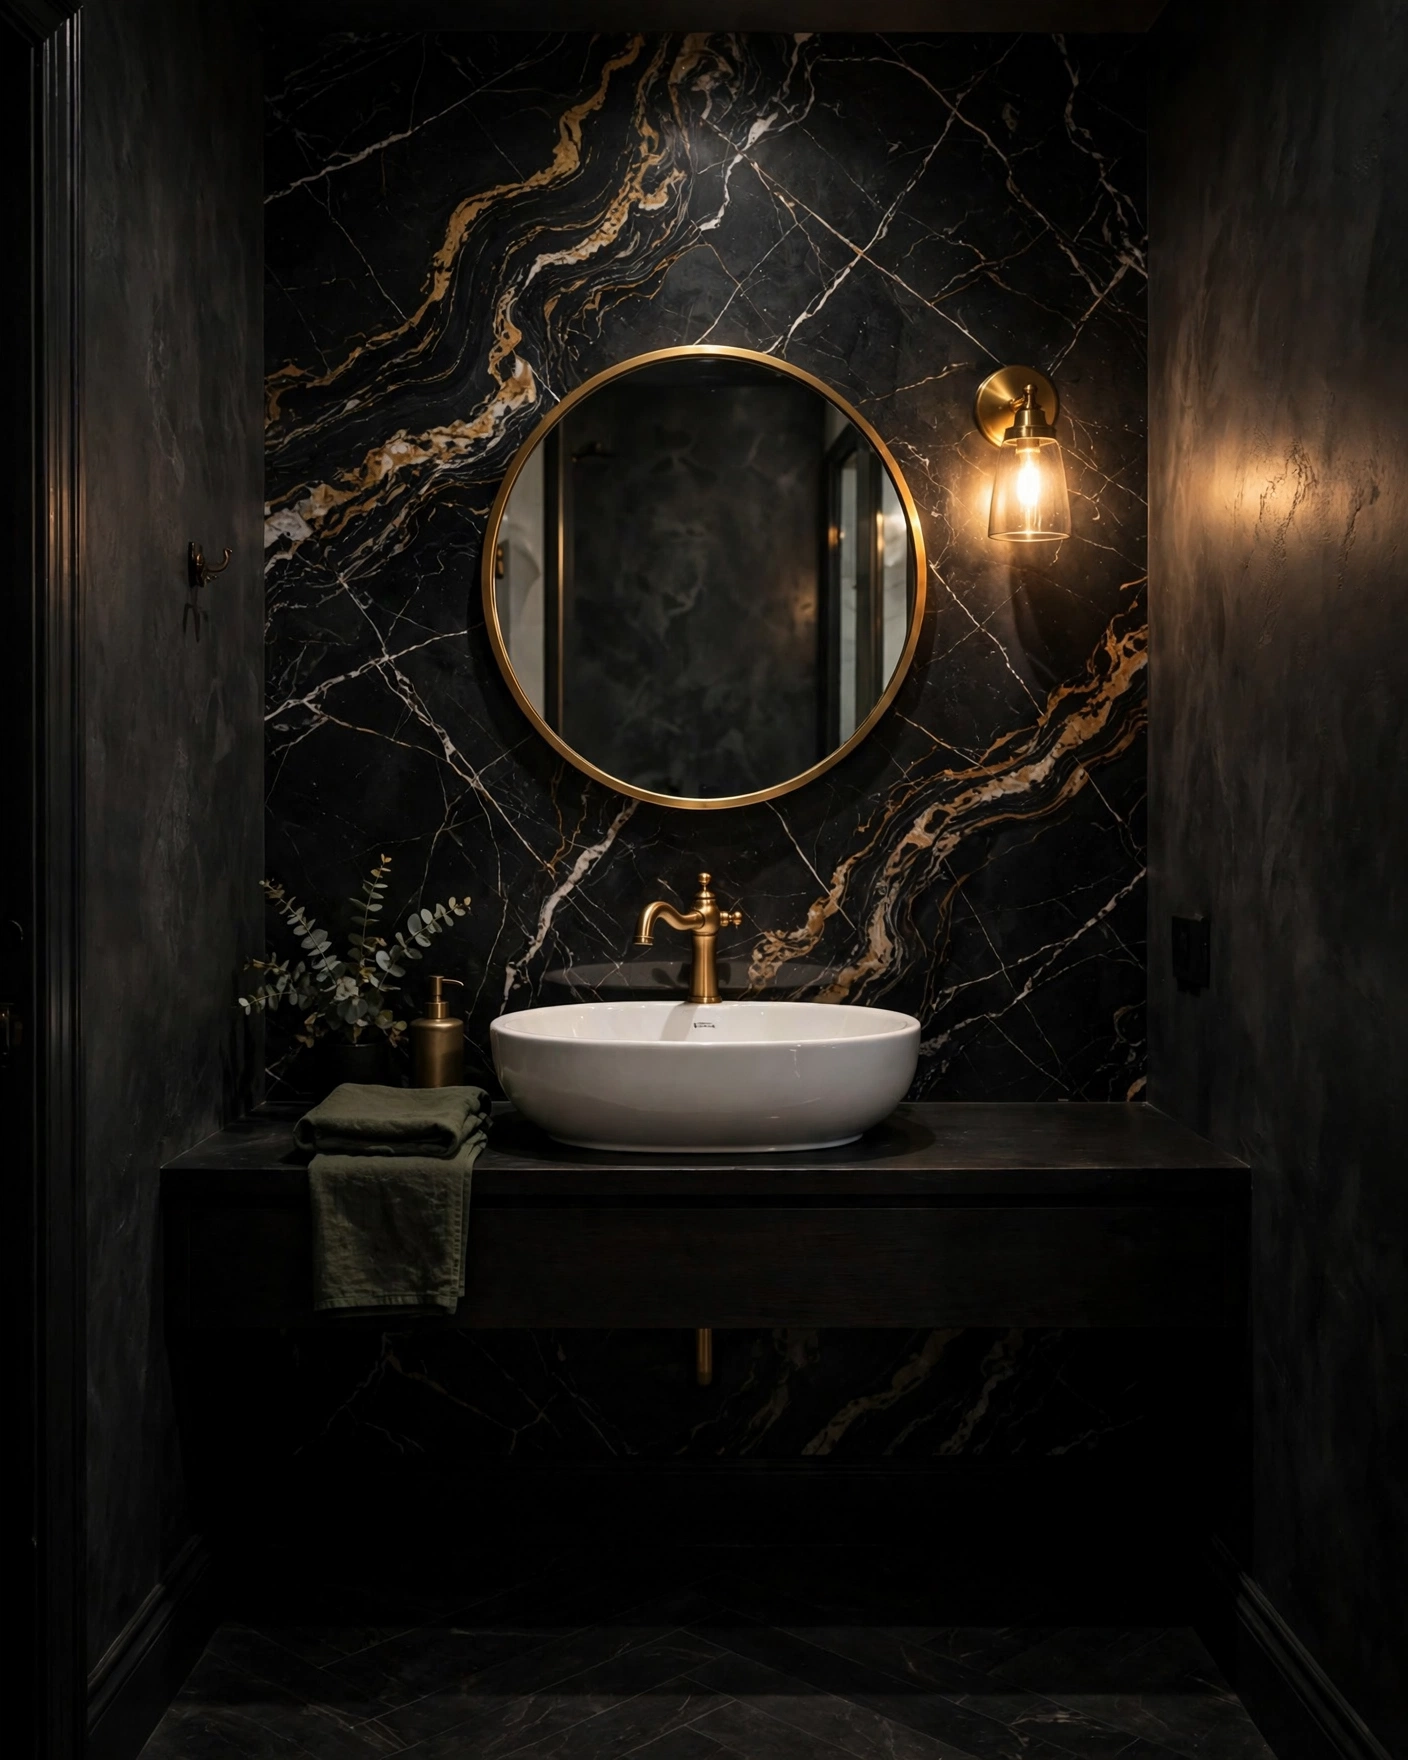
    One wall of black marble-look tile with white and gold veining turns a plain powder room into a jewel box. Keep the other walls and floor simple and light so the drama stays intentional, and echo it with warm brass fixtures. Tip: porcelain copies the Nero Marquina look without the sealing schedule or price per square foot.

    7. Marble-Look Wainscot Half-Wall

    Marble-look tile wainscot half-wall with trim cap and sage painted walls

    Marble-look tile run halfway up the wall, capped with a pencil trim, gives a tailored, architectural feel for roughly half the tile budget. Use 12×24 tiles in a horizontal stack; paint the upper wall a soft coordinating color. Tip: the tiled zone protects the wall where water flies, so mid-range paint above is fine.

    8. Floor-to-Wall Marble-Look Wrap

    Marble-look tiles wrapping continuously from bathroom floor up the back wall

    Carrying the same marble-look tile from floor straight up the back wall erases the break between surfaces, making the room feel taller and calmer. Choose a 12×24 matte tile with gentle veining and align the wall joints with the floor joints. Tip: one tile everywhere simplifies ordering and unlocks bulk pricing.
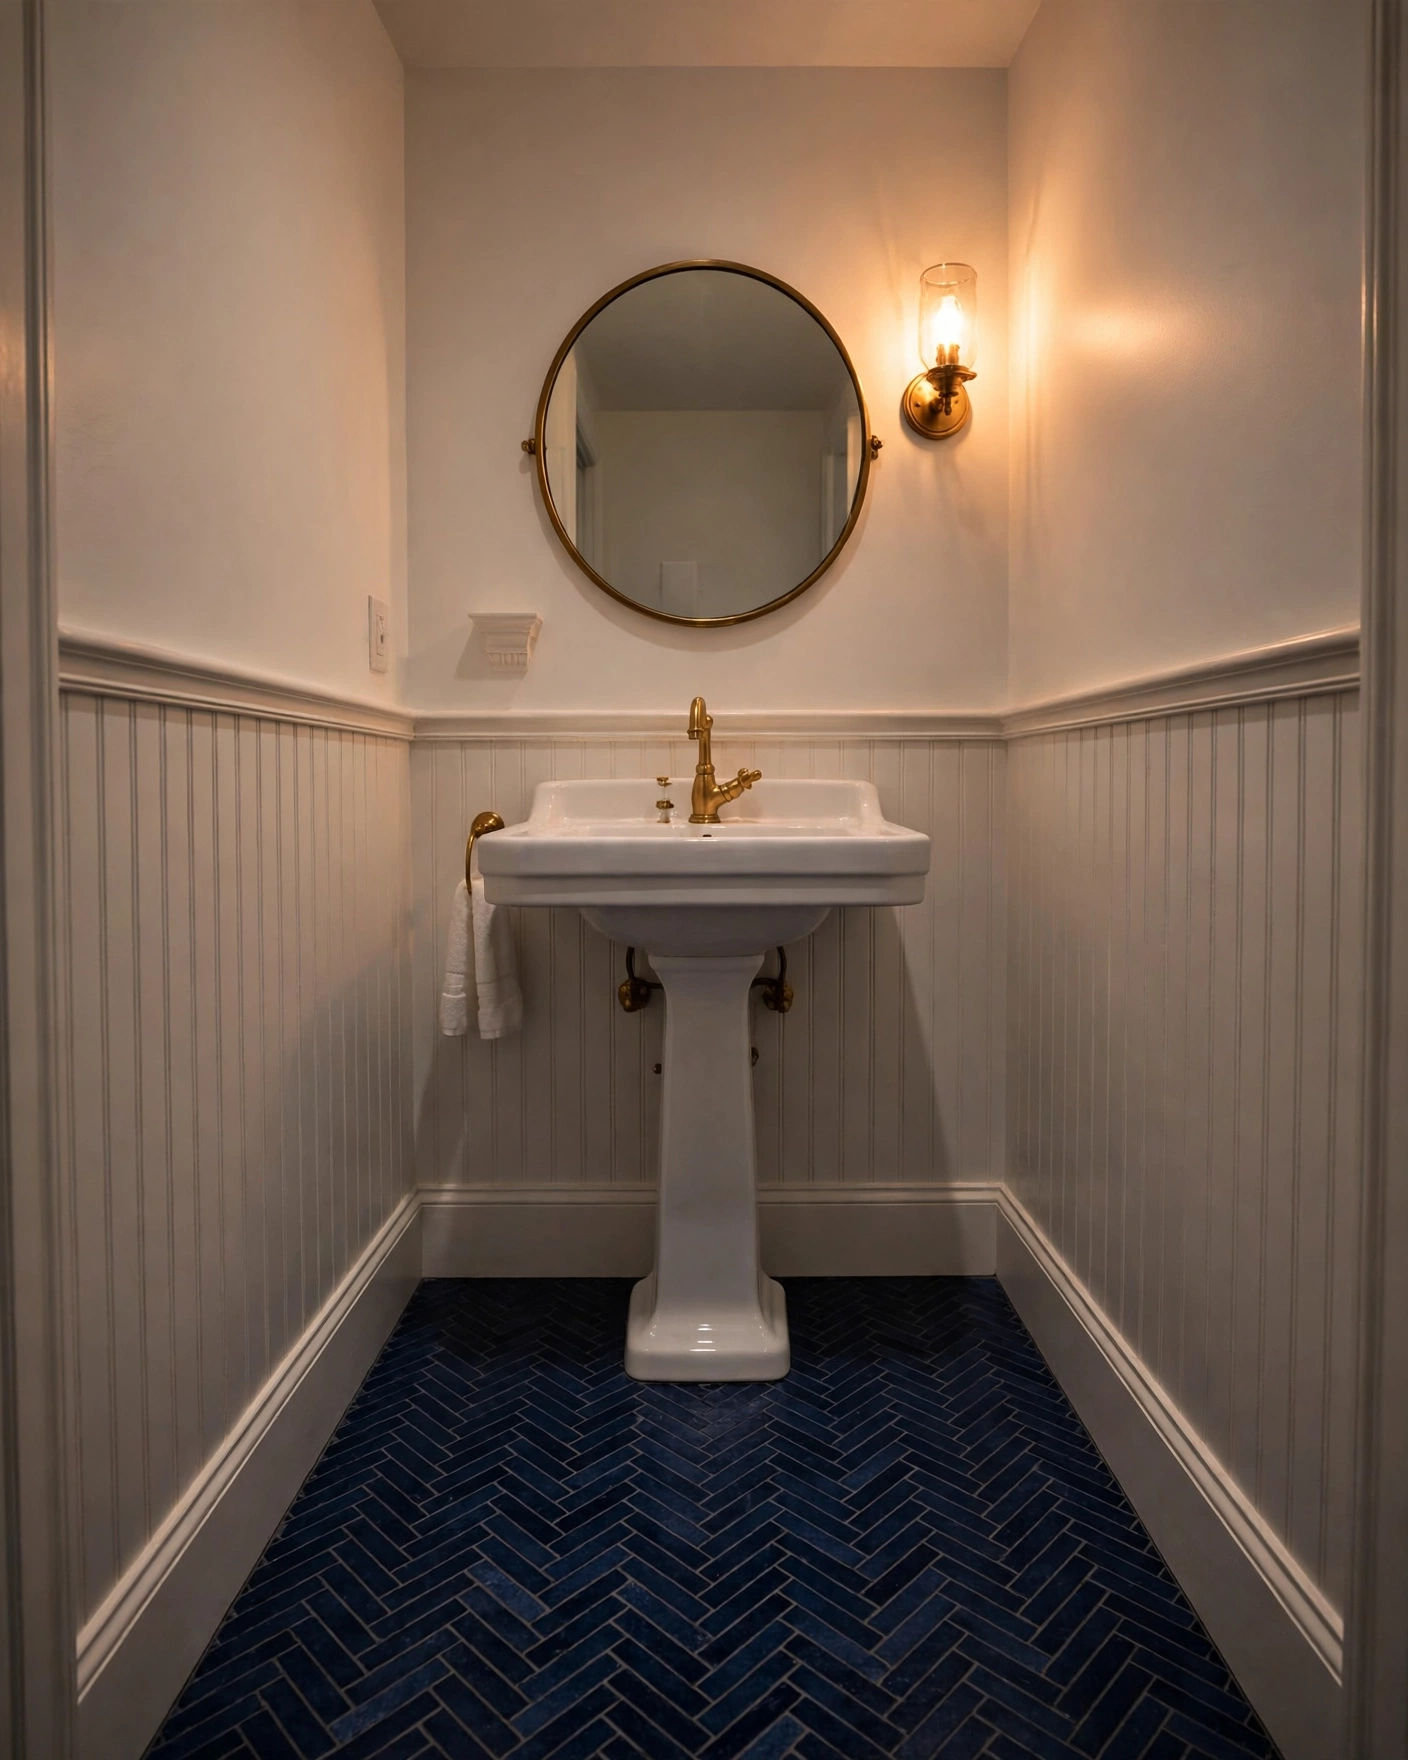
    9. Matte Marble-Look Tile for a Spa Mood

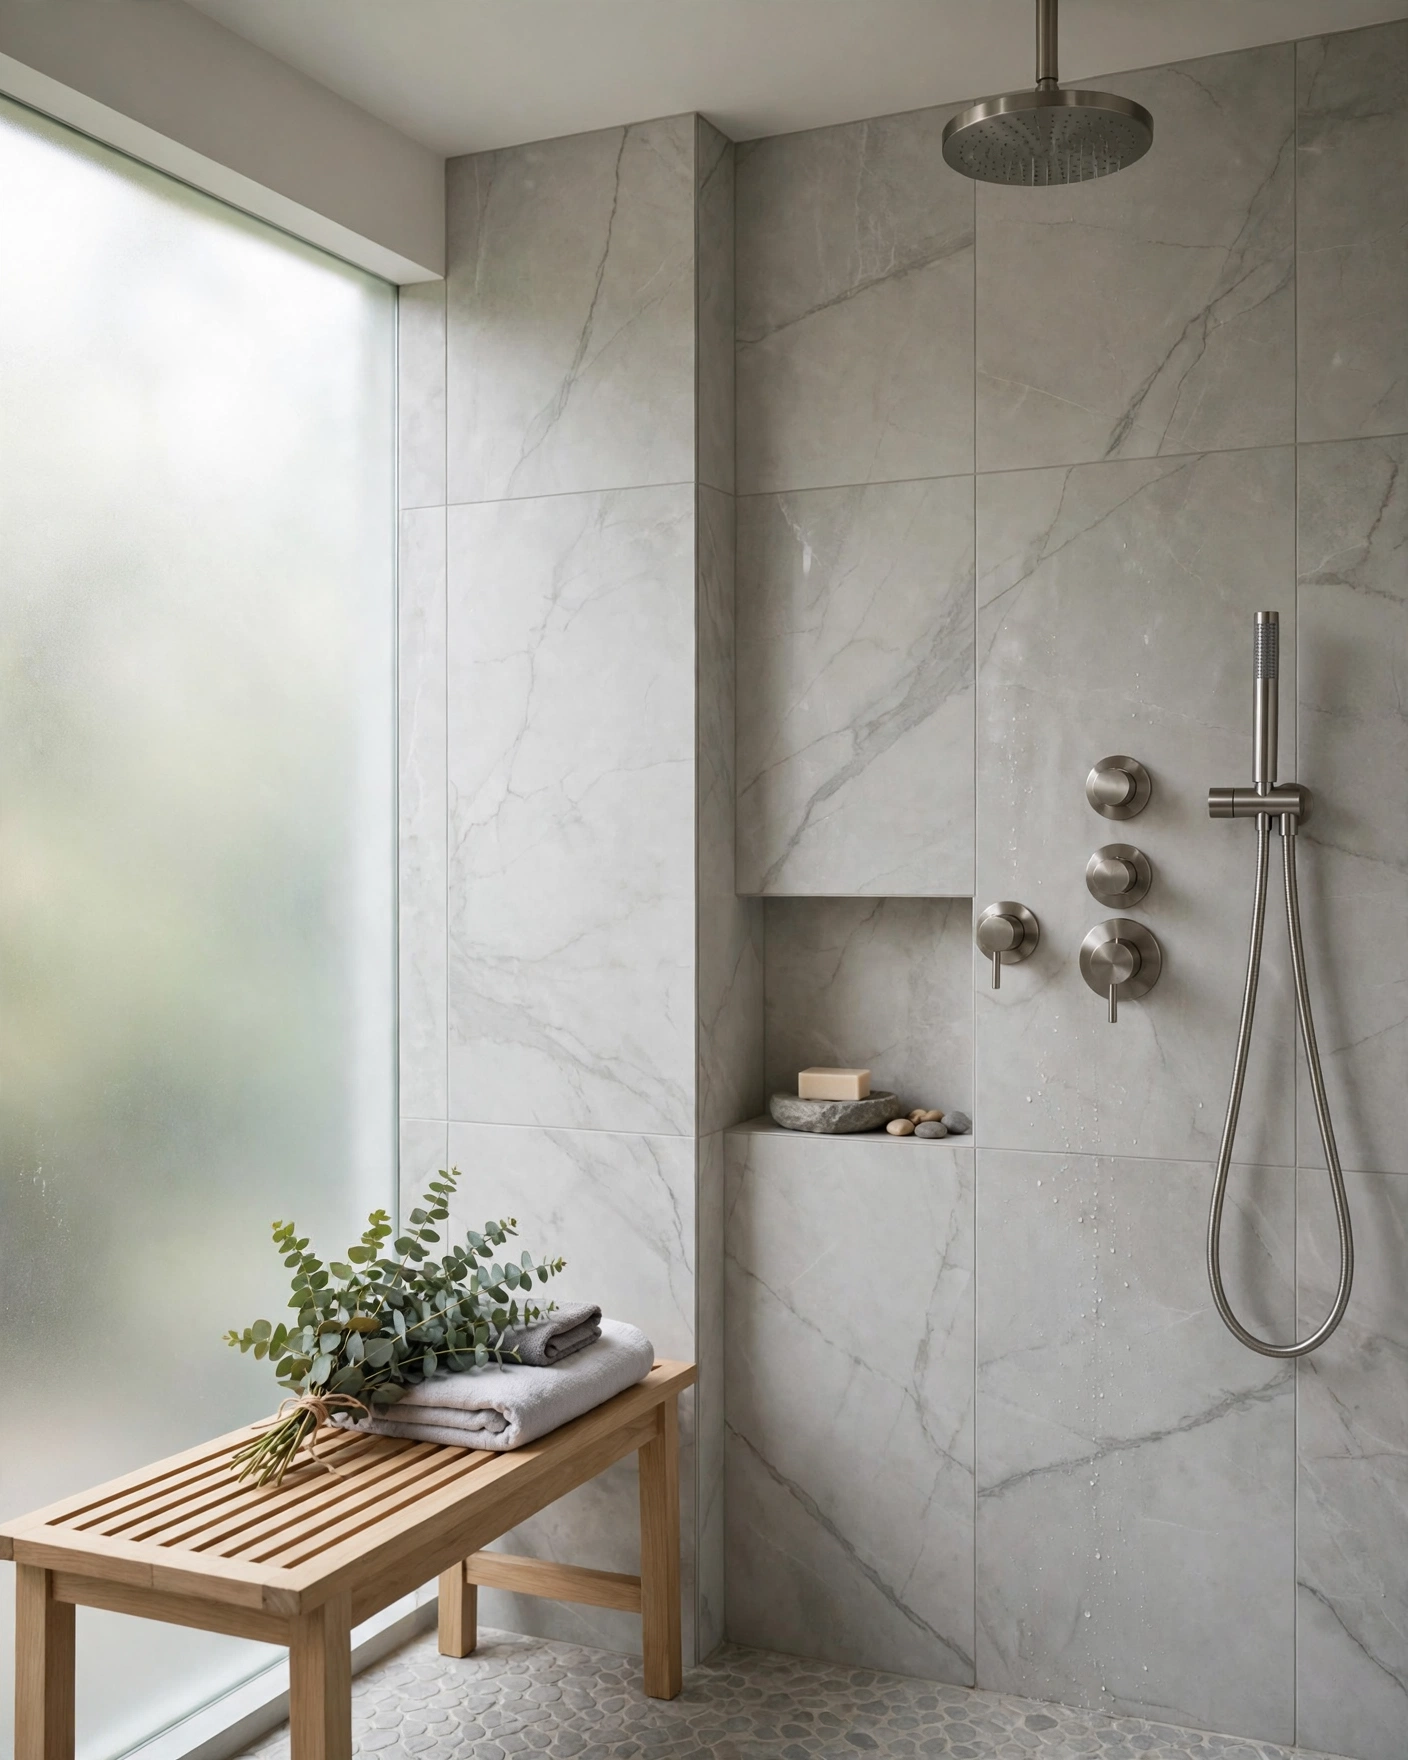
    Matte marble-look shower tiles with soft veining and a wooden bench

    A honed, matte marble-look finish trades sparkle for serenity — the feel of a quiet spa rather than a glitzy hotel. Large soft-gray-veined tiles on the shower walls pair beautifully with pale wood and eucalyptus. Tip: matte finishes hide water spots and soap residue far better than polished ones.

    10. Gold-Veined Marble-Look in the Powder Room

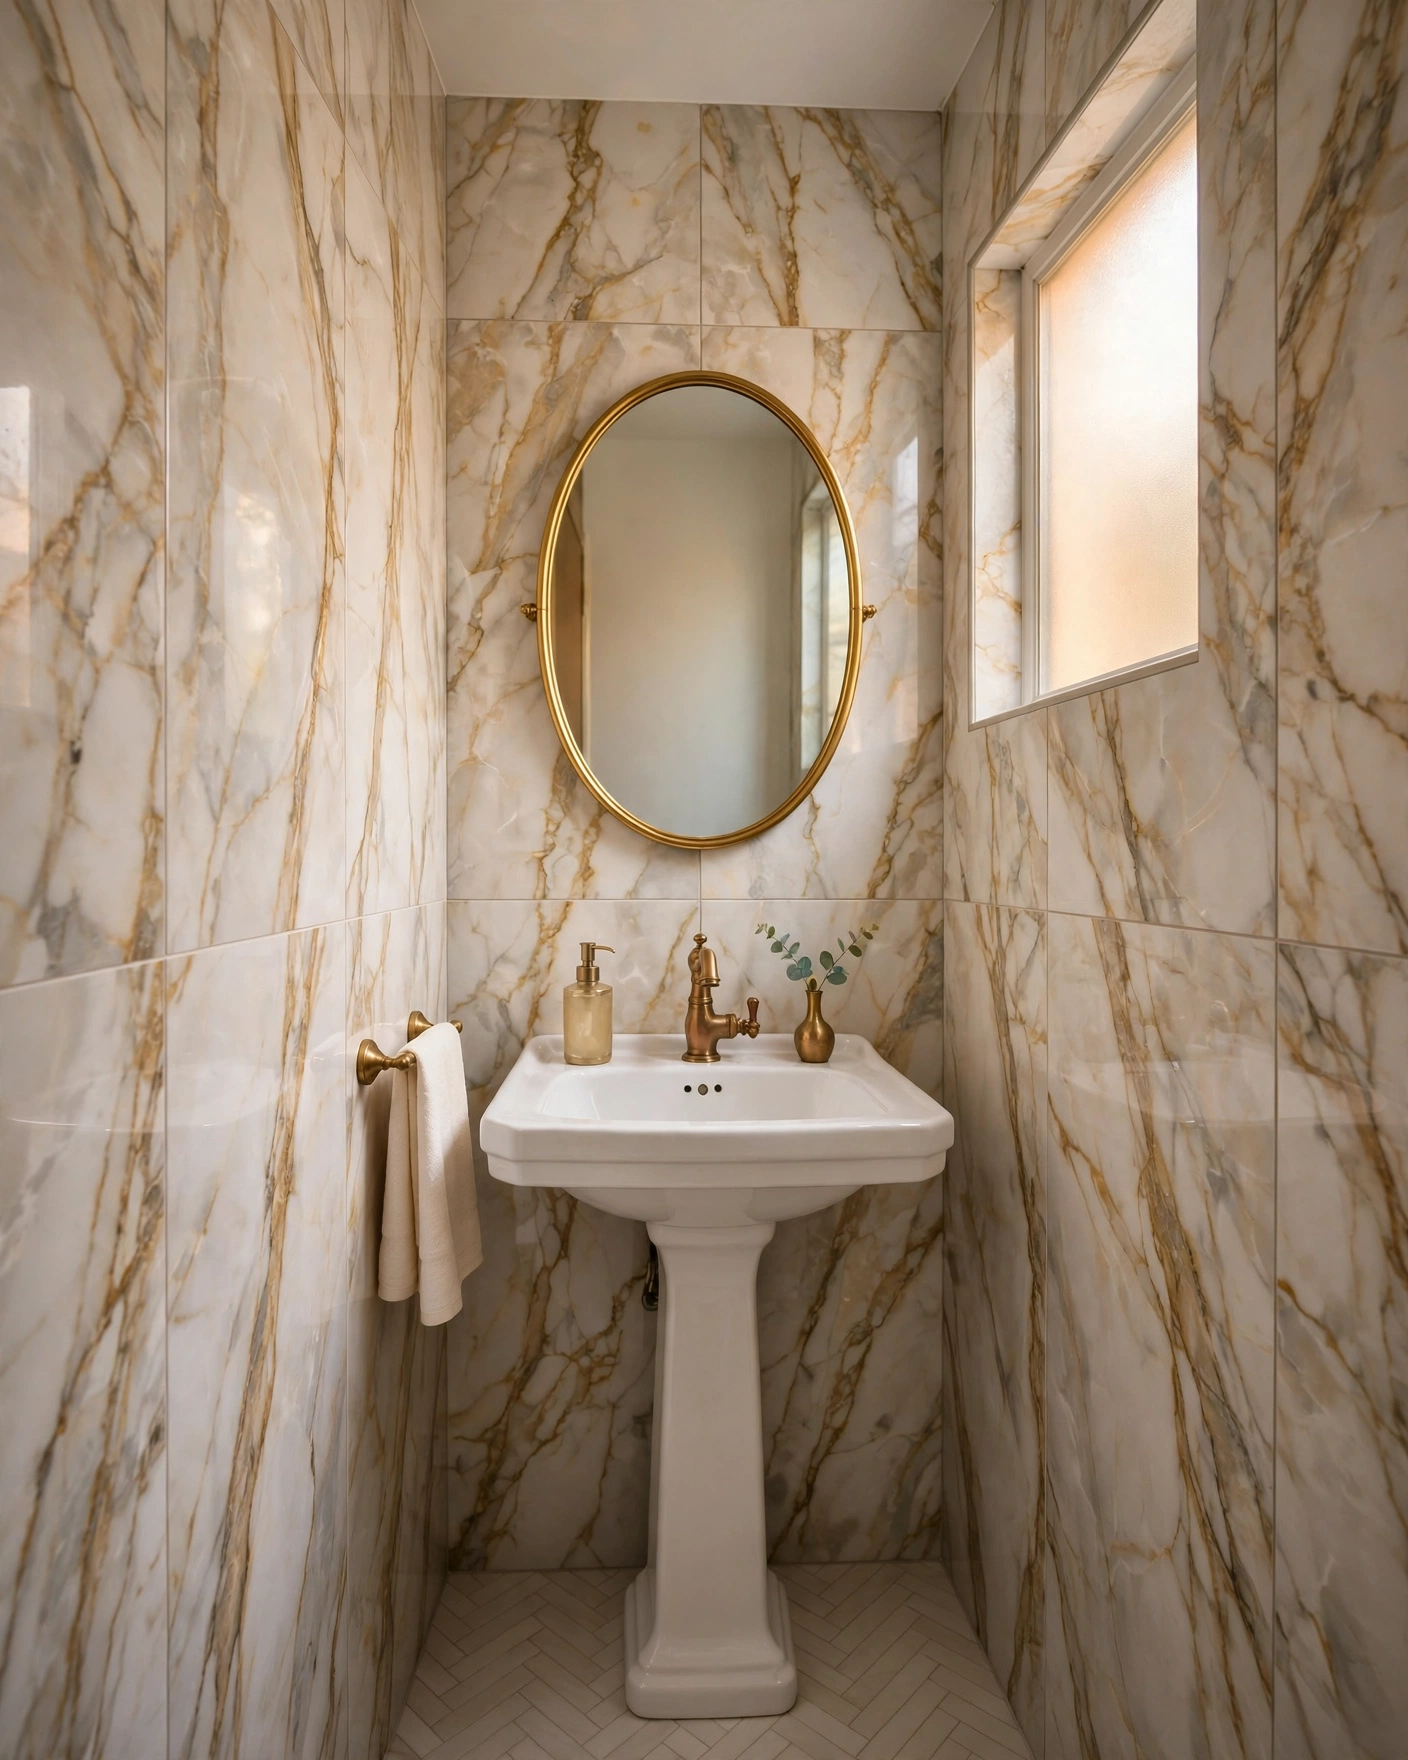
    Gold-veined marble-look tiles floor to ceiling behind a powder room pedestal sink

    Powder rooms are the place to go bold, and gold-veined marble-look tile delivers maximum impact in minimum square footage. Cover the wall behind the pedestal sink from floor to ceiling and echo the warmth with brass or gold fixtures. Tip: because the room is tiny, even a premium-look porcelain for one wall often costs less than a new vanity.

    11. Marble-Look Herringbone Floor

    Marble-look herringbone plank floor tiles in a narrow bathroom with black vanity

    Herringbone movement plus marble veining is a double dose of elegance underfoot. Use 3×12 marble-look planks in matte porcelain at 45 degrees, and keep walls plain so the floor takes the bow. Tip: order 10 to 15 percent extra — the angled cuts at the room’s edges eat through tiles quickly.

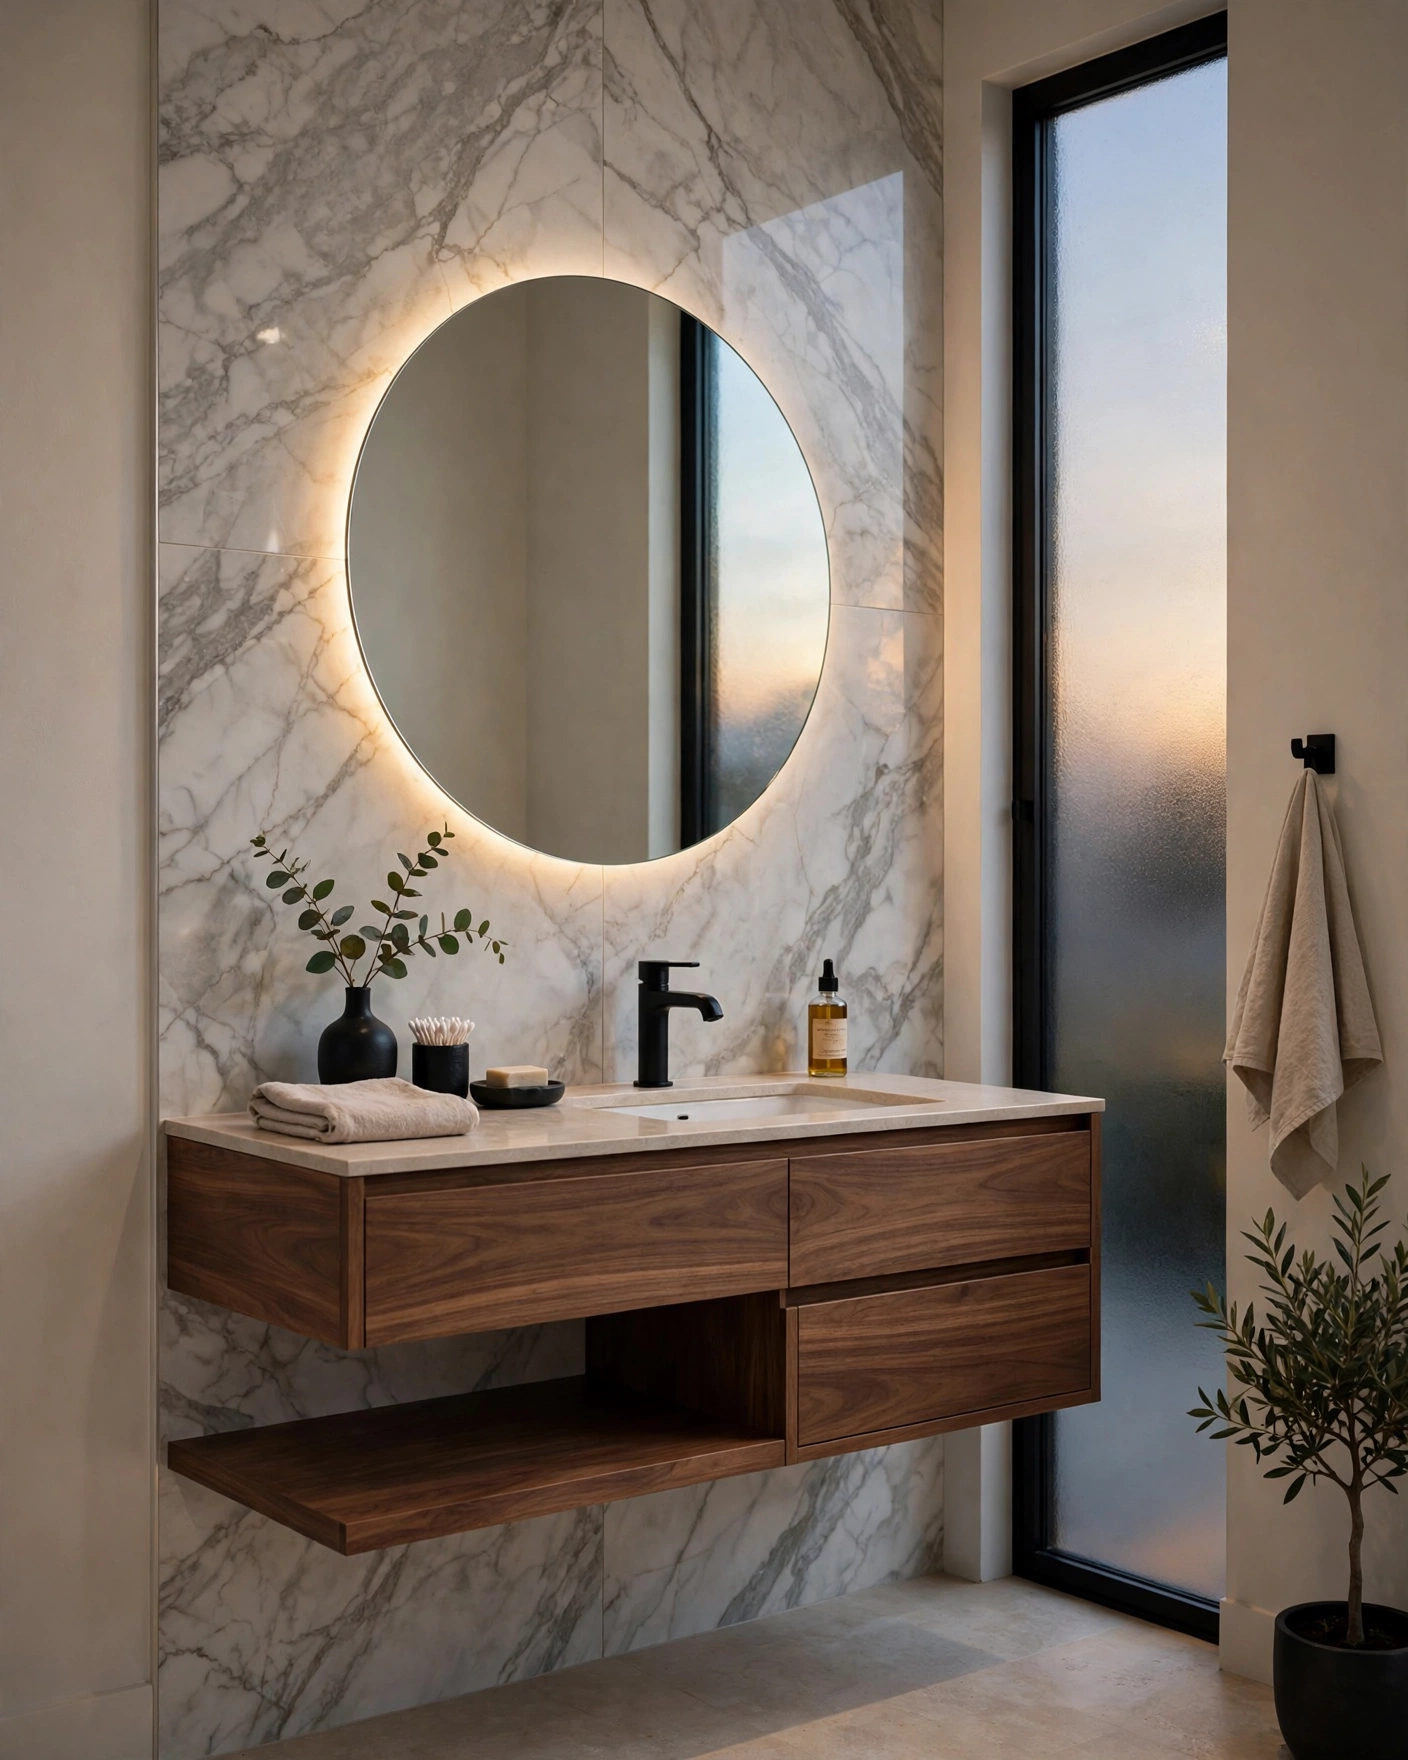
    12. Full-Height Marble-Look Splashback Wall

    Full-height marble-look splashback wall behind a floating walnut vanity and mirror

    Instead of a short backsplash, tile the whole wall behind the vanity to the ceiling in marble-look ceramic for a built-in, bespoke feel. A 4×12 glossy format with wispy veining keeps it light, and a mirror seems to float over stone. Tip: ceramic wall tile is thinner and cheaper than porcelain — save porcelain for floors.

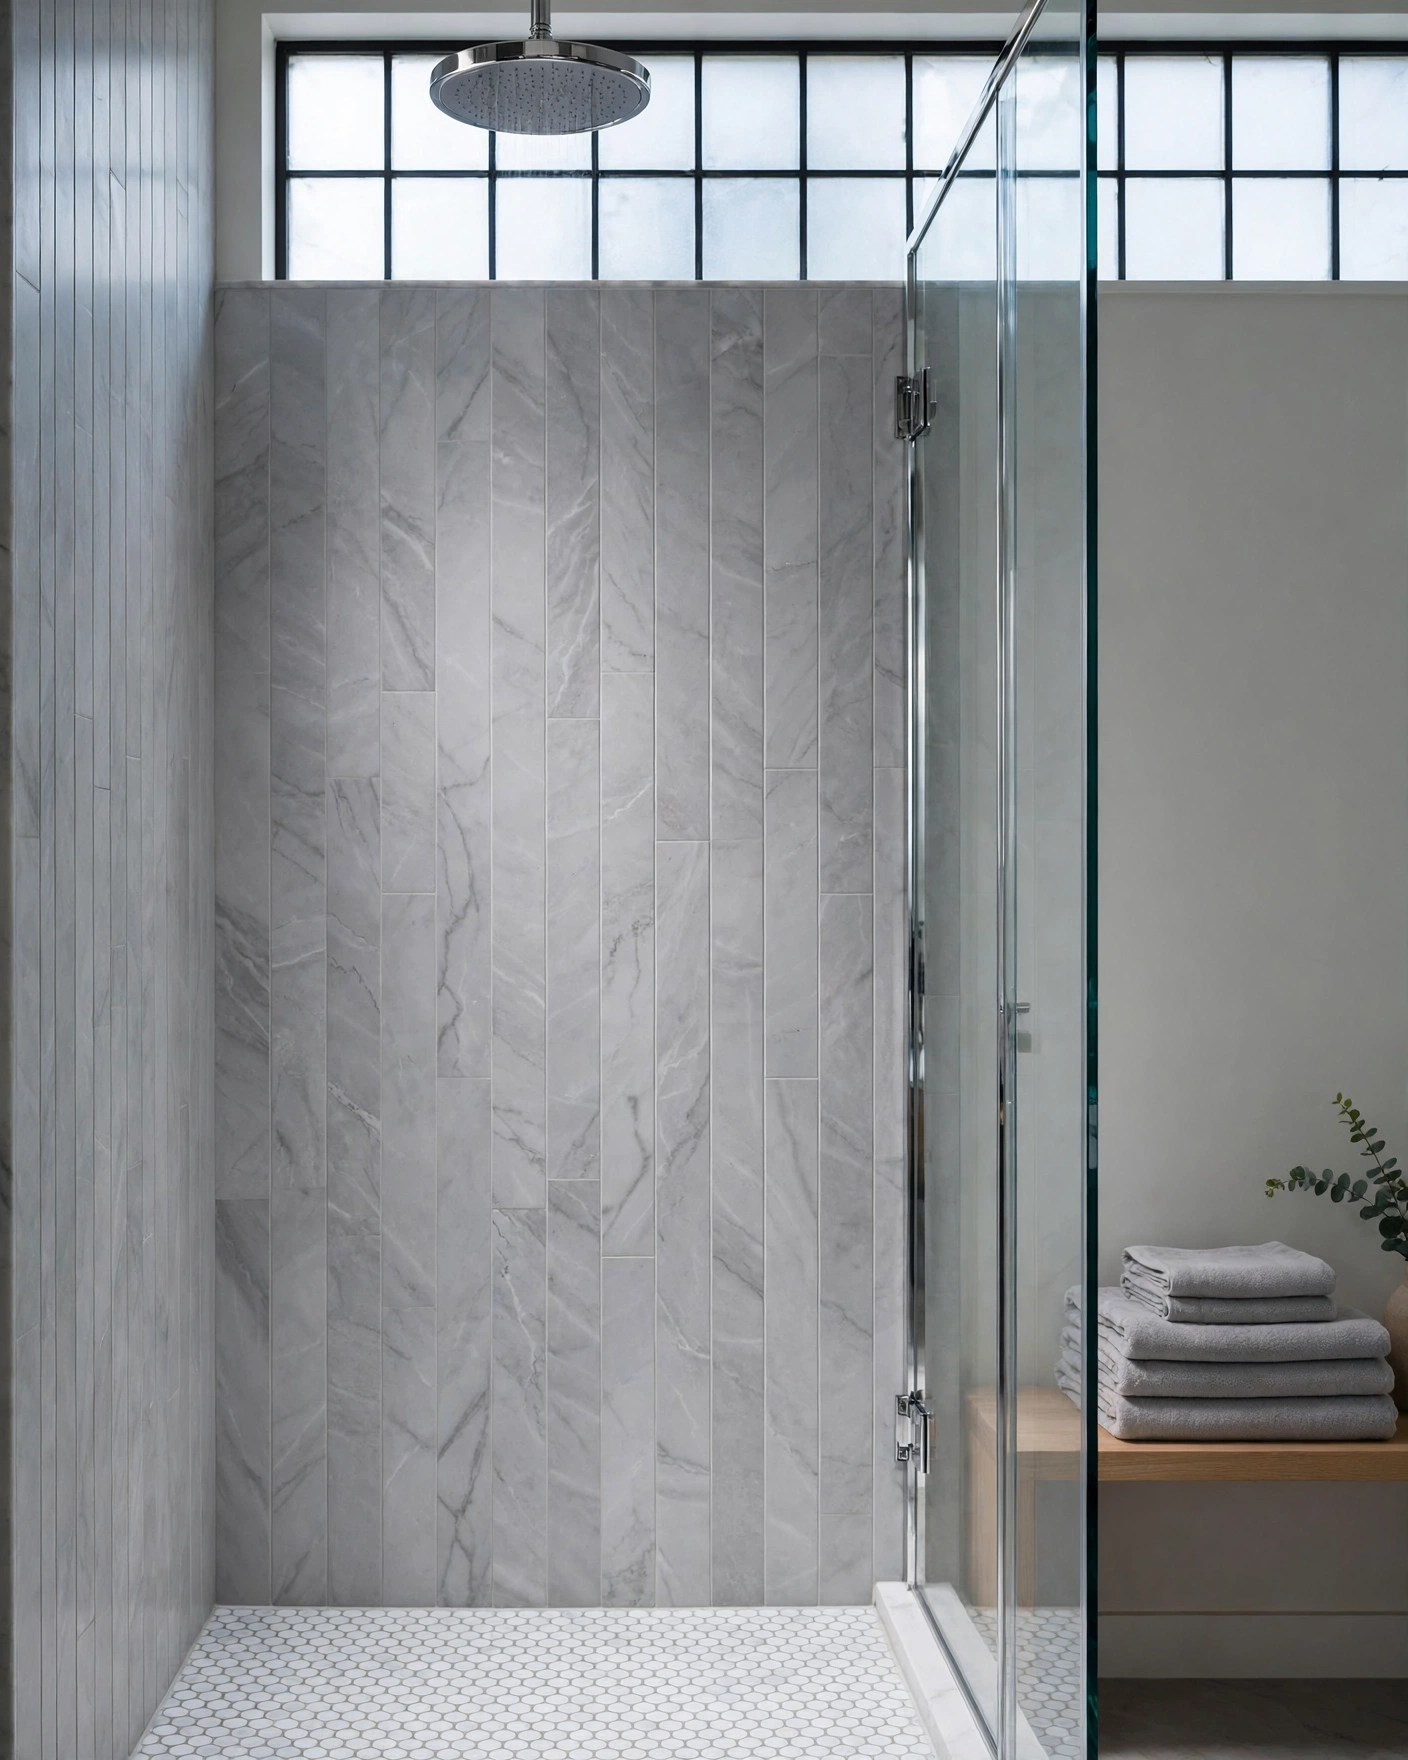
    13. Gray Marble-Look Walk-In Shower

    Gray marble-look tiles laid vertically inside a walk-in shower with glass panel

    Soft gray marble-look tile gives a shower a cocooning, boutique feel that bright white can’t match. Run 12×24 tiles vertically to lift the ceiling visually, and contrast them with a white mosaic shower floor. Tip: mid-gray tones disguise hard-water marks and stray hairs far better than bright white tile does.

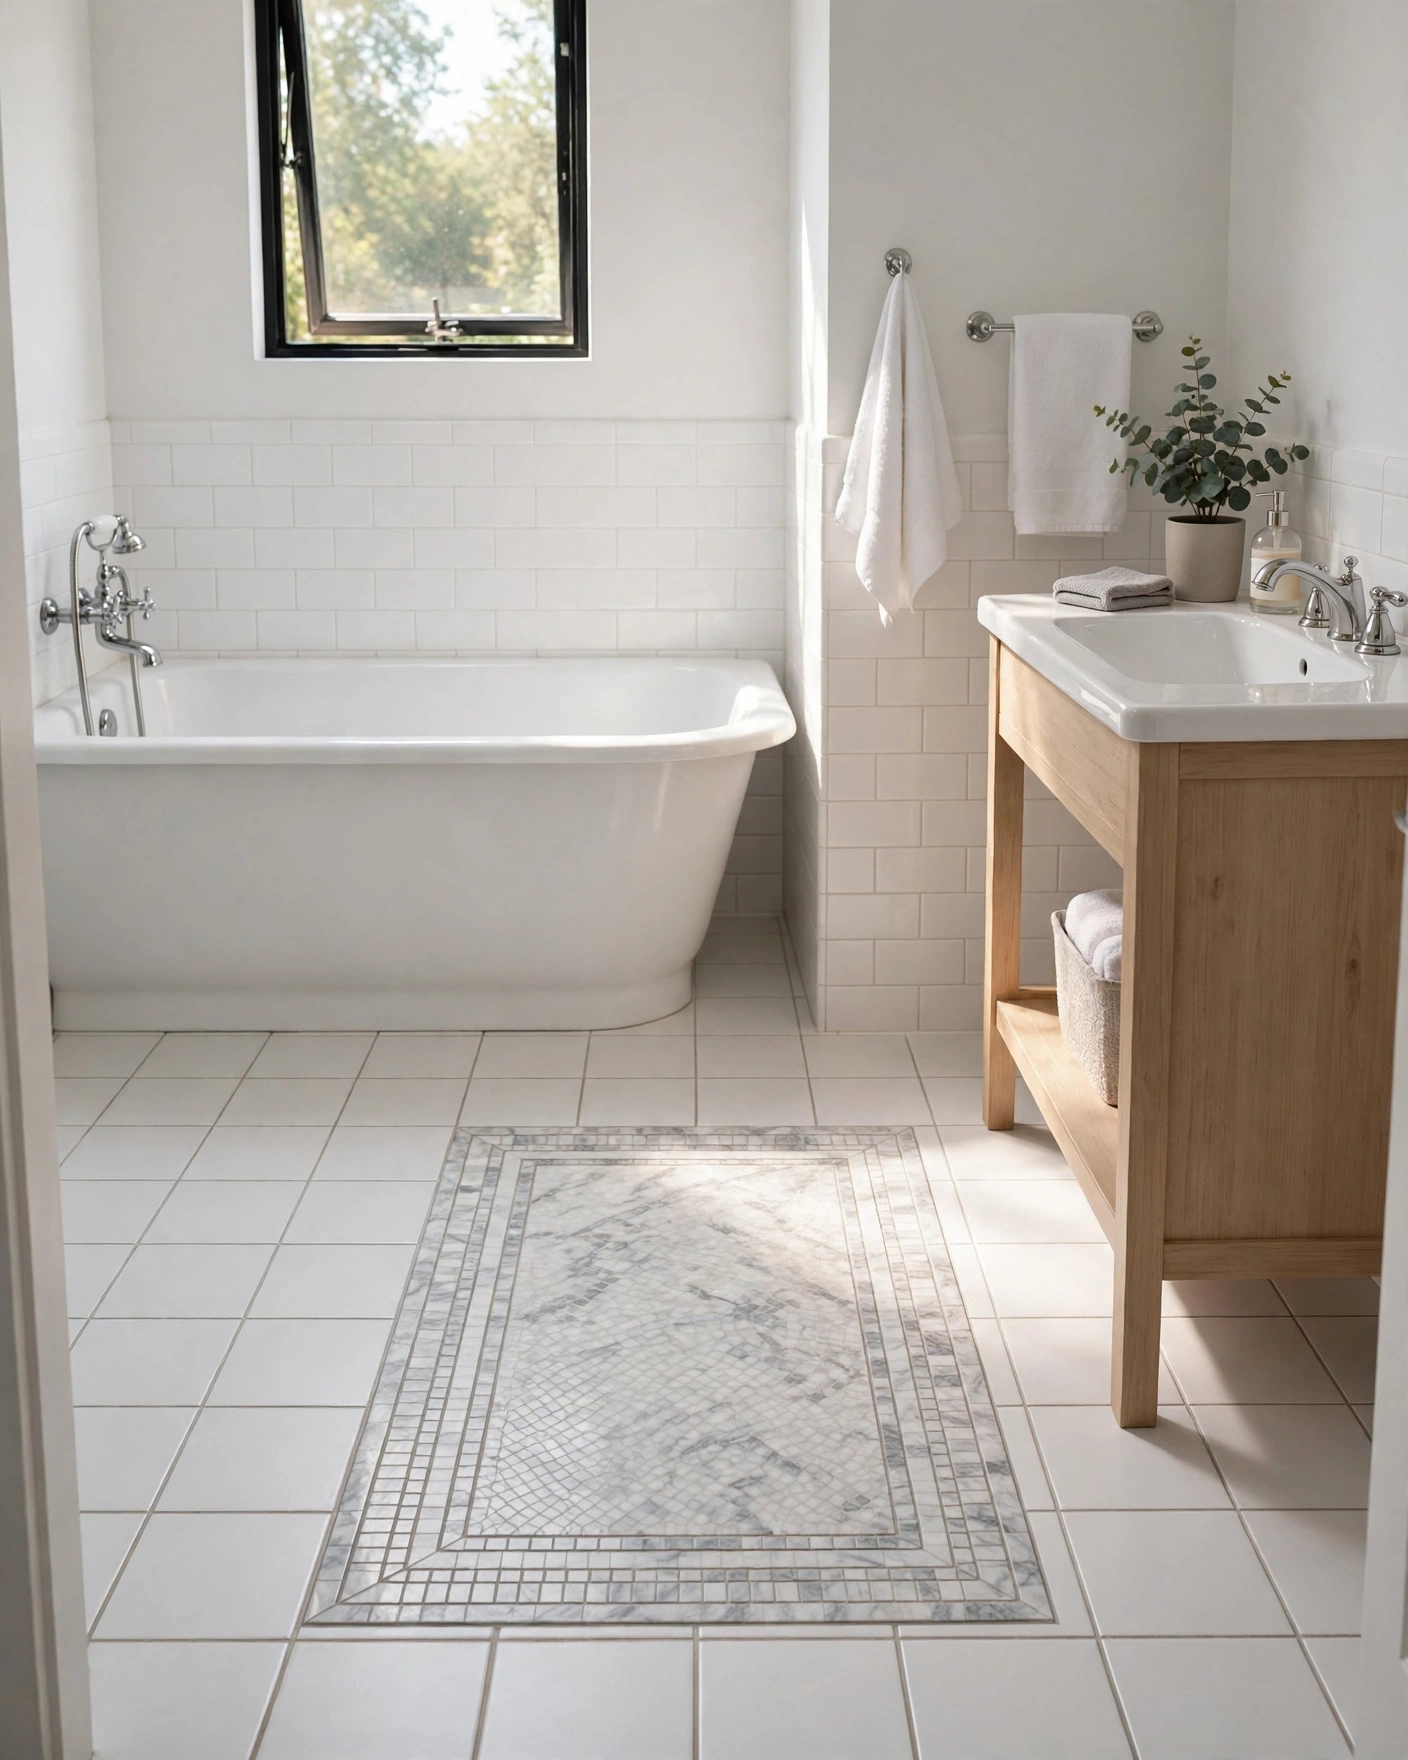
    14. Marble-Look Border and Inlay Details

    Plain ceramic floor with a marble-look mosaic inlay rug framed in center

    You don’t need wall-to-wall marble — a marble-look inlay “rug” inside plain field tile reads as pure custom work. Frame a rectangle of veined mosaic in the center of a ceramic floor, or run a marble-look strip around the shower. Tip: this concentrates the expensive-look material where eyes land first, keeping costs low.

    15. Warm Beige Marble-Look Tile

    Warm beige marble-look tiles with caramel veining around an oak vanity

    Not every marble look is icy white — beige and travertine-style prints bring warmth that flatters wood vanities and brass. Choose matte beige marble-look in 12×24, with soft caramel veining, for floor and tub wall. Tip: warm-toned tile hides dust and water spots well, making it a forgiving pick for busy family bathrooms.

    16. Marble-Look Tub Surround and Apron

    Polished marble-look tiles covering a tub surround and apron in an alcove

    Tiling the tub surround and front apron in the same marble-look porcelain makes a basic alcove tub look bespoke. Carry 12×24 polished tile from rim to ceiling, aligning the apron joints with the wall joints. Tip: porcelain on the apron shrugs off kicks and bath-toy splashes far better than paint.

    17. Polished Walls with a Honed Marble-Look Floor

    Polished marble-look wall tiles paired with a honed marble-look bathroom floor

    Pairing glossy marble-look walls with a honed version of the same print on the floor adds depth you can feel. Keep the veining in the same family so the room reads as one stone in two finishes. Tip: the honed floor gives safer footing when wet, while the polished walls do the light-bouncing.
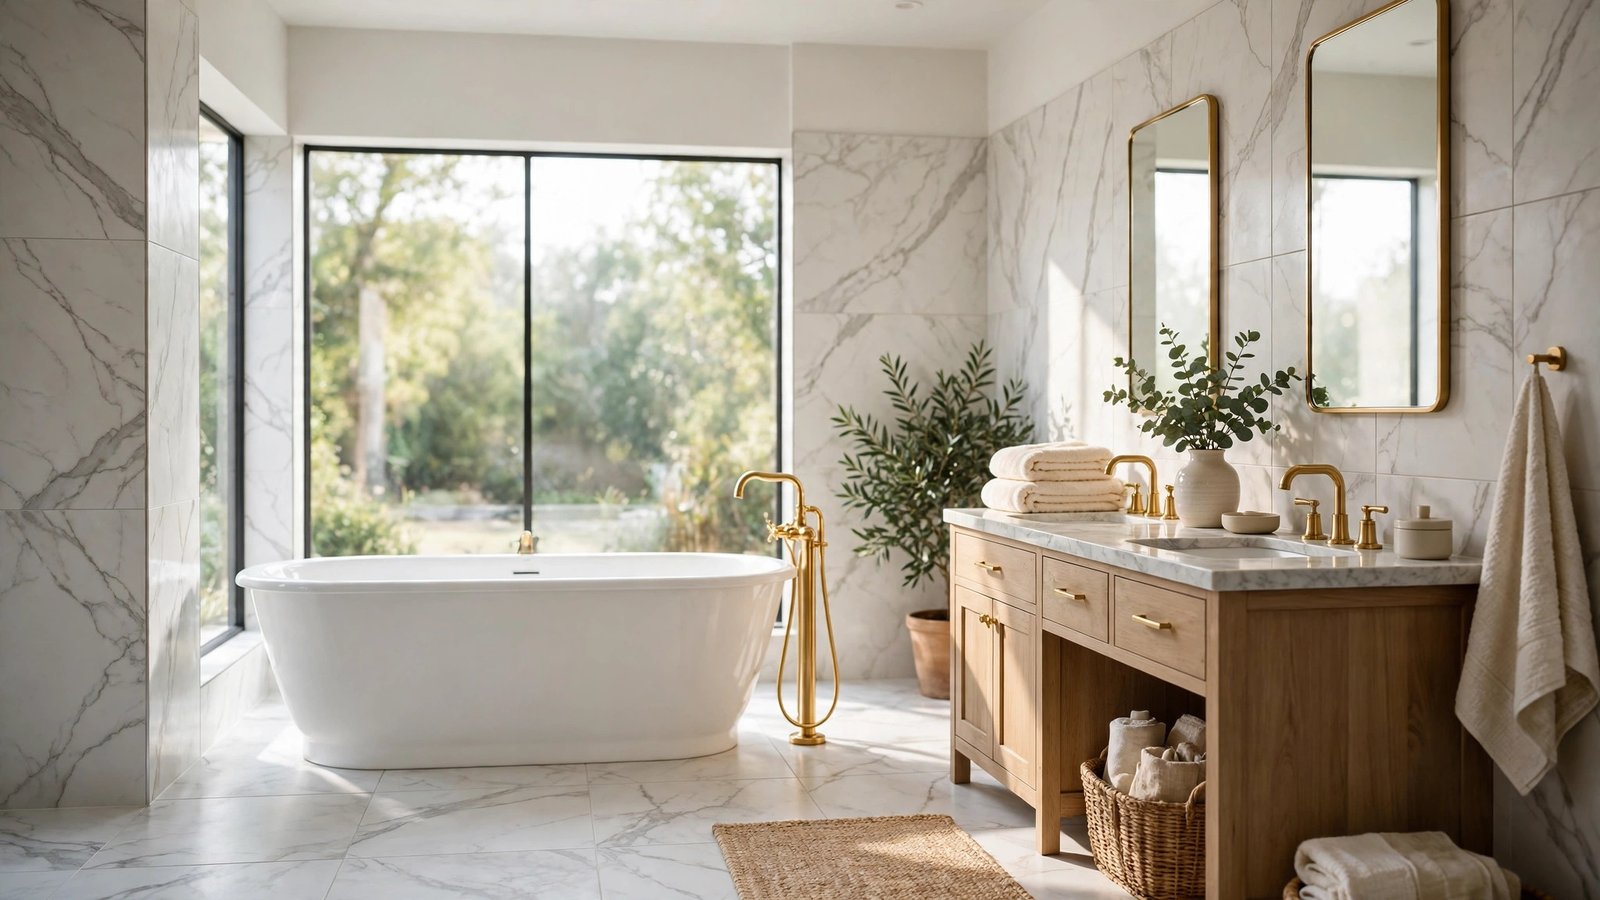

    In Summary

    Marble-look tile gives you the part of marble everyone wants — the veining, the light, the quiet luxury — without the sealing calendar or specialist price tag. Bold with book-matching and black marble, or soft with matte grays and warm beiges, the effect is the same: a bathroom that looks far more expensive than it was.
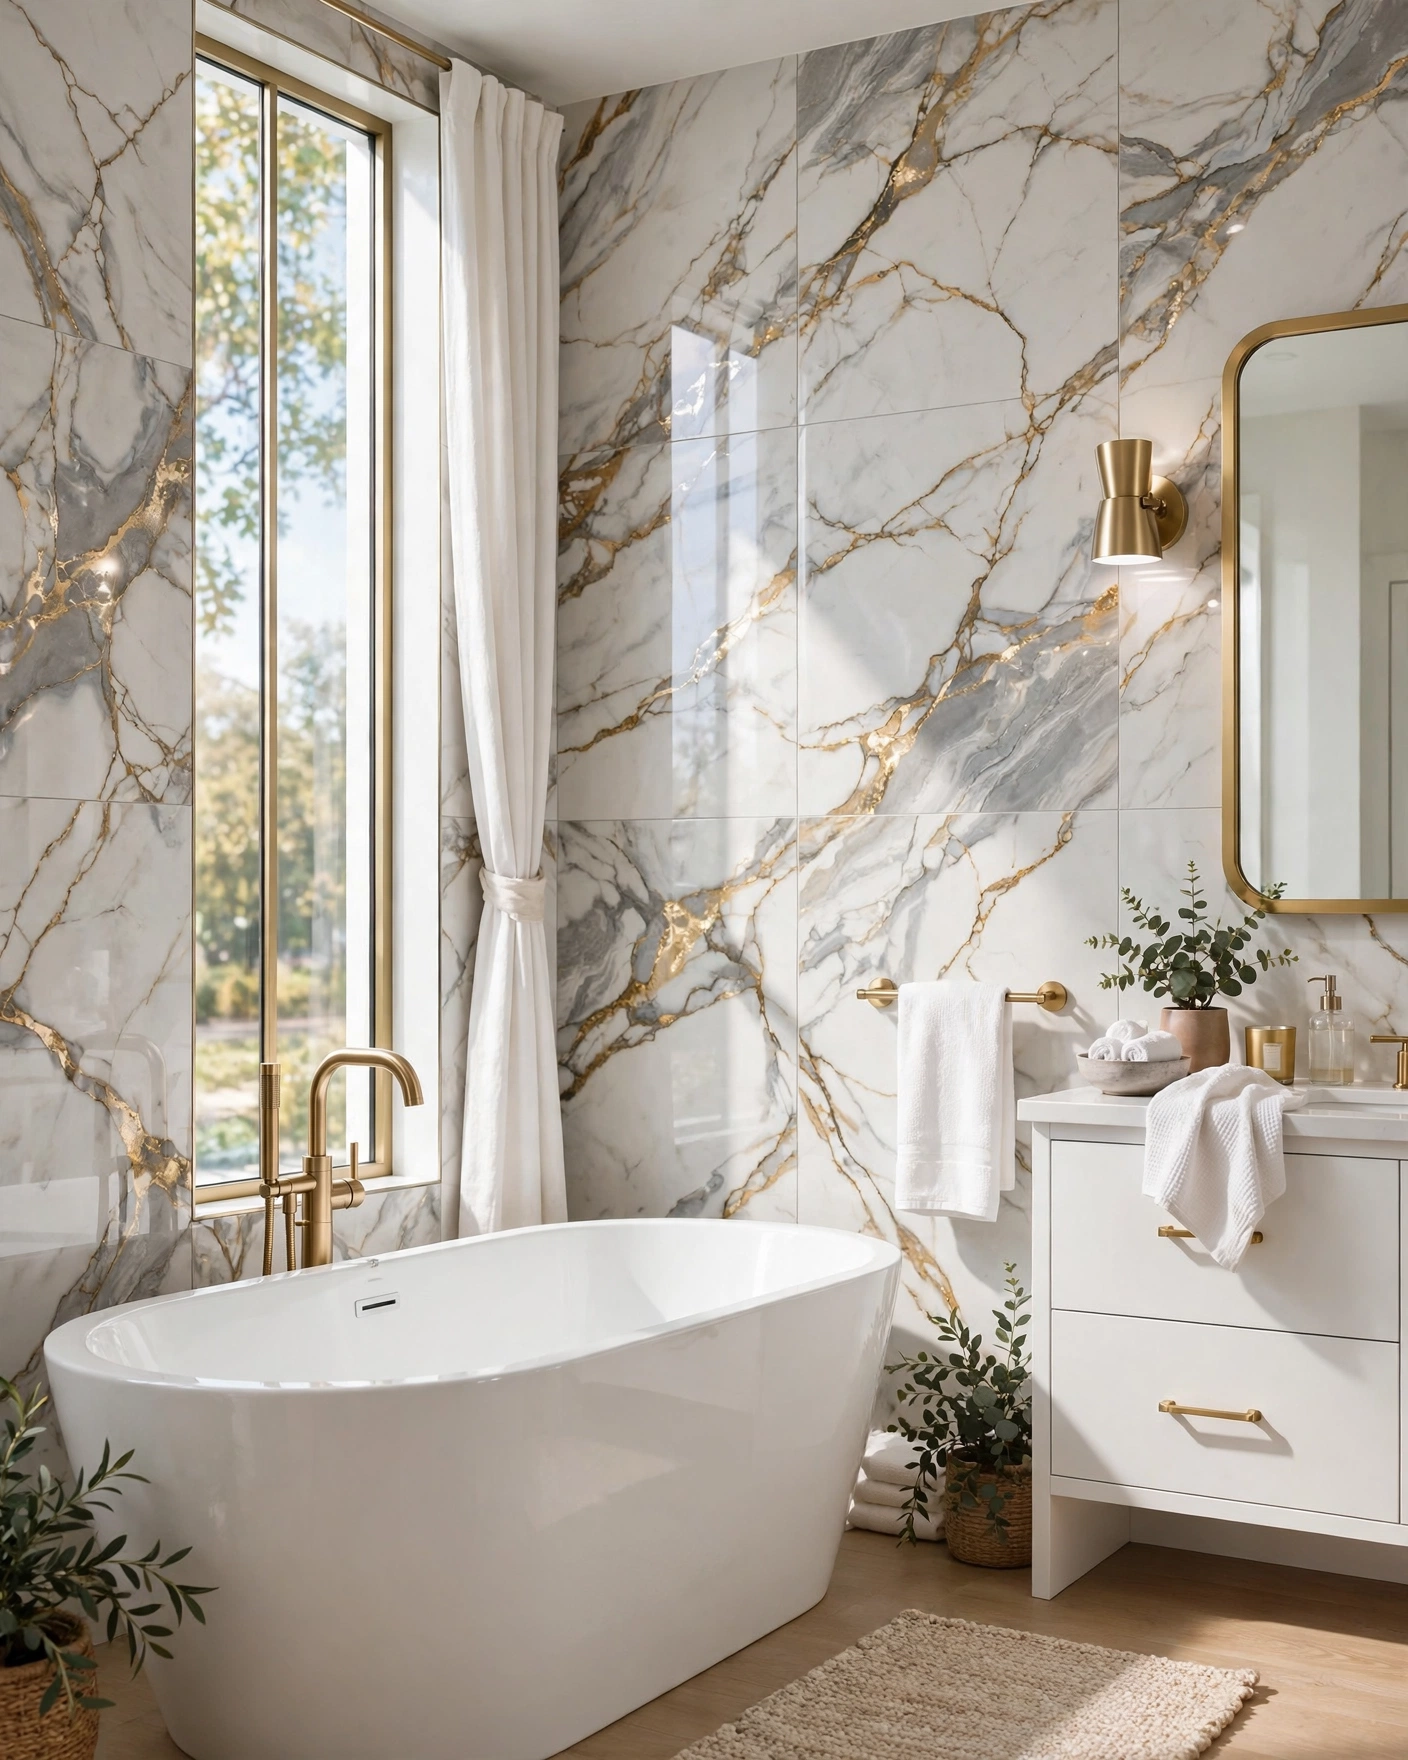
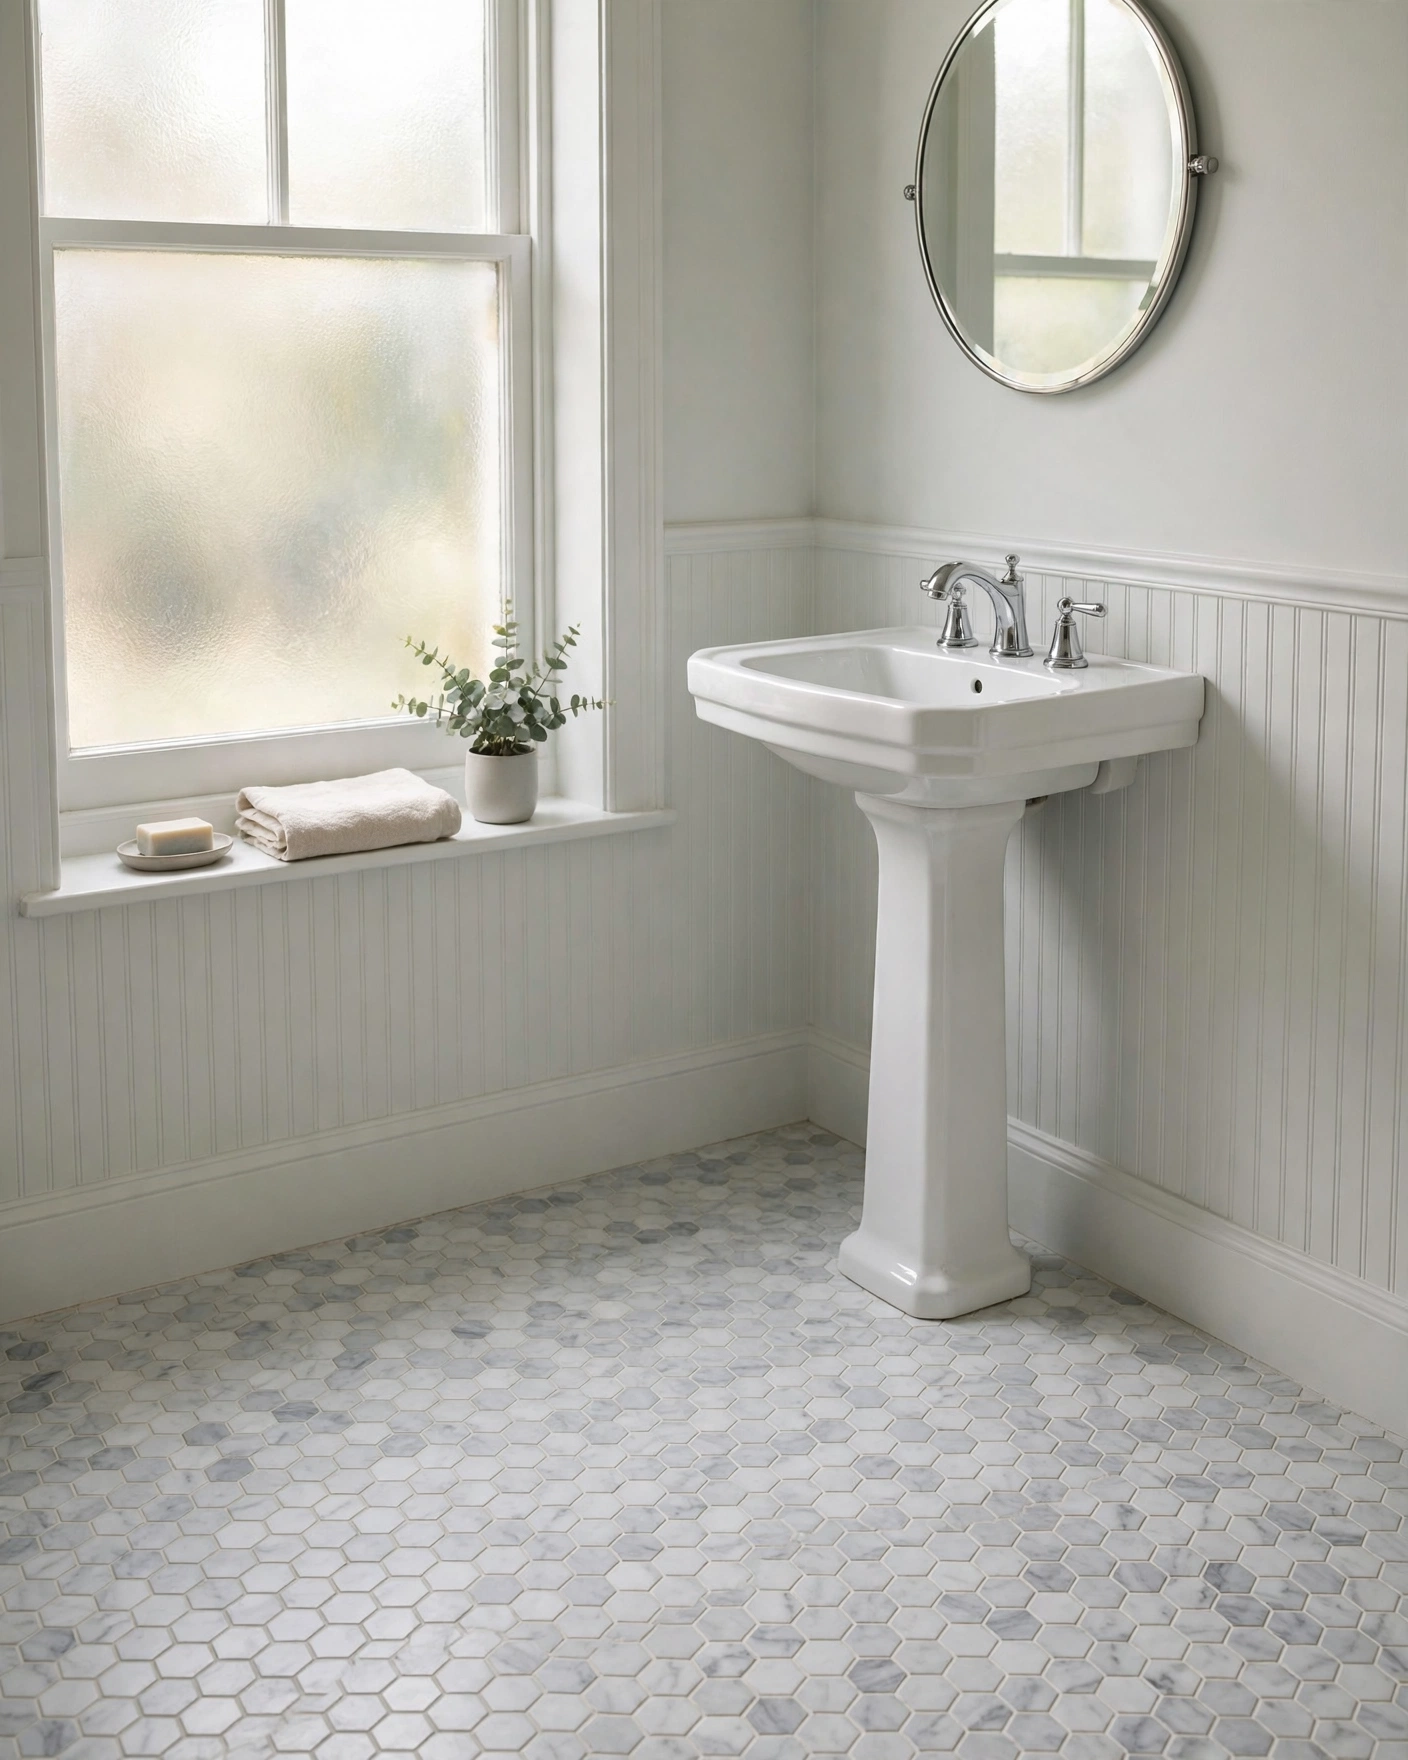
    Start where your budget stretches furthest: a powder room wall, a shower surround or an inlay inside plain field tile can transform the room for the cost of a few boxes of porcelain. Order samples, check the veining in your own light, and pick the finish that suits how you really live.

  • 19 Subway Tile Patterns Beyond the Boring Stack

    19 Subway Tile Patterns Beyond the Boring Stack

    Subway tile is the safest tile you can buy — and that is exactly the problem. Laid in the same offset brick pattern as every rental bathroom, even beautiful tile goes invisible.

    The tile itself is not the limit, though. The layout is. The same 3×6 rectangle can read modern, vintage, playful or luxurious depending on the direction, angle and rhythm you set it in.

    Below are 19 subway tile patterns that take the classic rectangle far beyond the boring stack, with the tile sizes, grout choices and surfaces each one suits best. Every idea includes a practical tip on cost, cutting or cleaning, so you can judge the look and the workload together.

    Pick one pattern for a shower wall, a vanity splash or a whole room — a new layout costs no more in tile than the standard one.


    1. Vertical Stack, Floor to Ceiling

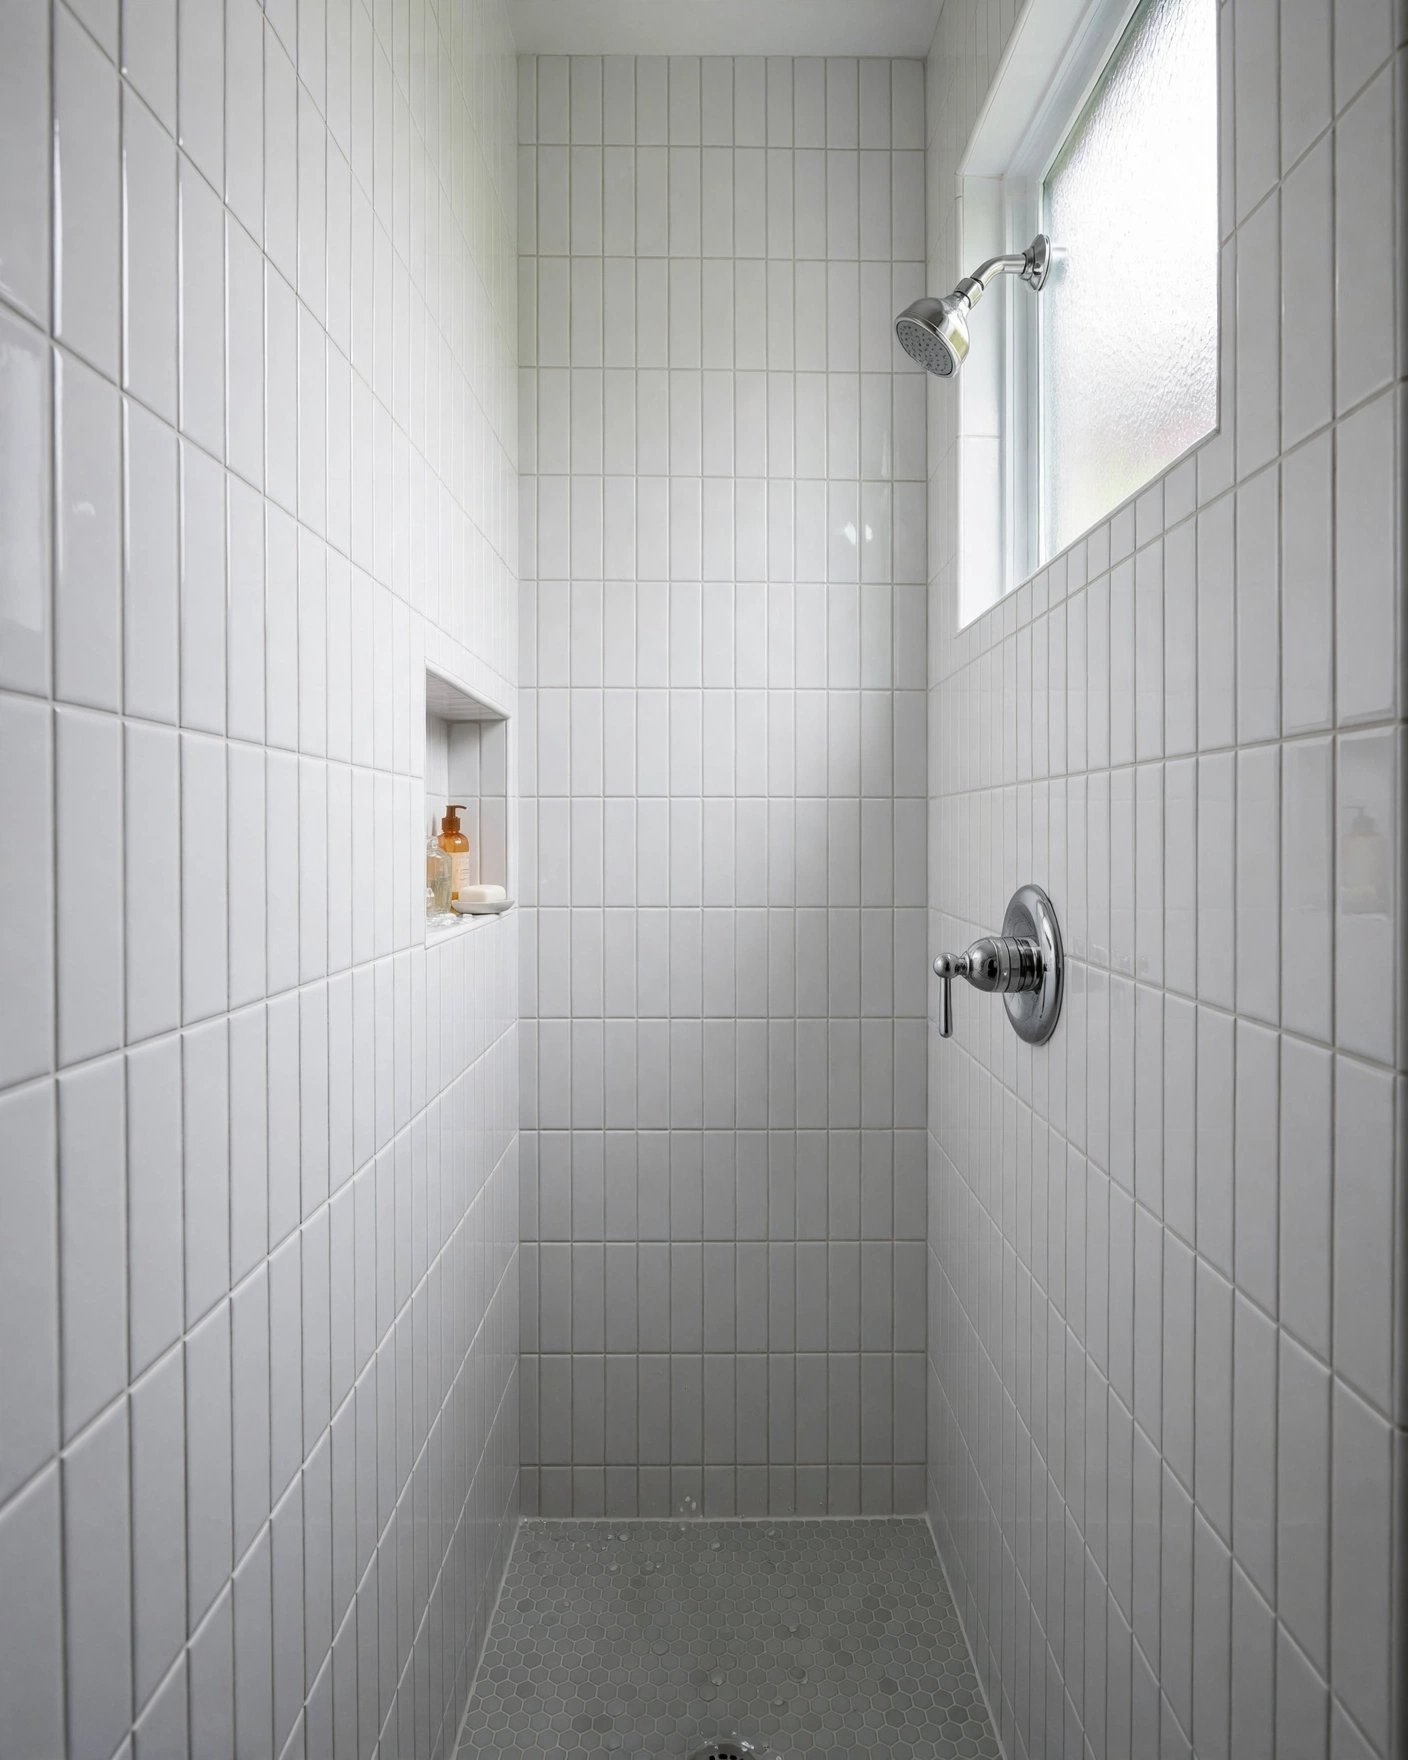
    Small shower wrapped in glossy white subway tile stacked vertically to ceiling

    Turning the classic 3×6 tile upright and stacking it in clean columns pulls the eye upward, so a low ceiling feels taller. Run a glossy or crackle-glazed ceramic floor to ceiling in the shower for the full effect. Tip: vertical lines expose wavy walls, so prep the surface flat first.

    2. Vertical Running Bond

    Bathroom wall with sage green subway tiles in a vertical offset brick pattern

    Keep the familiar half-offset rhythm of brickwork, just rotated ninety degrees: each vertical tile sits halfway across the one below. It softens the strict grid of a straight stack while still stretching the wall upward. Tip: this pattern hides slightly uneven tile heights better than a true stack.

    3. Herringbone at 45 Degrees

    Shower wall in white herringbone subway tile with light gray grout lines

    Rectangles woven at right angles and tilted forty-five degrees create the zigzag that makes plain subway tile look like a boutique hotel. Smaller 2×6 tiles give a finer zigzag on shower walls. Tip: herringbone needs about ten percent extra tile for angled cuts at the edges.

    4. Straight Herringbone

    Vanity wall covered in cream subway tiles laid in an upright herringbone pattern

    The same woven zigzag, but kept upright instead of tilted, so the pattern reads calmer and more architectural. It suits a vanity wall where you want movement without visual noise. Tip: dry-lay a square metre on the floor first to lock in your starting corner.

    5. Chevron

    Shower wall with navy subway tiles cut into a sharp continuous chevron pattern

    Unlike herringbone’s broken zigzag, chevron tiles are cut on the angle so the points meet in one unbroken ribbon. It is the sharpest, most tailored look on this list, especially in a deep colour with pale grout. Tip: buy pre-cut chevron tile to skip hundreds of mitre cuts.

    6. Basketweave

    Bathroom wall with pairs of horizontal and vertical subway tiles in basketweave

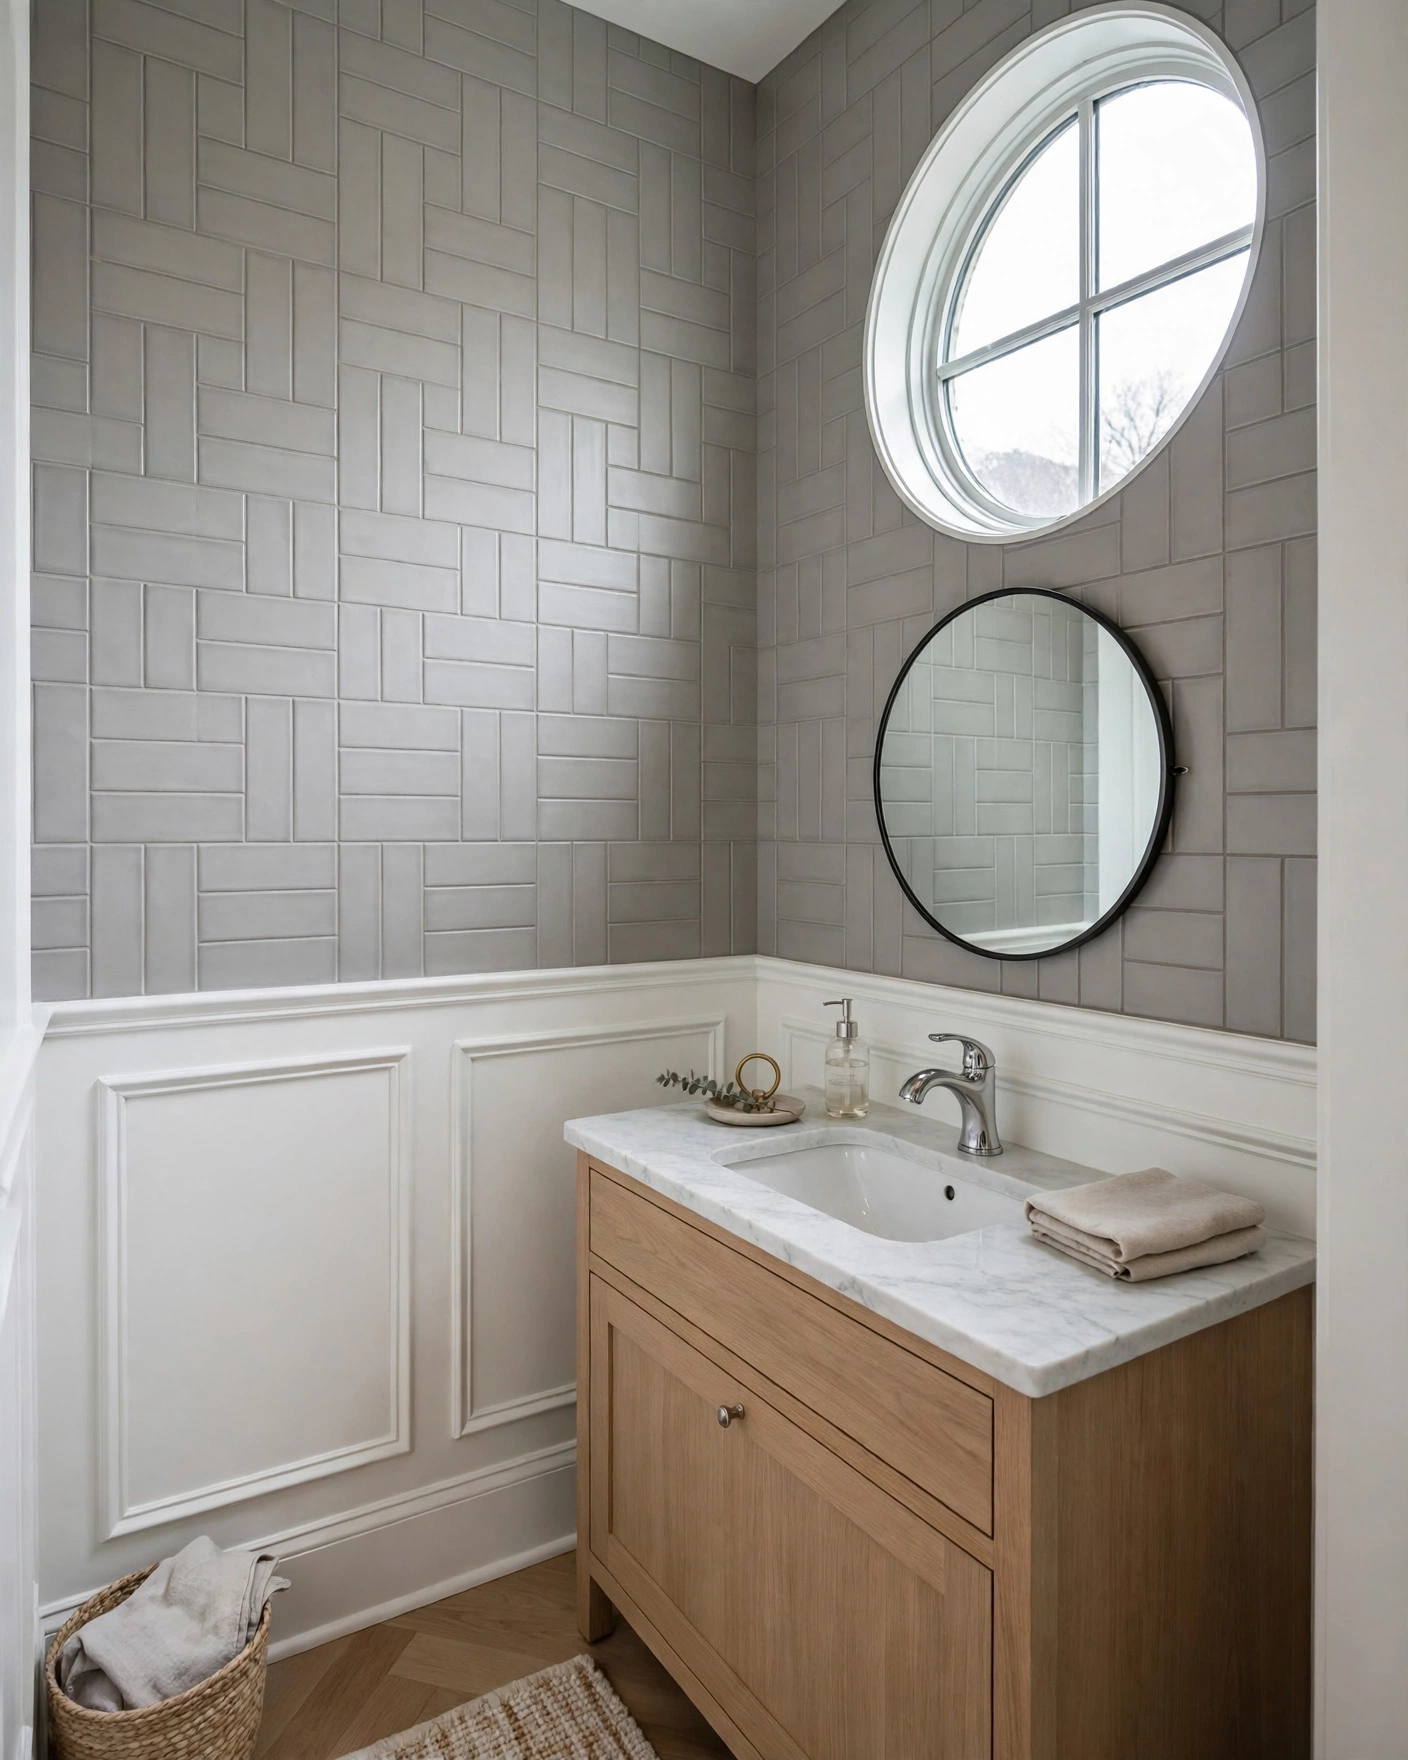
    Pairs of horizontal tiles alternate with pairs of vertical ones, weaving over and under like a basket. The pattern adds vintage charm to powder rooms and suits traditional fixtures. Tip: basketweave eats grout lines, so choose a grout one shade darker to make the weave readable.

    7. Crosshatch

    Shower interior with white subway tiles grouped in alternating crosshatch squares

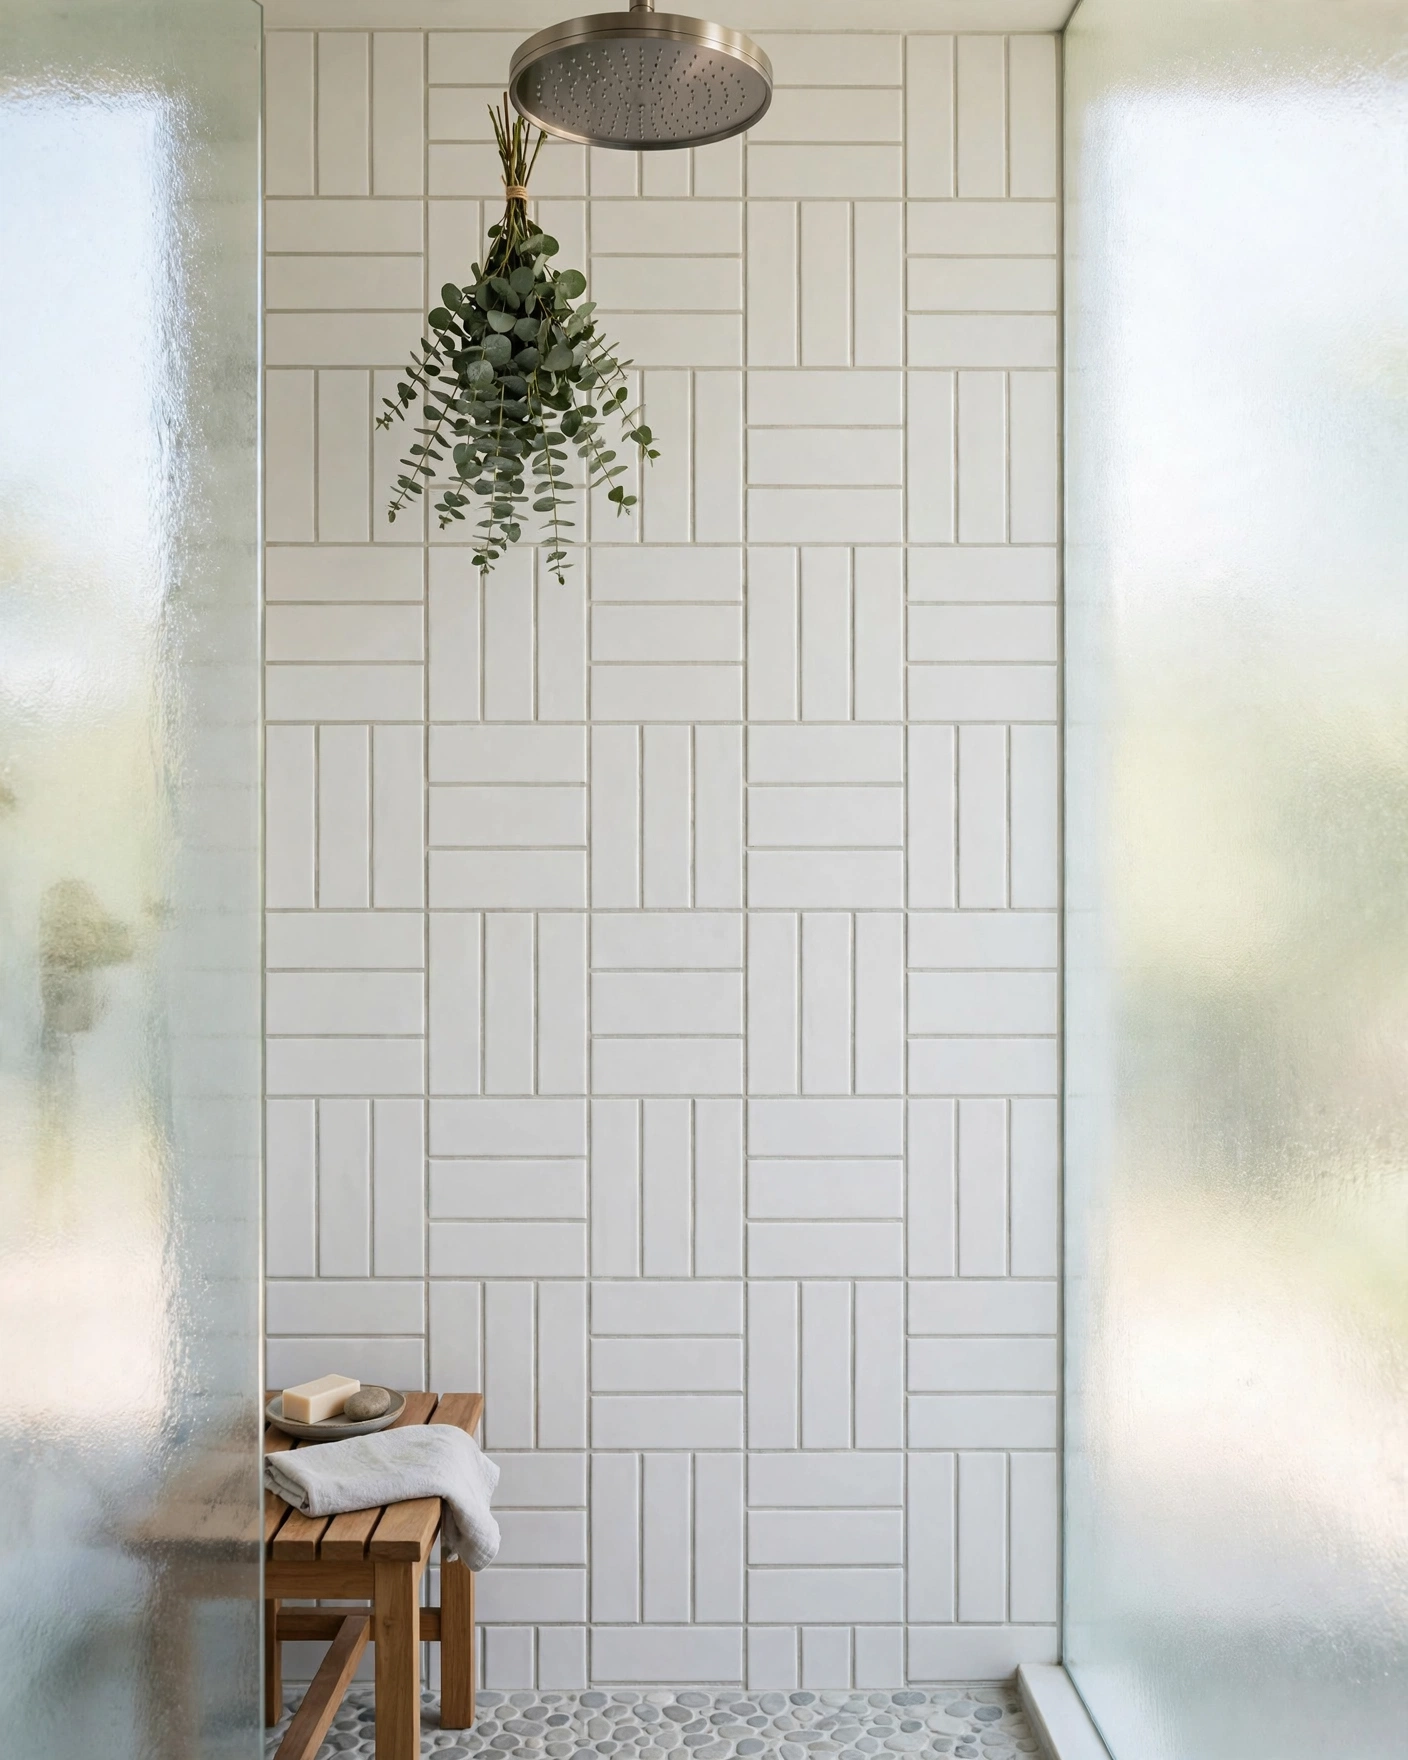
    Crosshatch scales basketweave up: blocks of three stacked tiles alternate direction across the wall, giving a bold, graphic rhythm. It works best on one large shower wall in a single colour. Tip: snap chalk lines for every block boundary, because small drifts show quickly at this scale.

    8. Diagonal Running Bond

    Shower wall with warm white subway tiles in a diagonal offset brick layout

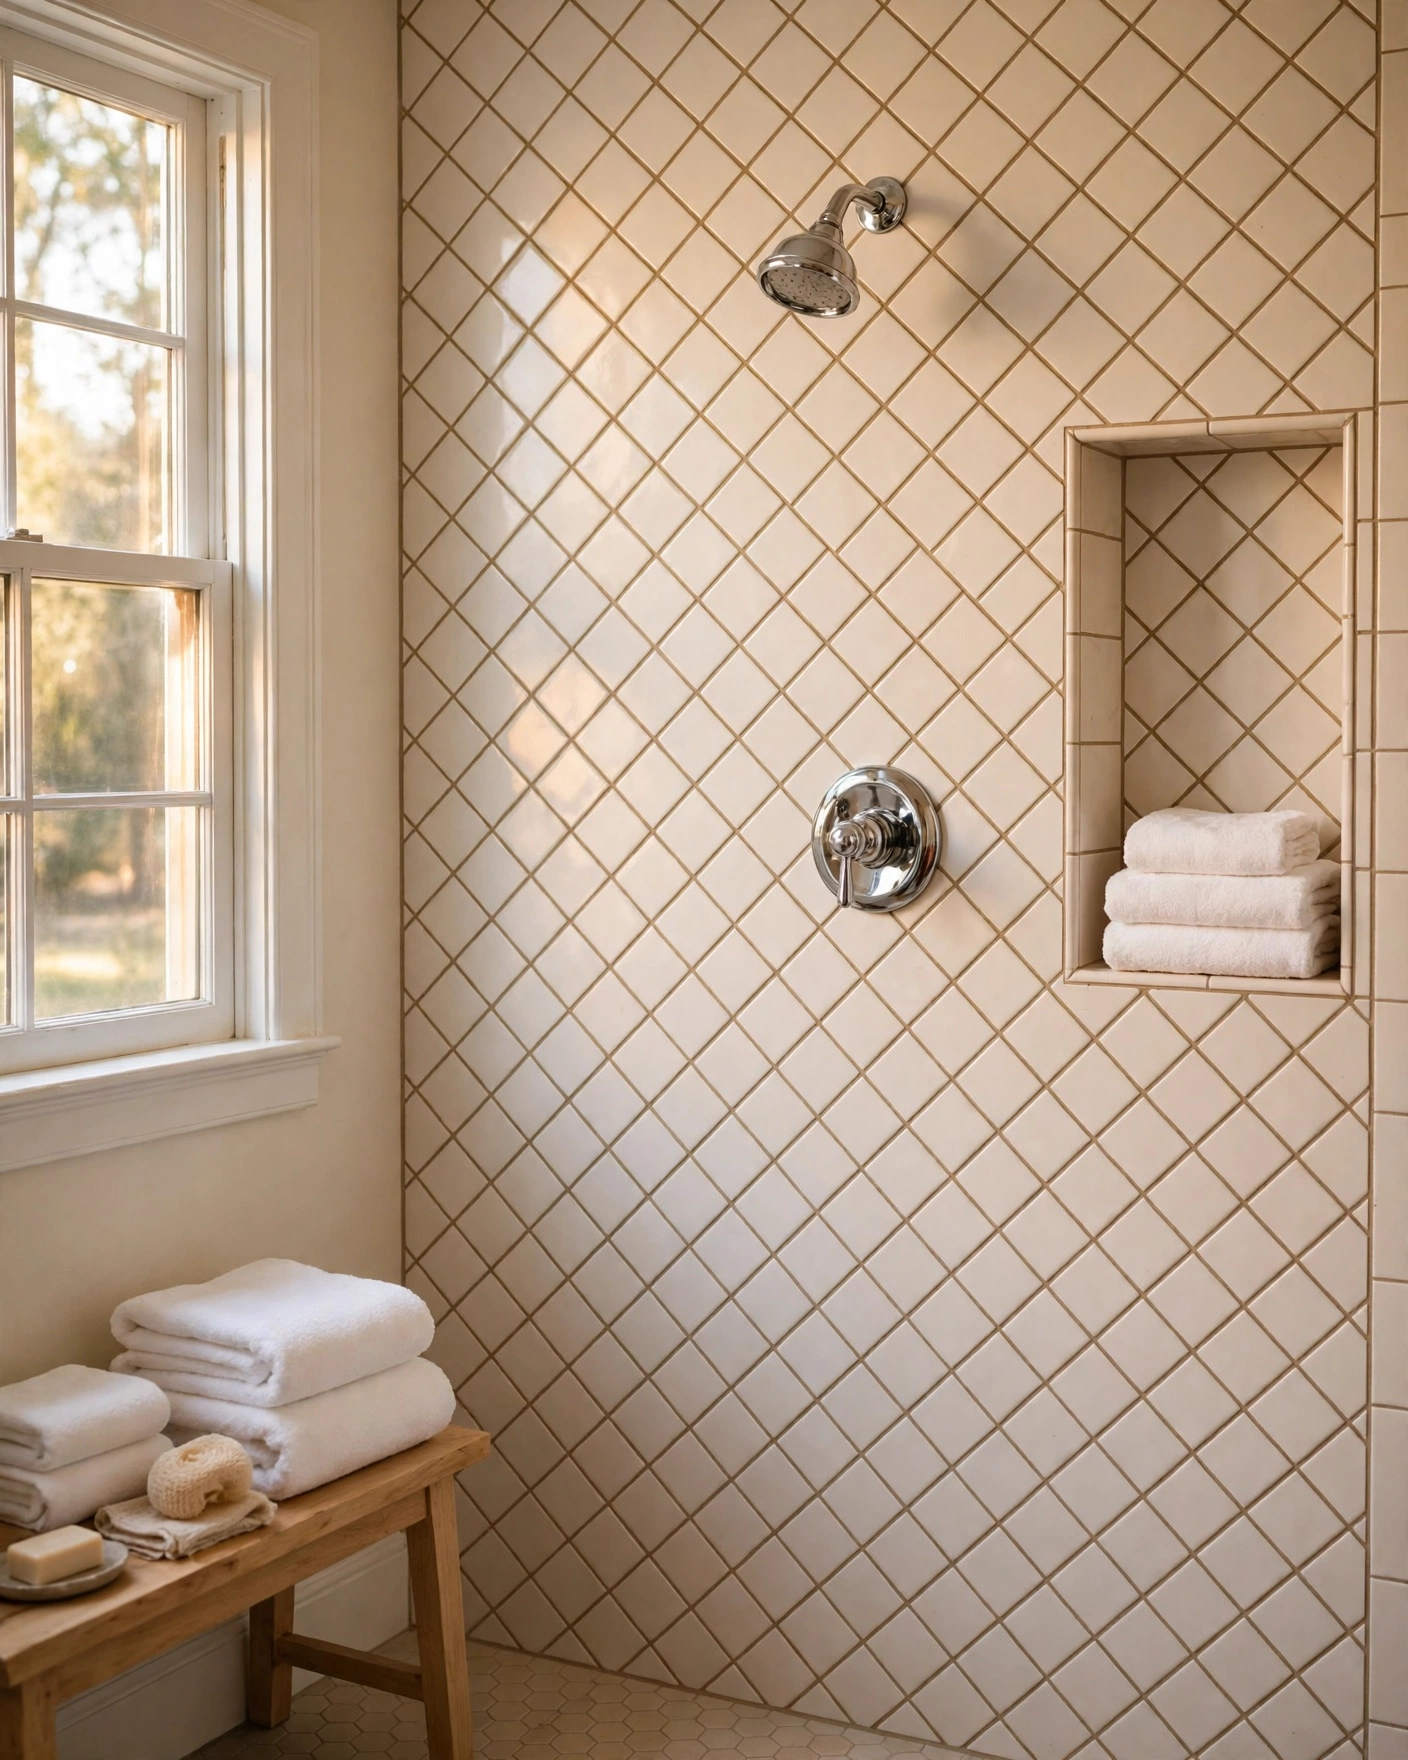
    Simply rotating the standard brick layout forty-five degrees makes a small wall feel wider and far more dynamic. The diagonal lines lead the eye into the corners instead of stopping at them. Tip: expect extra cuts on every edge, so order fifteen percent more tile than usual.

    9. Step Ladder

    Bathroom splashback with subway tiles alternating horizontal and vertical in steps

    One vertical tile, one horizontal, marching across the wall like steps — this playful pattern suits a vanity splashback where its small scale stays readable. Glossy ceramic in a soft colour keeps it light. Tip: because every tile turns, use spacers on all four sides to hold the rhythm.

    10. Patchwork Squares

    Feature wall of subway tile squares alternating between vertical and horizontal stacks

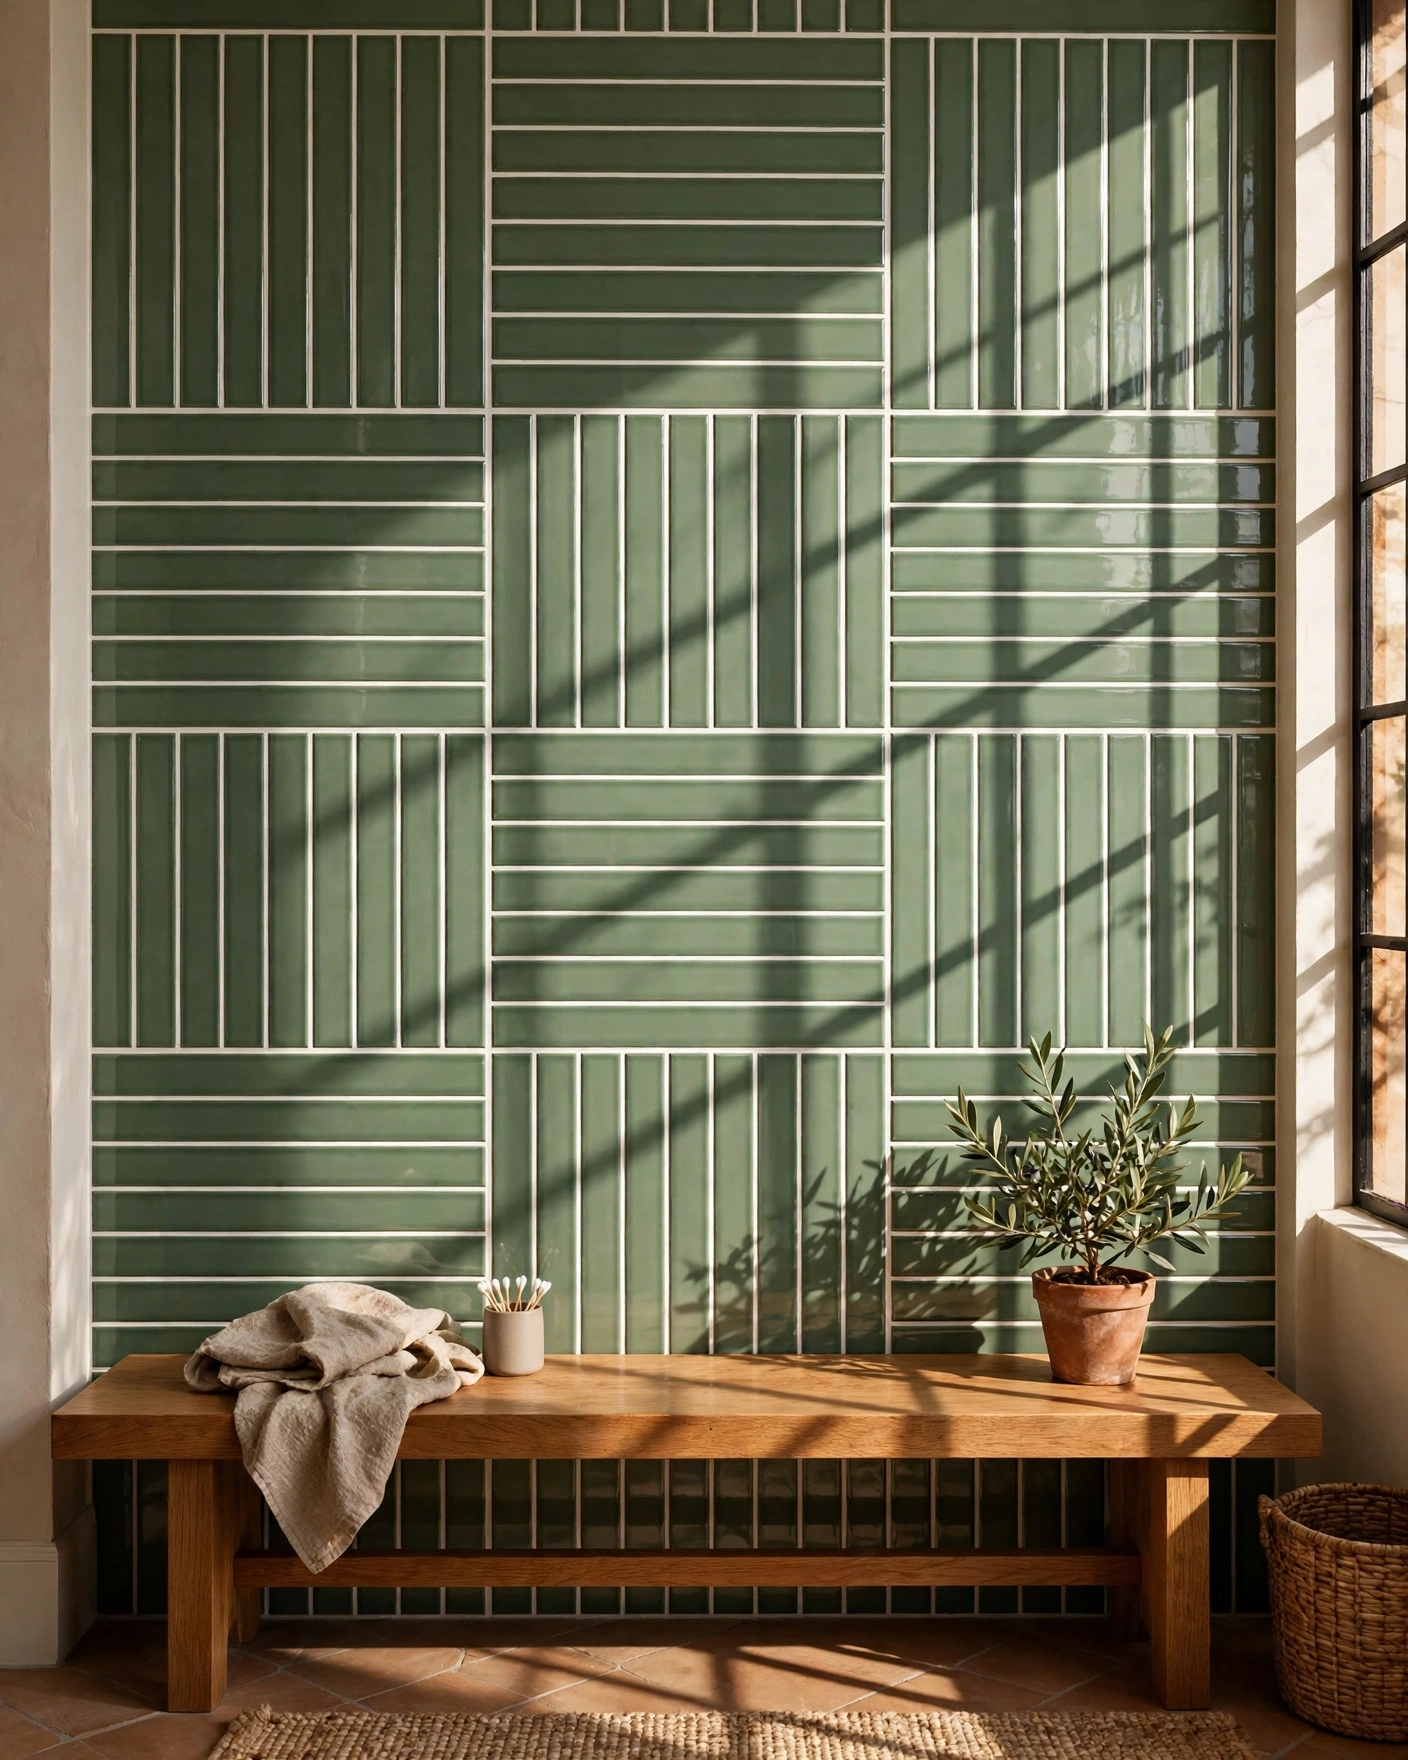
    Group stacked tiles into squares of six or nine, then rotate each square ninety degrees from its neighbour. The wall gains a quilted, almost textile texture that photographs beautifully. Tip: keep grout joints perfectly consistent, because the square outlines are the whole design.

    11. Oversized Subway, Cleanly Stacked

    Minimal bathroom with large format white subway tiles in a simple grid stack

    Scale the tile up to 4×12 or 4×16 and the humble stack suddenly looks architectural, with fewer grout lines and a calmer surface. A thin, colour-matched grout joint keeps the grid nearly seamless. Tip: bigger tiles telegraph uneven walls, so skim-coat flat before you start.

    12. Beveled-Edge Subway in a Stack

    White beveled subway tiles stacked on a bathroom wall with soft shadow lines

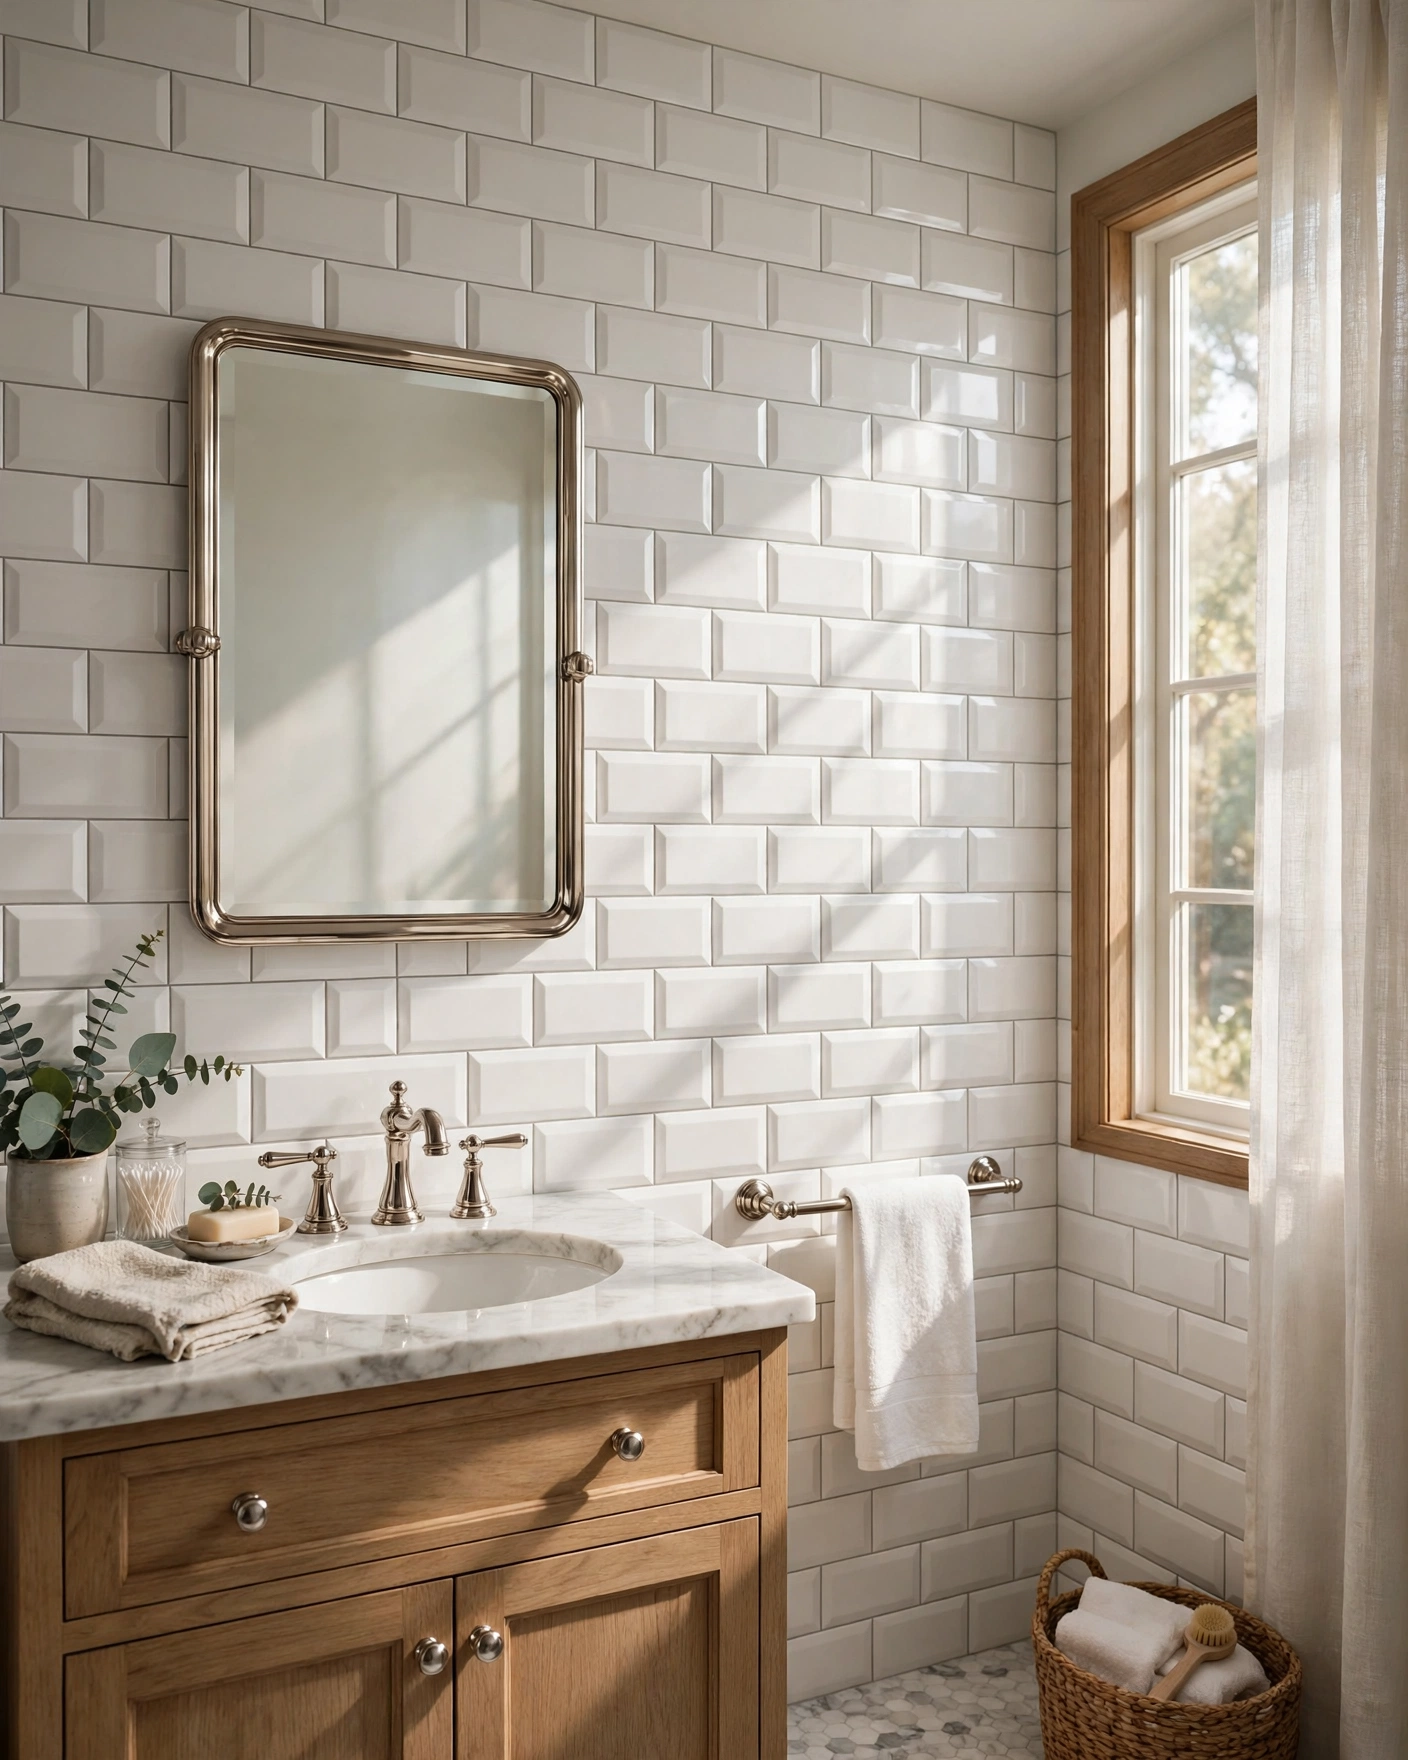
    A beveled edge turns each tile into a little pillow of light and shadow, so even a plain stack gains depth. It is a classic pairing for traditional taps and marble. Tip: bevels collect soap film in showers, so plan a quick weekly squeegee if you use them there.

    13. Two-Tone Ombre Stack

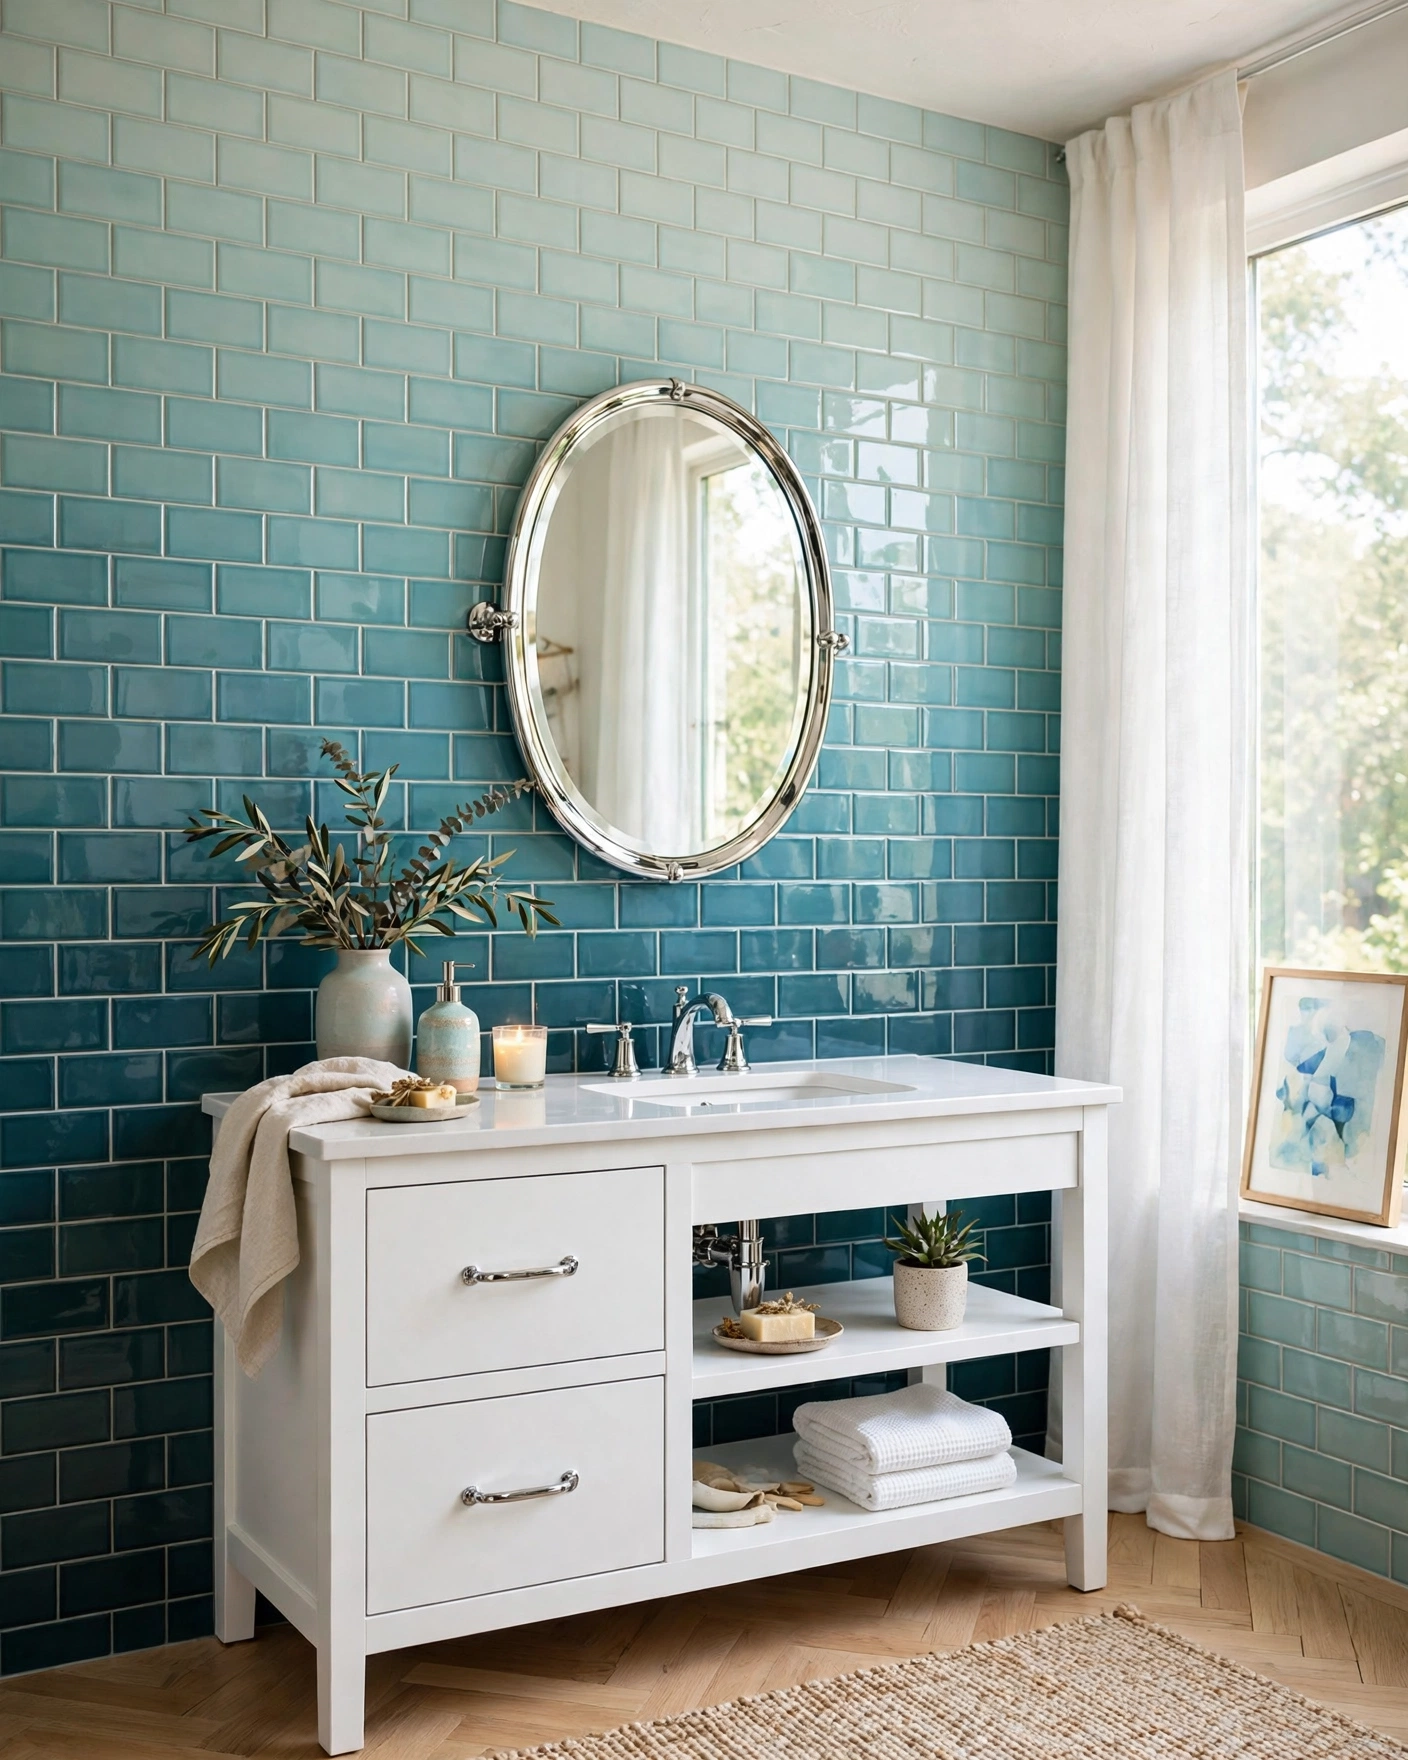
    Bathroom wall where subway tiles graduate from deep teal to pale aqua upward

    Sort three or four shades of one colour and stack them so the wall fades from dark at the floor to pale at the ceiling. The gradient lifts the room, and the darkest rows sit where splashes land. Tip: lay the whole gradient out and photograph it before fixing any tile.

    14. Random Color Blend

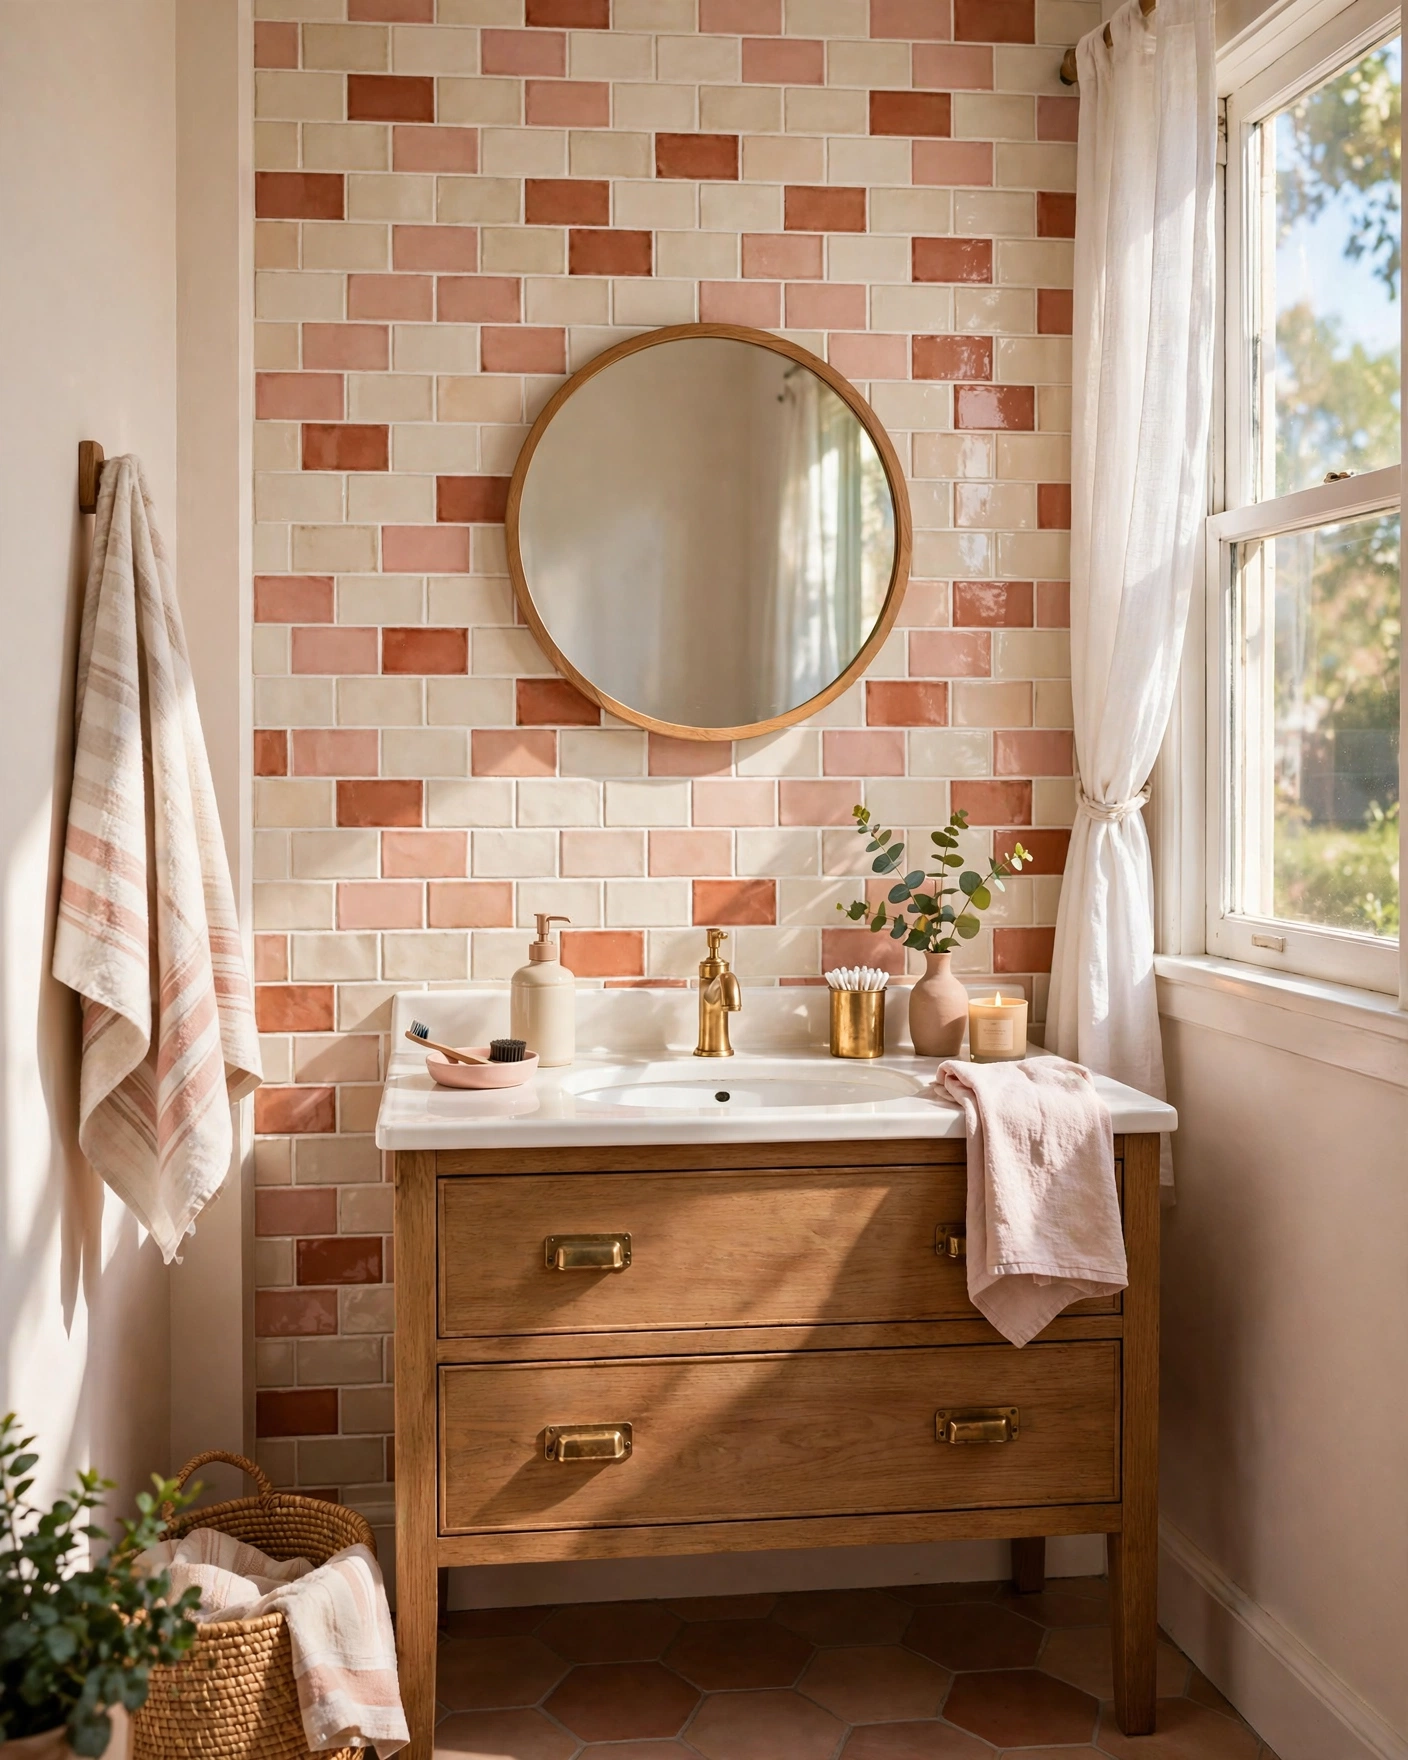
    Playful bathroom splashback mixing cream blush and terracotta subway tiles randomly

    Shuffle two or three friendly colours and lay them in an ordinary offset so the mix, not the pattern, does the work. Cream, blush and clay tones feel warm and handmade together. Tip: pull tiles from several boxes at once so no single colour clumps in one corner.

    15. Framed Panel with Pencil Trim

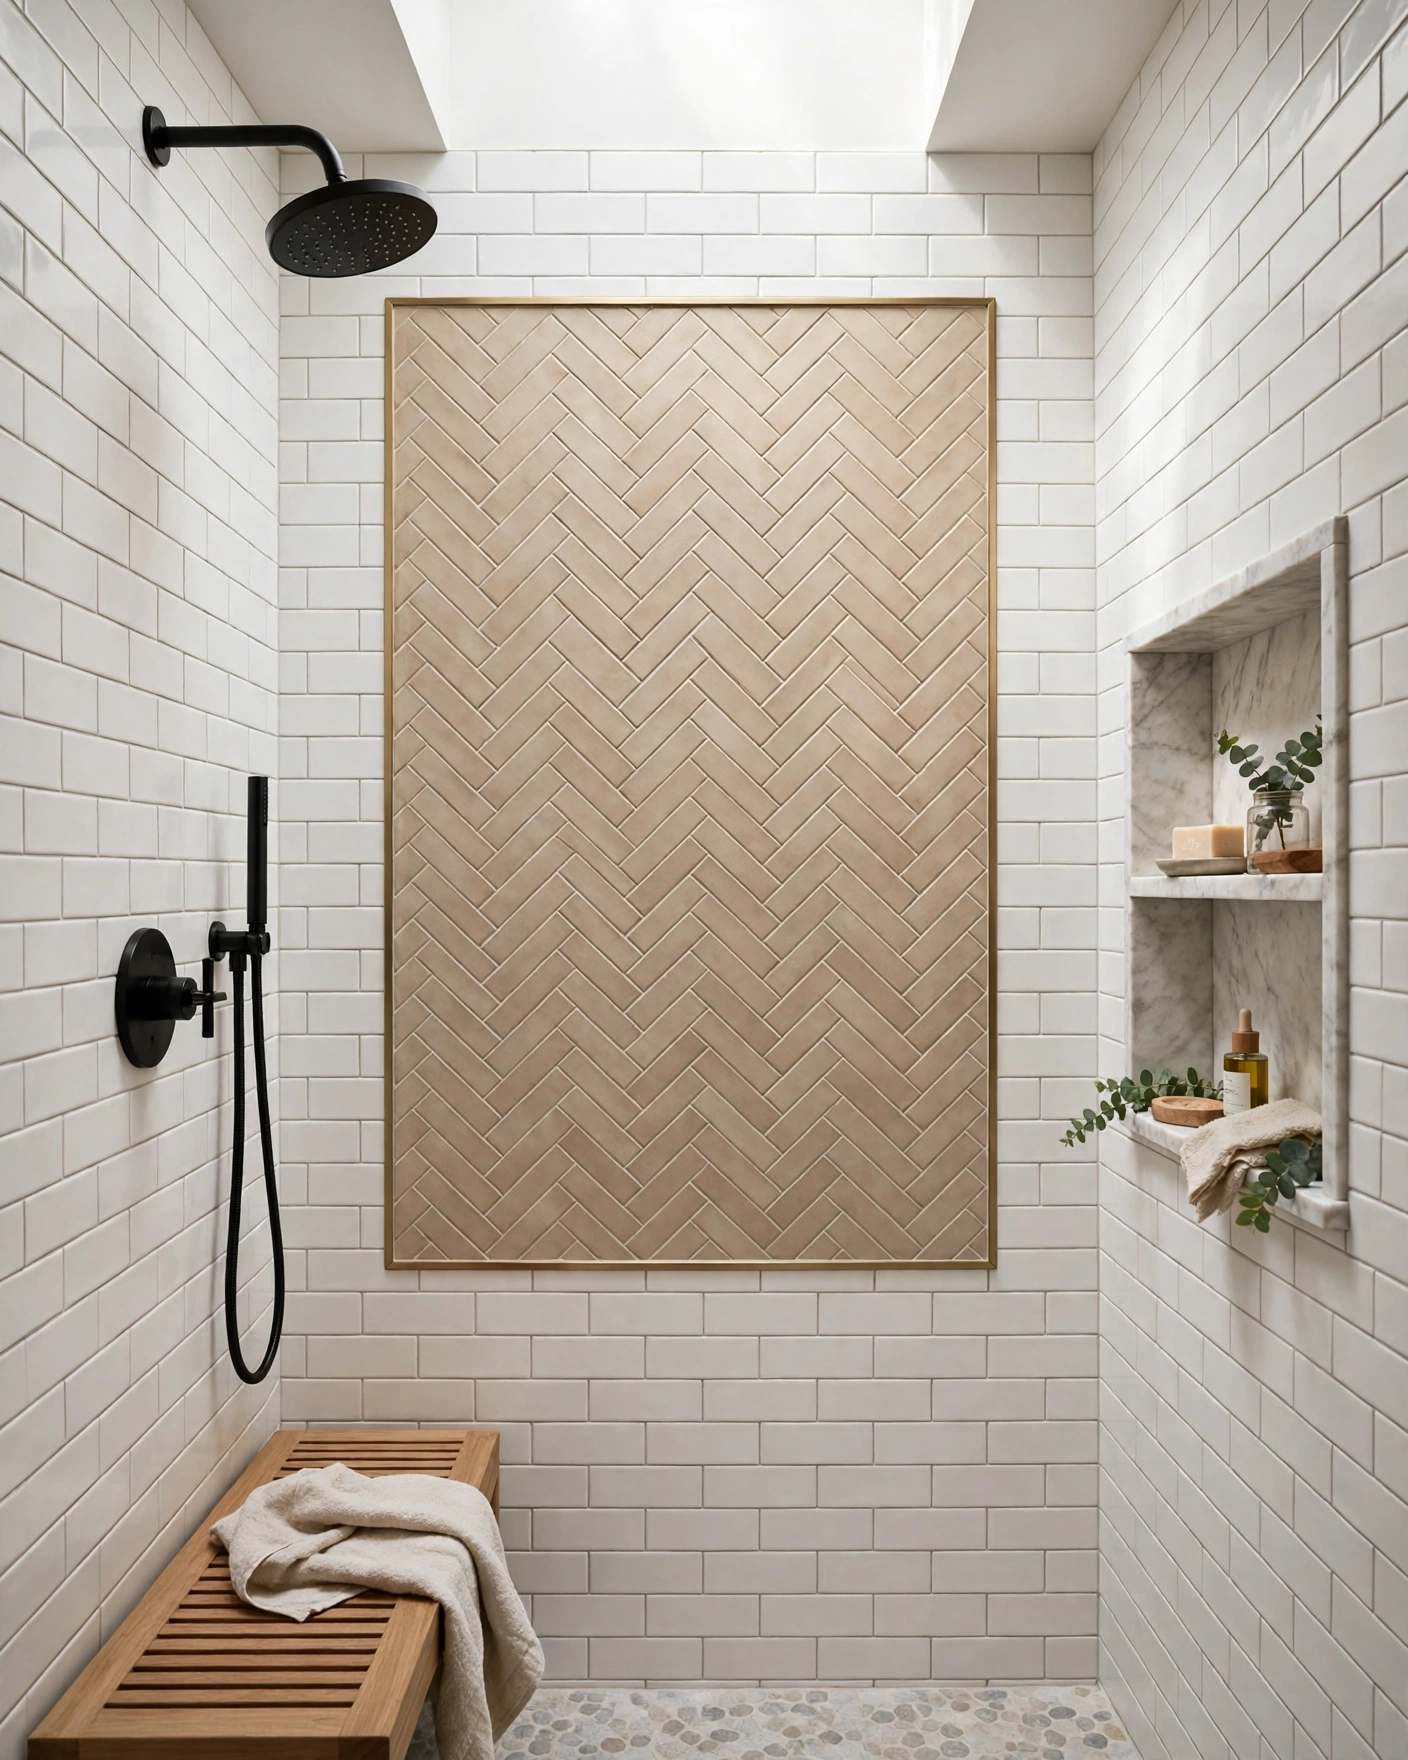
    Herringbone subway tile panel framed by pencil trim inside a larger tiled wall

    Use an expensive-looking pattern only where it counts: a herringbone or chevron panel behind the shower head, bordered with pencil trim, inside a plain stacked field. The frame makes the panel read like artwork. Tip: this trick can cut patterned-tile costs by two thirds on a big wall.

    16. Wainscot with a Chair Rail Cap

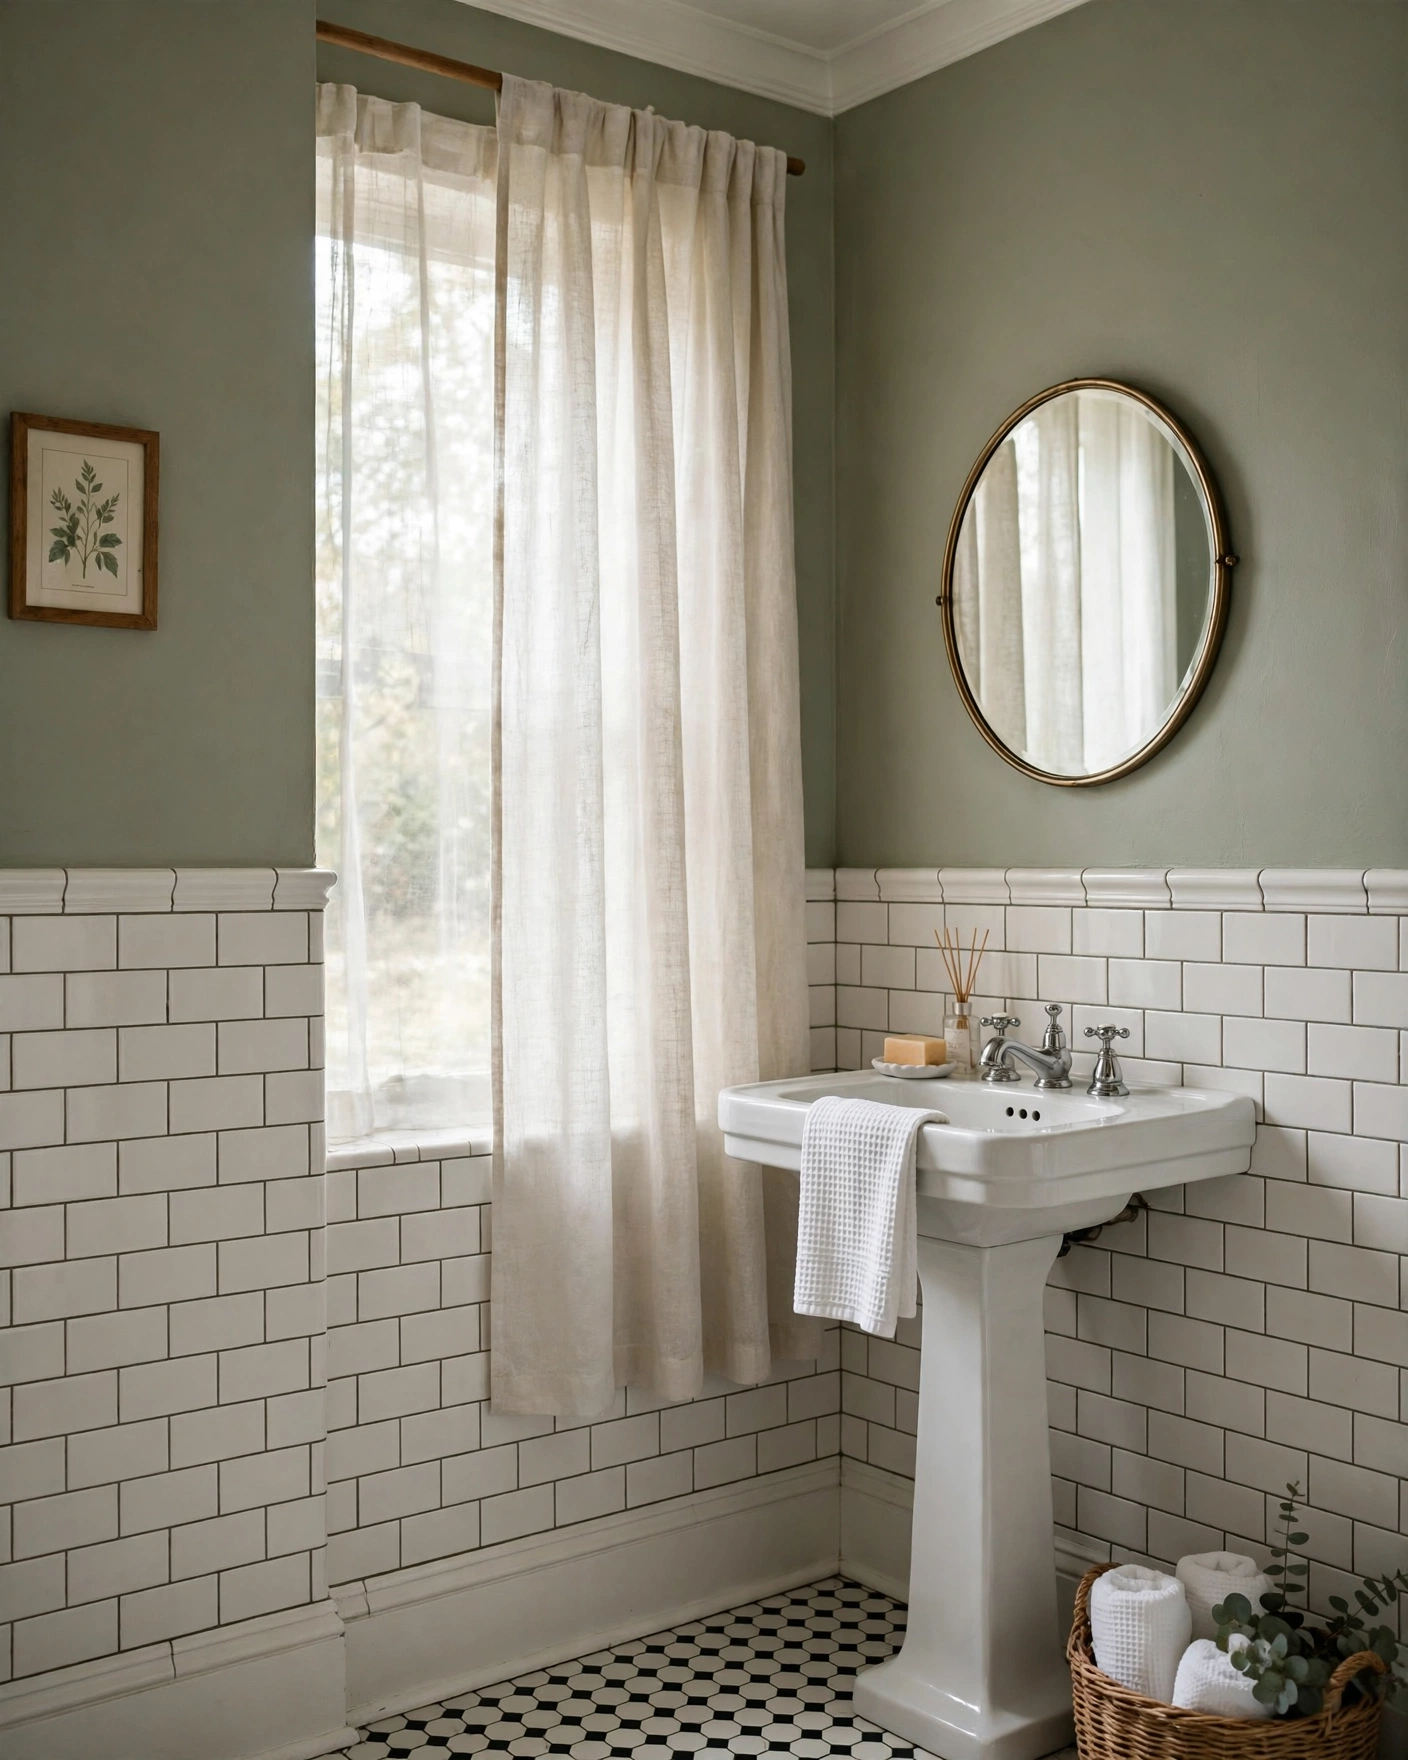
    Bathroom walls with subway tile wainscot capped by a matching chair rail trim

    Tile only the lower half of the wall and finish it with a rounded chair rail tile, leaving paint above. You get splash-proof walls, a period look, and far less tile to buy. Tip: end the wainscot at sink height so the rail doubles as a splash guard.

    17. Skinny Subway, Tightly Stacked

    Modern bathroom wall of long skinny subway tiles stacked in fine horizontal lines

    Long, thin 2×8 tiles stacked with hairline joints create a fluted, almost timber-like texture that feels very current. Keep the palette monochrome so the fine lines stay the focus. Tip: skinny tiles exaggerate any bow in the wall, so use a levelling system for crisp rows.

    18. Colored Grout on a Classic Offset

    White subway tiles in classic offset layout with bold charcoal grout lines

    Keep the easiest layout of all, but swap white grout for charcoal, sage or even terracotta so every brick is outlined like a drawing. The pattern is the grout, and it costs nothing extra in tile. Tip: dark grout hides stains but shows soap residue, so seal it well.

    19. Wrap the Shower, Walls and Ceiling

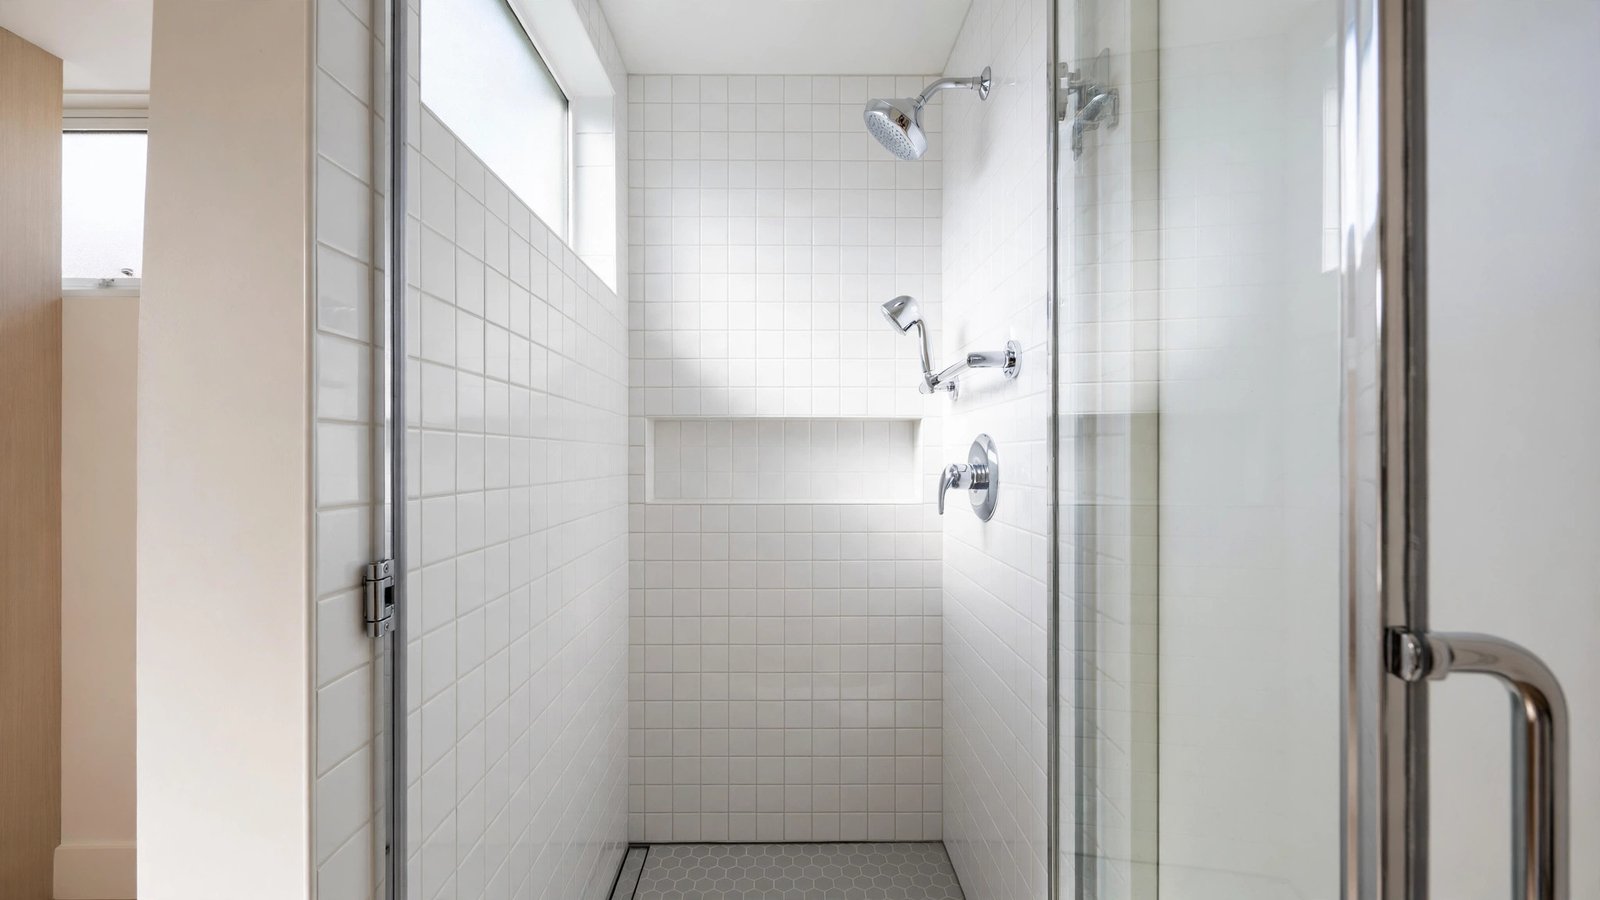
    Walk-in shower fully wrapped in pale gray subway tile including the ceiling

    Carry one simple stack pattern over every shower surface, ceiling included, and the enclosure becomes a calm tiled cocoon. Pale glossy tile keeps the wrapped space from feeling closed in. Tip: use a quality waterproof membrane on the ceiling, since it takes the most steam.


    In Summary

    Nineteen patterns, one humble rectangle. Whether you love the woven calm of basketweave, the sharp ribbon of chevron or the quiet grid of an oversized stack, the right layout turns standard subway tile into the most custom-looking surface in the room — usually for the same tile budget as the standard brick.

    Start with the room’s proportions: vertical patterns lift low ceilings, diagonals widen narrow walls, and fine patterns suit small splashbacks. Order a sample board, prop it up in your bathroom’s own light, and let the pattern earn its place before the thinset comes out.

  • 16 Hexagon Tile Bathroom Ideas That Look Designer

    16 Hexagon Tile Bathroom Ideas That Look Designer

    Hexagon tile has been dressing up bathrooms for over a century, yet it still feels like a designer secret. The six-sided shape does something squares cannot: it softens a room’s geometry while adding pattern that never shouts.

    Scale and finish change everything. A one-inch mosaic grips a shower floor, a twelve-inch matte hex anchors a whole room, and marble veining or a fade of colour can make the same shape read classic or boldly modern.

    These 16 hexagon tile bathroom ideas cover floors, shower walls, vanity backsplashes and clever transitions, each with the sizes and finishes to copy and one practical tip. Choose your scale first — the rest of the design follows from there.


    1. Classic Black-and-White Hex Flower Floor

    Vintage bathroom floor in small black and white hexagon tiles forming flower motifs

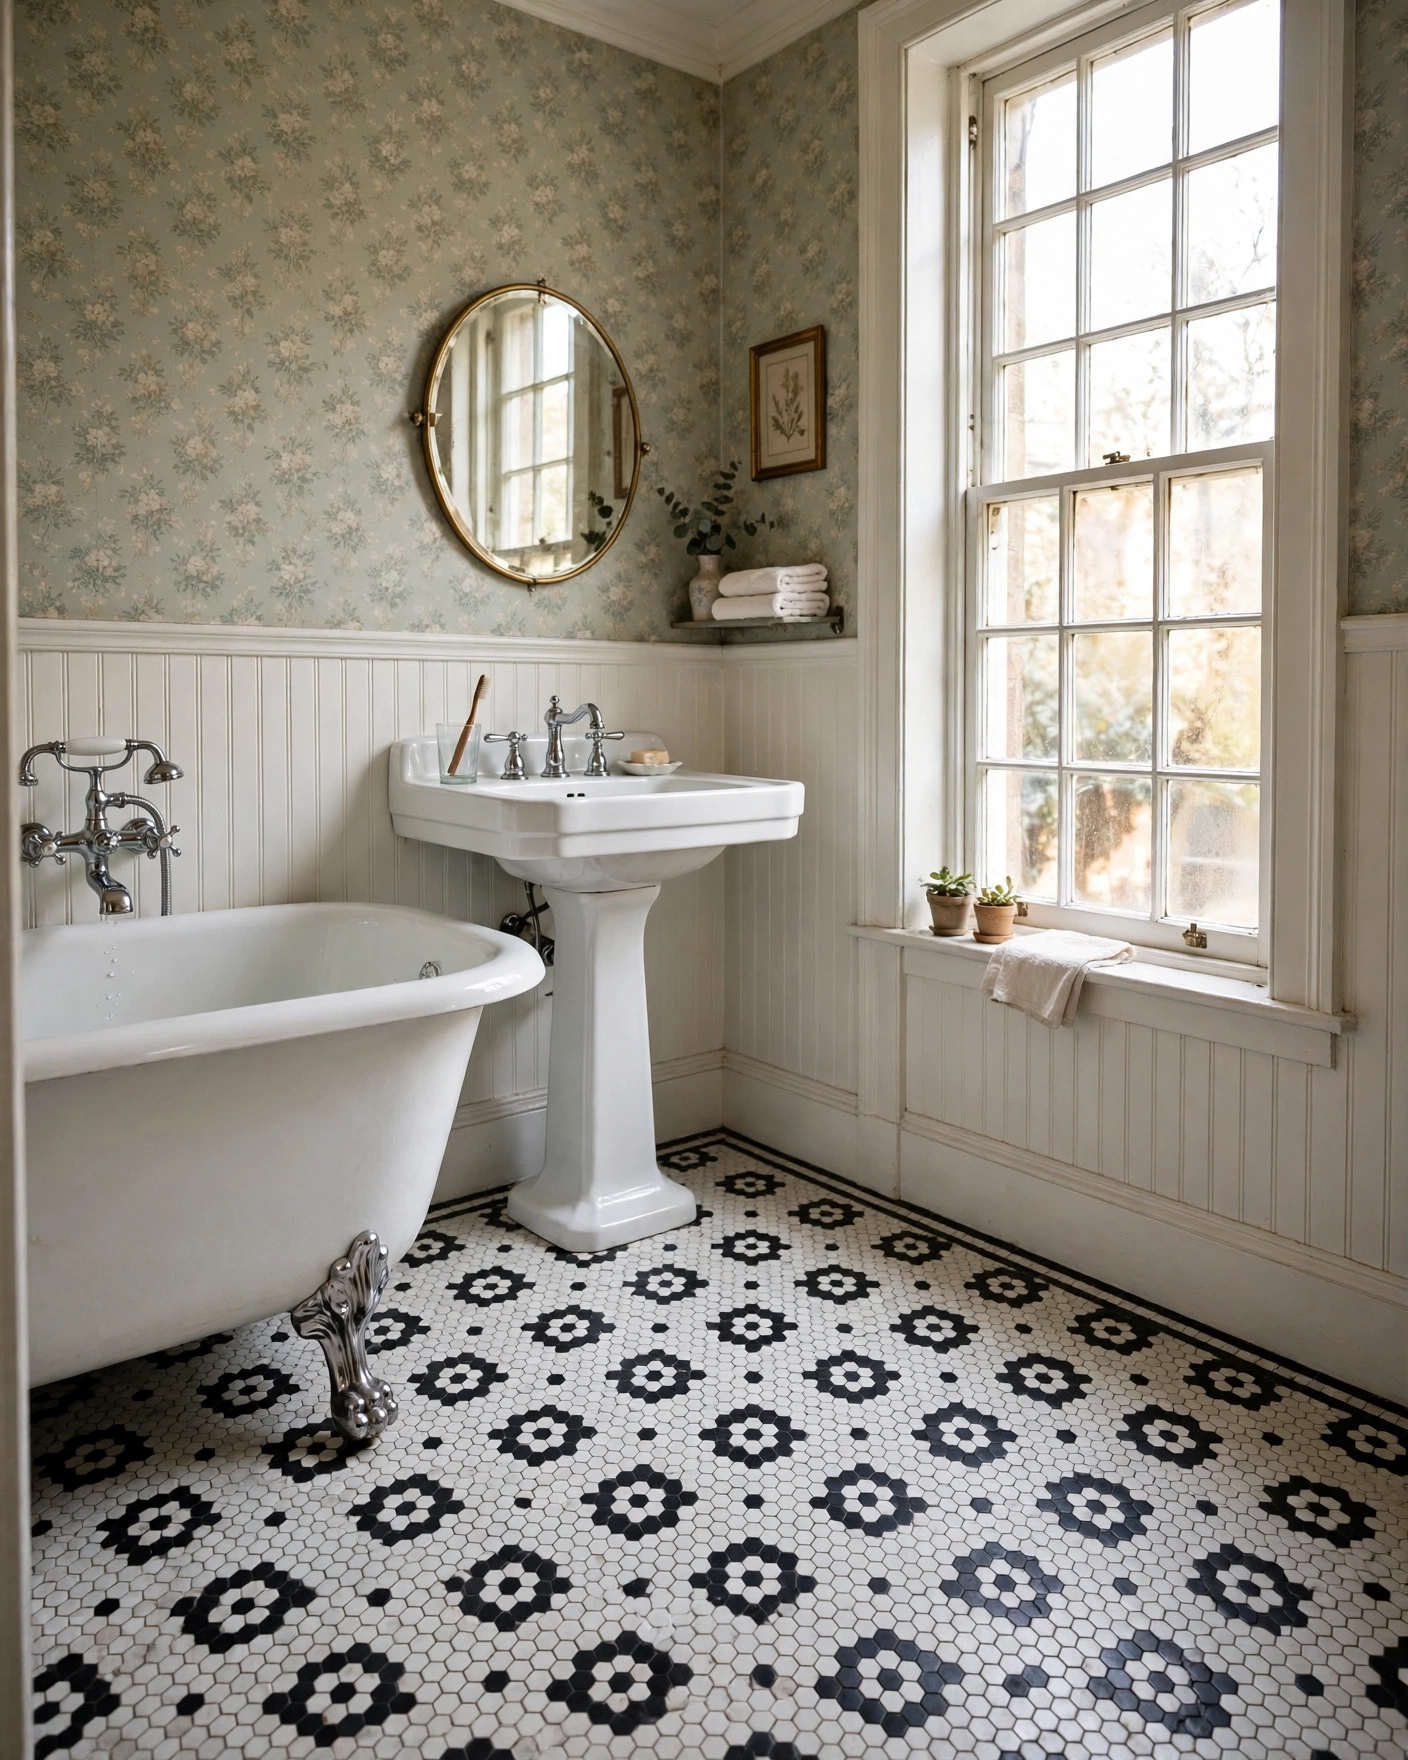
    Tiny one-inch hexagons in black and white, dotted into simple flower shapes, are the original designer floor from a century of charming bathrooms. Sheet-mounted mosaics make them far easier to lay than they look. Tip: choose gray grout — it reads as soft shadow and hides years of wear.

    2. Oversized Matte Black Hex Floor

    Spacious bathroom floor in oversized matte black hexagon tiles with pale grout

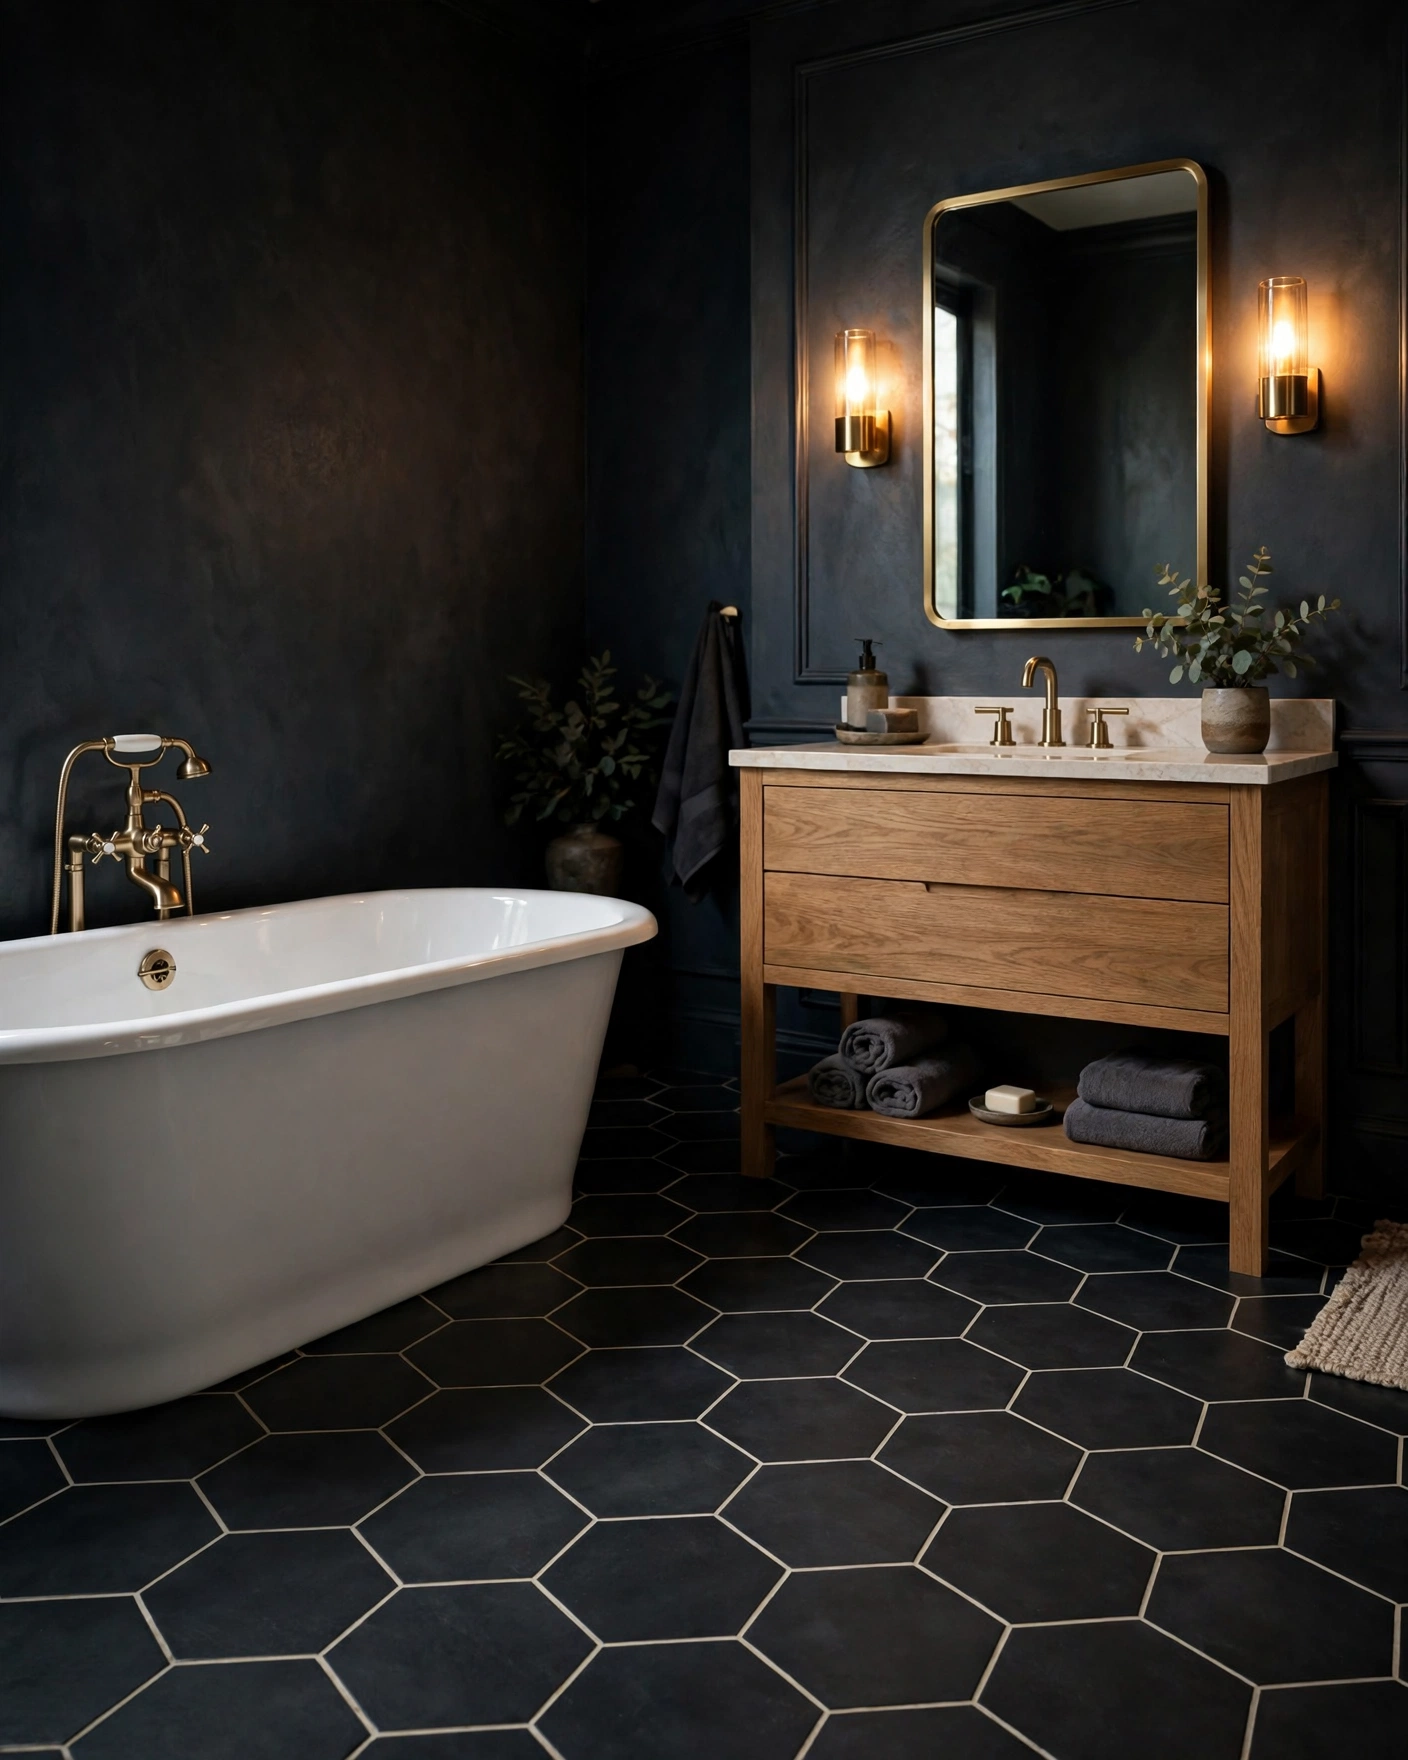
    Twelve-inch hexagons in matte black turn a floor into a bold, grounded statement that makes white fixtures glow by contrast. Pale grout outlines every side so the geometry stays crisp. Tip: matte black shows water spots, so pick a porcelain with a slight sheen for easier upkeep.

    3. Marble-Look Hex with Soft Veining

    Bright bathroom floor in white marble look hexagon tiles with gray veining

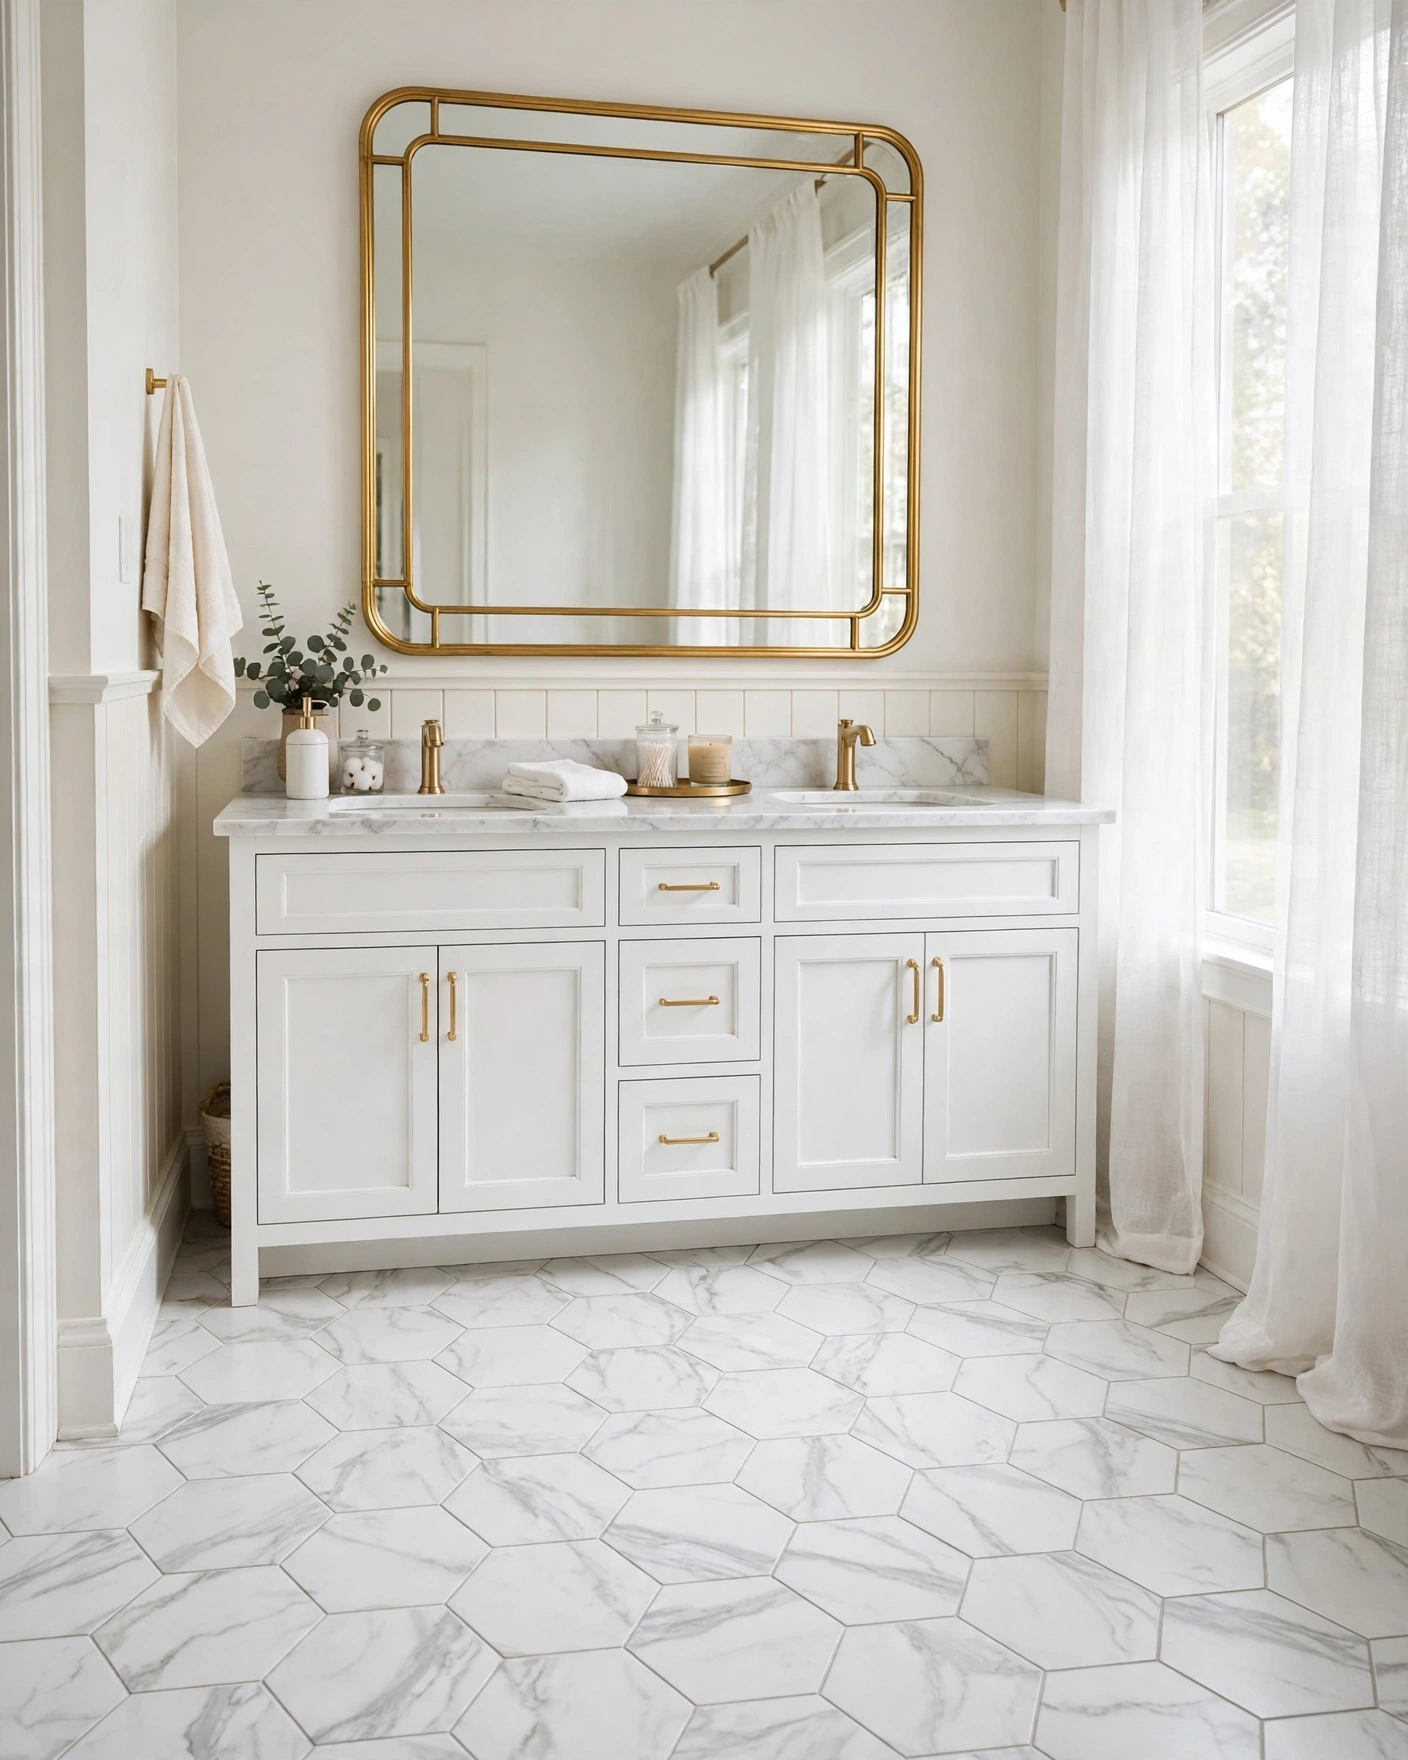
    Marble-look porcelain hexagons deliver the luxury of a stone floor with none of the sealing or staining worries. Four-to-six-inch tiles keep the veining varied and natural across the room. Tip: shuffle tiles from several boxes so the printed veins repeat less obviously.

    4. Borderless Floor-to-Wall Hex Wrap

    Small bathroom where hexagon floor tiles continue up the wall without a border

    Let the floor tile climb the wall behind the vanity with no border or skirting line, and a small room instantly looks taller and more designed. The eye reads one surface instead of two. Tip: work out the layout from the wall’s top corner down, so cuts land at floor level.

    5. Tiny Hex Mosaic Shower Floor

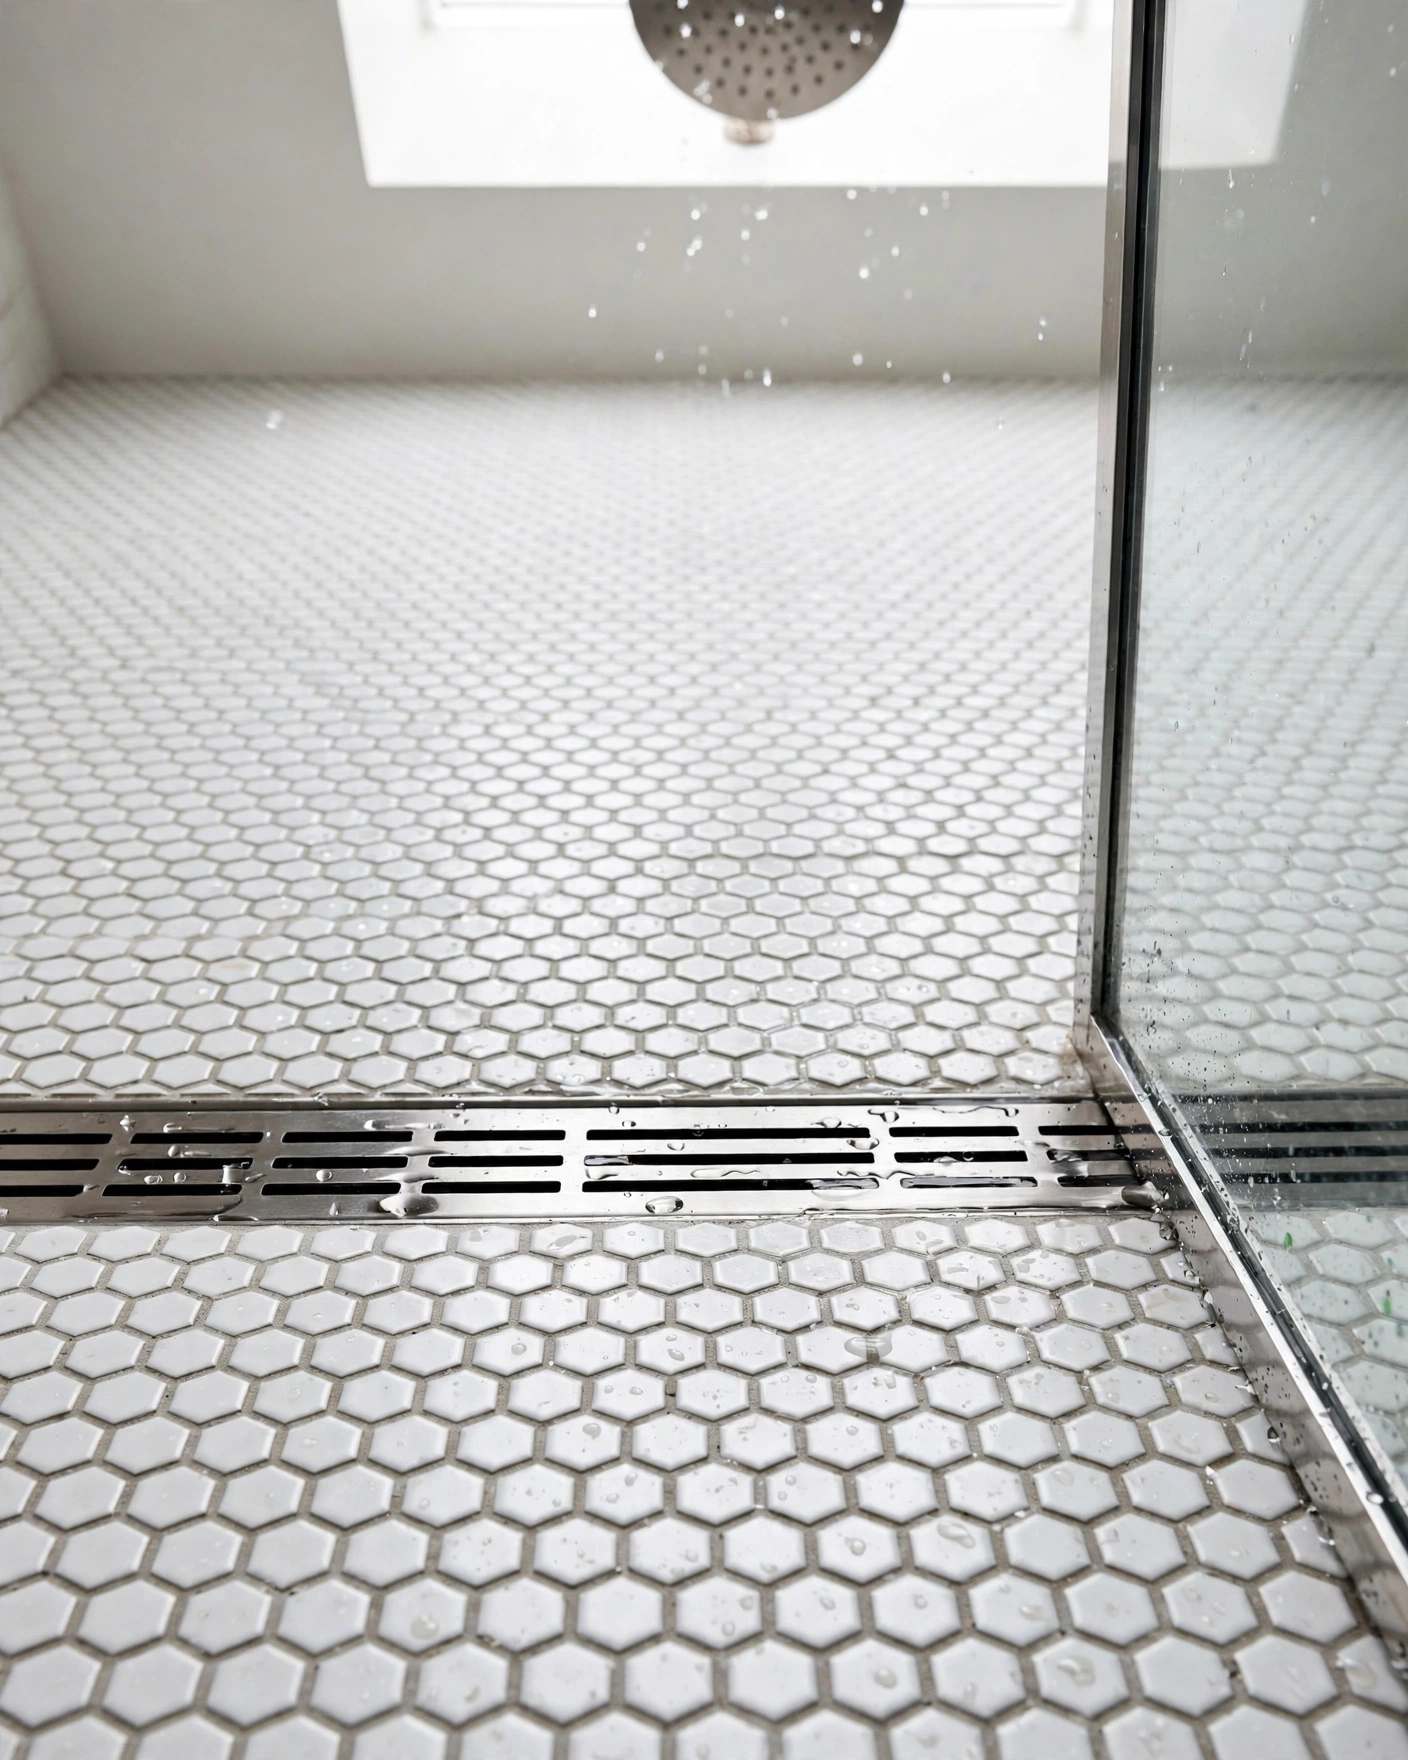
    Shower floor in tiny white hexagon mosaic tiles with plenty of grout grip

    On a shower floor, small is functional: one-inch hexagons mean a grout line every inch, and grout is what your feet grip. The mosaic also flexes neatly over the floor’s slope to the drain. Tip: choose a high-performance grout here, because shower floors take the hardest wear in the room.

    6. Two-Tone Scattered Hex Pattern

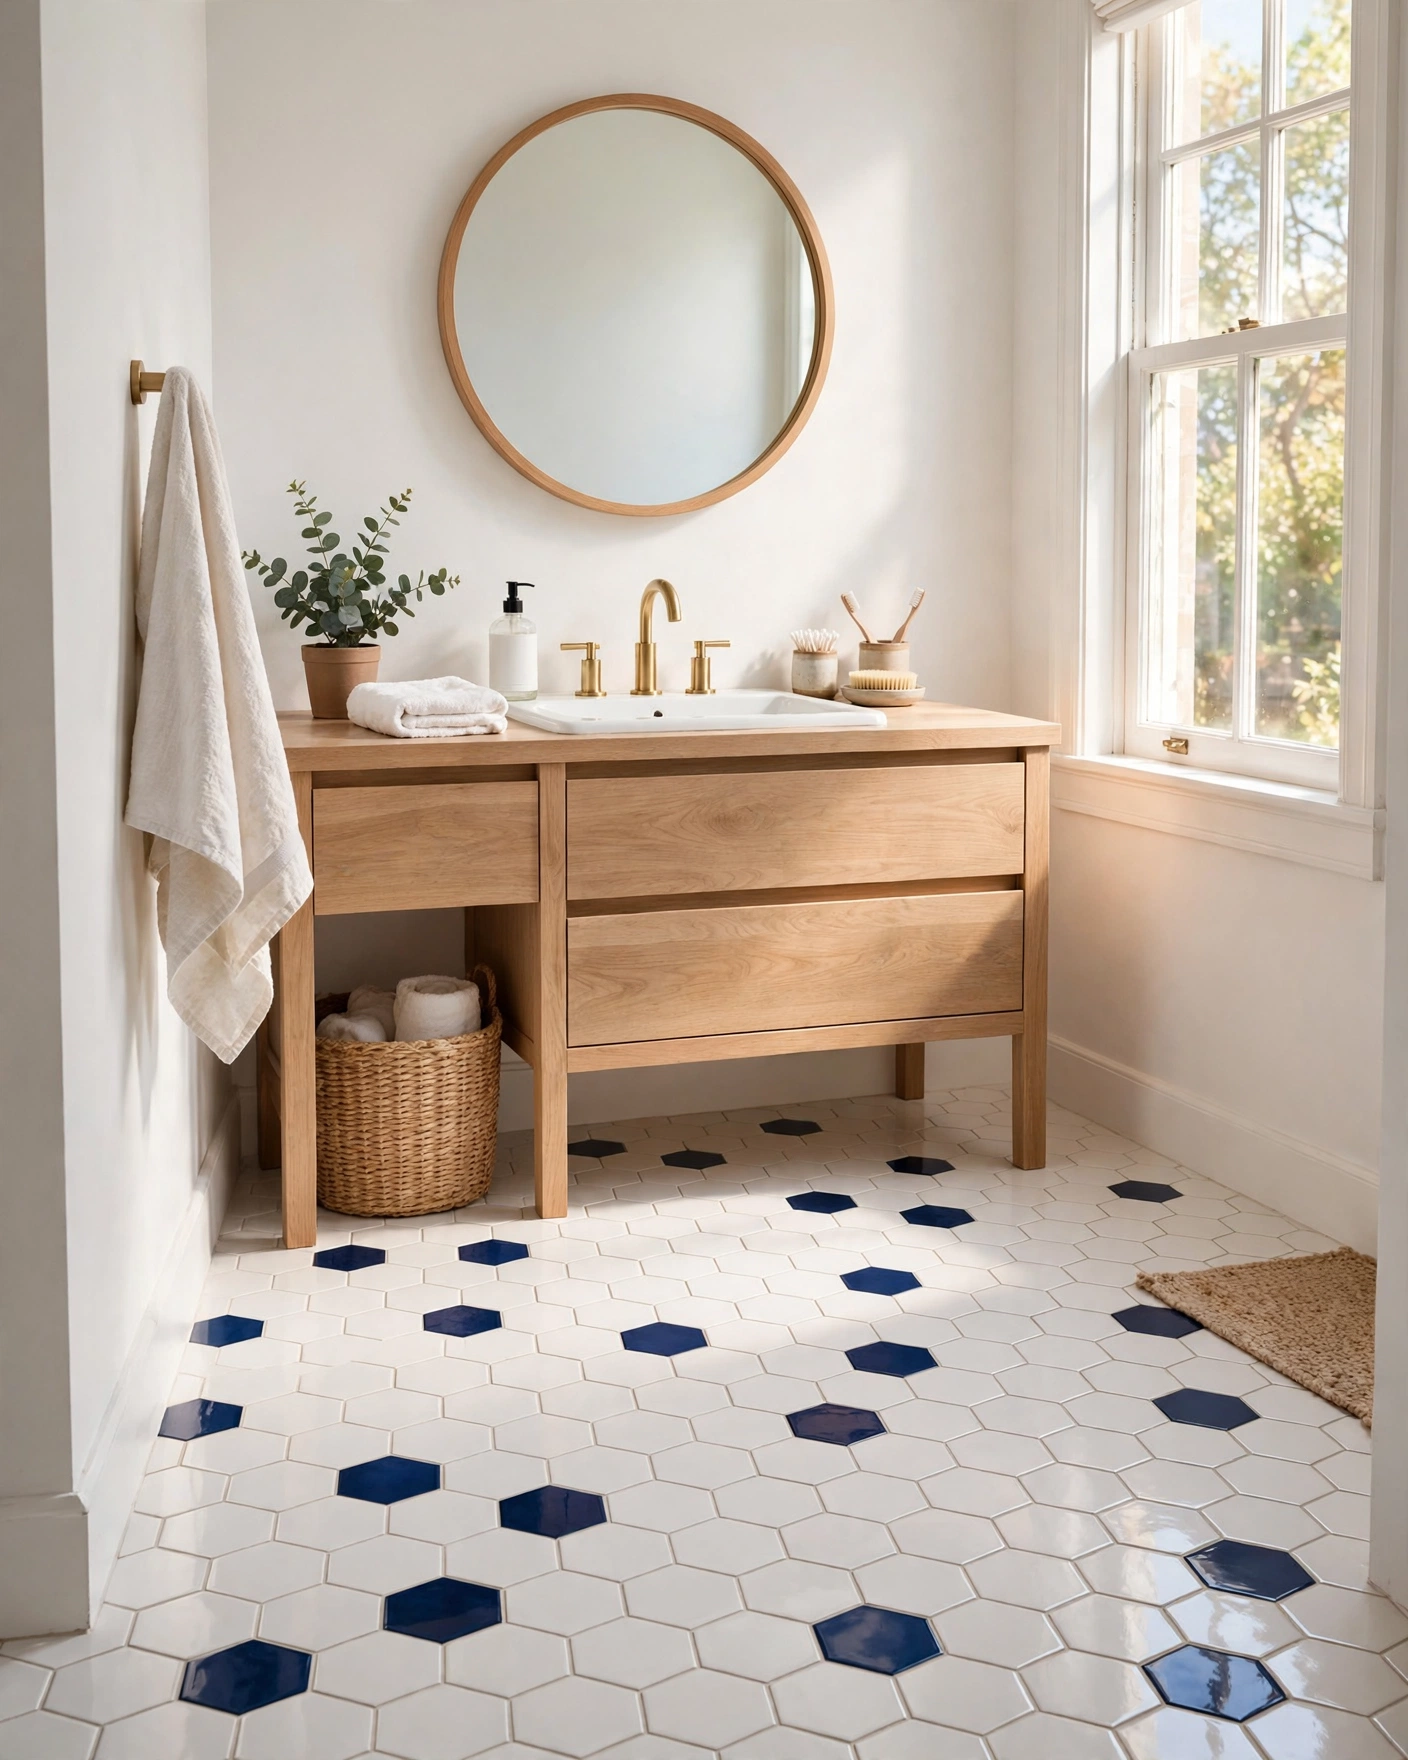
    White hexagon floor with single navy hexagons scattered randomly through the pattern

    Lay a white hex field, then swap in single accent hexagons — navy, sage or clay — at random intervals, like confetti mid-fall. It is the cheapest designer trick here, using mostly plain tile. Tip: arrange the accents in the dry layout and step back before committing.

    7. Hex Vanity Backsplash

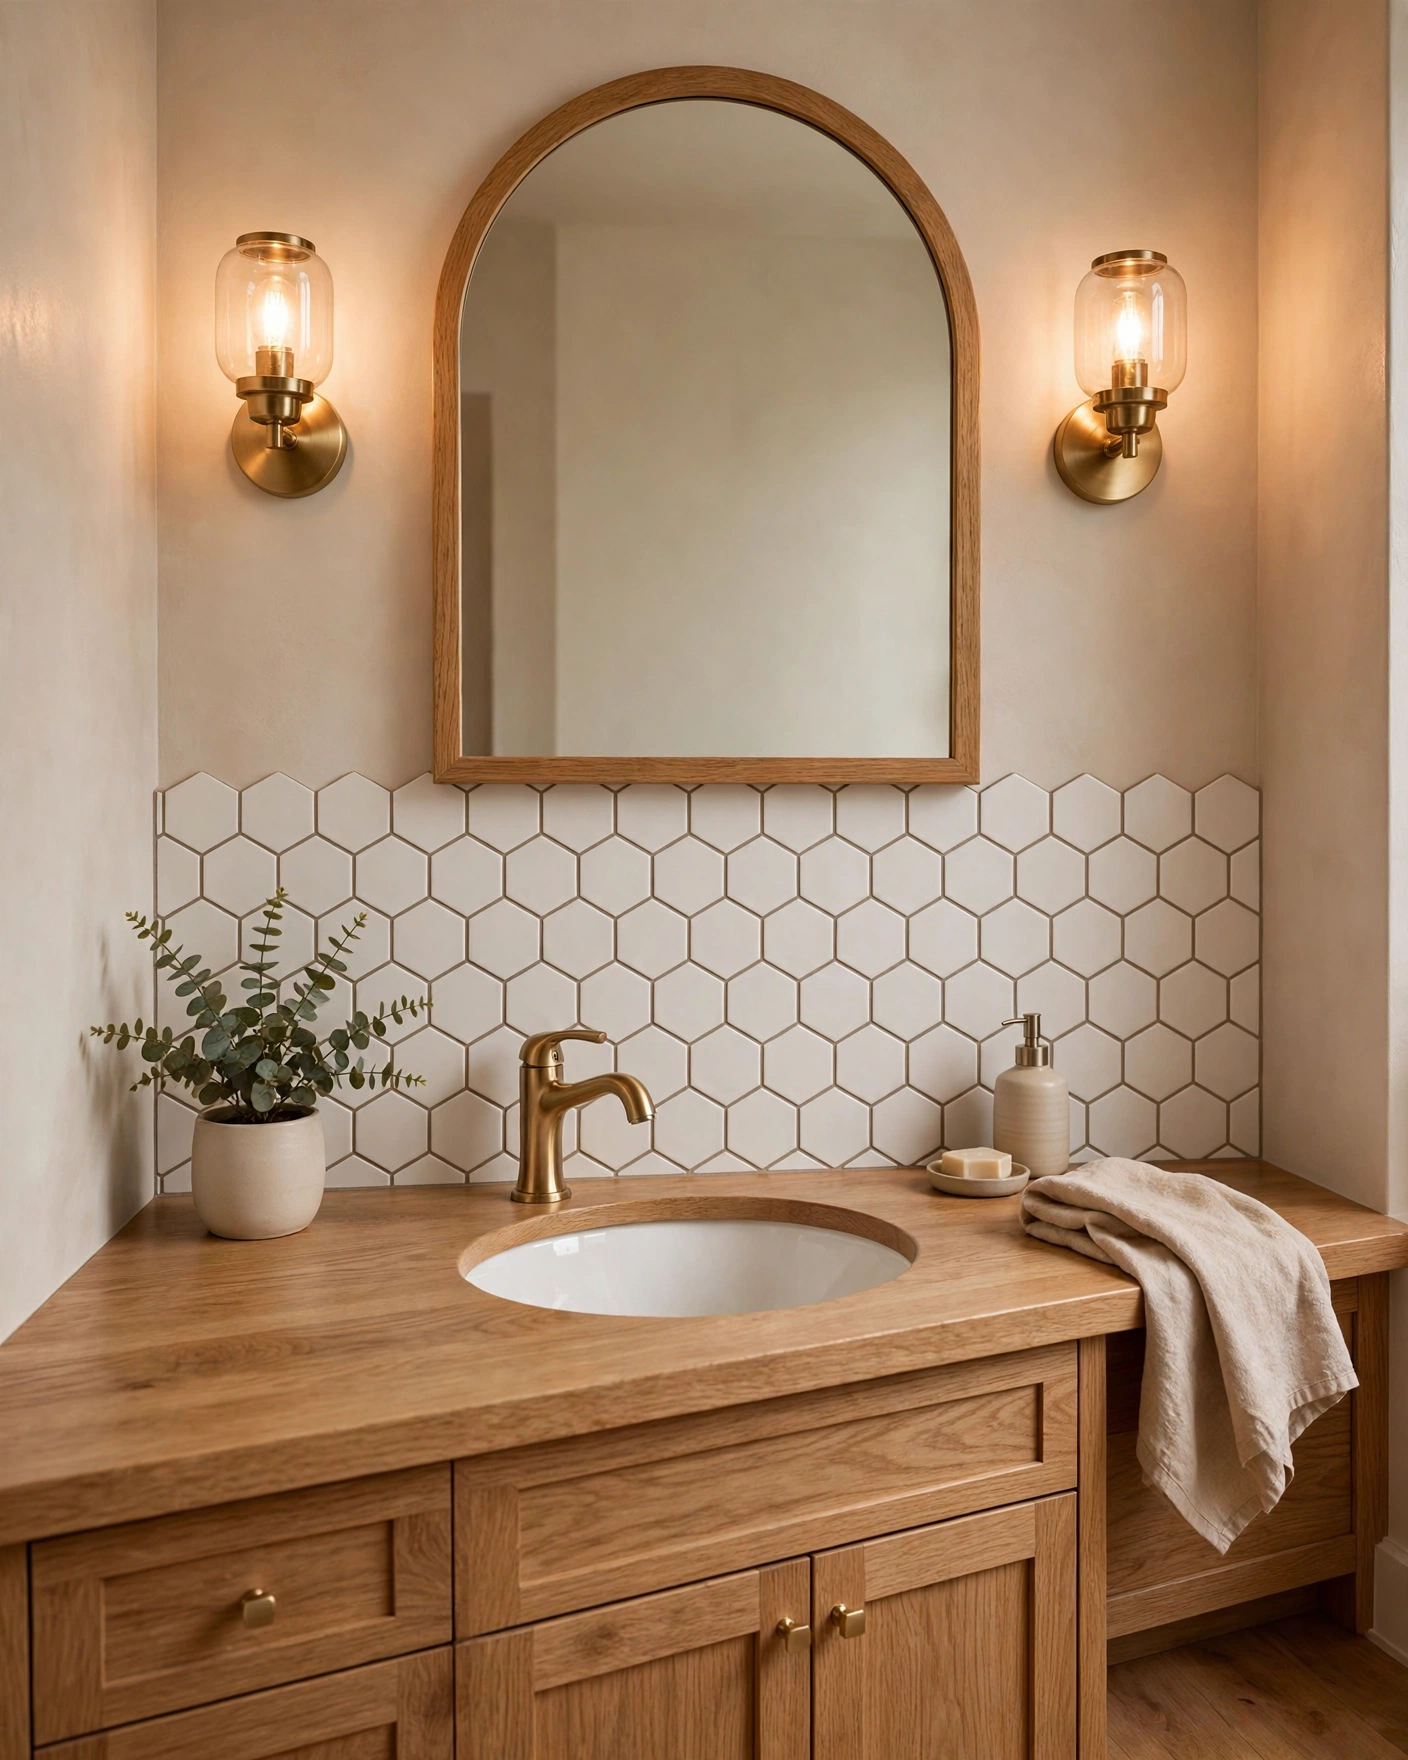
    Vanity backsplash in soft white hexagon tiles with warm brass faucet and mirror

    A backsplash is the lowest-commitment place to try hexagons: two or three square metres of three-inch ceramic hexes instantly lift a plain vanity. Run them up to the mirror for a tailored finish. Tip: end the top row on whole tiles by starting your layout from the mirror line down.

    8. Honeycomb Ombre Feature Wall

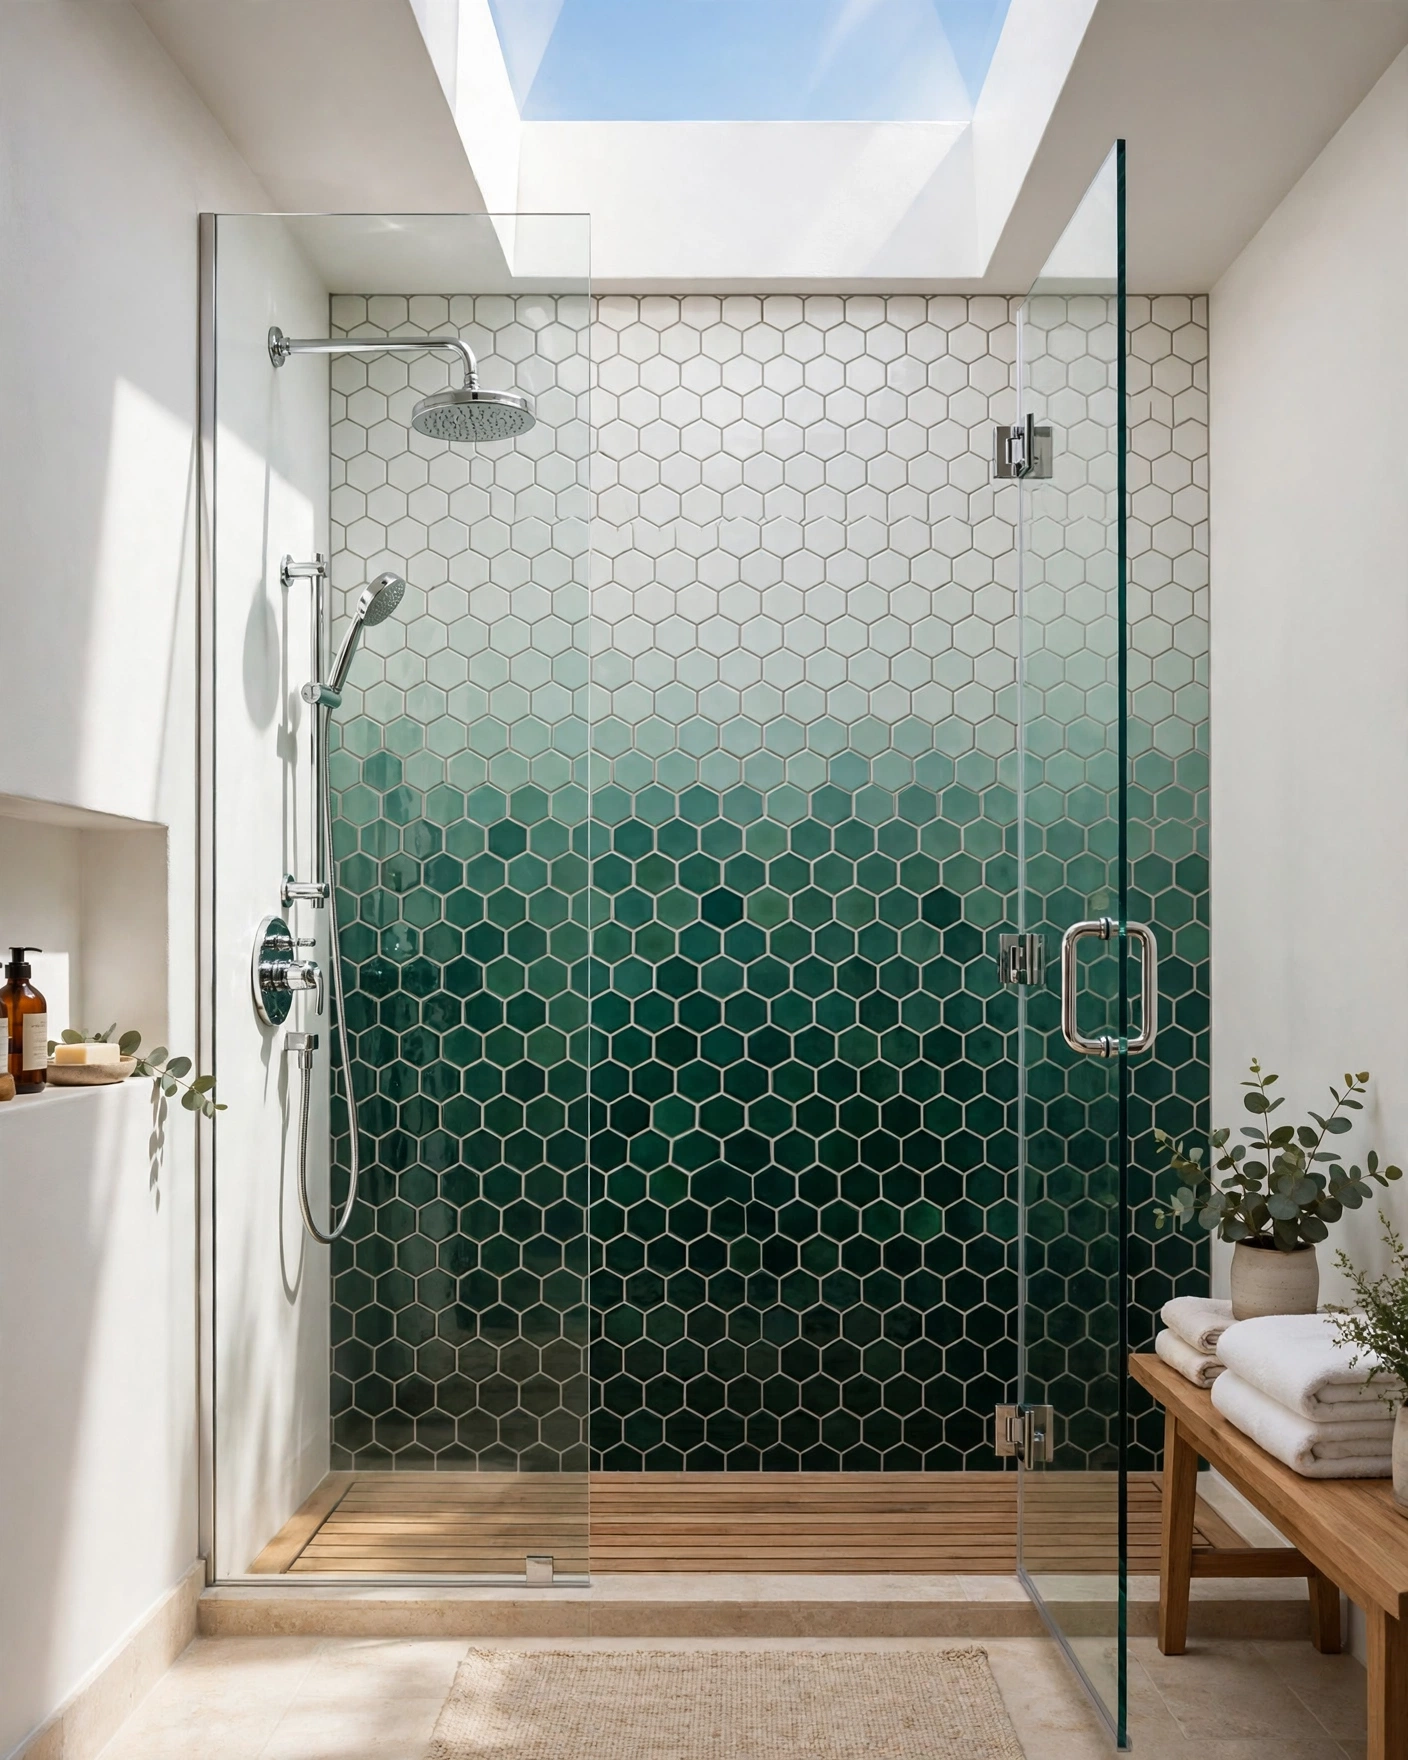
    Shower feature wall where hexagon tiles fade from emerald green to soft white

    Sort hexagons from four or five shades of one colour and fade them up a shower wall, darkest at the base. The honeycomb gradient is dramatic yet orderly, and it disguises water marks in the darkest zone. Tip: mark each shade’s rows with painter’s tape during the dry layout to keep the fade smooth.

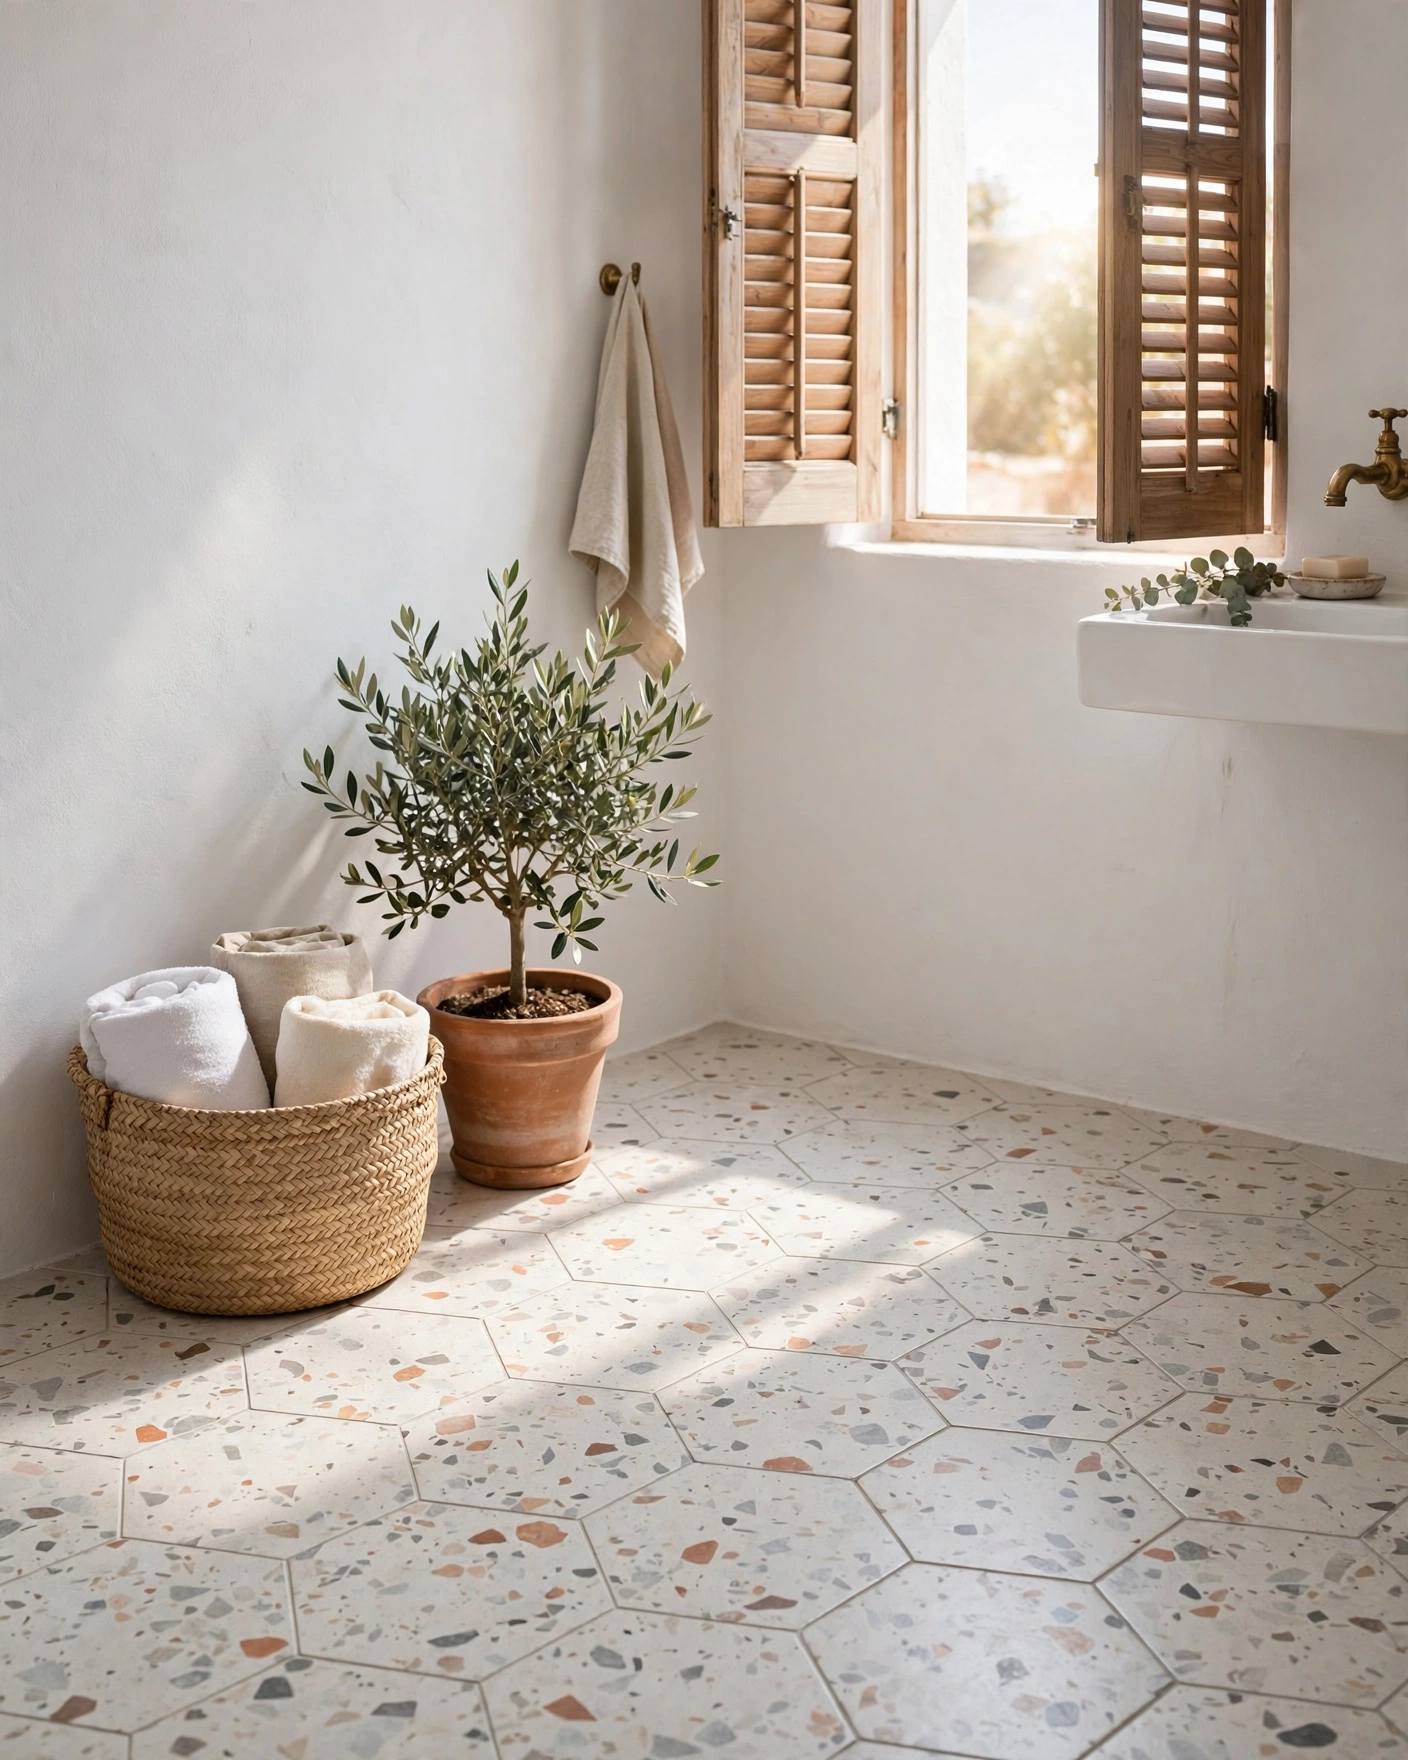
    9. Terrazzo Hex Floor

    Bathroom floor in large pale terrazzo hexagon tiles with stone chip pattern

    Terrazzo’s stone-chip sparkle inside a crisp hexagon outline blends vintage soul with clean geometry. Large-format porcelain versions keep the price and weight sensible for a full floor. Tip: the busy pattern hides dust beautifully, making this a smart pick for high-traffic family bathrooms.

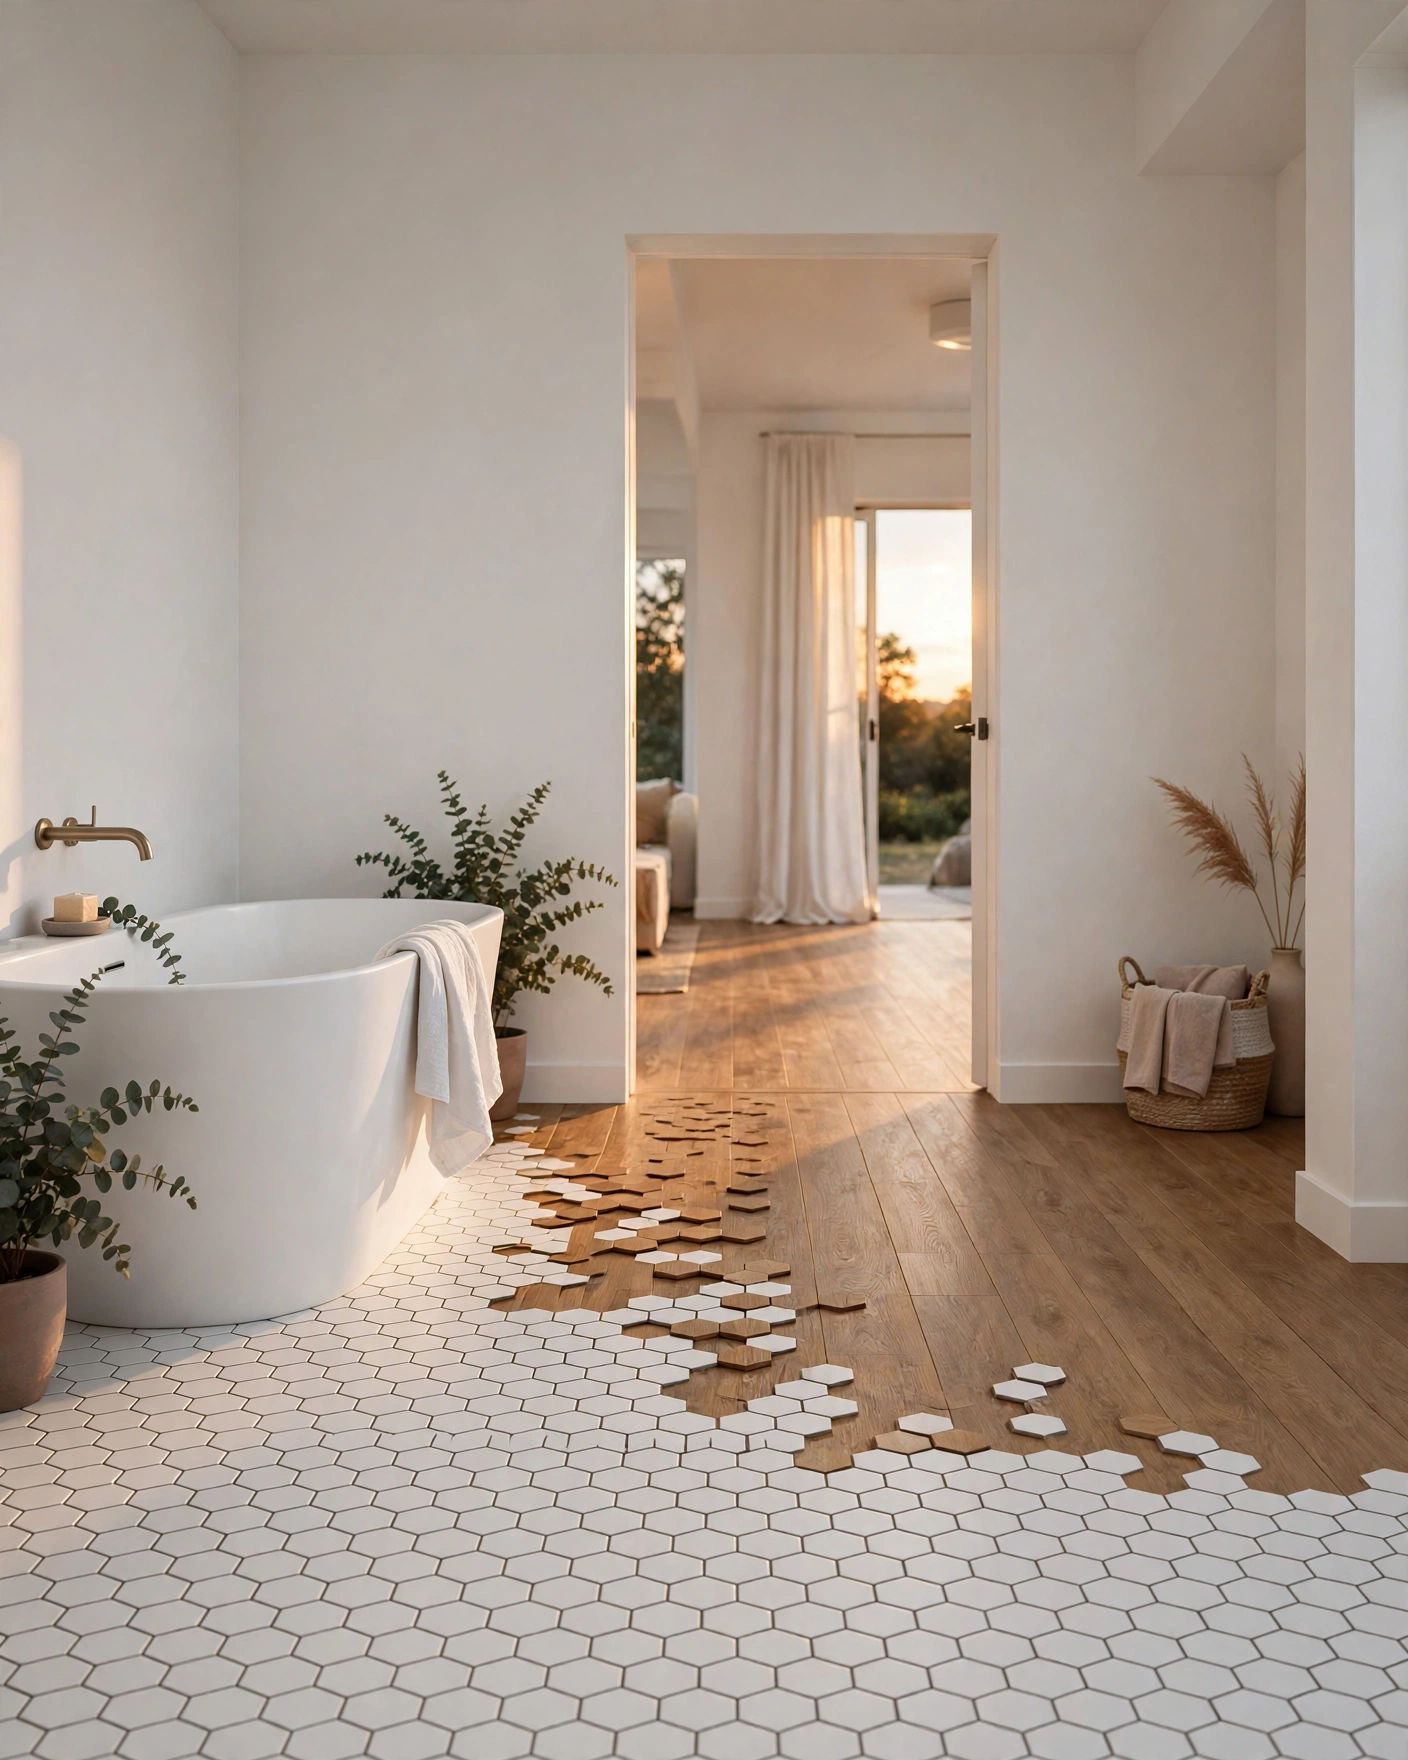
    10. Hex-to-Wood Transition Floor

    Bathroom floor where white hexagon tiles dissolve into warm wood plank flooring

    Where the wet zone meets the dry floor, let hexagons thin out one by one into wood-look planks instead of ending at a straight metal strip. The scattered edge looks intentional and artistic. Tip: this transition takes careful cutting, so hire it out or practise on offcuts first.

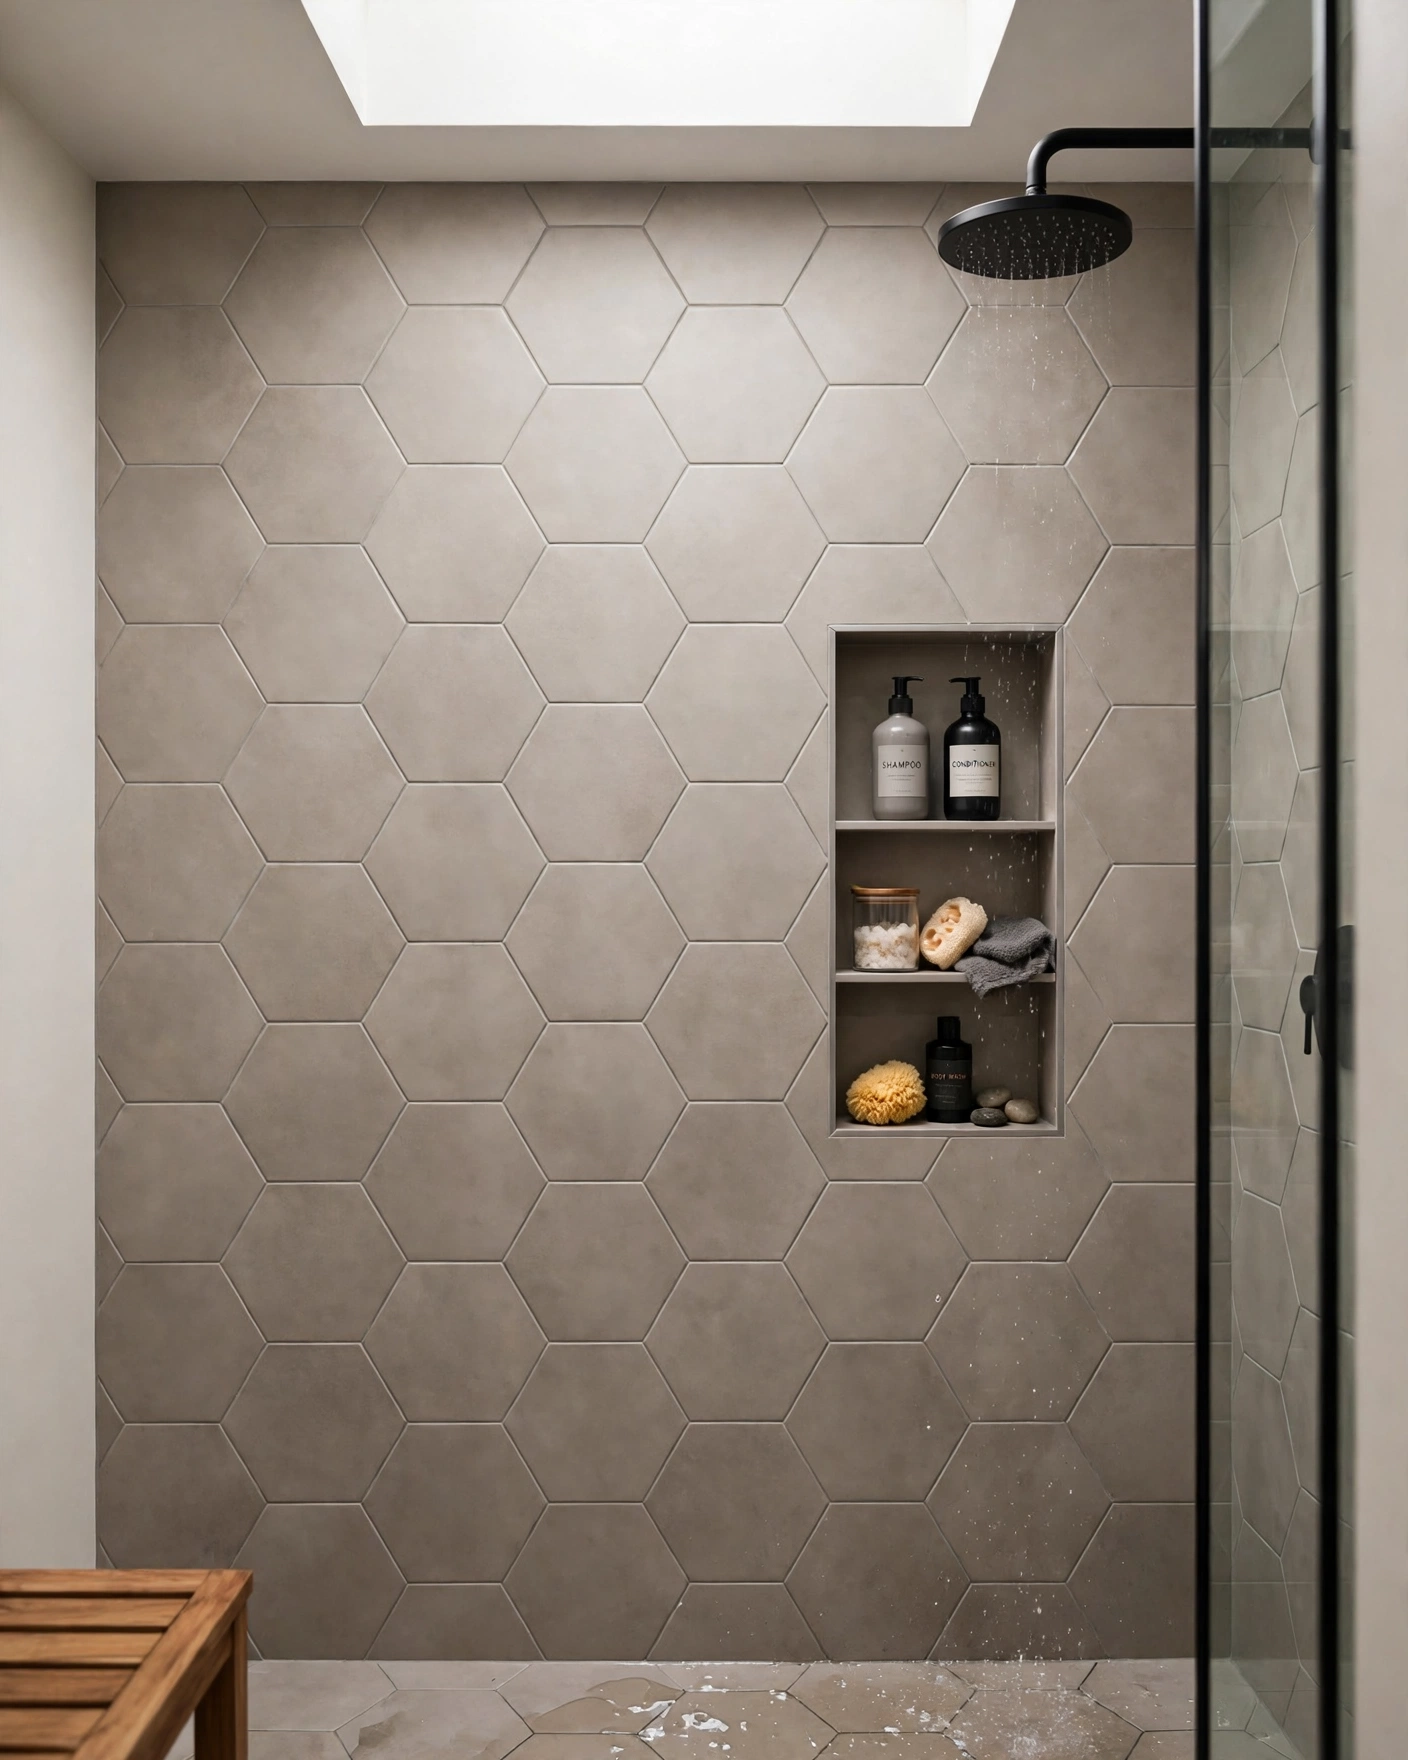
    11. Large-Format Hex Wall Tile

    Shower wall in large format warm gray hexagon tiles with minimal grout lines

    Eight-inch hexagons on a wall give you the shape’s charm with a fraction of the grout to scrub. Warm gray porcelain reads calm and spa-like behind a black rain shower. Tip: walls must be very flat for large hexagons, since six corners per tile reveal every bump.

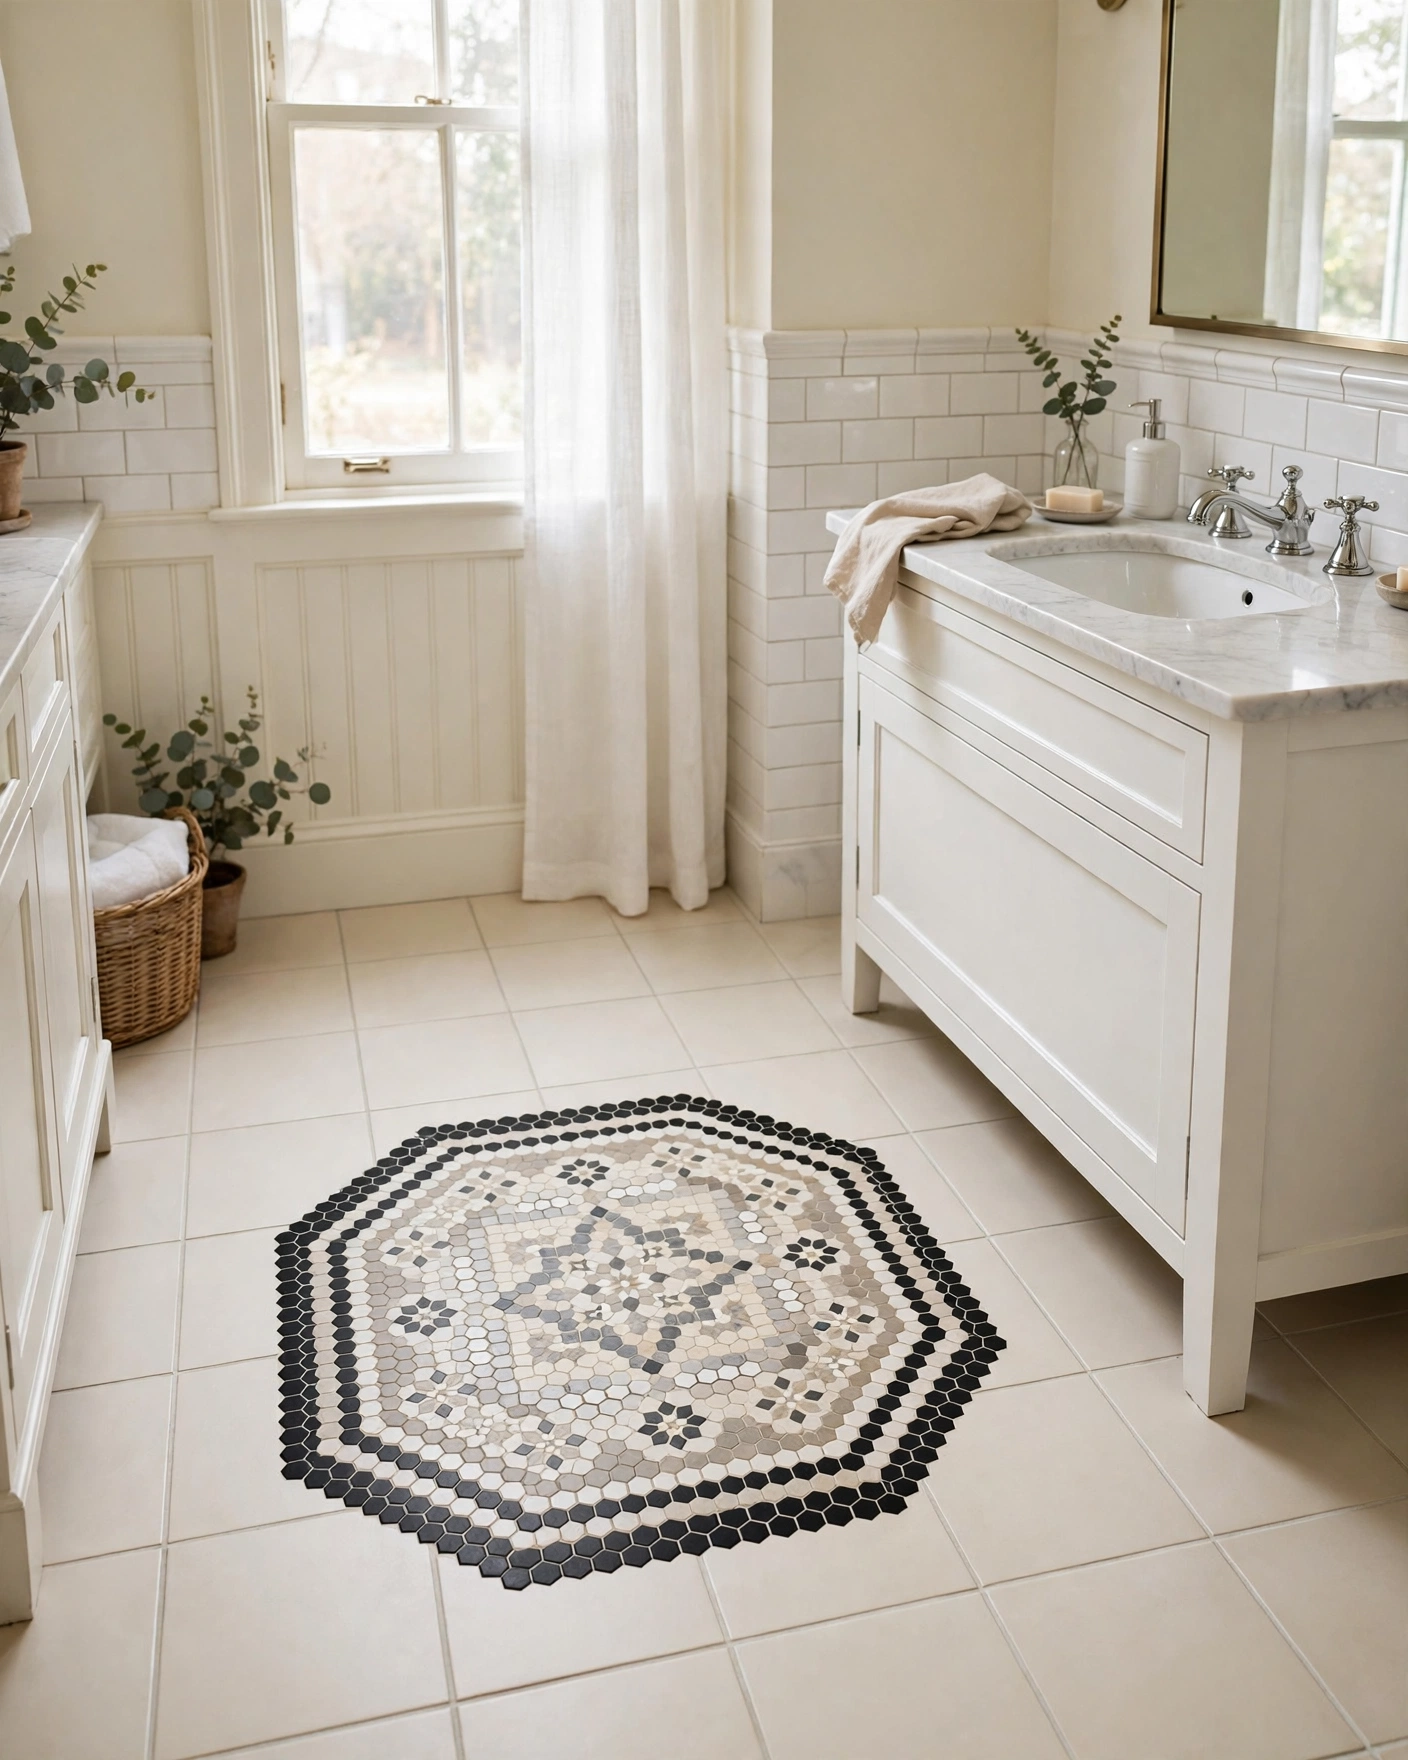
    12. Hex Rug Inset

    Plain bathroom floor with a hexagon tile rug pattern inset in the centre

    Frame a patch of patterned hex mosaic inside a plain floor and it reads as a woven rug — waterproof and perfectly flat. A border of black hexagons sharpens the edge. Tip: centre the inset on the vanity or tub, not the room, so it aligns with what you actually look at.

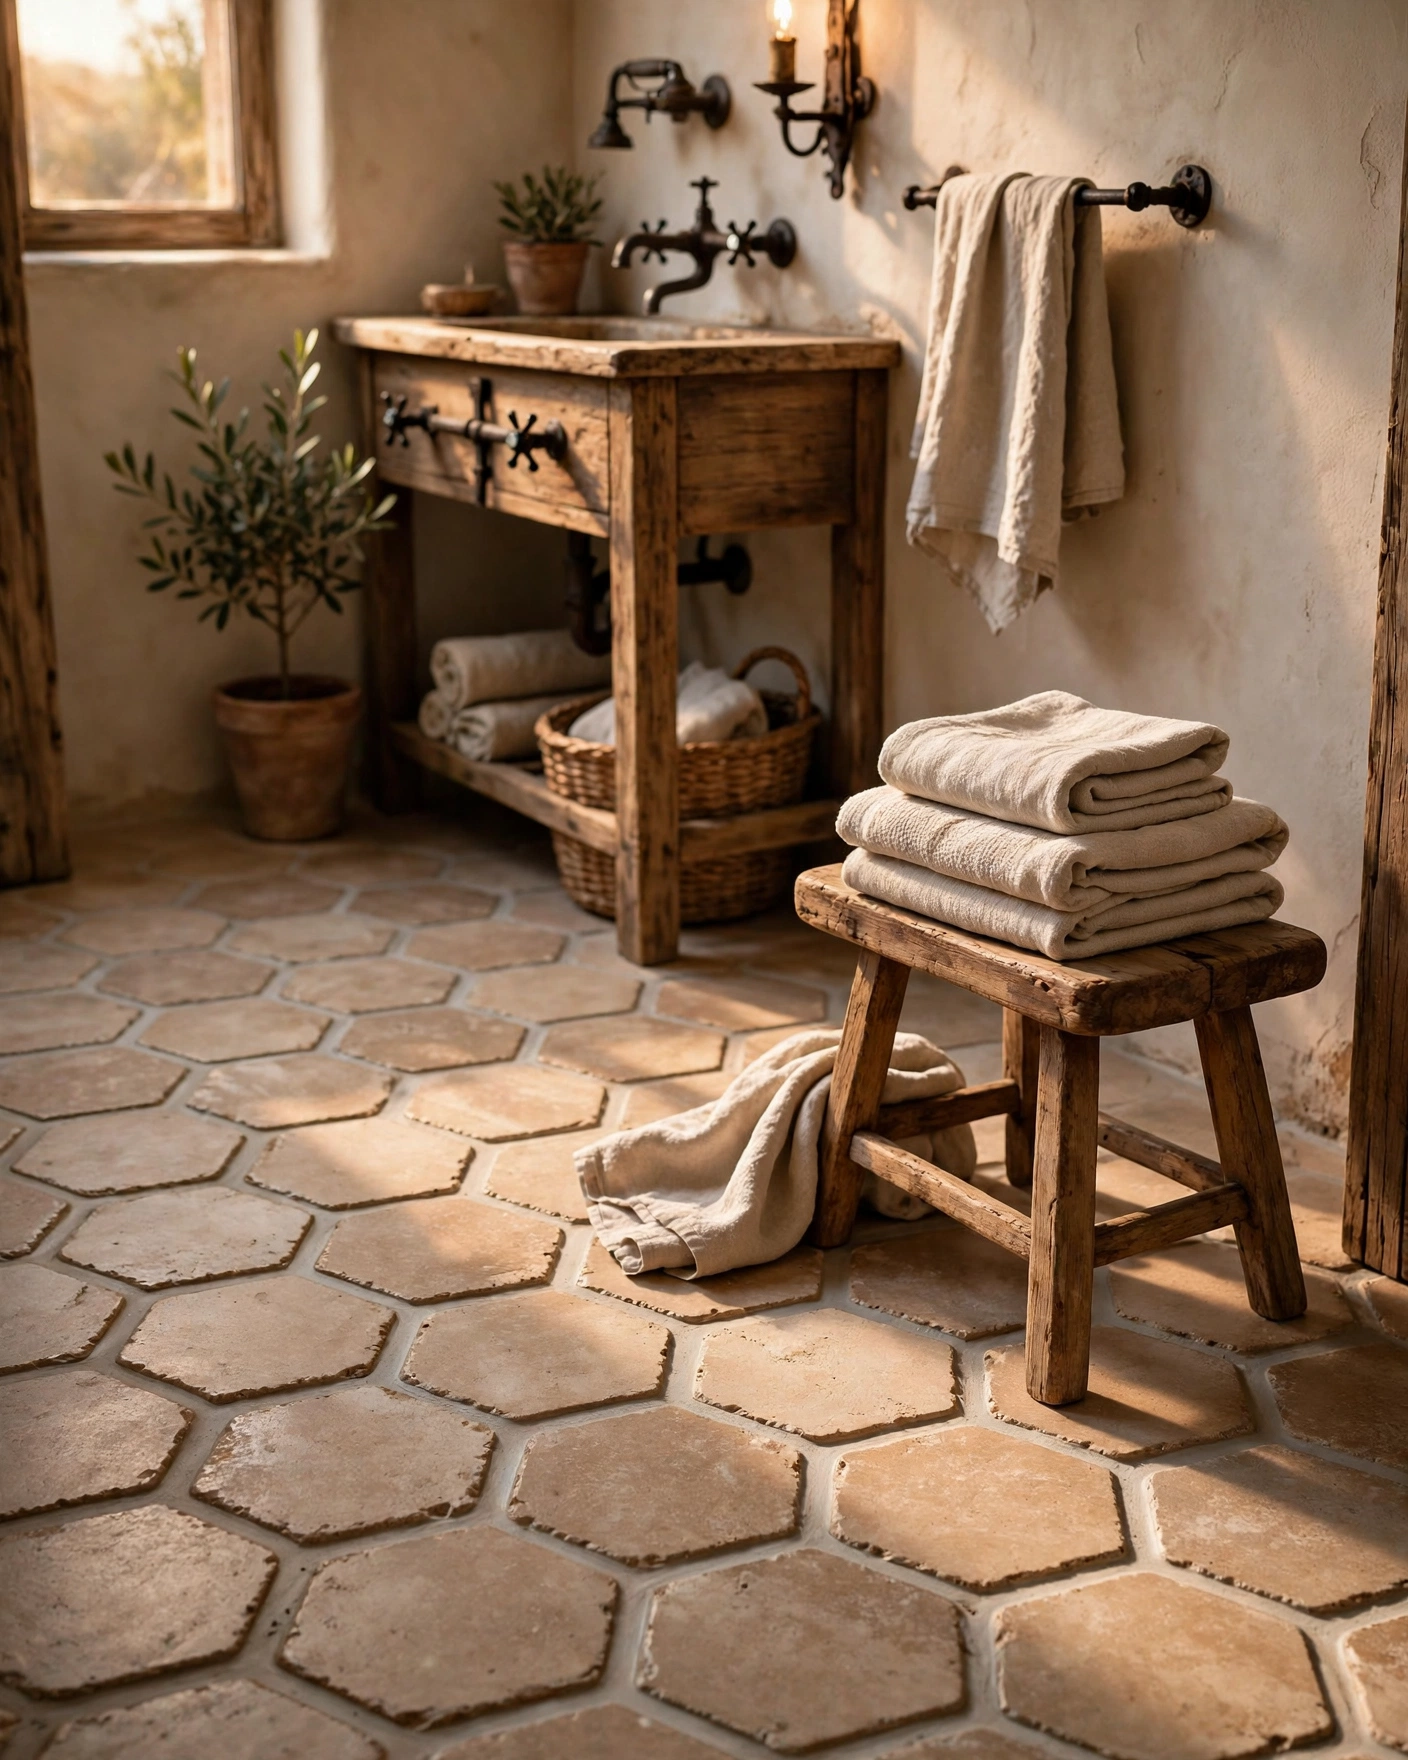
    13. Tumbled Stone Hex

    Rustic bathroom floor in tumbled travertine hexagon tiles with soft worn edges

    Real tumbled stone hexagons bring worn edges, fossil flecks and a warmth printed tiles only imitate. Their natural variation forgives small layout imperfections, which suits relaxed, rustic rooms. Tip: seal stone hexagons before grouting and again after, since travertine drinks in moisture and pigment.

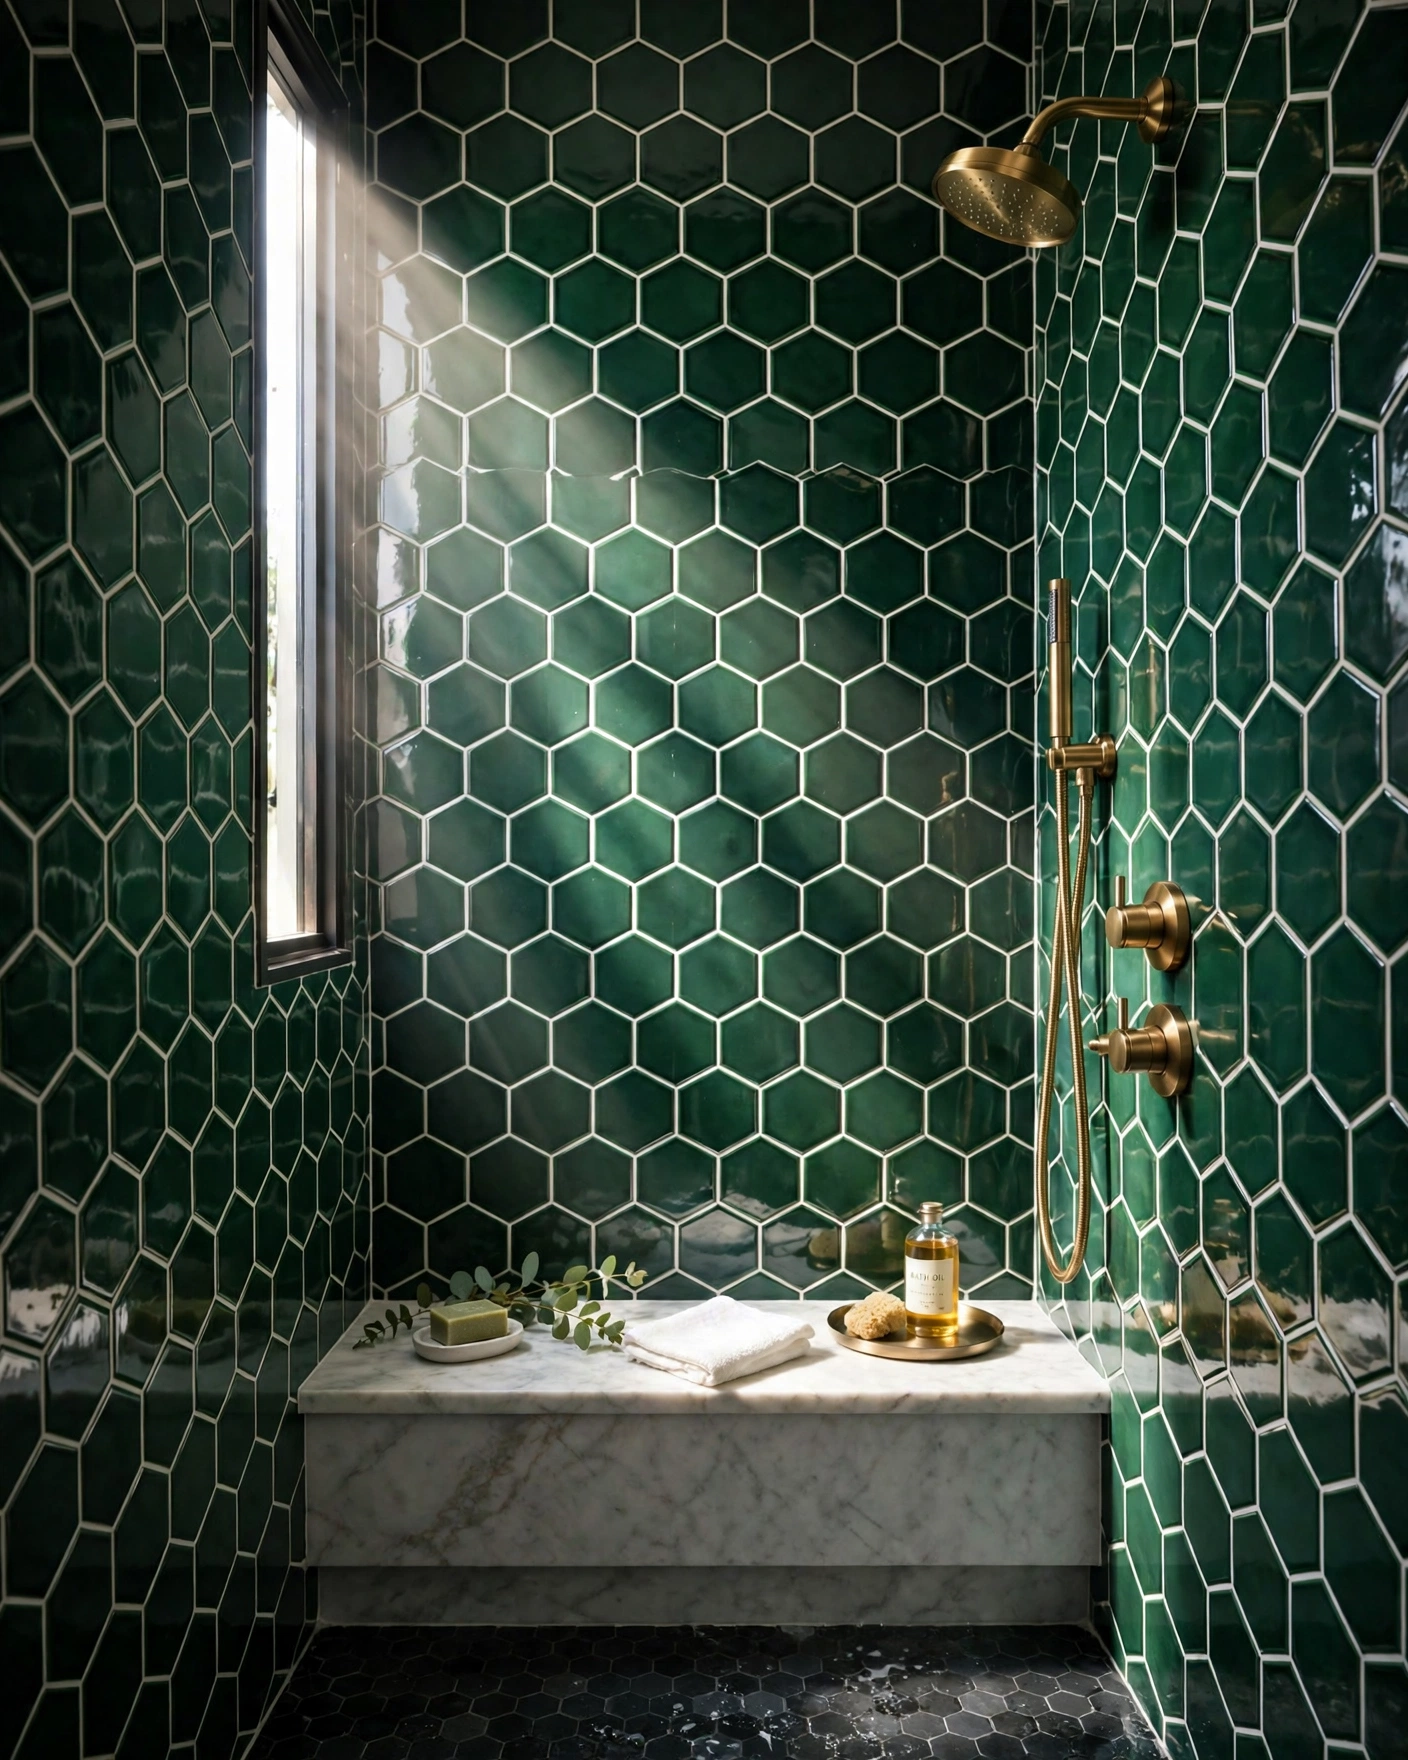
    14. Emerald Gloss Hex Shower Wall

    Shower wall in glossy emerald green hexagon tiles with brass shower fixtures

    Glossy emerald hexagons turn a plain shower into a jewel box, the glaze pooling slightly darker at each tile’s edge for handmade depth. Brass fixtures complete the boutique-hotel mood. Tip: dark glossy tile shows limescale fast in hard-water areas, so fit a softener or commit to a squeegee routine.

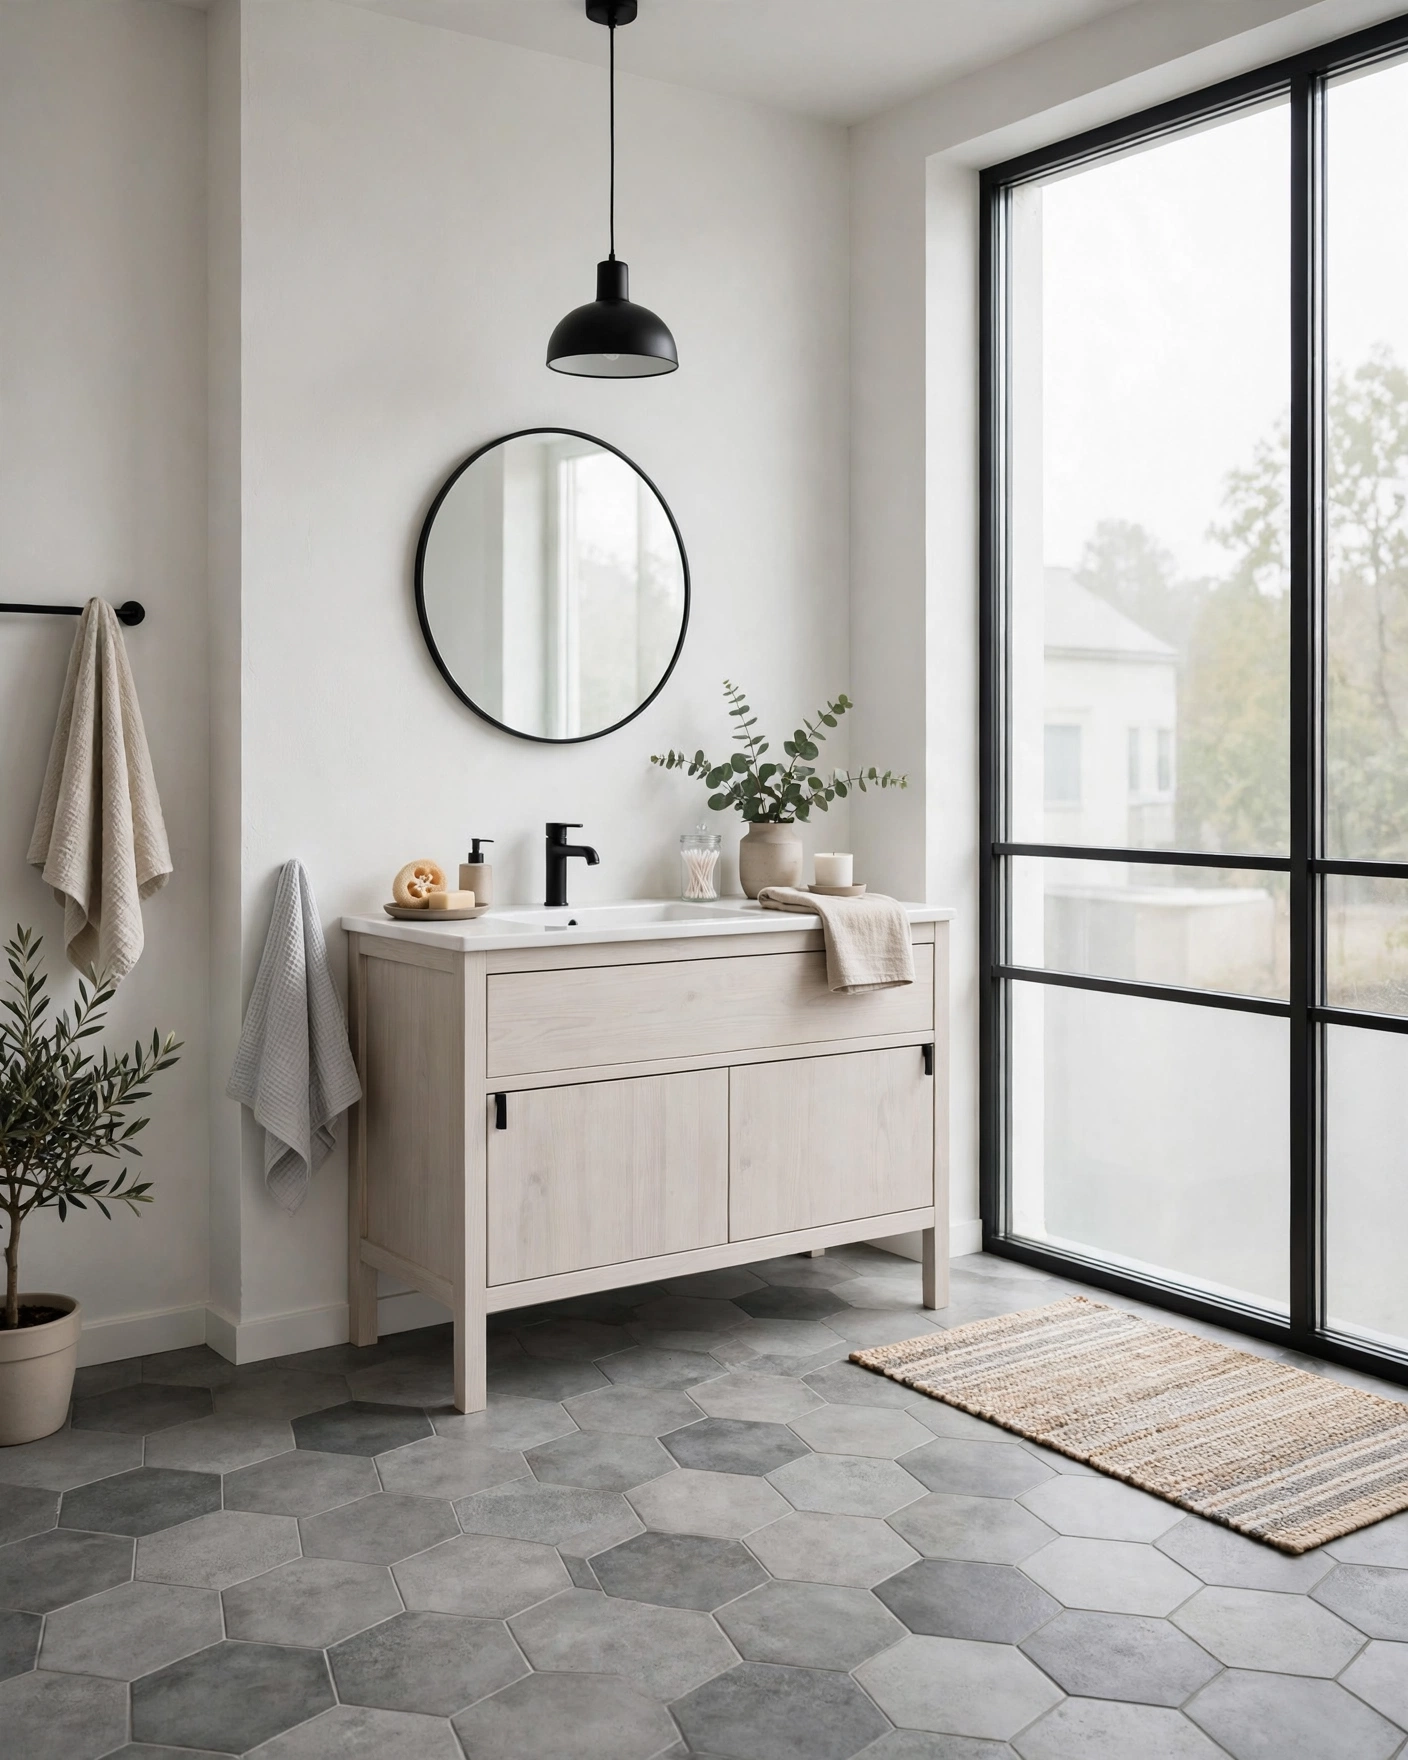
    15. Concrete-Look Hex, Scandi Style

    Scandinavian bathroom with concrete look gray hexagon floor tiles and pale wood

    Concrete-look hexagons in mixed gray tones give a Scandi bathroom its quiet, industrial base without the cold feel of real concrete. Pair with pale wood and white walls to keep the mood light. Tip: choose a porcelain version with tone variation printed in, so the floor looks poured, not tiled.

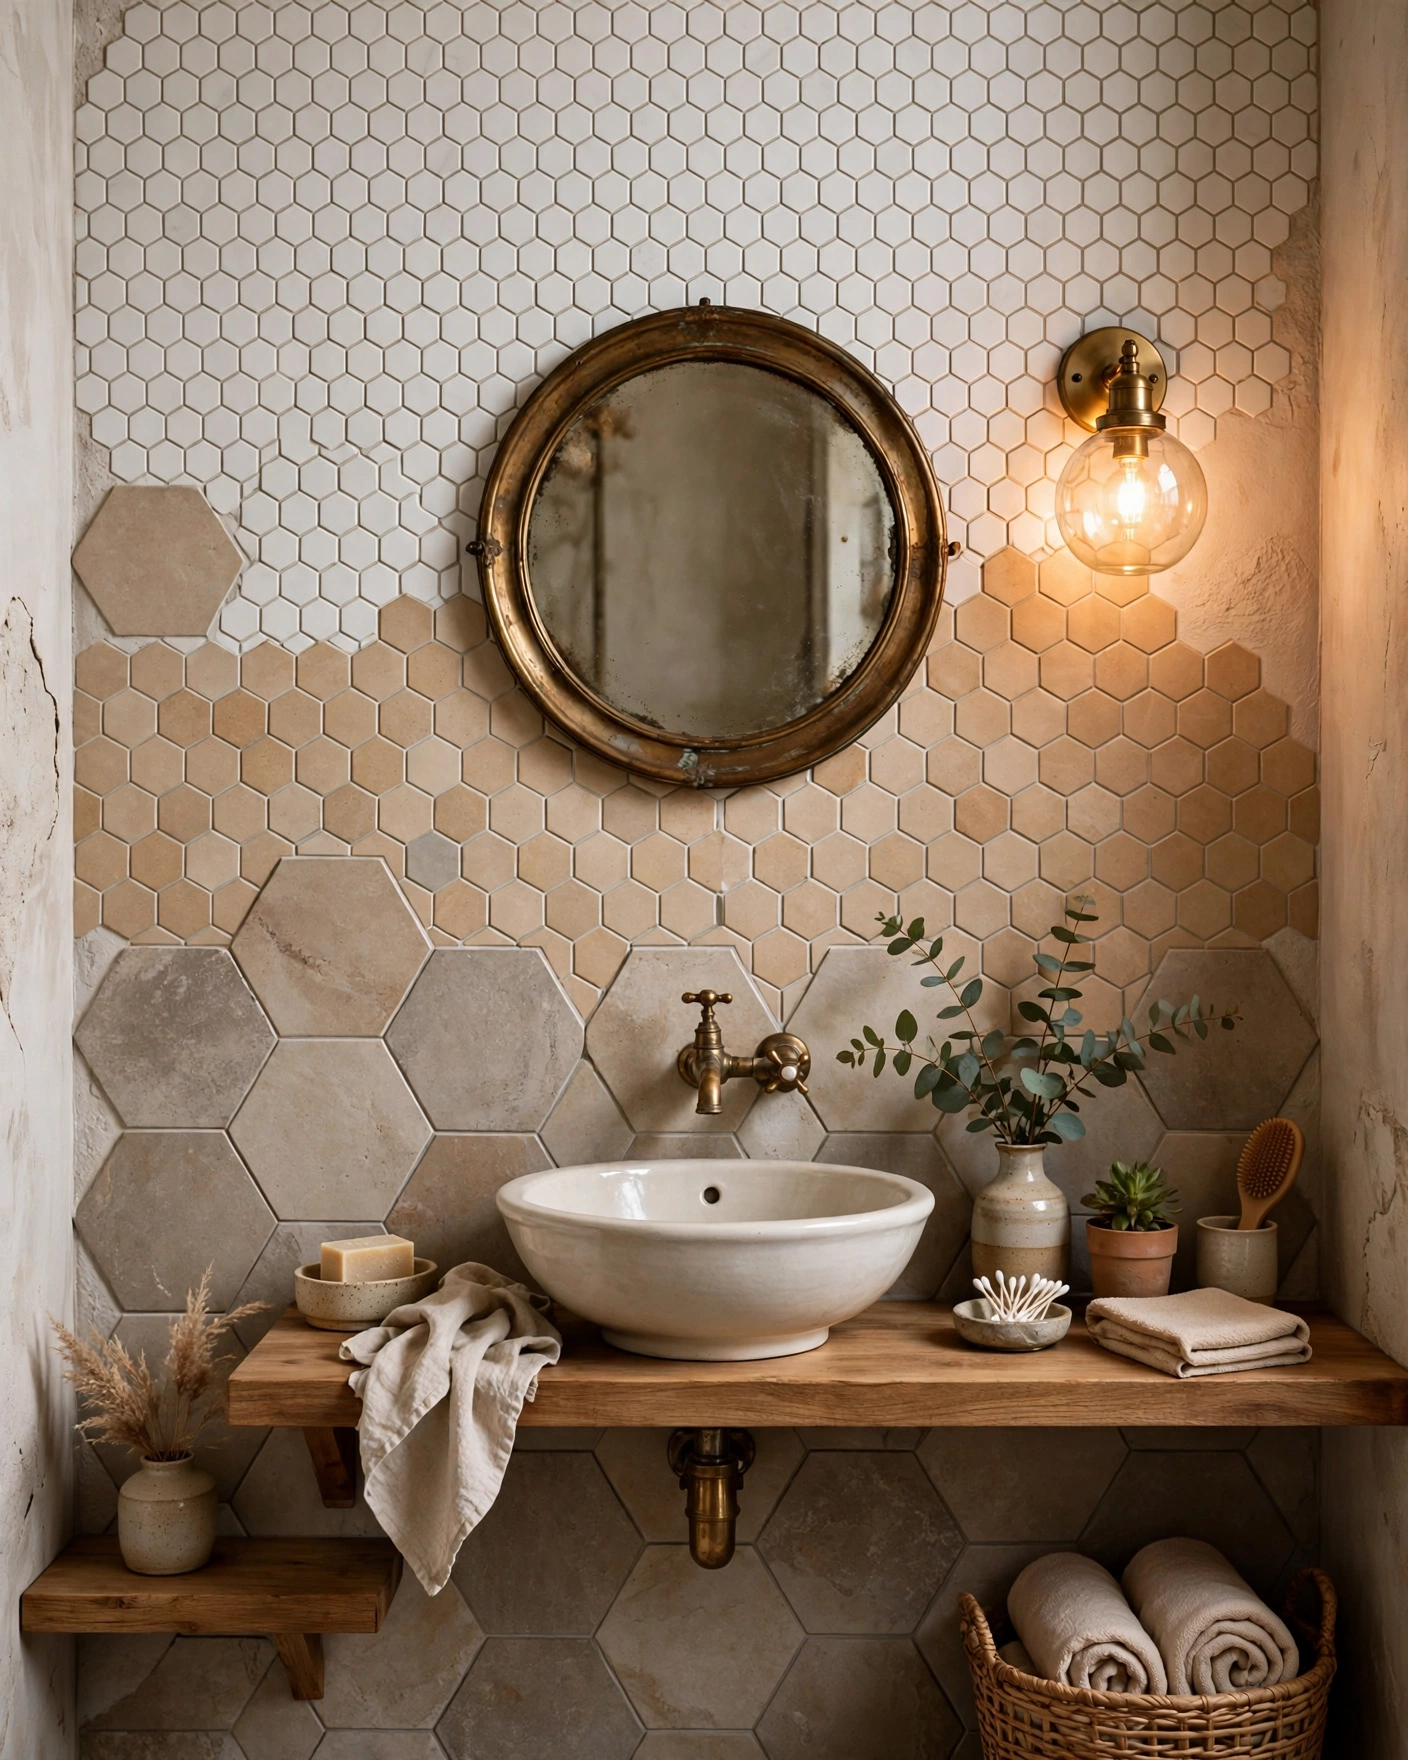
    16. Mixed-Size Hex Patchwork

    Eclectic bathroom wall mixing small and large hexagon tiles in soft neutrals

    Mixing two or three hex sizes on one wall creates a patchwork that feels collected rather than installed. Keep the colours within one neutral family so the size play stays sophisticated. Tip: this layout wastes more tile in cuts, so add fifteen percent to your order.


    In Summary

    Hexagons earn their designer reputation because they flex: vintage in a tiny black-and-white mosaic, serene in concrete gray, dramatic in emerald gloss. The shape stays the same — scale, finish and placement write the story.

    Decide where your hexagons will work hardest, floor, shower or splashback, then pick the size that suits the job and a grout that supports the pattern. Order samples, live with them for a week, and your final choice will feel obvious.

  • 21 Shower Wall Tile Ideas You’ll Want to Copy

    21 Shower Wall Tile Ideas You’ll Want to Copy

    Open the shower door in most bathrooms and you meet the same tired builder-grade tile, chosen to offend nobody and excite nobody. Yet the shower walls are the largest tiled surface in the room, and you look at them up close every single day. Changing them changes everything.

    The good news is that shower wall tile is a style decision and a practical one at the same time. Glossy surfaces bounce light into a dark stall, large formats mean fewer grout lines to scrub, and one well-chosen accent wall can make a standard tub-shower feel like a boutique hotel.

    Here are 21 shower wall tile ideas worth copying, each with the materials to look for, how to recreate the look in a real bathroom, and a practical tip on budget, cleaning or layout.


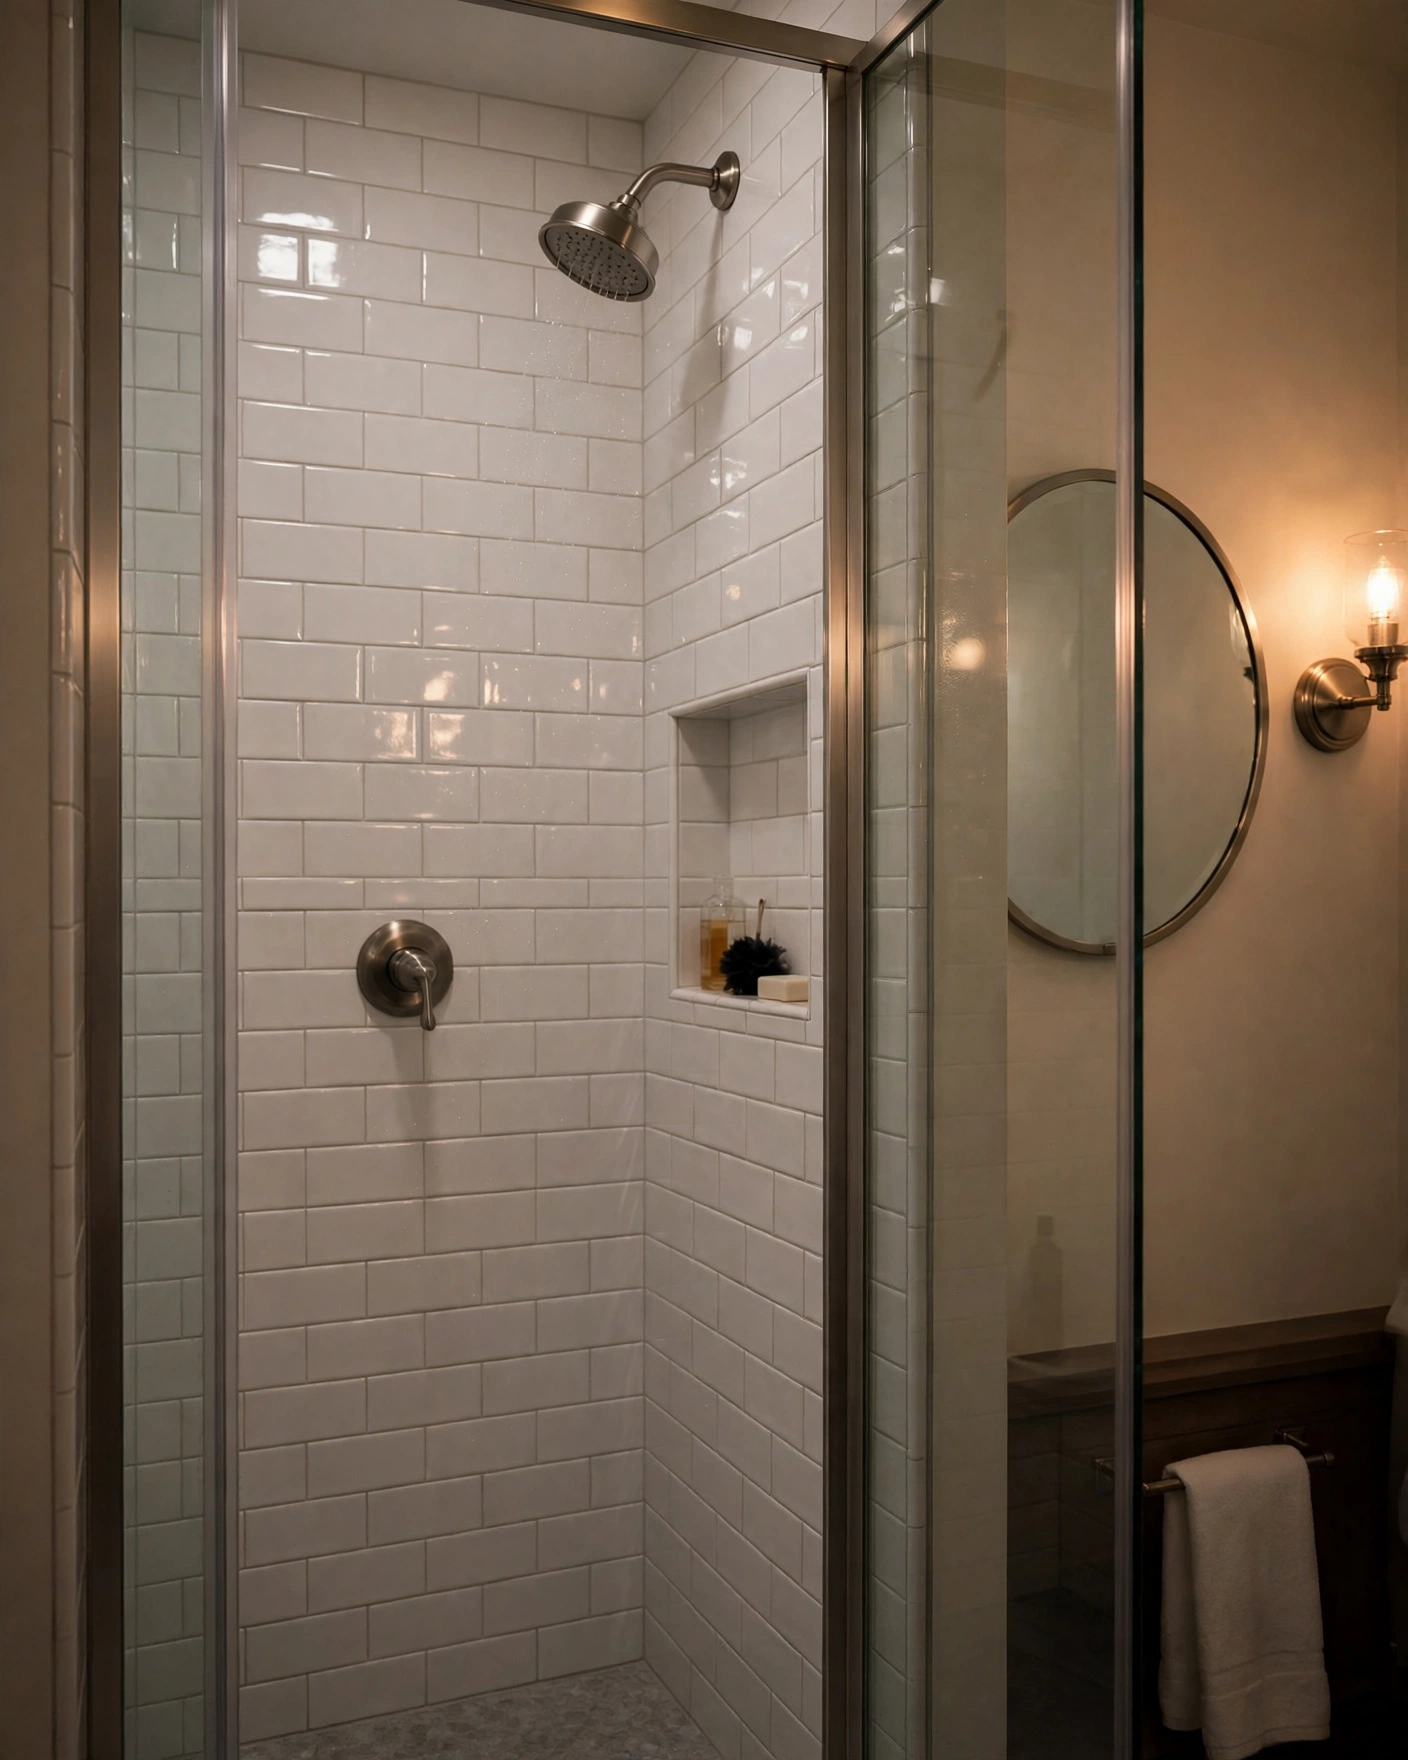
    1. Classic White Subway in a Brick Pattern

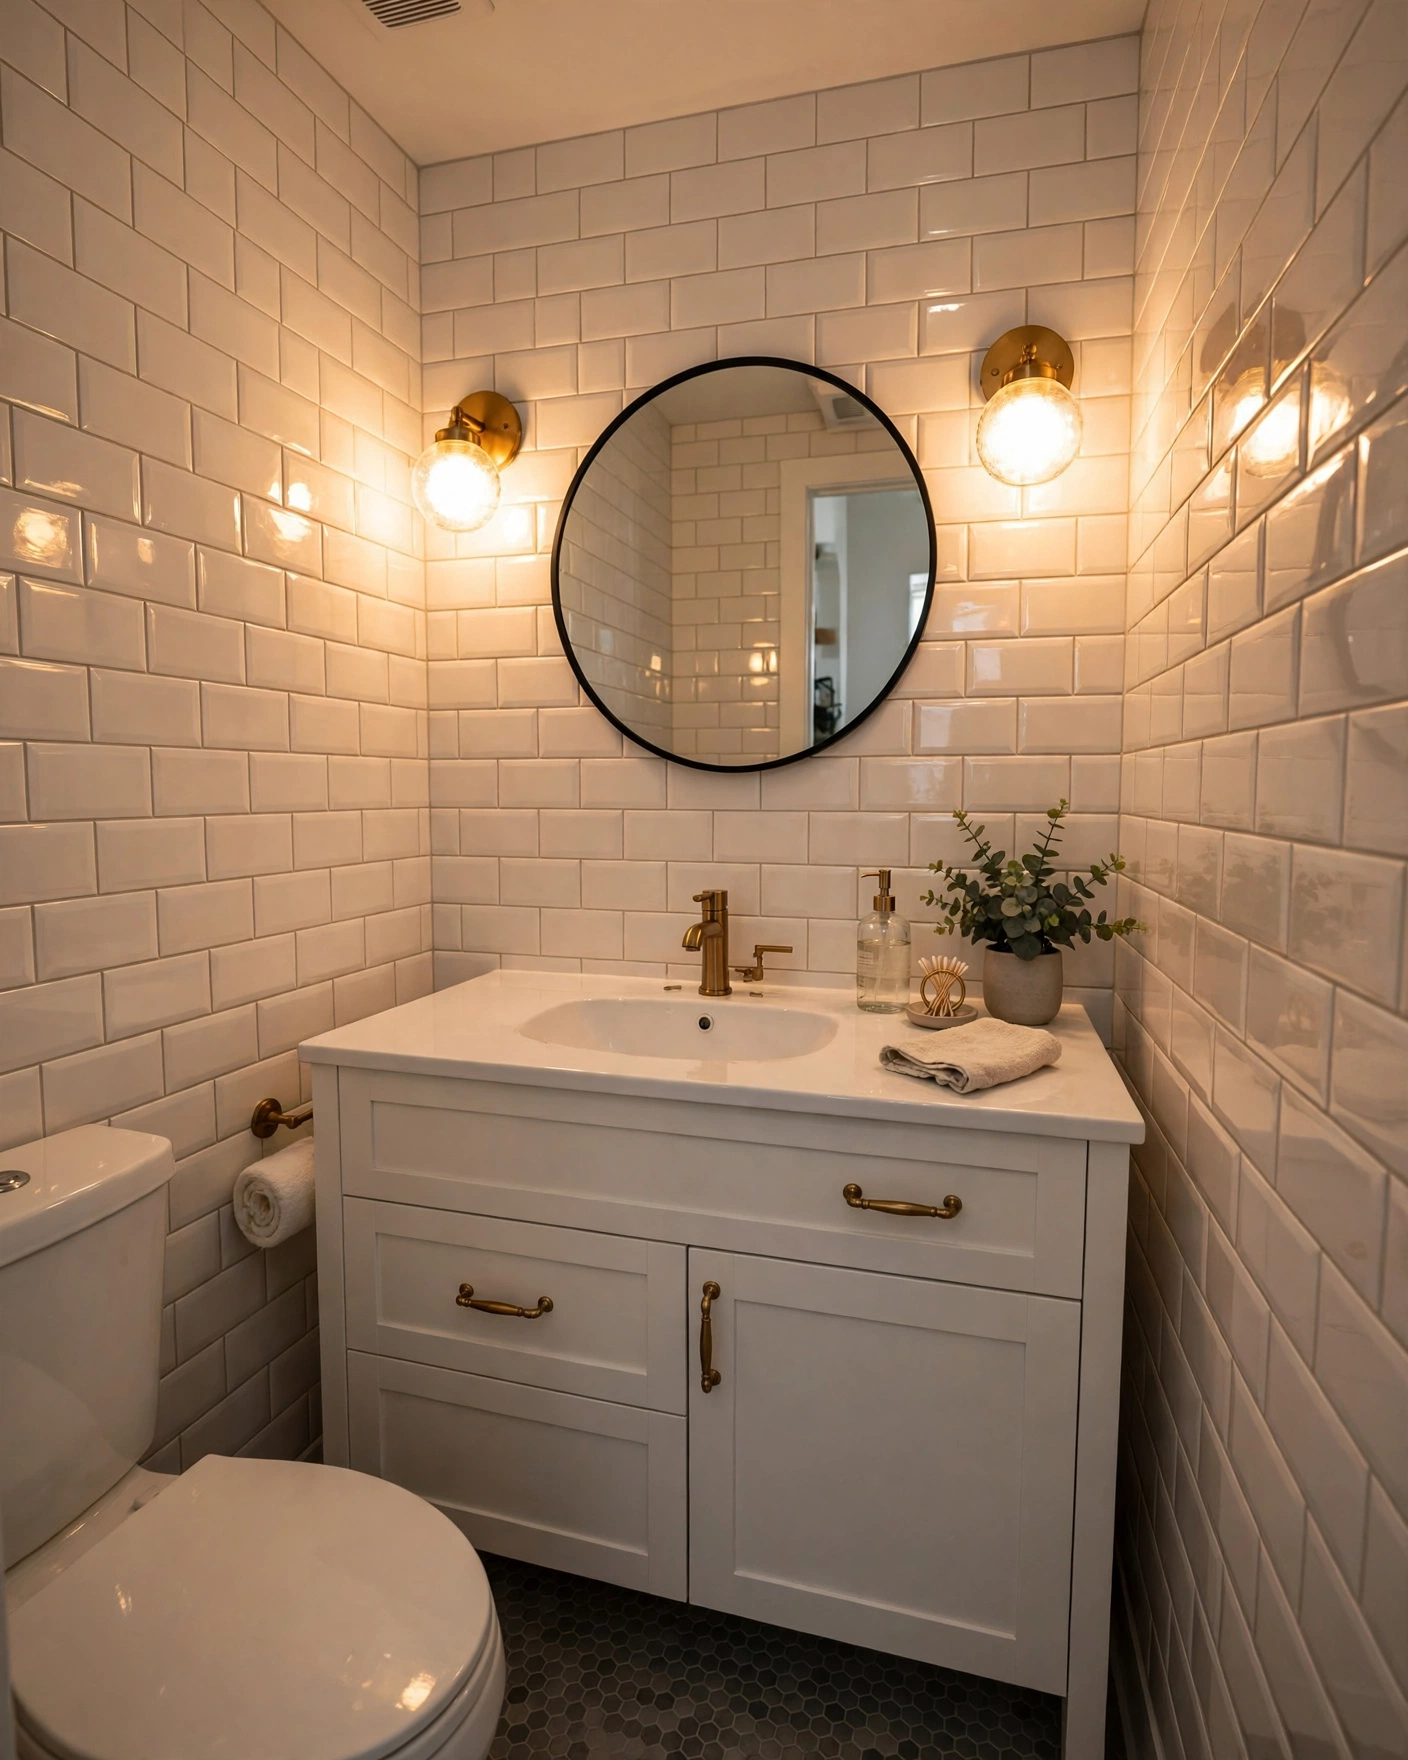
    Classic white subway tiles in brick pattern covering a bright shower wall

    You cannot go wrong with 3×6 inch glossy white subway tile in a running bond brick pattern and light gray grout. It suits every home style, reflects light into the stall, and costs less per square foot than almost anything else on this list. Recreate it by tiling all three shower walls to the ceiling and finishing the edges with white pencil trim. Practical tip: spend the small upgrade on epoxy or high-performance grout in the shower; it resists mildew far better than standard grout.

    2. Vertical Stacked Subway for Height

    Vertically stacked subway tiles making a low shower ceiling feel taller

    Take the same affordable subway tile and stack it vertically in straight columns, and a low-ceilinged shower immediately feels taller and more contemporary. Use a 3×12 inch format in pale gray or warm white to stretch the effect, and align the grout lines perfectly for that crisp architectural look. Matte black fixtures add just enough contrast. Practical tip: vertical stacks forgive nothing, so have your installer use leveling clips and check the first row with a laser level.

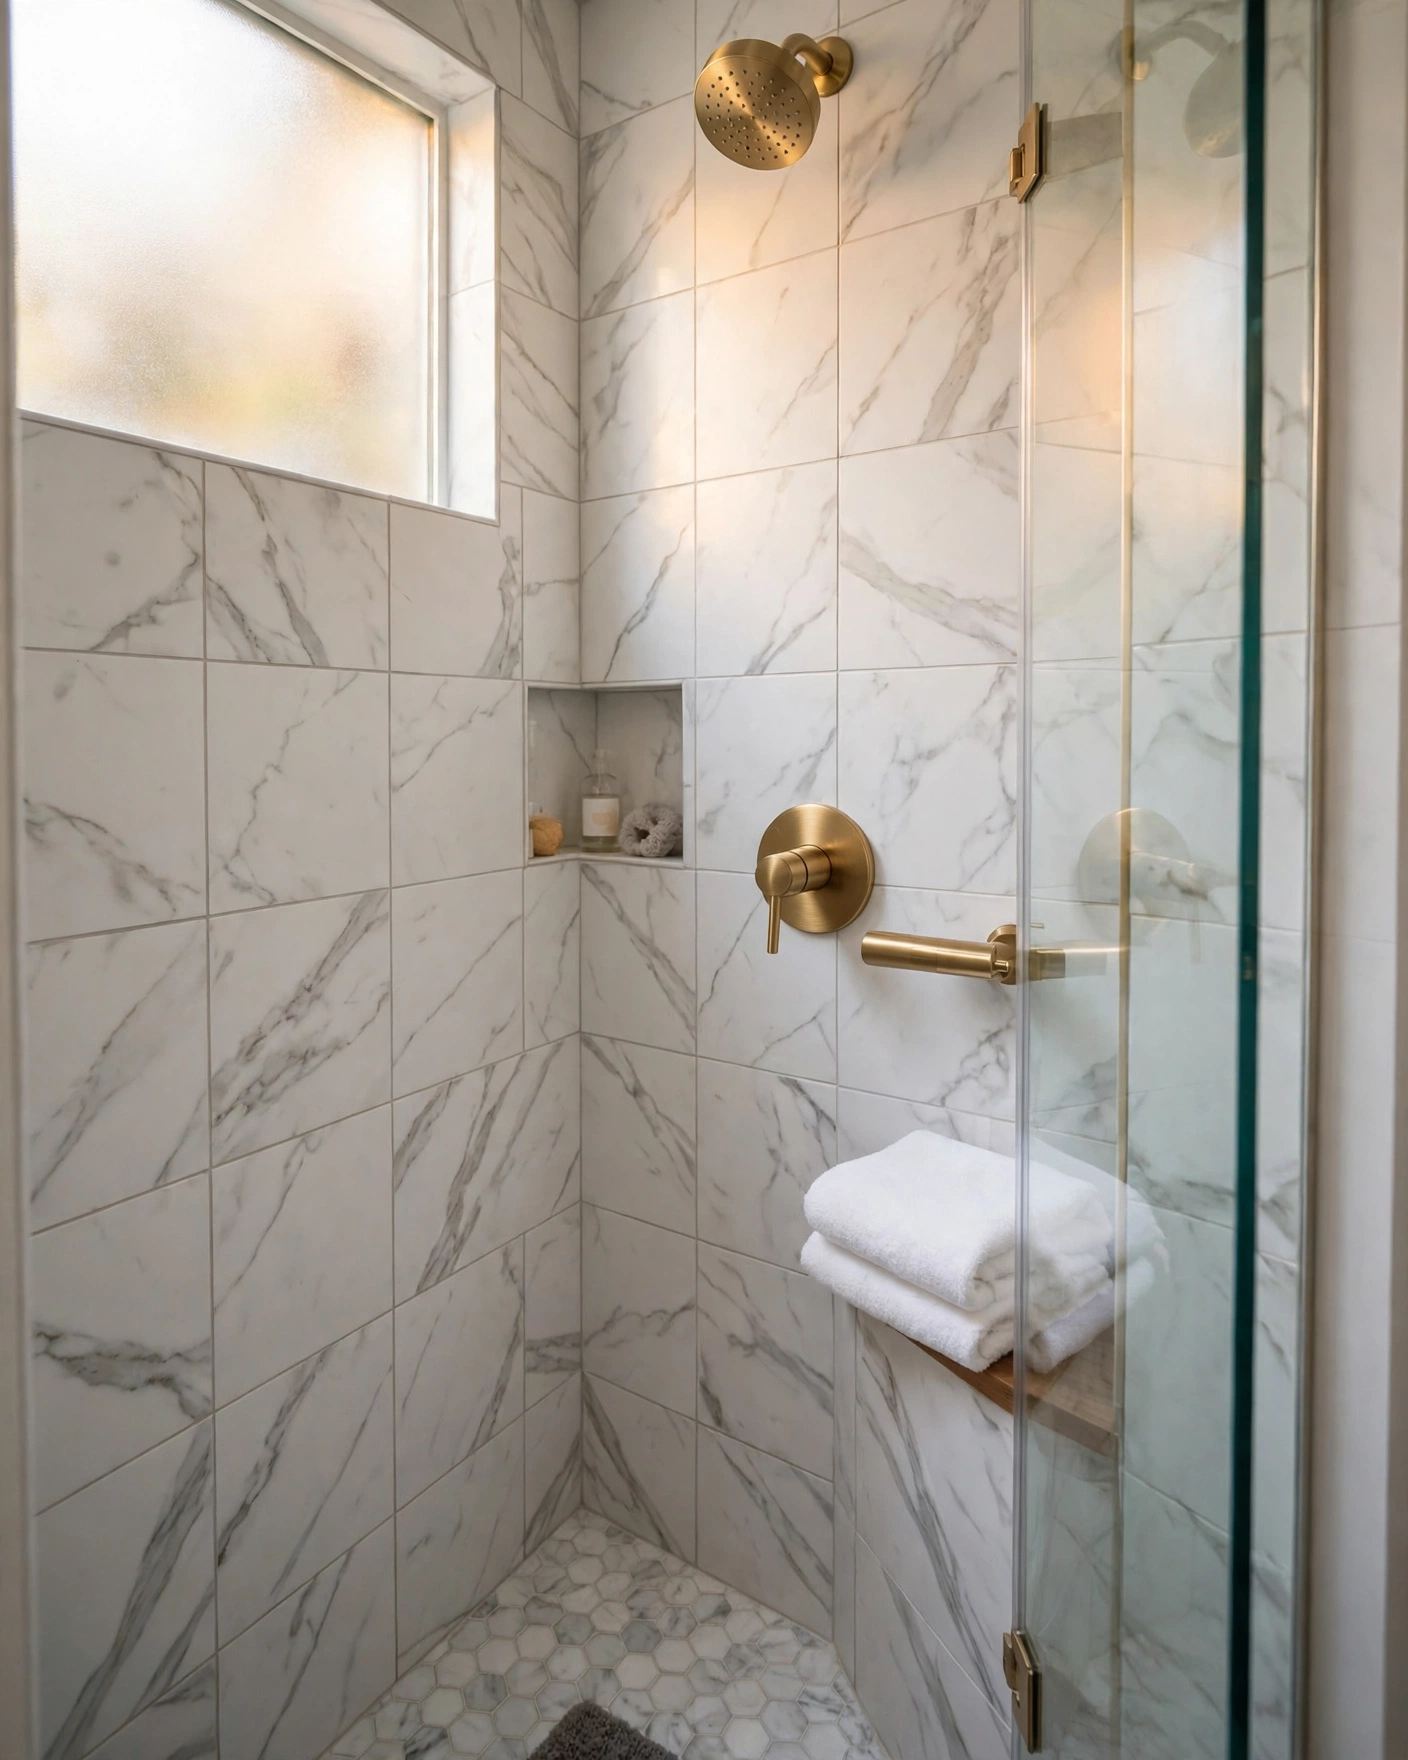
    3. Large-Format Marble-Look Porcelain

    Large marble look porcelain tiles with soft veining on a luxury shower wall

    Cover the shower walls in 24×48 inch marble-look porcelain with soft gray and gold veining, and you get the calm of a stone spa with almost no grout to maintain. Book-match or simply align the veining across the back wall for the biggest impact, and carry the same tile onto a built-in bench. Porcelain never needs sealing, unlike real marble, and it shrugs off shampoo dyes and hard water. Practical tip: large tiles need flat walls and a skilled setter, so this is the one idea worth hiring out rather than DIY-ing.

    4. Sage Green Zellige Handmade-Look Tile

    Sage green zellige tiles with handmade ripples glistening on a shower wall

    Sage green zellige or zellige-look tiles turn a plain shower into the calmest corner of the house, because every tile catches light a little differently and the wall seems to ripple like water. Lay 4×4 inch squares with tight joints and let the color variation do the decorating; brass or brushed nickel fixtures both work beautifully. Keep the shower floor pale and simple so the green stays the focus. Practical tip: zellige-look porcelain gives the same handmade surface for less money and arrives in consistent thickness, which speeds up installation.

    5. Herringbone Accent Wall

    Herringbone tiled accent wall behind the showerhead in a white shower

    Keep the side walls in a simple large white tile and give the back wall a herringbone layout in gray marble or marble-look 2×6 inch pieces. The zigzag becomes a piece of art behind the showerhead and makes a standard alcove shower look custom designed. Border the herringbone field with a slim metal or pencil trim so the pattern edges look finished. Practical tip: herringbone uses about 10 to 15 percent more tile and labor; confining it to one wall keeps both numbers friendly.

    6. Matte Black Hexagon Mosaic

    Matte black hexagon mosaic tiles creating a bold modern shower wall

    For a shower with real drama, mosaic the back wall in matte black 2 inch hexagons and grout them in dark gray so the pattern reads as texture rather than noise. Pair the dark wall with white large-format side walls and black fixtures for a sharp, tailored contrast that suits modern and industrial homes. The small hexes also handle curved or uneven walls better than big tiles. Practical tip: black tile reveals soap and limescale quickly, so plan on a quick squeegee habit and choose a matte glaze rated for wet walls.

    7. Floor-to-Ceiling Glossy Ceramic

    Glossy ceramic tiles running from floor to ceiling in a light filled shower

    The simplest luxury move is taking one glossy ceramic tile, in warm white or the palest gray, from the shower floor line all the way to the ceiling on every wall. Stopping tile at a random height makes ceilings feel lower; running it full height makes the whole stall feel taller, brighter and more finished. Gloss reflects both natural and artificial light, which is gold in a windowless bath. Practical tip: if you are retiling anyway, full height usually adds only a few extra boxes of tile to the order.

    8. Natural Pebble Tile Walls

    Natural pebble tiles giving a shower wall an organic spa texture

    Bring the spa home by covering the back shower wall in sliced pebble tile in mixed gray, beige and taupe stones. The organic texture feels wonderful in a steamy room and pairs naturally with a rain showerhead, teak bench and plain large tiles on the other walls. Sliced pebbles sit flat, so they are comfortable and easy to grout compared with rounded stones. Practical tip: pebble walls need generous grout and a good sealer; plan to reseal once a year to keep the stones rich and dark.

    9. Deep Blue Glossy Tile with Brass

    Deep blue glossy shower tiles glowing beside warm brass fixtures

    Deep blue glossy tile, in a 4×4 or 5×5 inch square, turns an ordinary shower into a jewel box, especially when you warm it with brushed brass fixtures and a dark stone floor. The saturated color hides water marks well and feels different every time the light changes. Keep the ceiling and the wall outside the shower pale so the blue reads as a deliberate moment. Practical tip: order all the blue tile from one dye lot and mix boxes while tiling, because saturated glazes can shift shade between batches.

    10. Soft Gray Chevron Pattern

    Soft gray chevron patterned tiles flowing across a shower wall

    Chevron tiles arrive pre-cut into parallelograms that form a continuous V pattern, giving you rhythm and movement without the busyness of a print. In soft gray with matching grout, the effect is tailored and calm, somewhere between a classic herringbone and a modern geometric. Run it on all walls of a small shower to blur the corners, or on the back wall only for focus. Practical tip: chevron points must meet perfectly at the corners, so start the layout from the most visible wall and work outward.

    11. Terrazzo-Look Porcelain Panels

    Terrazzo look porcelain panels with playful chips lining a shower wall

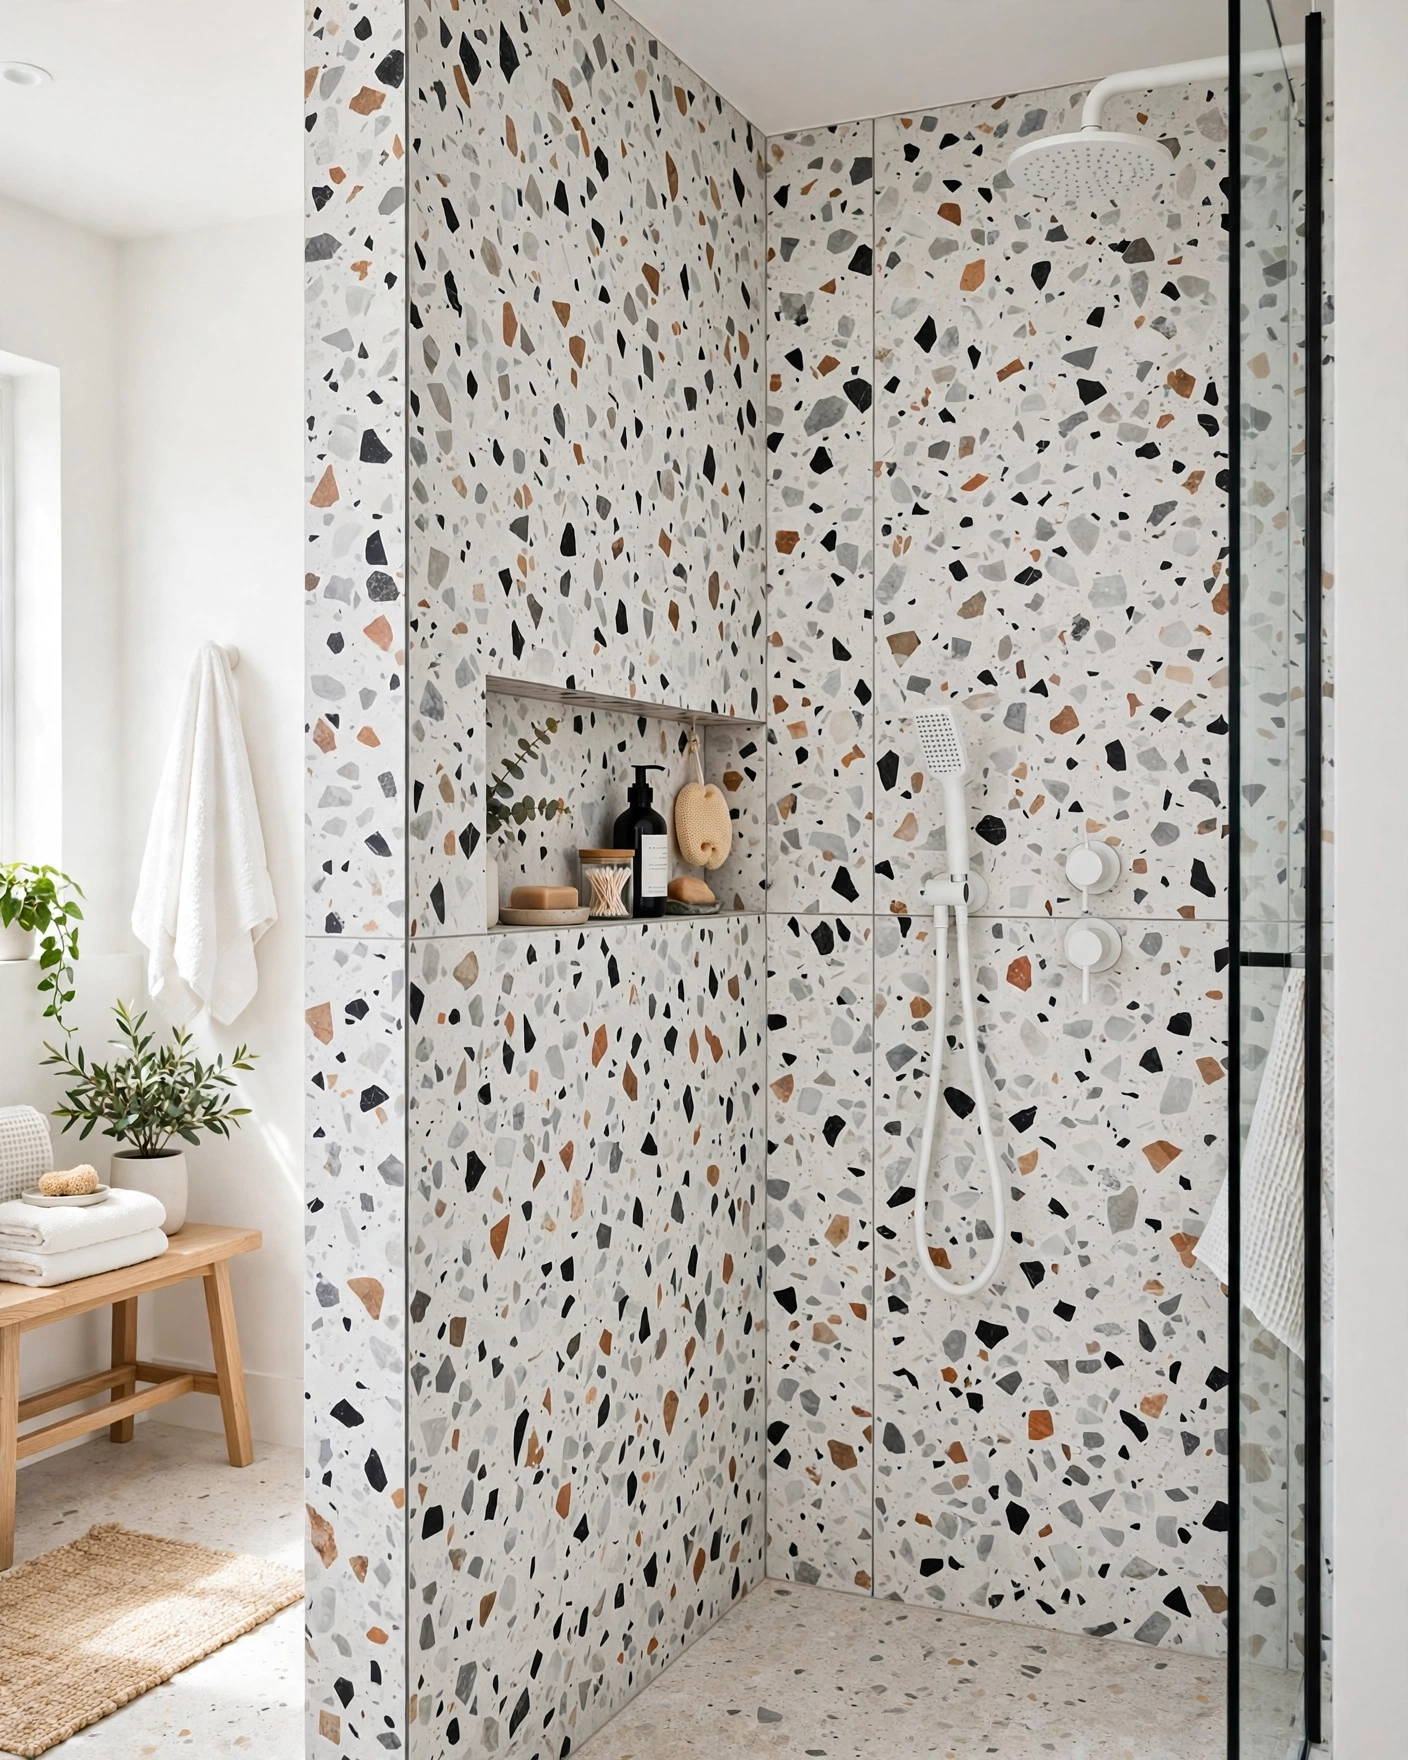
    Large terrazzo-look porcelain panels give a shower the playful, speckled charm of Italian terrazzo with the easiest upkeep on this list: a handful of panels, minimal grout, and a surface that hides splashes and stray hairs between cleans. Choose a white base with gray and clay chips to warm up an all-white bathroom, and echo one chip color in towels or a stool. Practical tip: panels are heavy, so confirm your wall backing is cement board and plan for two people to set each piece.

    12. Rustic Wood-Look Tile Planks

    Wood look porcelain planks adding rustic warmth to a shower wall

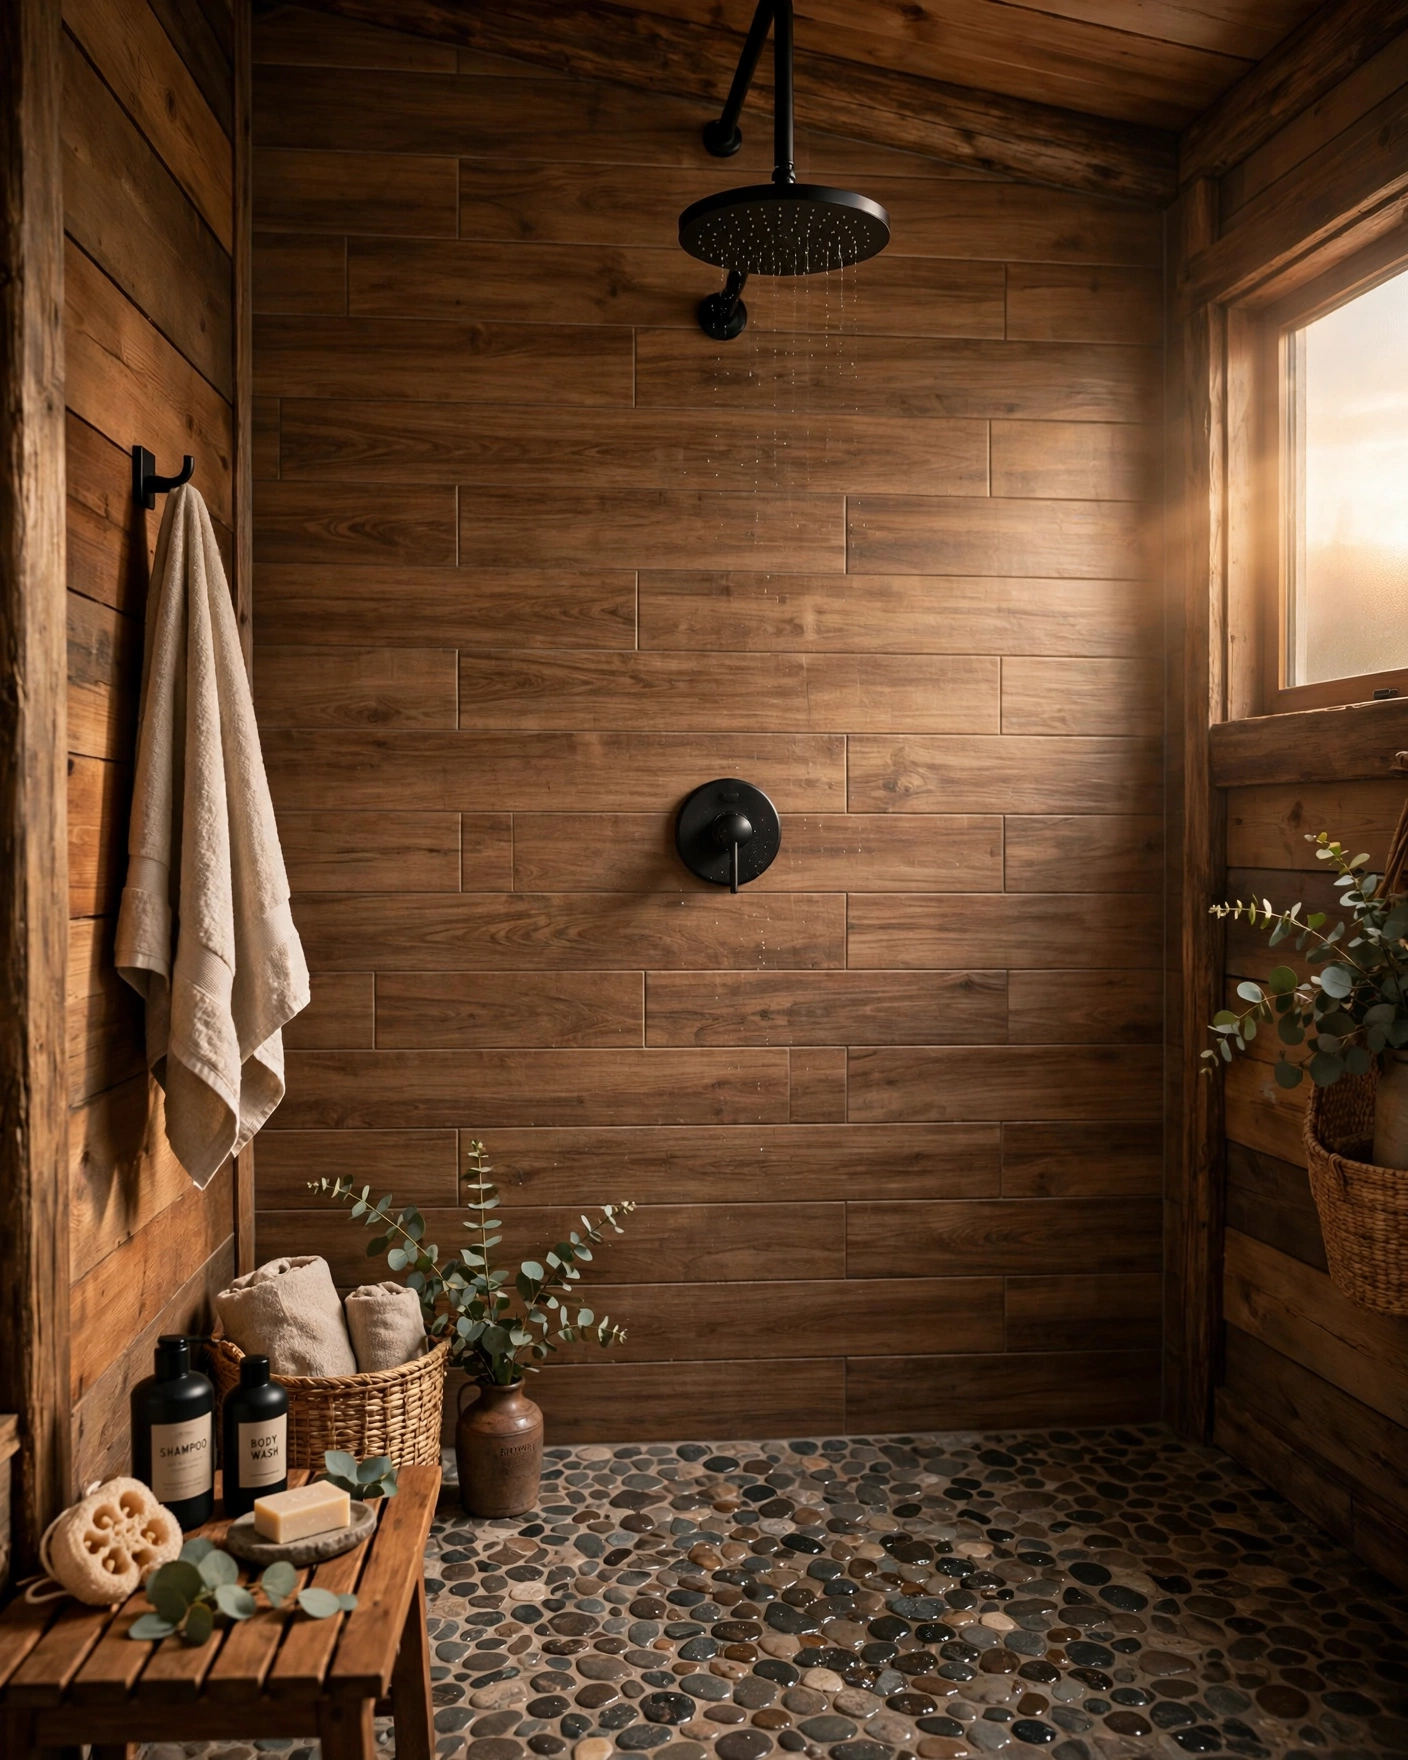
    Wood-look porcelain planks let a shower borrow the warmth of a cabin or barn without risking a single splinter, since porcelain is completely waterproof. Run 6×36 inch planks horizontally on the back wall with tight, color-matched grout joints so the grain reads as continuous timber. Matte black fixtures and a stone mosaic floor complete the rustic spa mood. Practical tip: choose planks with at least ten different grain faces and shuffle them, or the repeating pattern will quickly give the trick away.

    13. Two-Tone Tile with a Border Line

    Two tone shower wall tiles divided by a slim decorative border line

    Split the shower walls at shoulder height: a colored tile below, in sage, dusty blue or warm gray, and clean white above, divided by a slim border or pencil tile. The two-tone scheme adds design interest for the price of one accent box of tile, and the pale upper half keeps the stall bright where it matters. It also suits traditional homes where full-height color might feel like too much. Practical tip: set the border at about 48 to 54 inches so it clears most shower niches and window sills cleanly.

    14. Kit Kat Finger Mosaic in White

    White kit kat finger mosaic tiles adding fine texture to a shower wall

    Kit kat mosaics are slim finger-shaped tiles, usually about 1×6 inches, mounted on sheets that stack into fine vertical ribbing. In glossy or matte white they turn a plain shower wall into a study of light and shadow, modern but quietly luxurious, and they pair with almost any fixture finish. The heavy grout coverage also makes them forgiving on slightly wavy walls. Practical tip: because mosaics have so much grout, use a stain-resistant grout and fan the shower after use to keep the white lines bright.

    15. Travertine Stone-Look Tile

    Travertine stone look tiles creating a warm Mediterranean shower wall

    Travertine-look porcelain in warm beige and cream gives a shower the sun-baked calm of a Mediterranean villa, complete with natural-looking pits and veins that never need filling or sealing. Lay large rectangles in a brick pattern and add an arched or simple recessed niche in the same tile for a built-in look. Bronze or black fixtures deepen the warmth, while chrome keeps it fresher. Practical tip: the stone look hides water spots and soap film better than almost any other finish, making it a smart pick for hard-water homes.

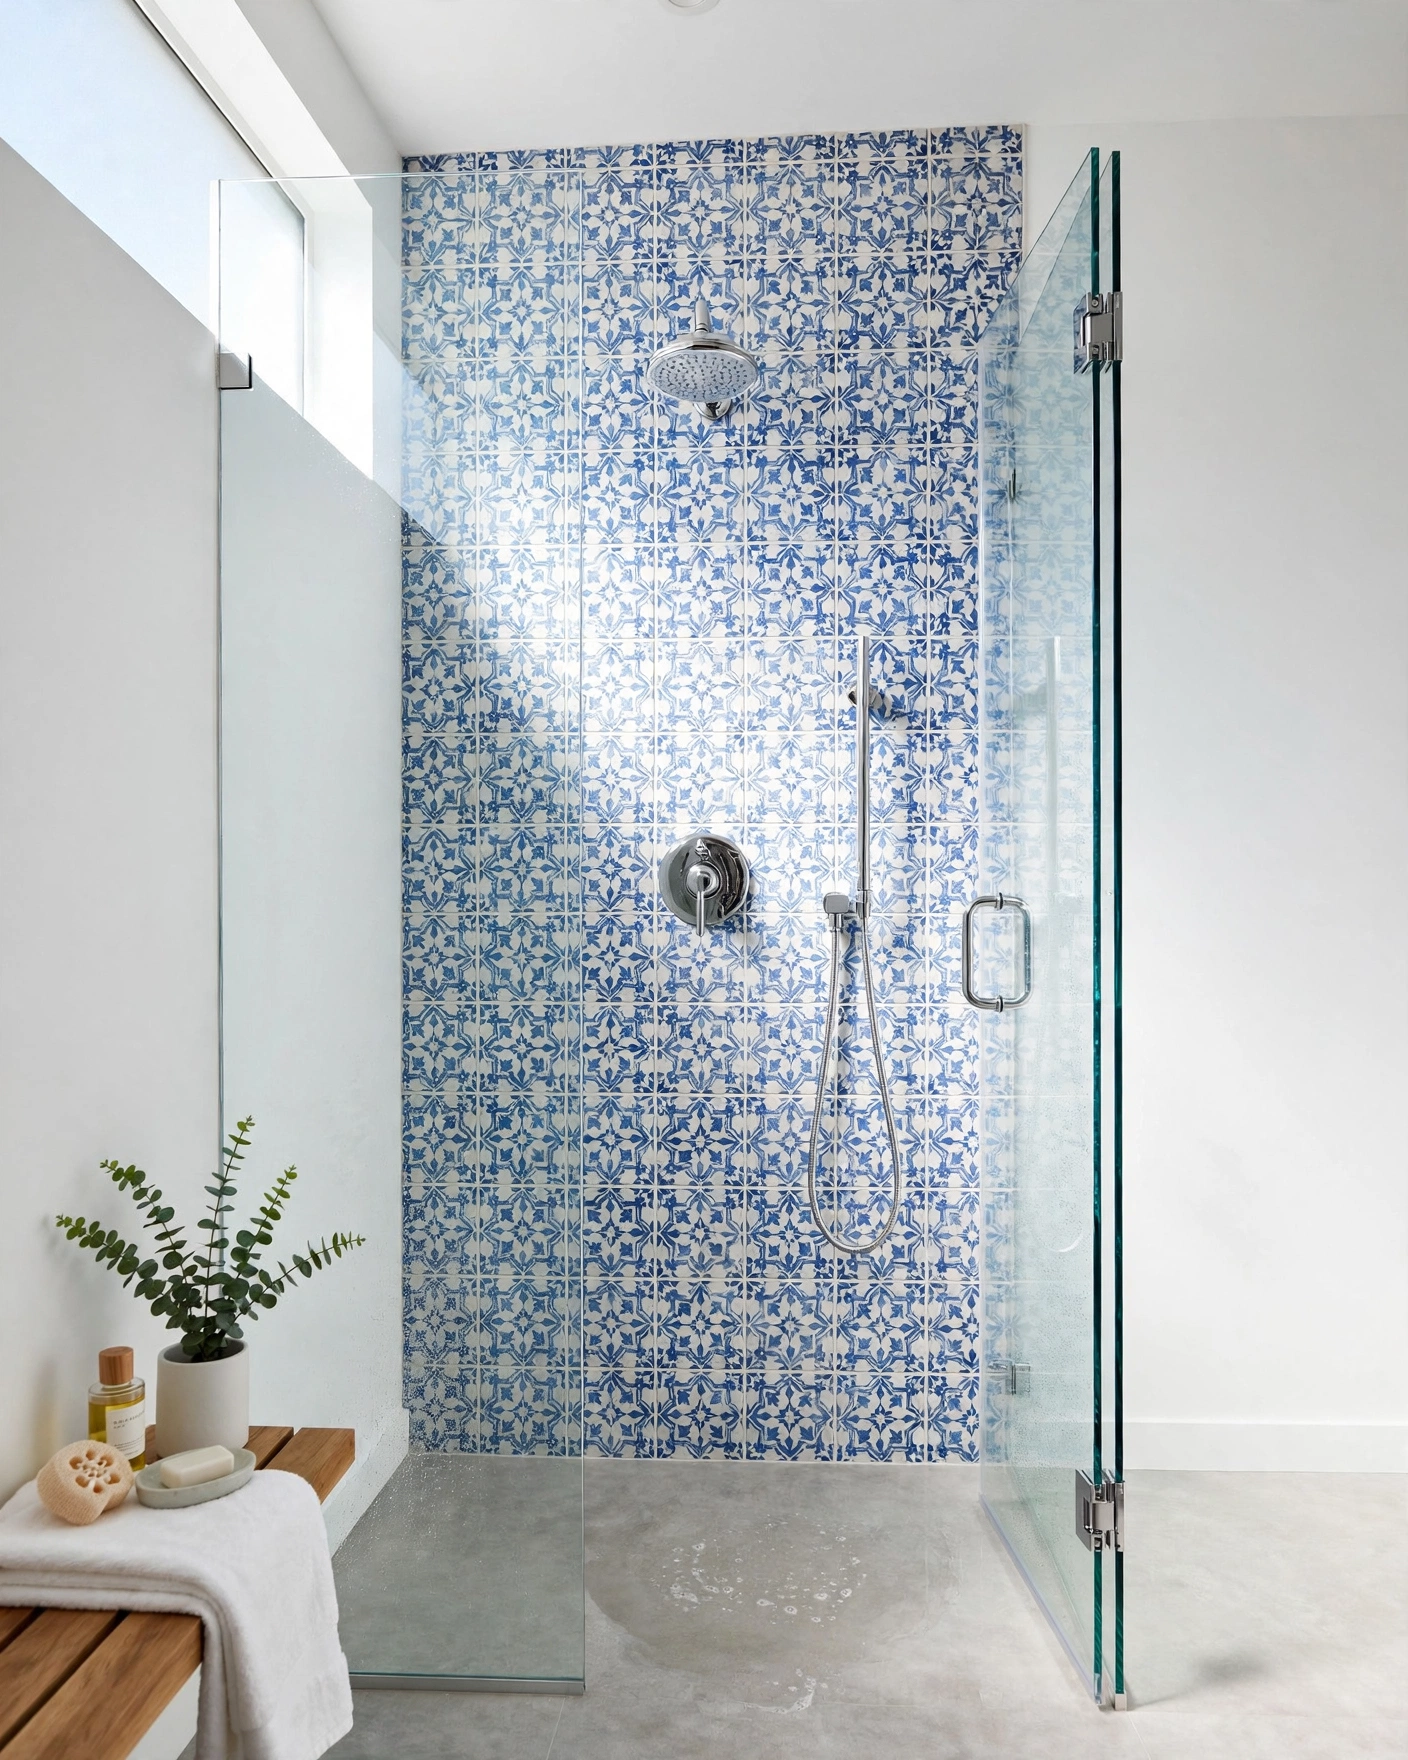
    16. Patterned Cement-Look Feature Wall

    Patterned cement look tiles forming a feature wall inside a shower

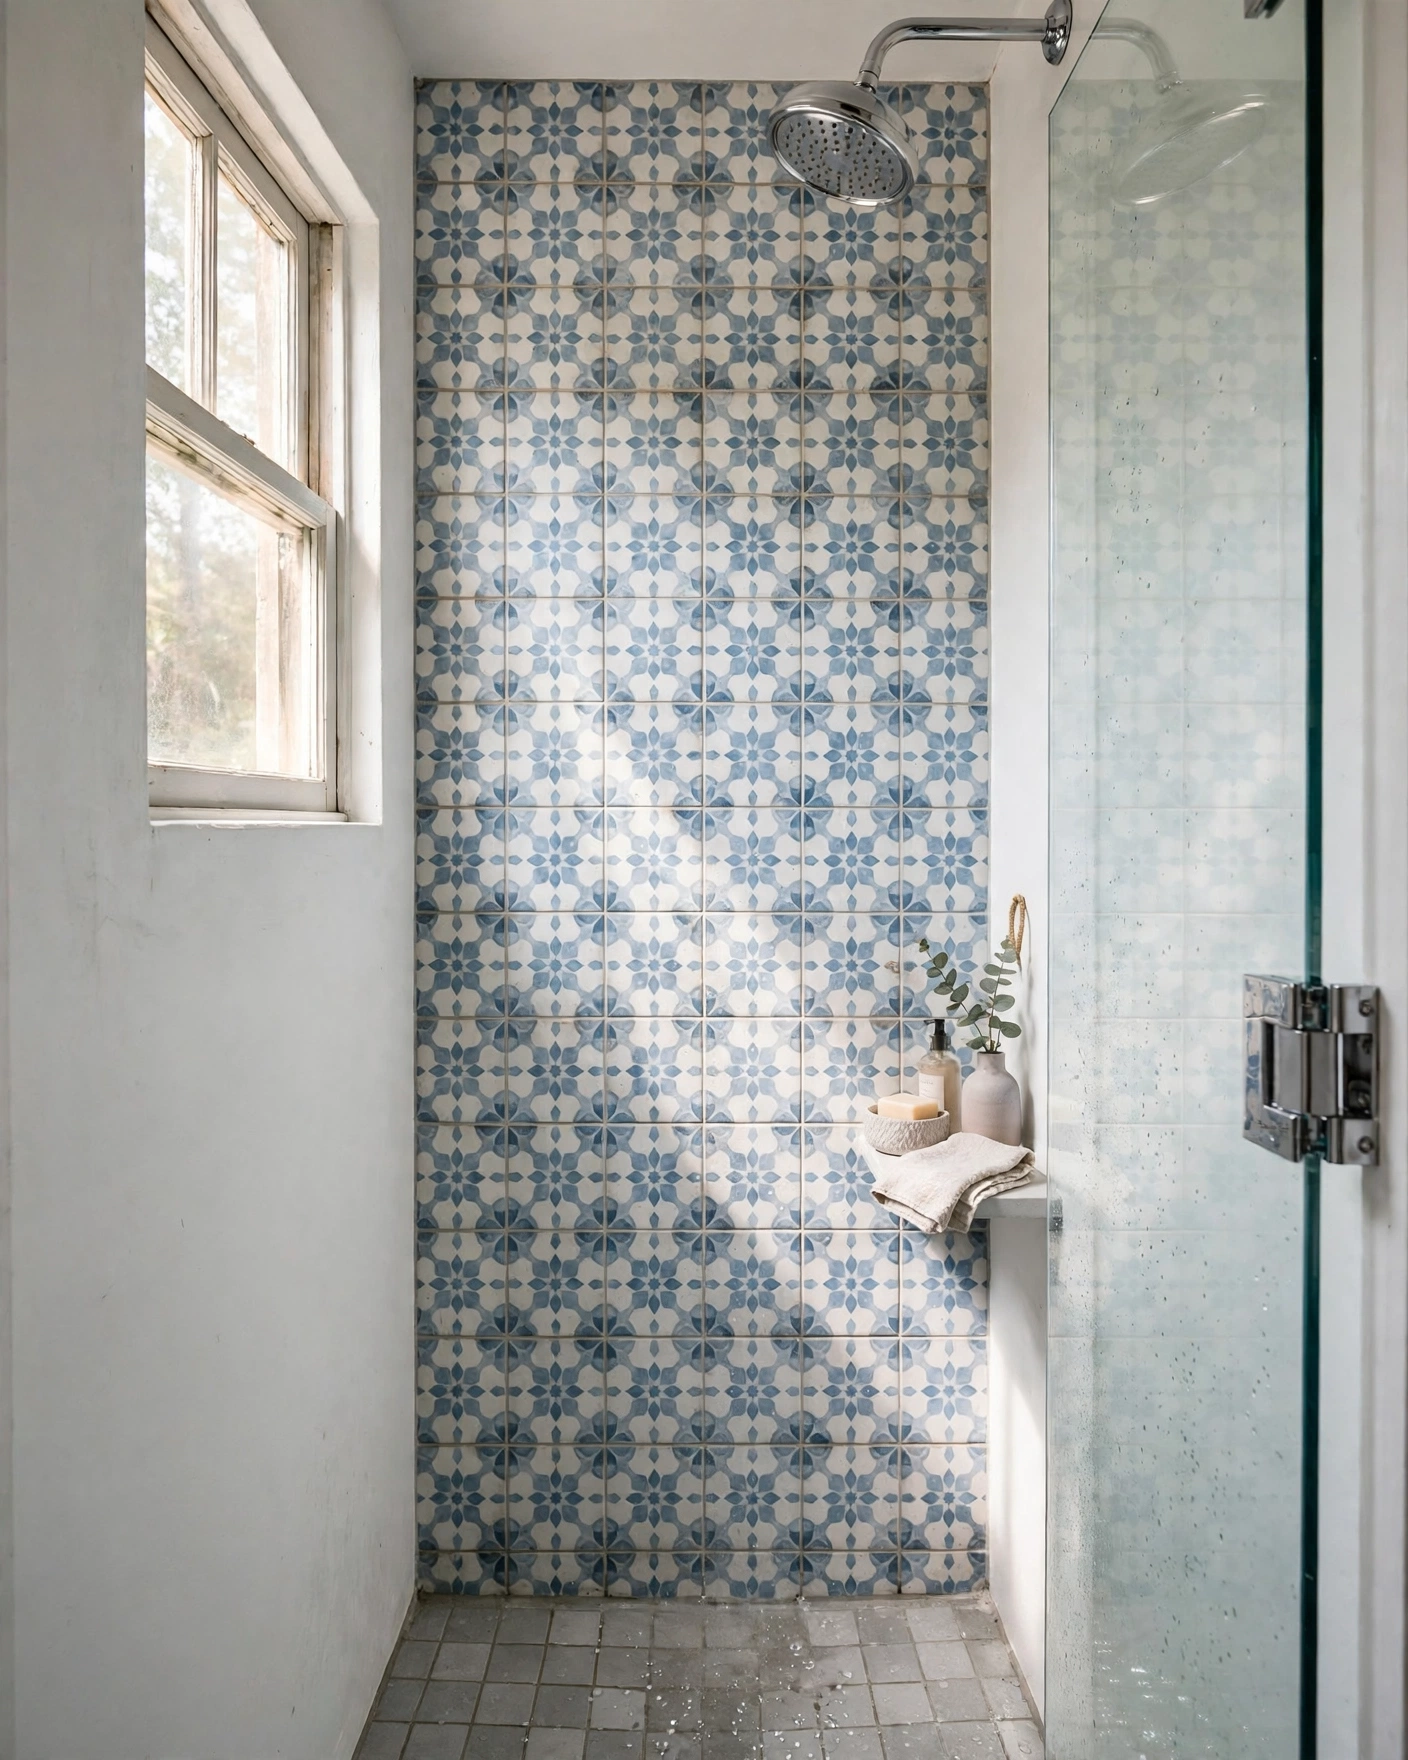
    Give the back wall of the shower a patterned cement-look tile, in a blue-and-white Mediterranean print or a soft gray geometric, and keep the other walls plain so the pattern feels like framed artwork. Porcelain versions deliver the handmade cement look with none of the sealing and staining worries of real cement tile, and a shower is the perfect small stage for a bold print. Practical tip: center the pattern on the showerhead wall and start tiling from that center line so the design stays symmetrical.

    17. Pale Pink Square Tile

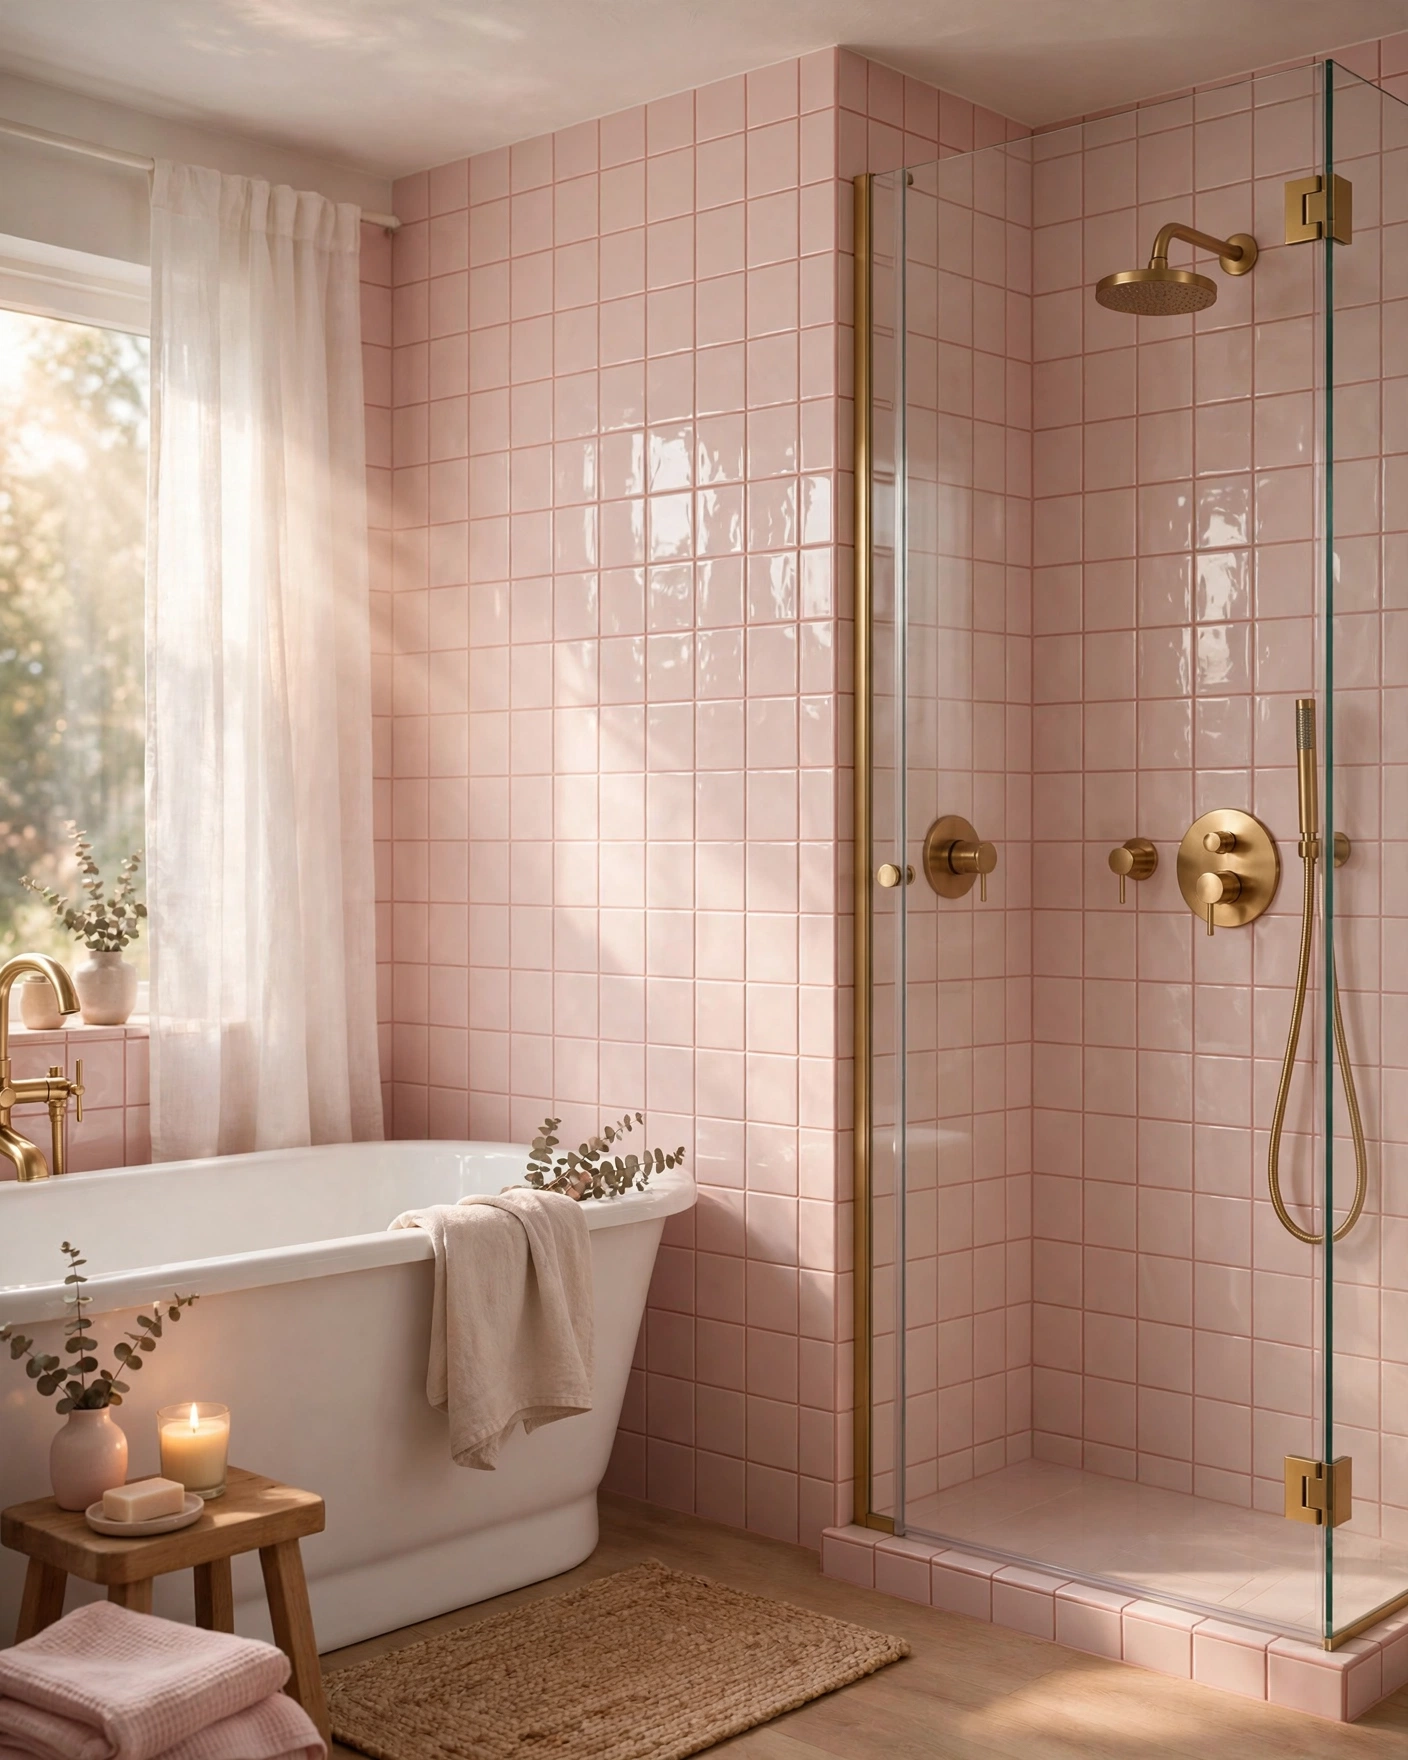
    Pale pink square tiles with tonal grout softening a shower wall

    Pale pink 4×4 inch squares with grout tinted to match create a soft, cocooning shower that flatters skin tones and feels a world away from stark white. The tonal grout is the secret: it lets the color read as one calm surface instead of a grid. Brushed gold fixtures lean into the warmth, while white towels and a pale floor keep it grown-up. Practical tip: test your pink under warm and cool bulbs before ordering, since pink glazes shift dramatically with light temperature.

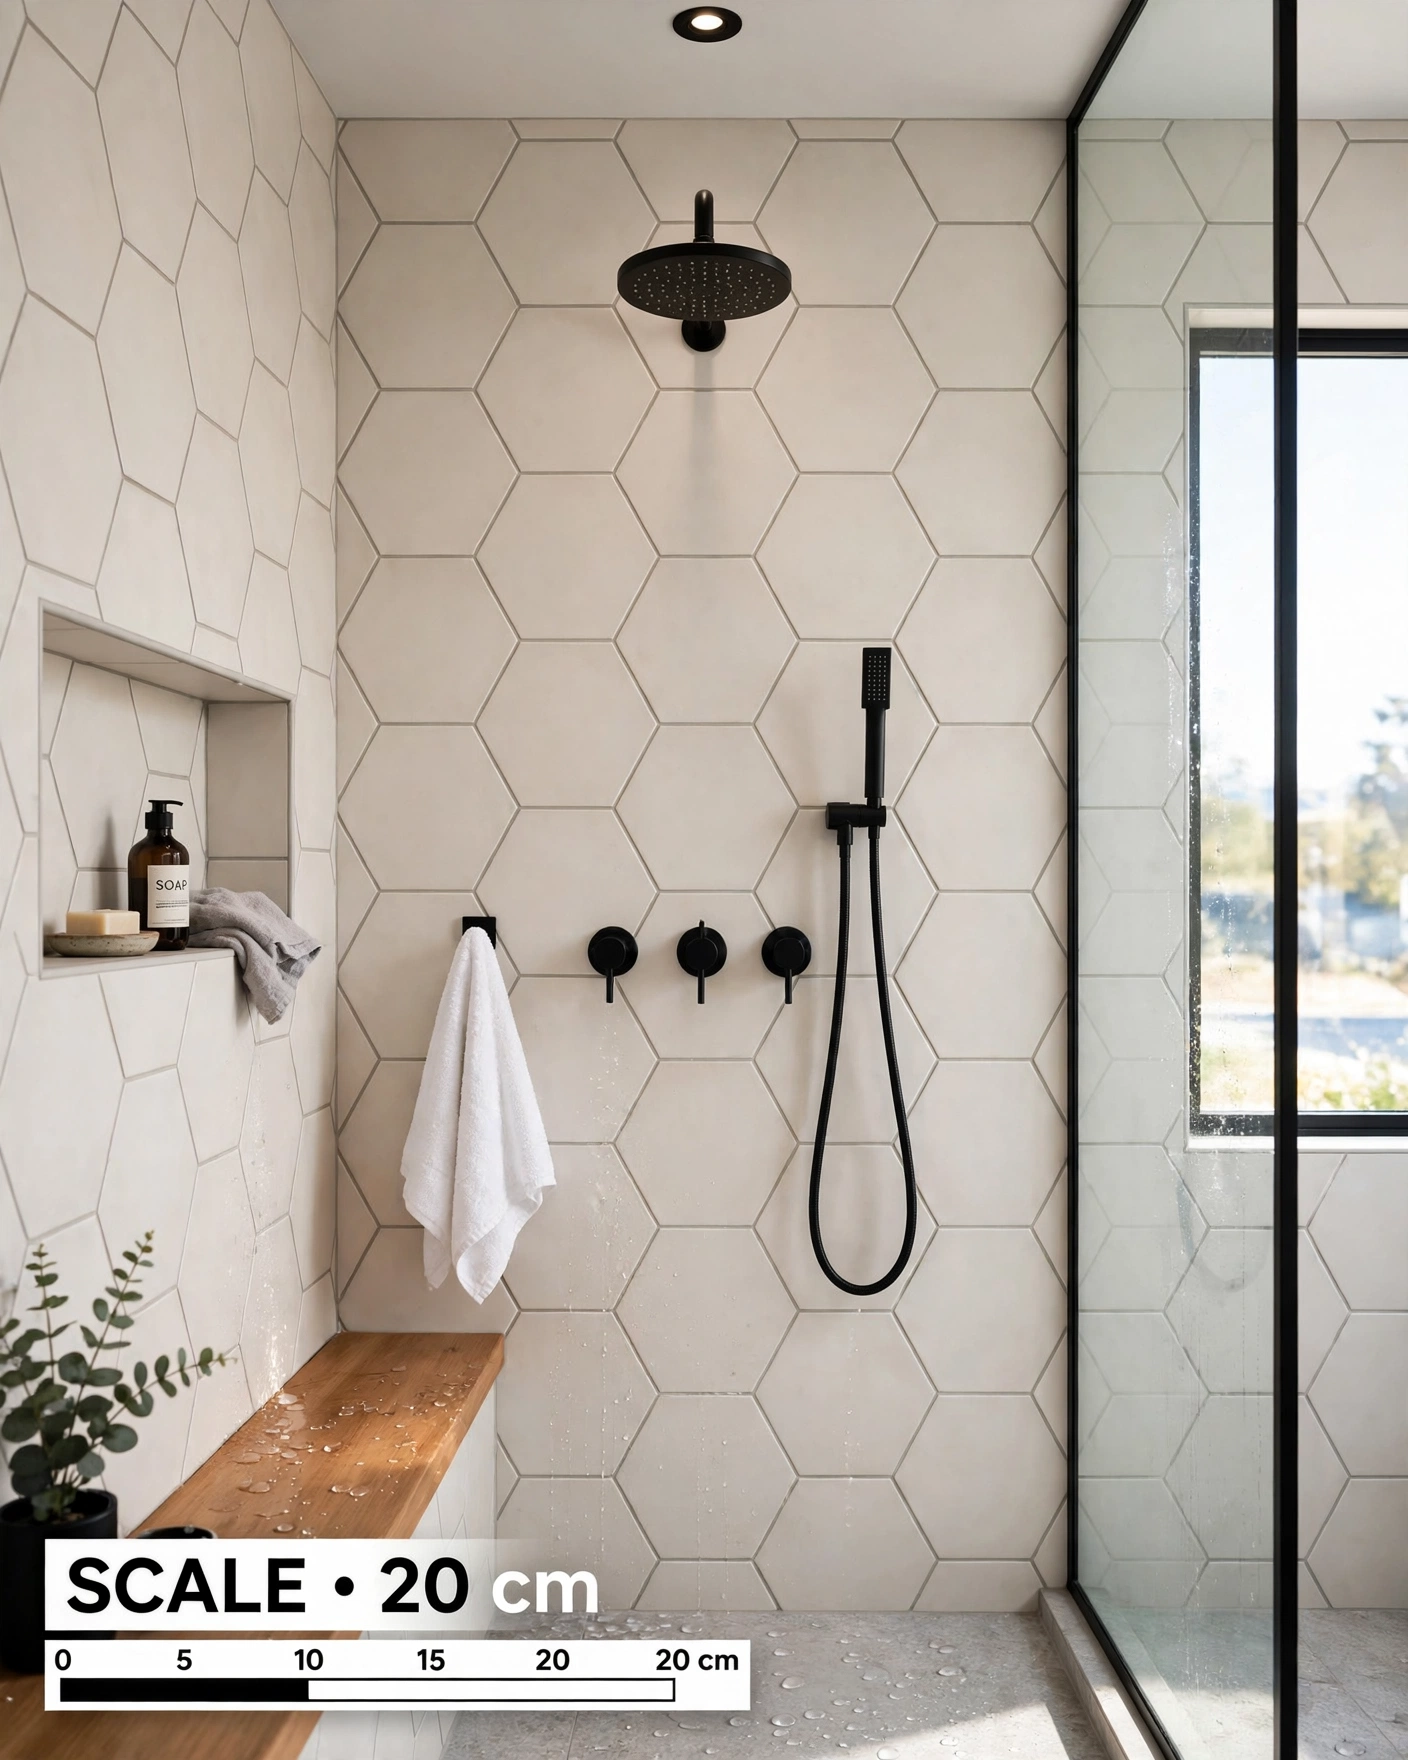
    18. Oversized Hexagon Tile in Warm White

    Oversized warm white hexagon tiles giving a shower wall graphic scale

    Scale hexagon tiles up to 8 or 10 inches across and grout them in light gray, and a familiar shape becomes a bold graphic statement that still feels clean. The big format means fewer tiles to set and fewer grout lines than mosaics, while the geometry keeps a white shower from feeling plain. Black or chrome fixtures both sharpen the look. Practical tip: large hexagons show lippage at the points, so insist on a perfectly flat substrate and leveling clips during installation.

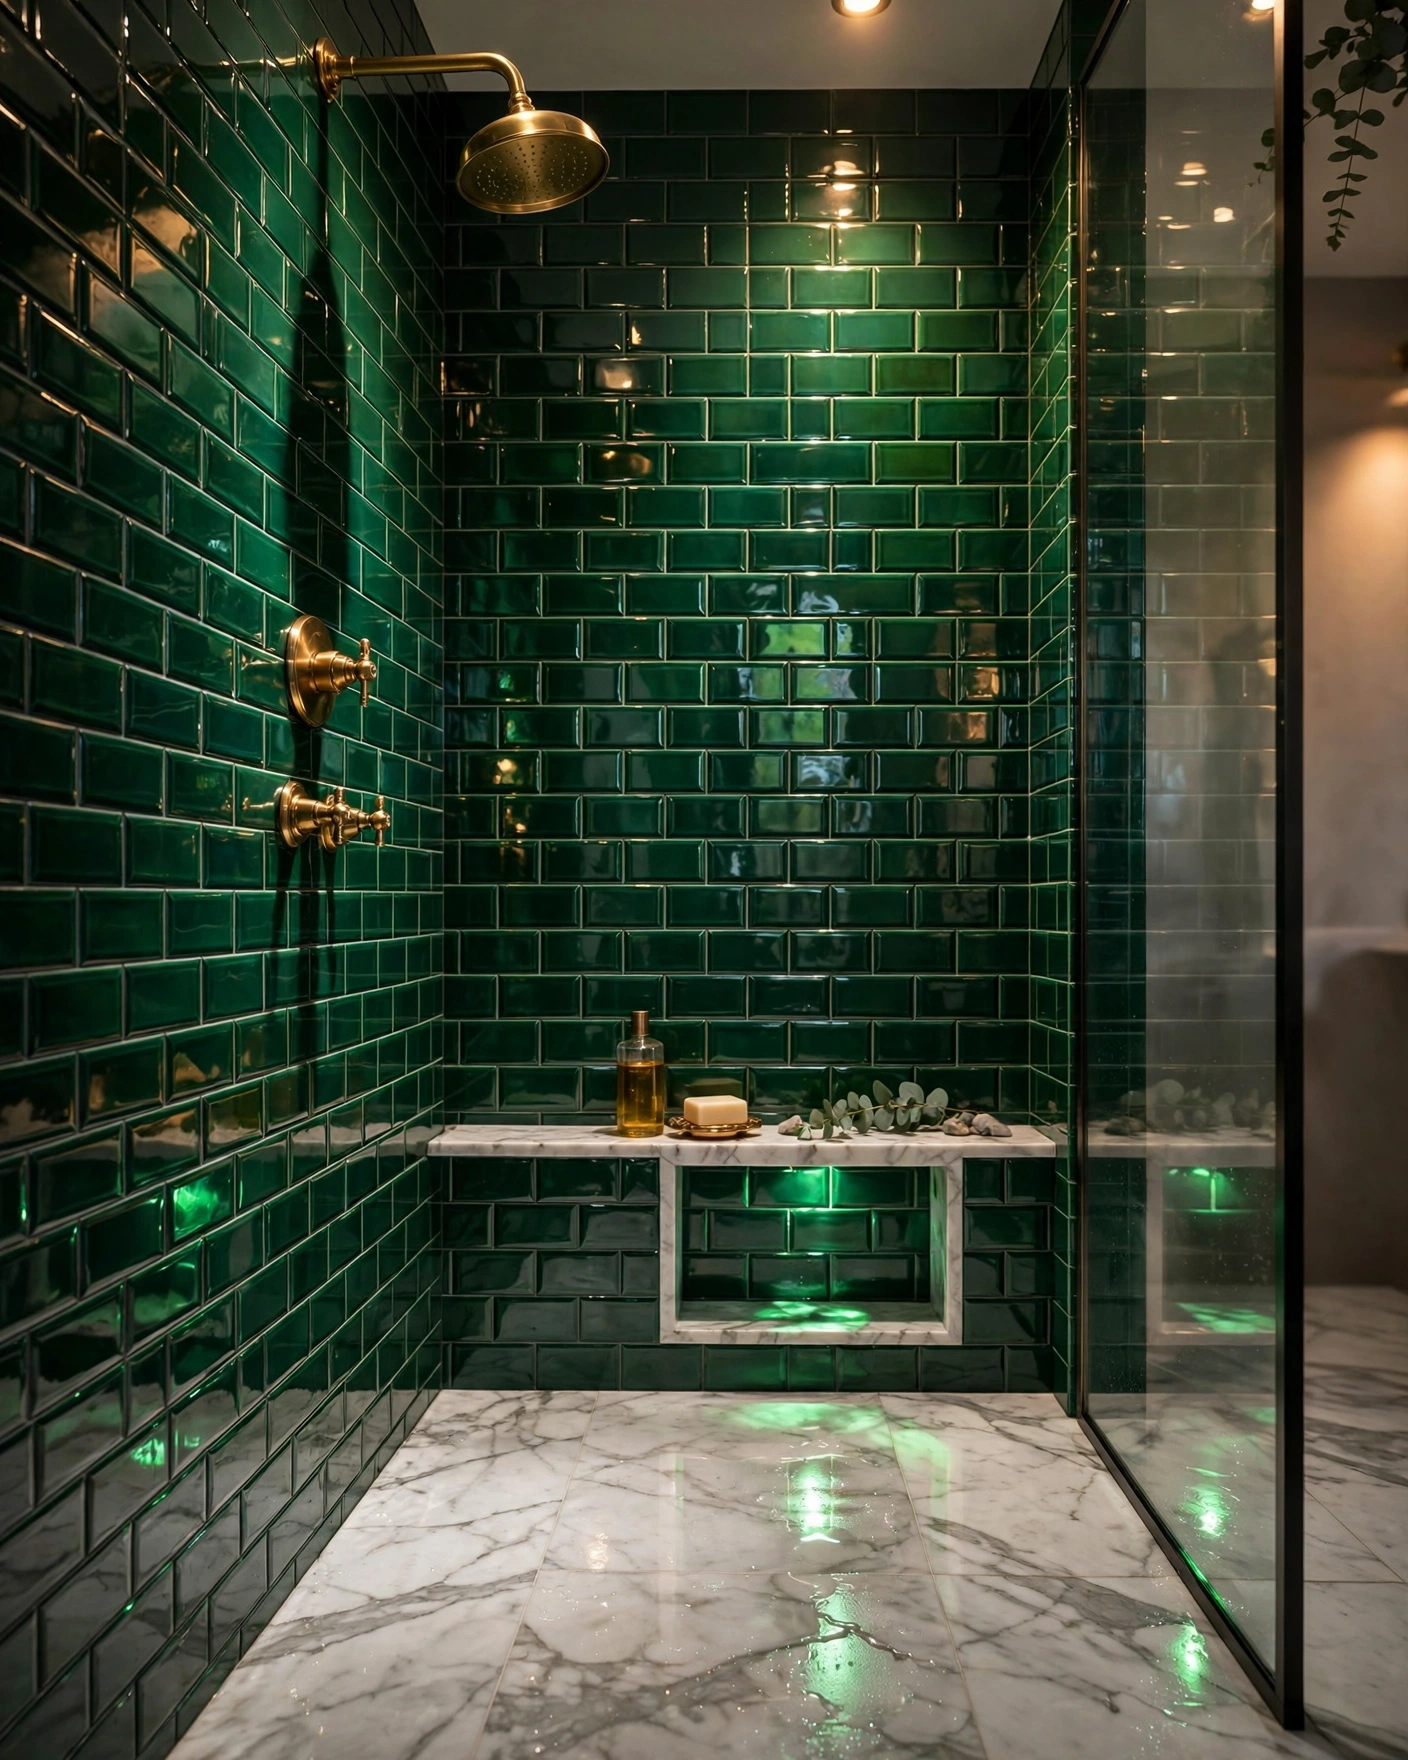
    19. Glossy Emerald Subway Tile

    Glossy emerald green subway tiles rich and luminous on a shower wall

    If sage feels too quiet, emerald subway tile is its bolder sister: the glossy glaze and brick layout bounce warm light around the stall and make brass fixtures look twice as rich. It is a confident choice that turns the daily shower into a small event, and it pairs surprisingly well with a simple white marble or porcelain floor. Practical tip: deep green shows dried water spots in hard-water areas, so finish the job with a daily squeegee habit and the color will stay jewel-like.

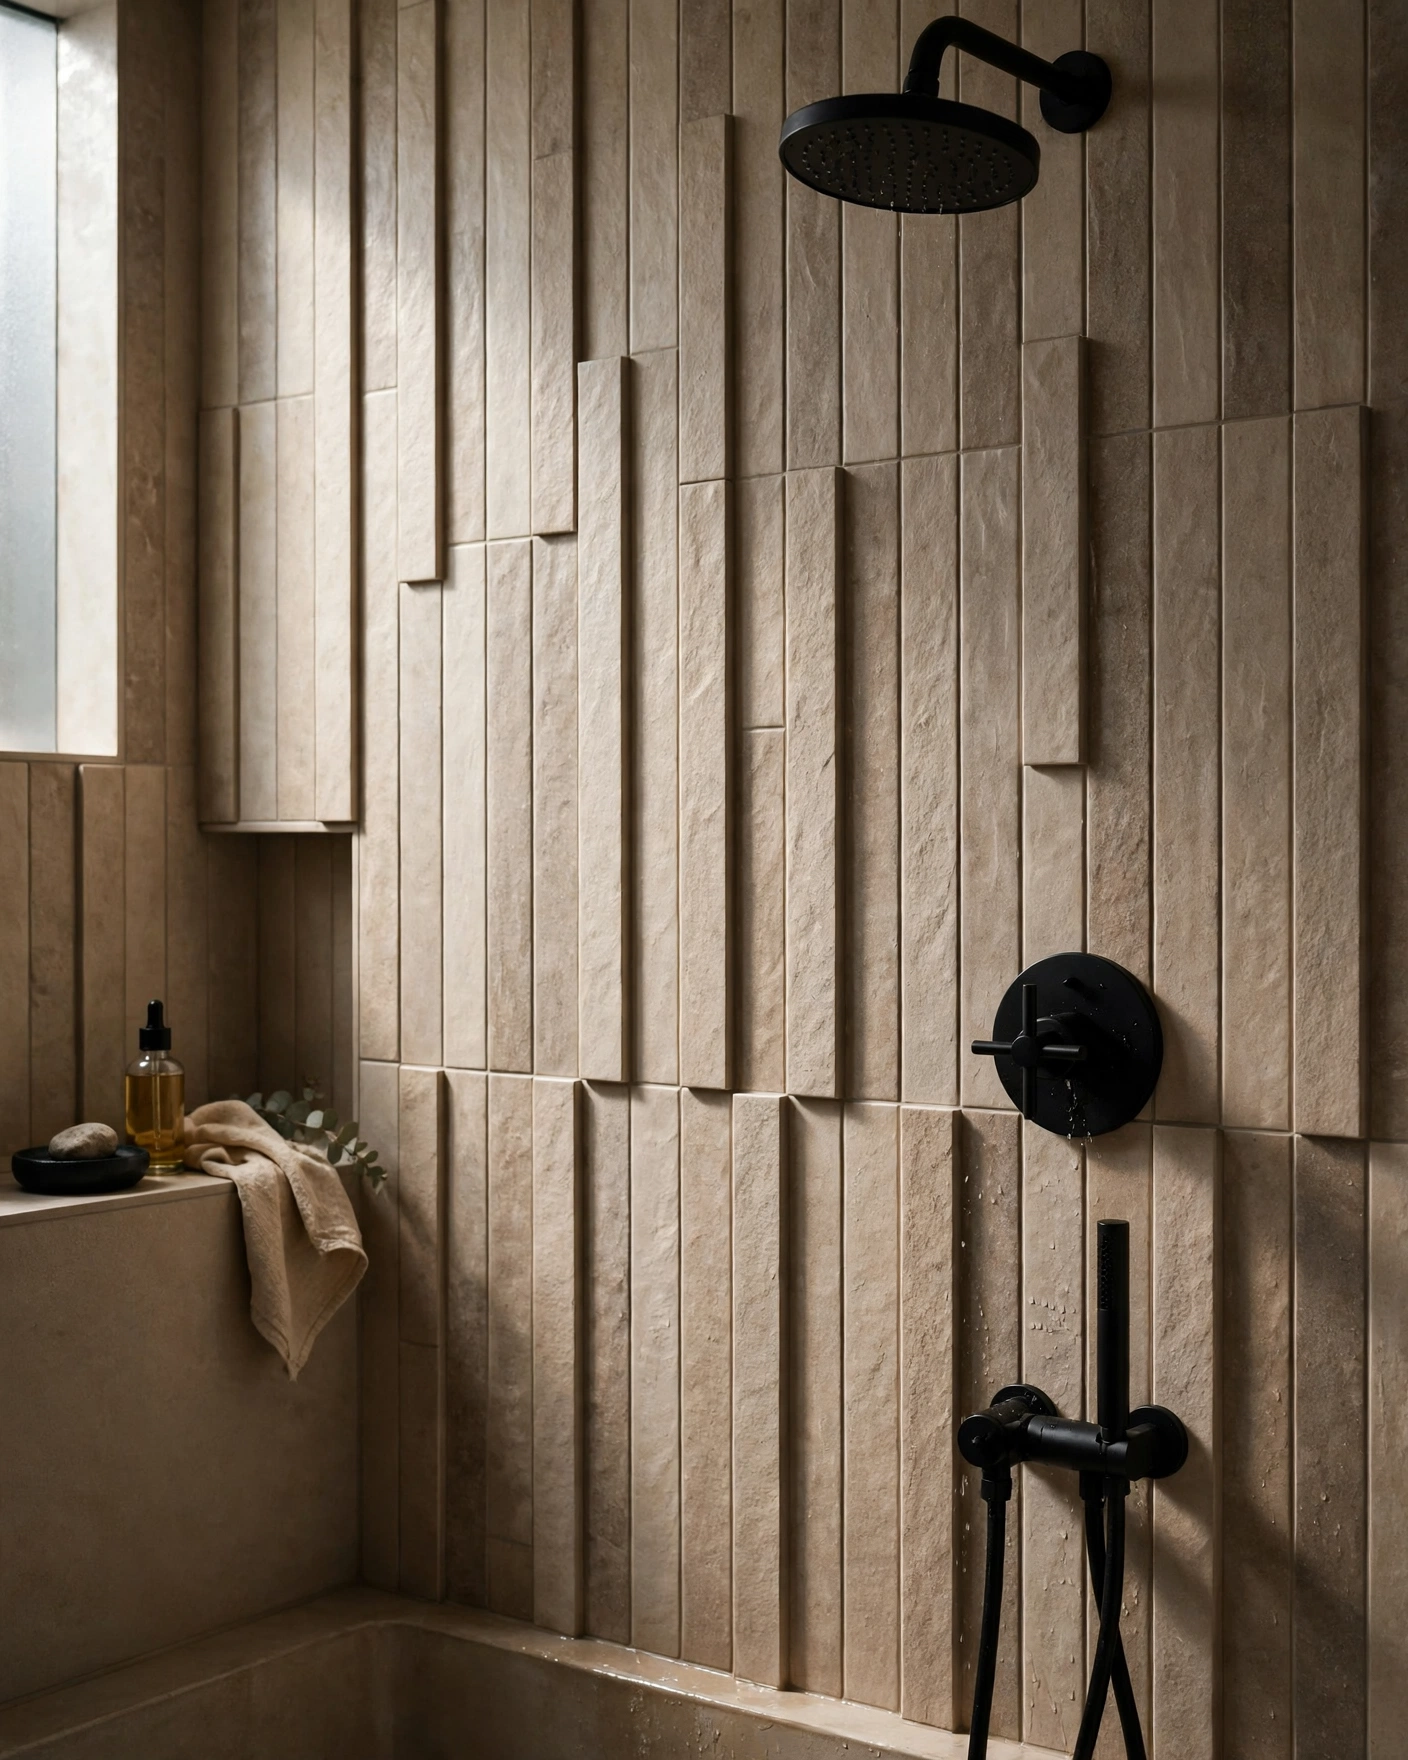
    20. Mixed-Width Vertical Plank Tile

    Mixed width vertical plank tiles giving a shower wall a tailored rhythm

    Alternate vertical plank tiles in two or three widths, for example 3, 4 and 6 inches, in warm greige or stone tones, and the shower wall gains a tailored, almost wood-batten rhythm without a single repeated module. The vertical lines stretch the room upward, and the subtle width changes keep large walls interesting up close. Keep grout tight and color-matched so the pattern stays quiet. Practical tip: lay out the width sequence on the floor and photograph it before installing; a random mix looks best when it is actually planned.

    21. Timeless Carrara Marble Subway

    Carrara marble subway tiles with gray veining lining an elegant shower

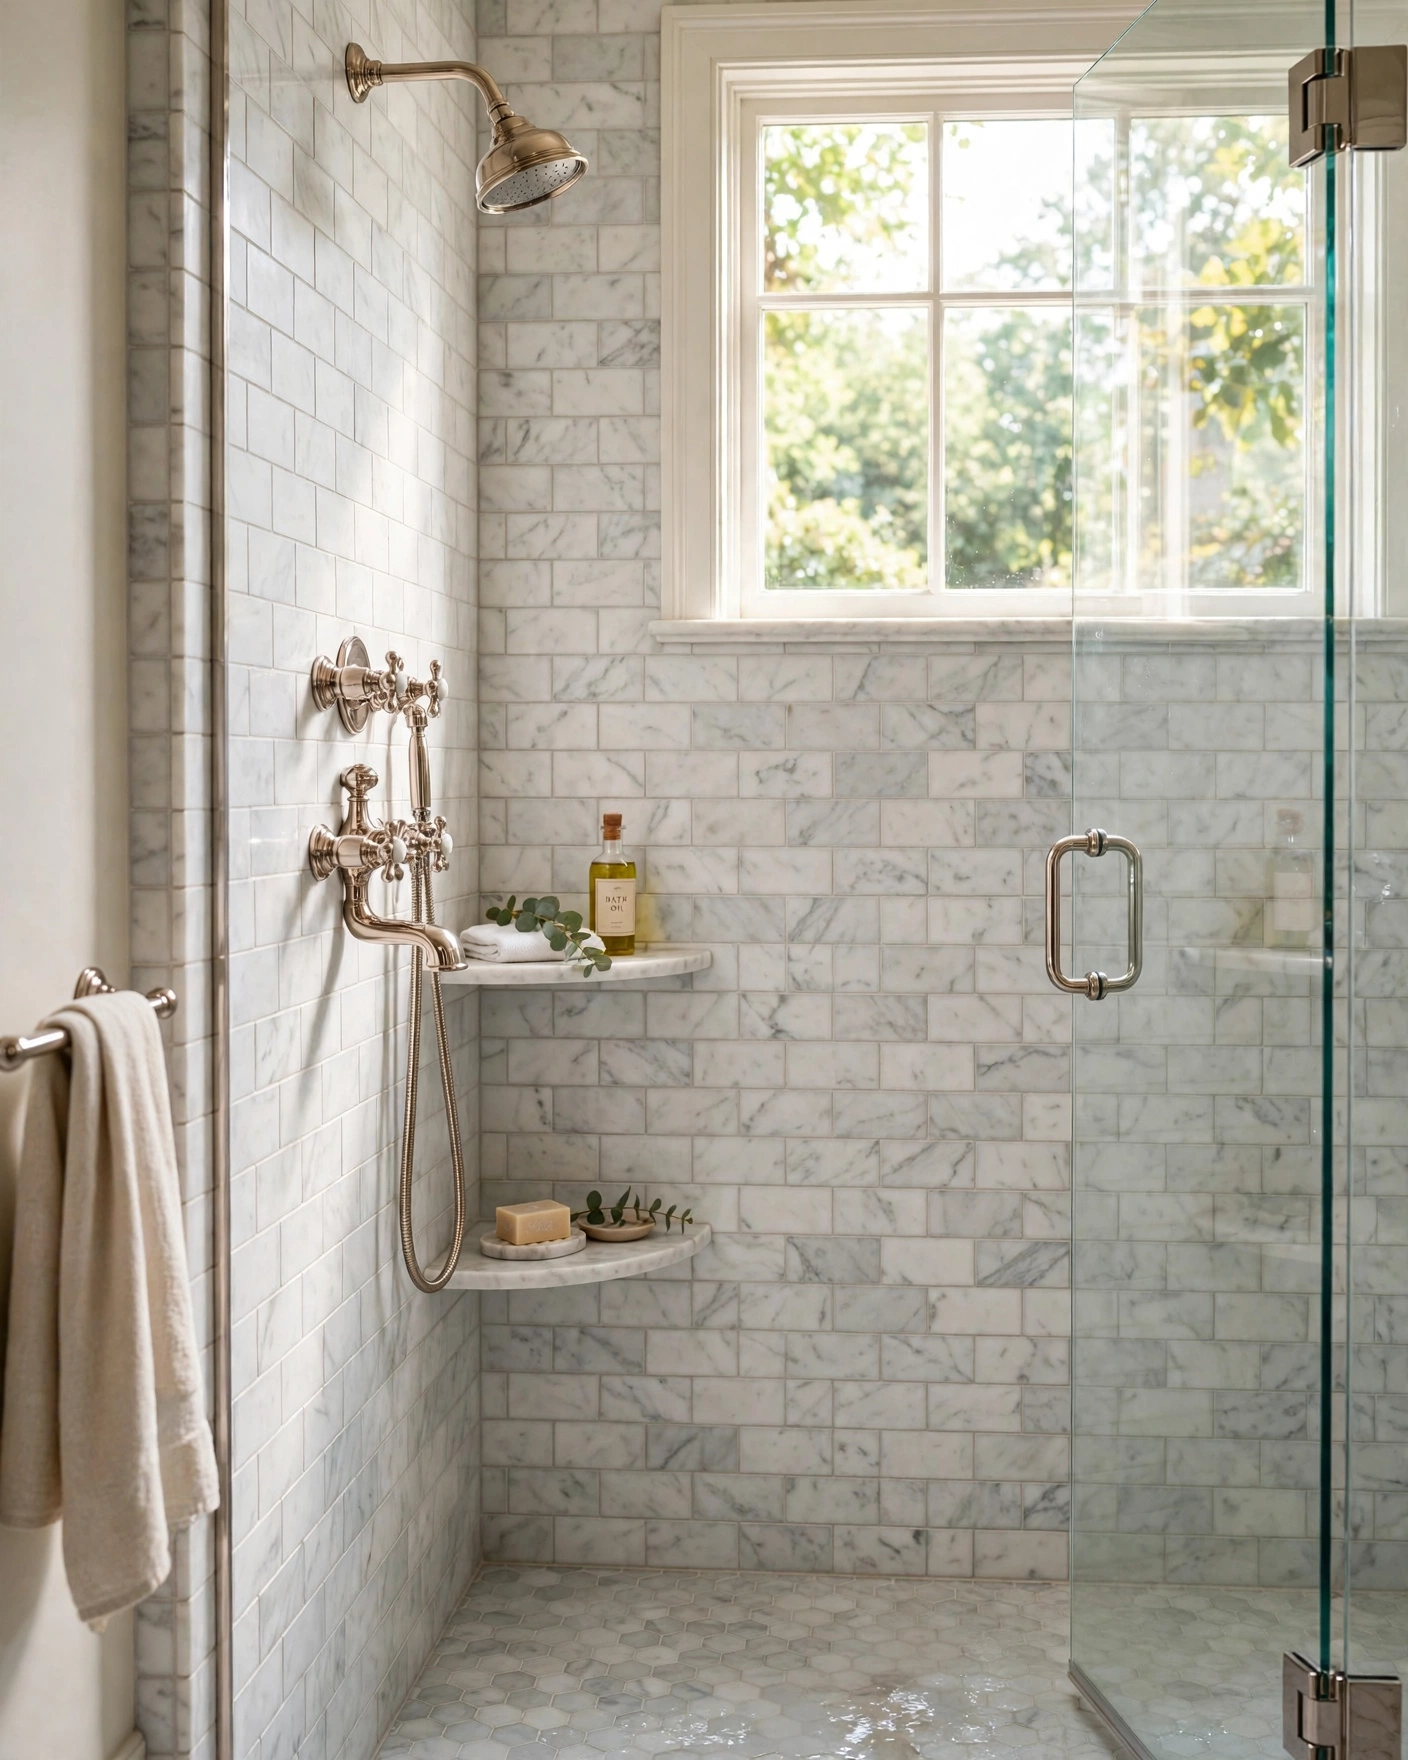
    Finish with the classic: honed Carrara marble subway tiles, 3×6 or 4×12 inches, with their soft white ground and feathery gray veining. Real marble brings a depth no print can fully copy, and the subway format keeps the luxury feeling relaxed rather than formal. Use polished nickel or chrome and simple marble corner shelves to complete the traditional picture. Practical tip: marble in a shower must be sealed before grouting and about once a year after; if that sounds like too much, today’s best marble-look porcelains come remarkably close.
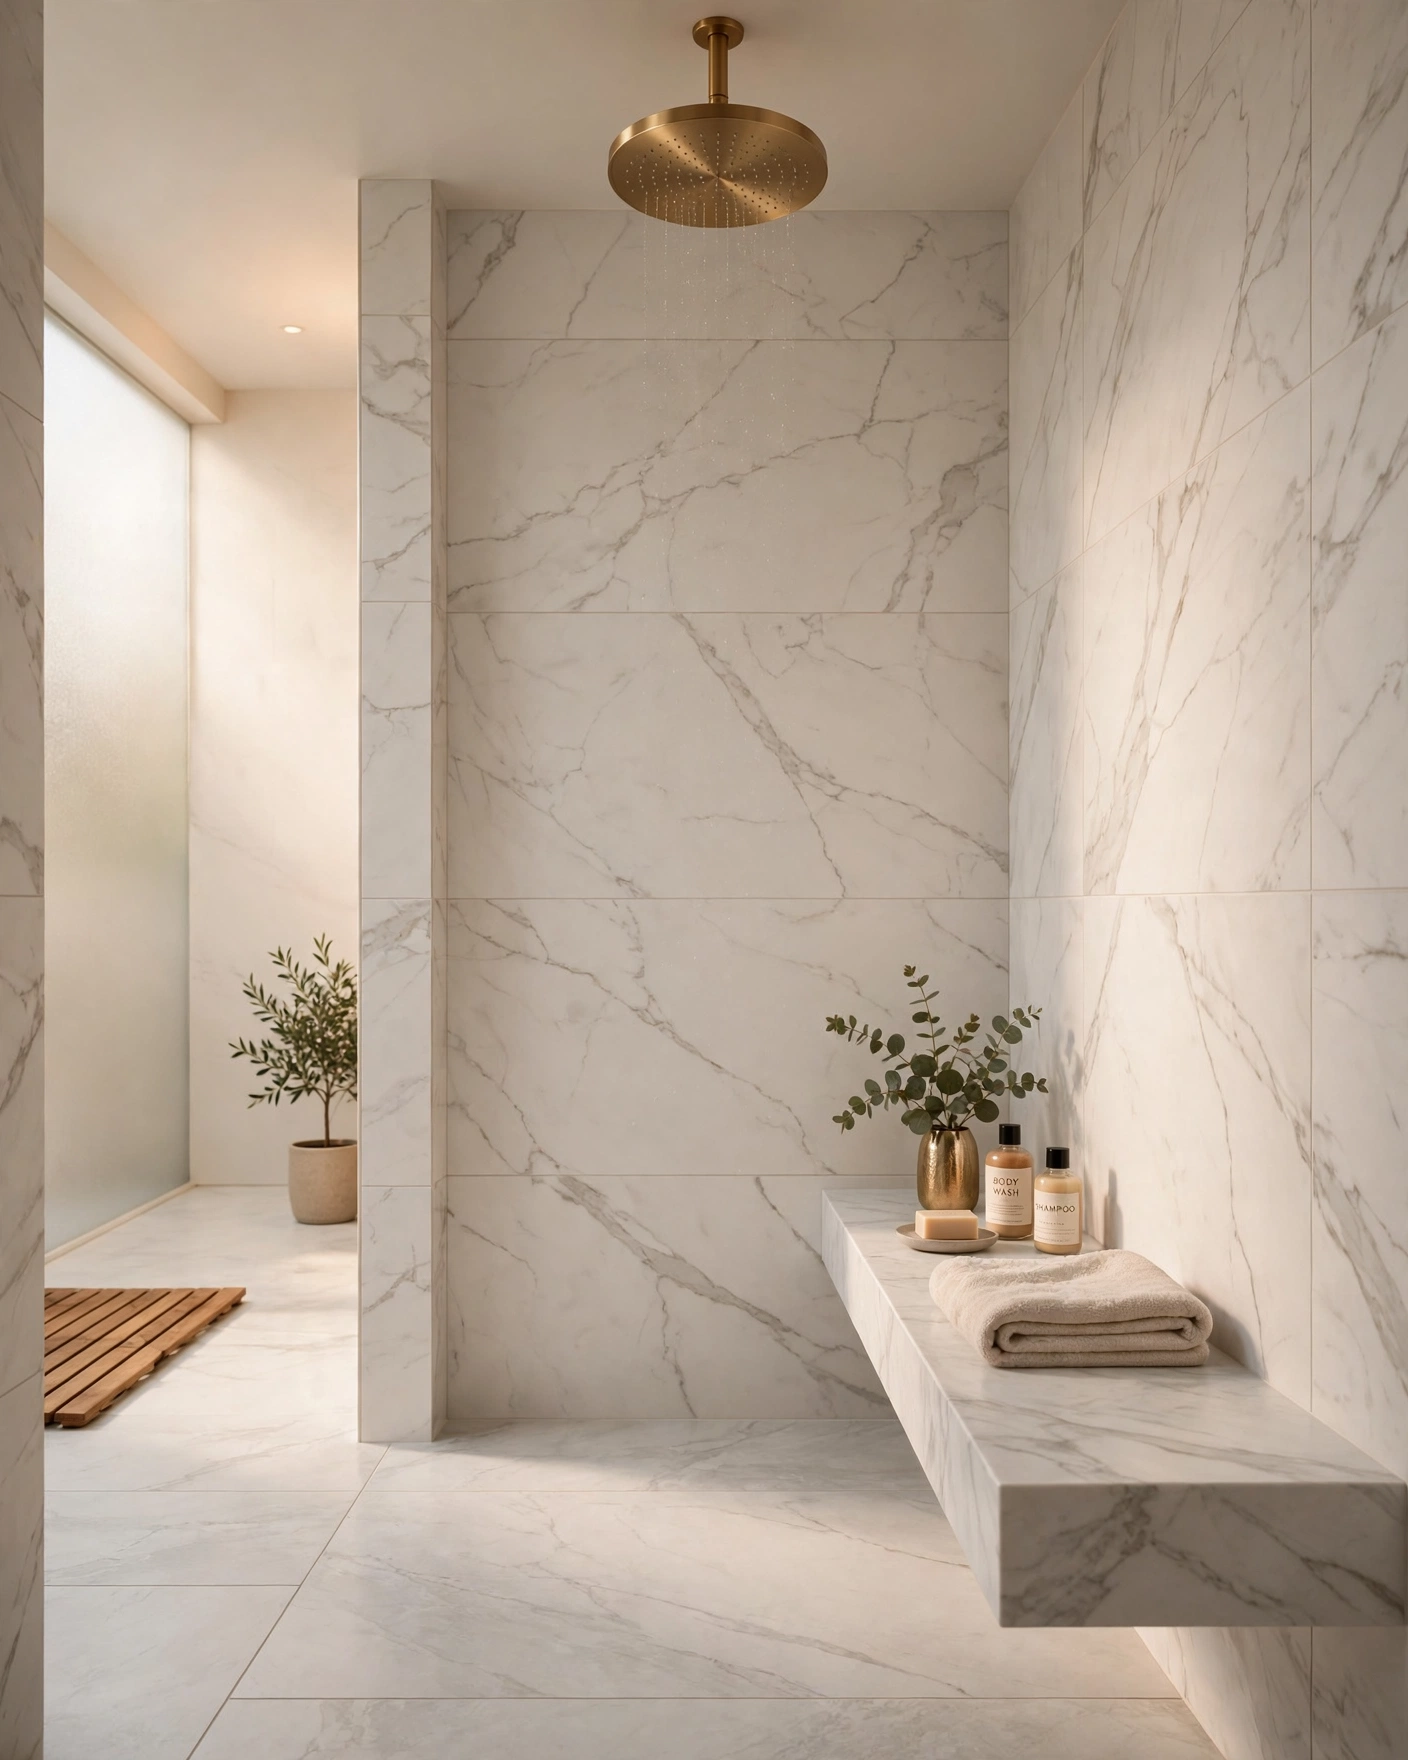

    In Summary

    The right shower wall tile does three jobs at once: it sets the mood of the whole bathroom, decides how much light the stall gets, and determines how your weekends feel, scrubbing grout or not. Big glossy formats keep things bright and easy, small mosaics bring texture and grip, and one patterned or colored wall can carry an otherwise simple room.

    Before you order, bring home samples of your two favorites and lean them in the actual shower for a day. Wet them, look at them morning and night, and notice which one you keep smiling at. Tile is a decade-long commitment, so it should earn that smile honestly.

    Pick the idea that fits your light, your budget and your tolerance for cleaning, and copy it with confidence. Your future morning self will thank you every single day.

  • 19 Powder Room Tile Ideas Guests Will Ask About

    19 Powder Room Tile Ideas Guests Will Ask About

    The powder room is the one space where guests spend a quiet minute alone with your design choices. There is no shower steam or morning rush to distract them, so every tile, grout line and finish gets noticed. That makes this tiny room the safest place in the house to go bold.

    Because the square footage is so small, even a premium tile stays affordable here, and a single statement wall or floor can carry the whole room. The trick is choosing one star and letting everything else stay simple.

    Below are 19 powder room tile ideas that earn compliments, from jewel-toned walls to vintage-style floors. Each one lists the exact materials to buy, how to recreate the look, and a practical tip to keep the project easy and on budget.


    1. Emerald Green Zellige Wall Tile

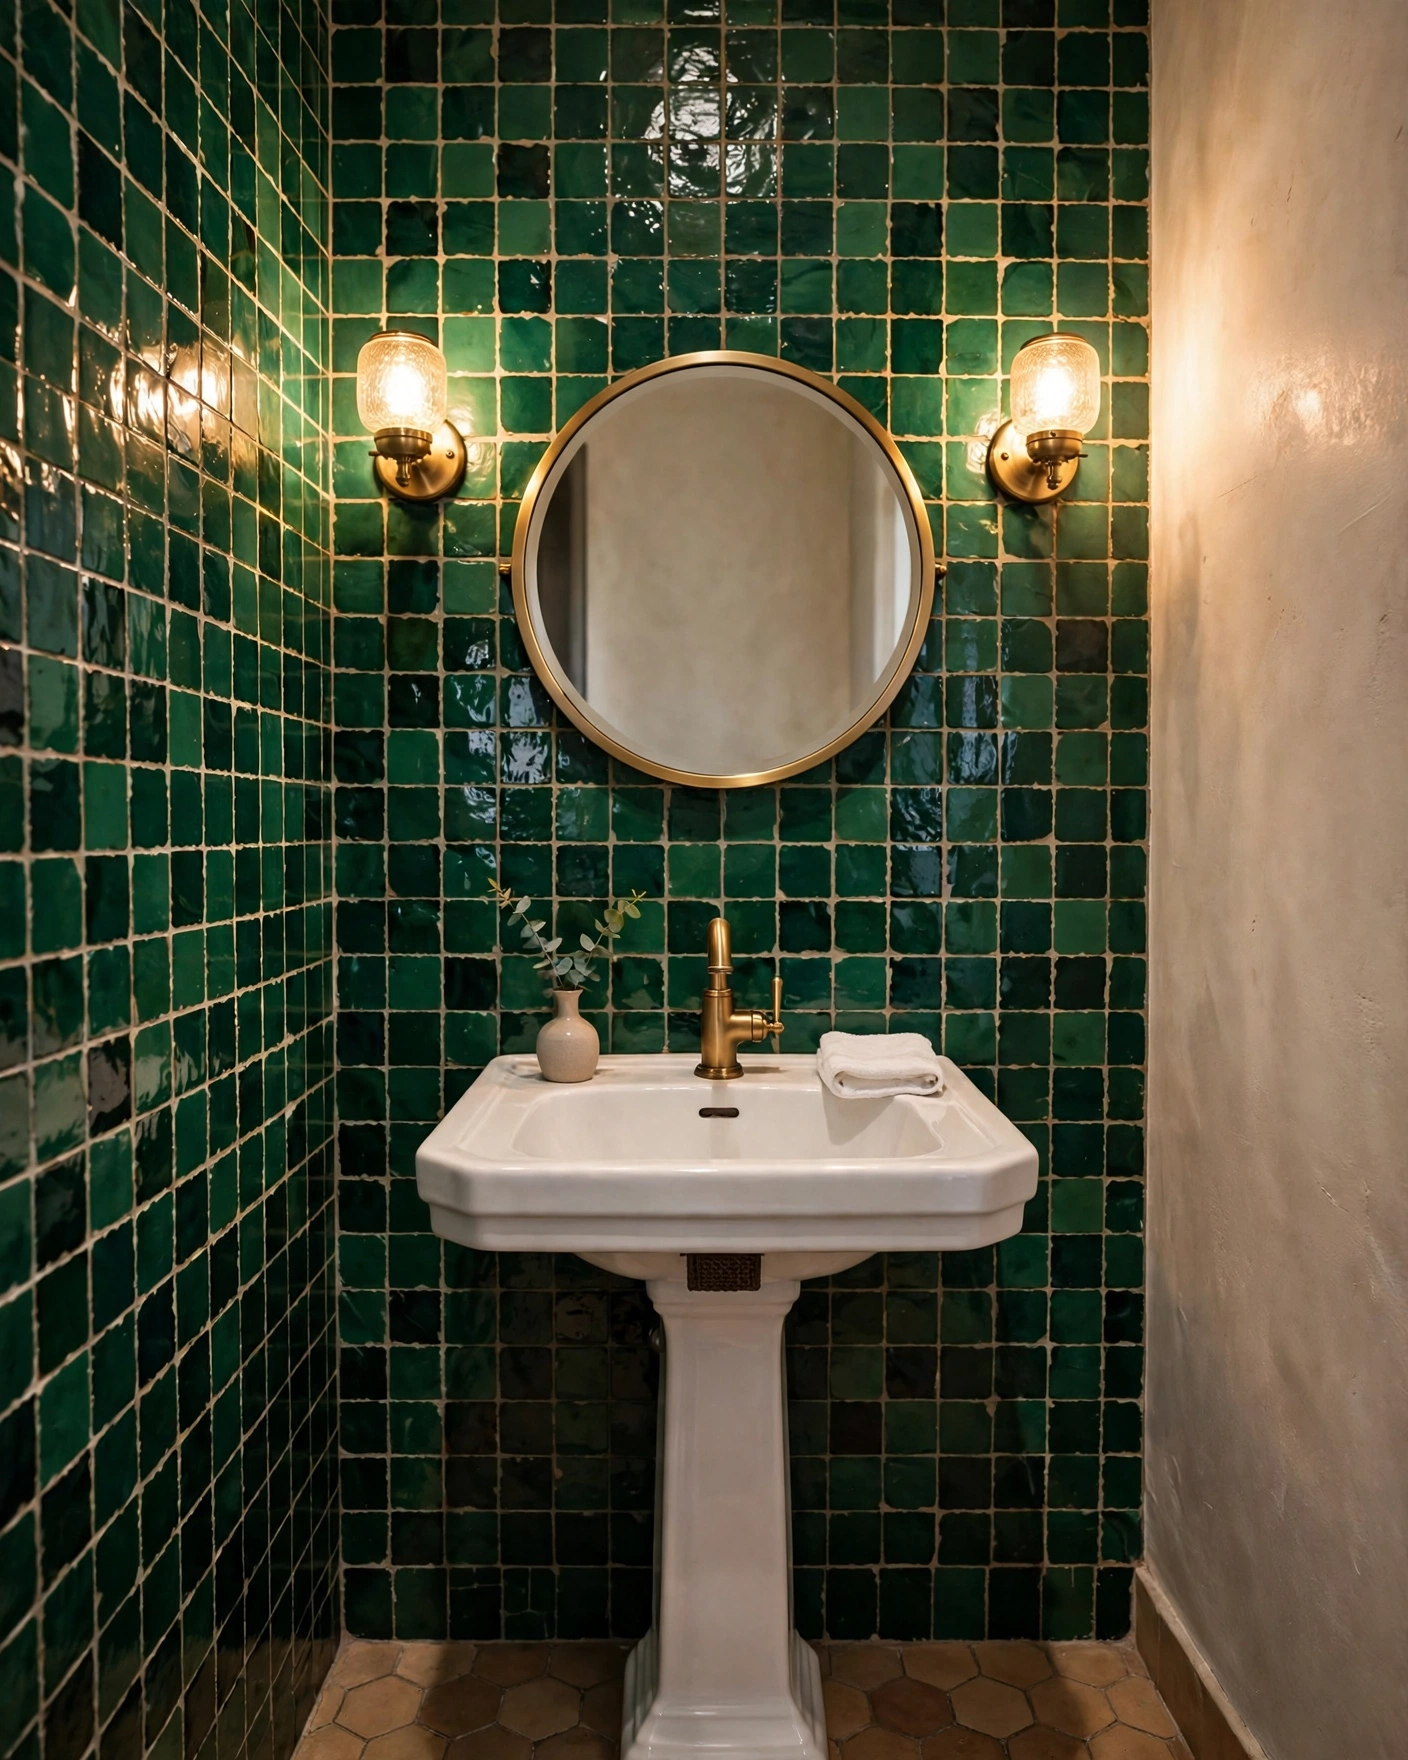
    Emerald green zellige tiles covering a powder room wall behind a brass faucet

    Run 4×4 inch emerald green zellige or zellige-look ceramic tiles from the sink backsplash all the way to the ceiling so the color wraps the room like a jewel box. The uneven edges and glossy finish throw little flashes of light that make the surface feel handmade and expensive. Pair it with a plain white pedestal sink and brushed brass fixtures so the wall stays the star. Practical tip: buy zellige-look porcelain instead of real clay zellige and you get the same shimmer for roughly half the price, with far easier cleaning.
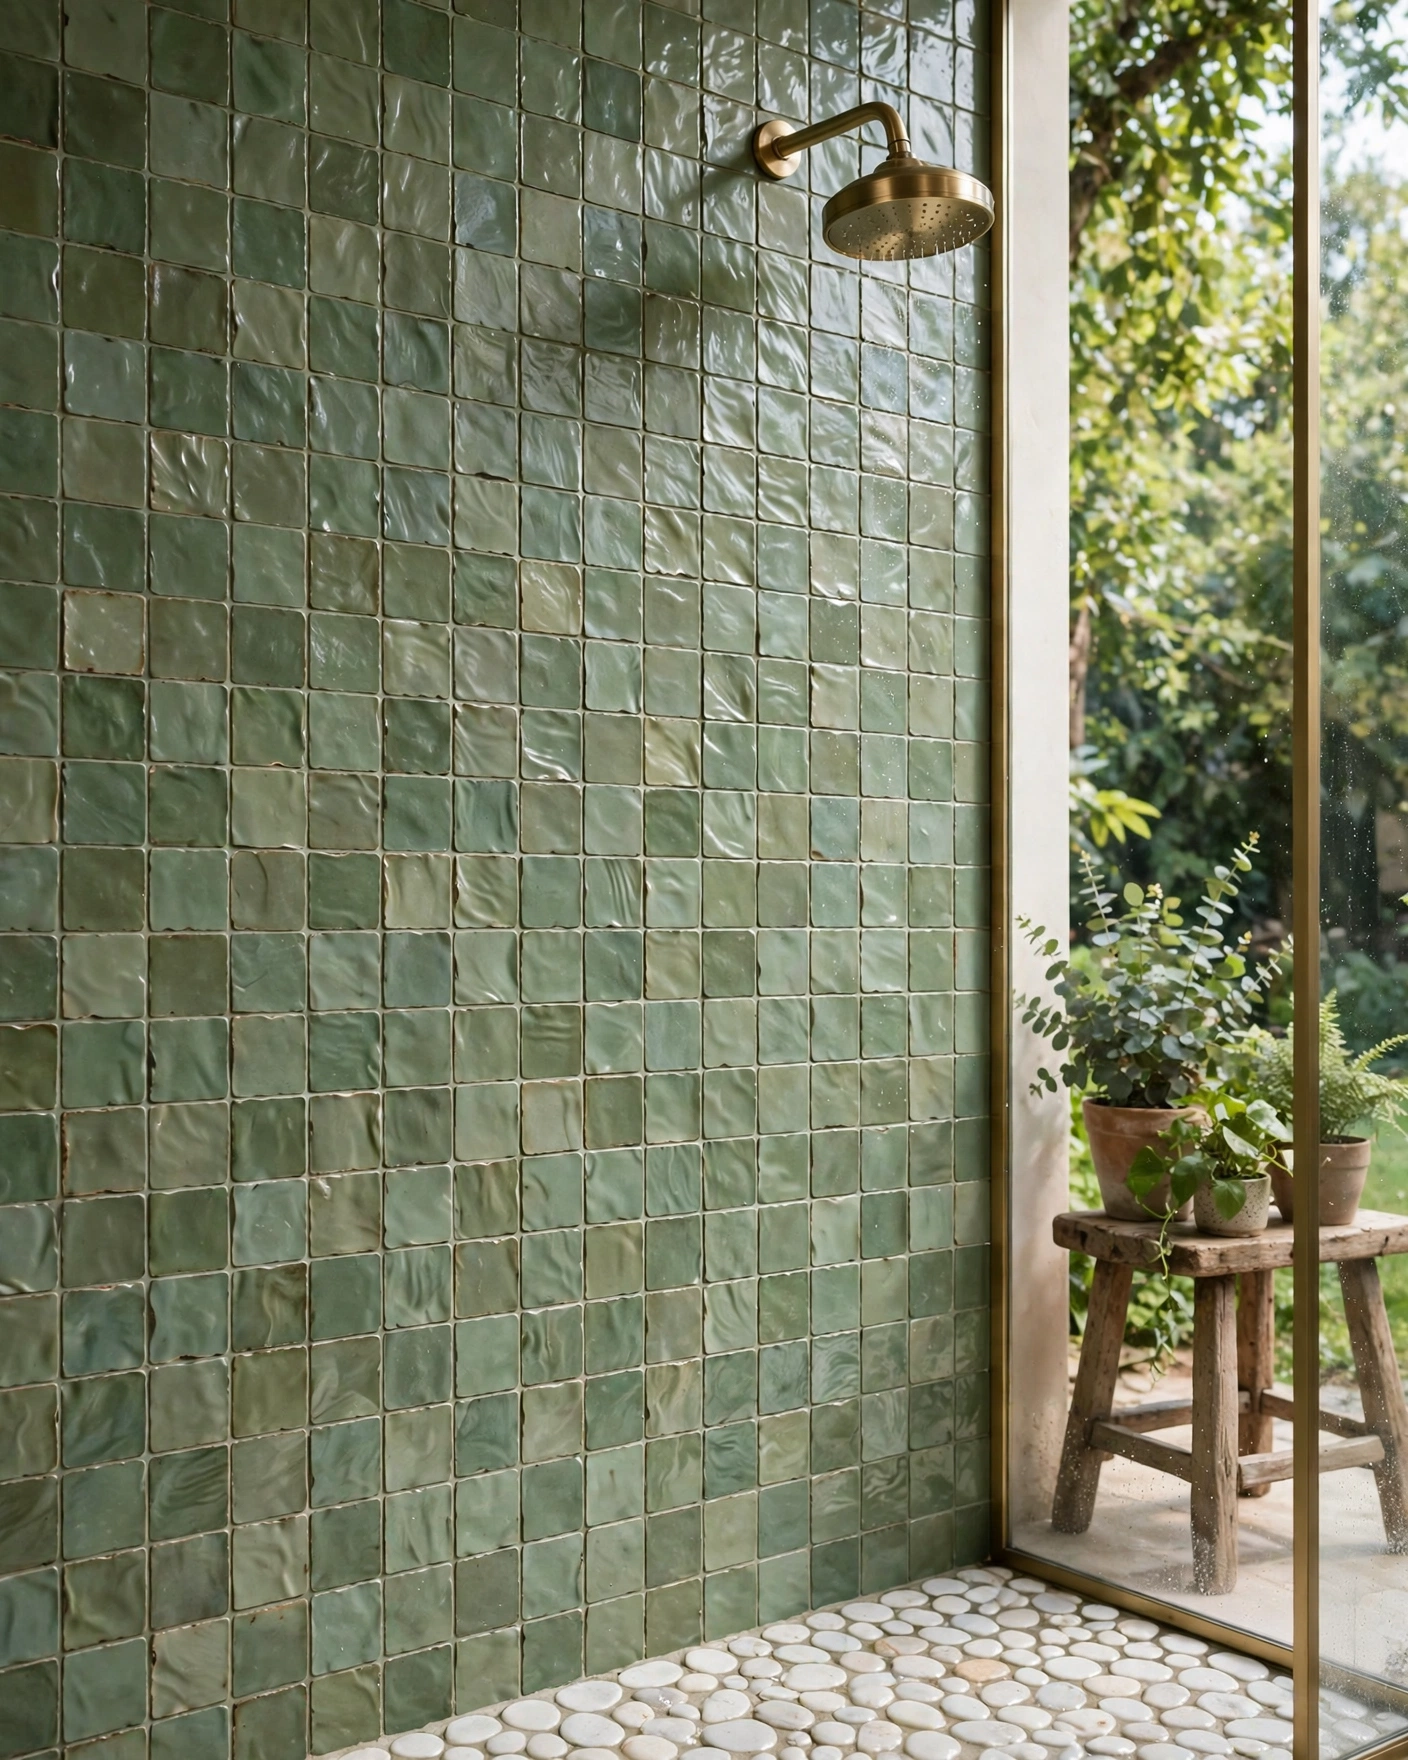
    2. Black and White Checkerboard Floor

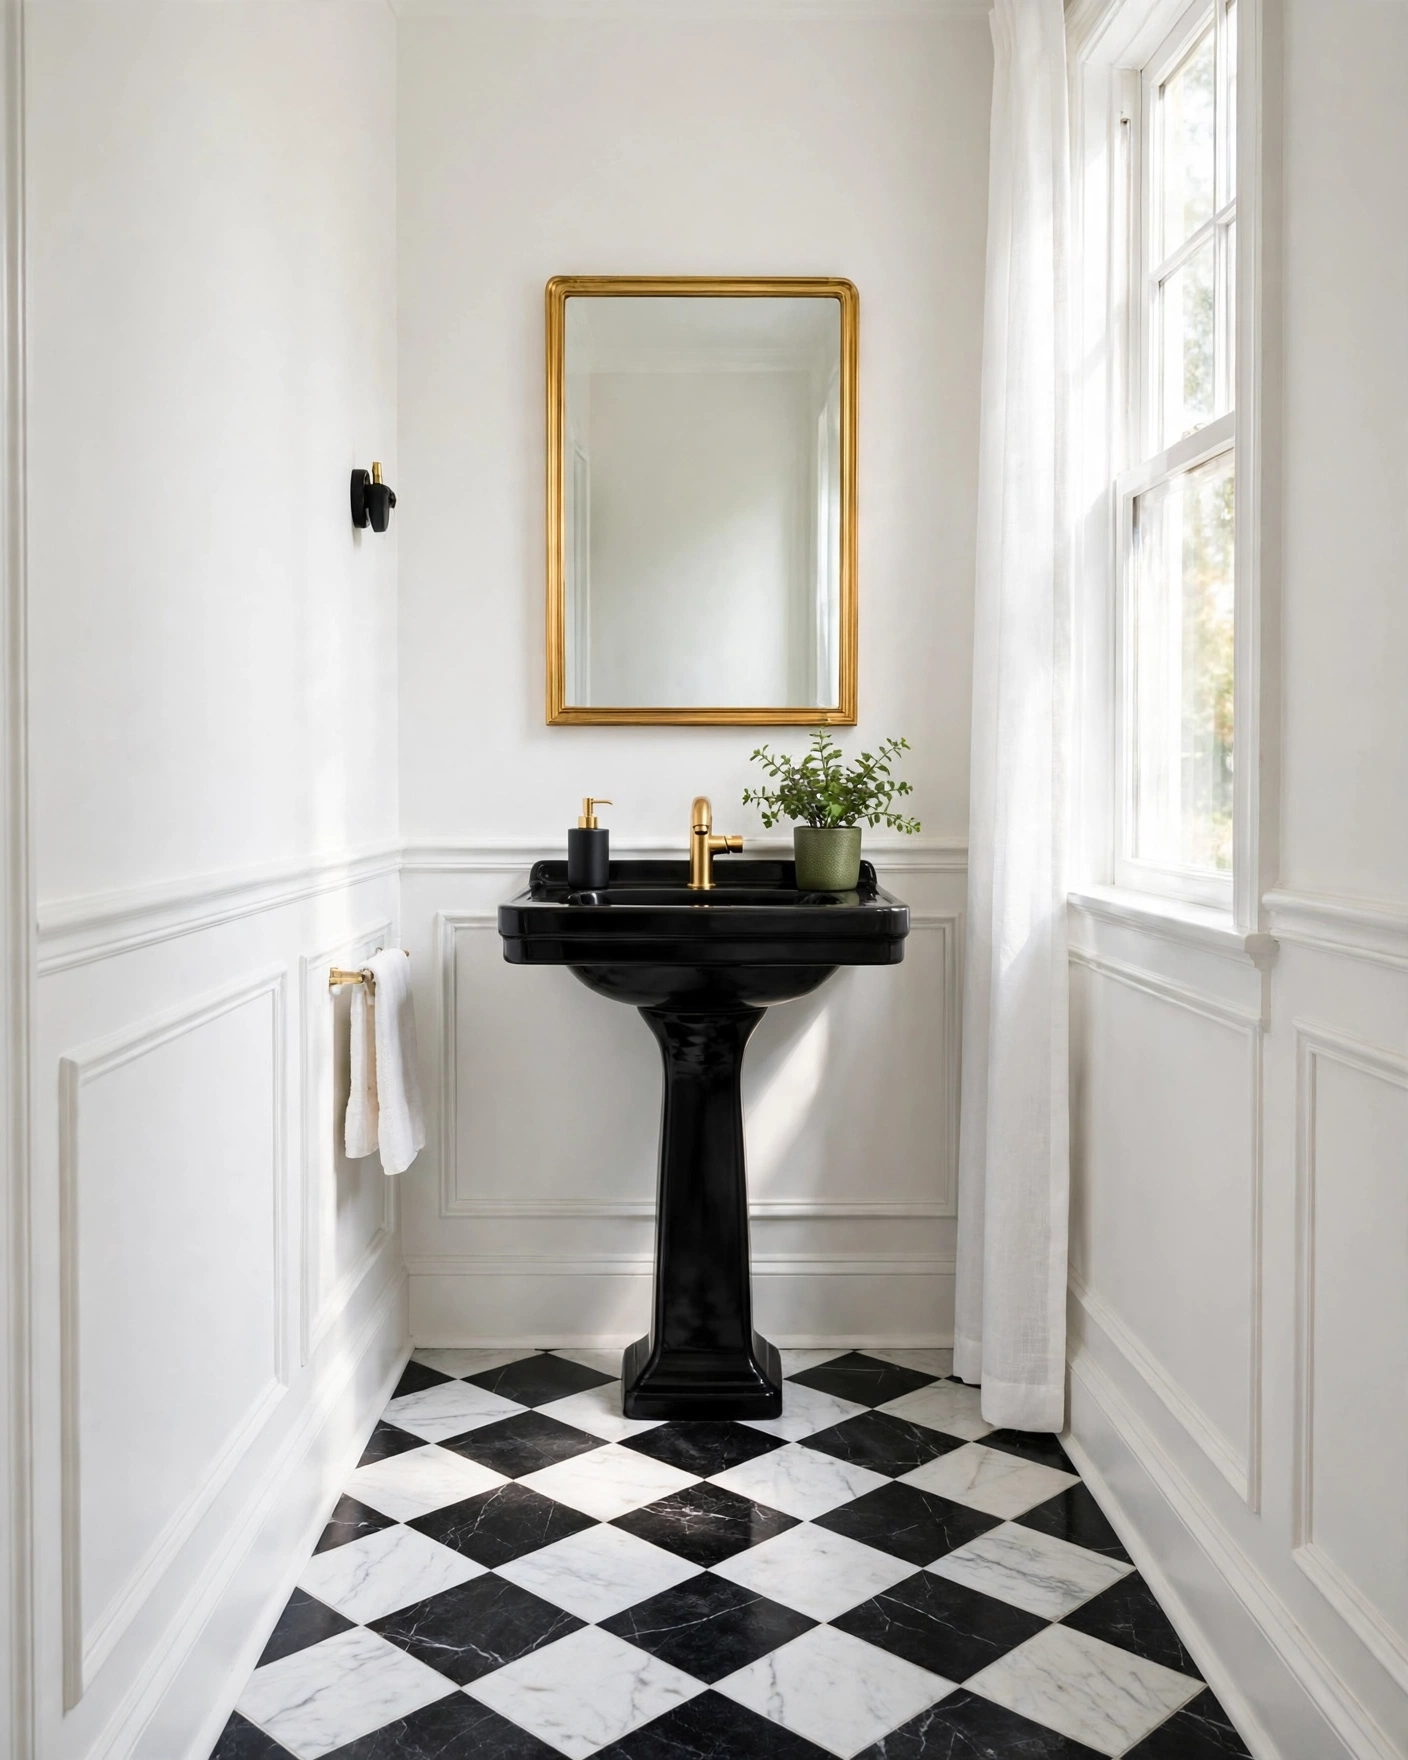
    Black and white checkerboard marble tiles on a small powder room floor

    Lay 12×12 inch black and white marble or marble-look porcelain squares in a classic checkerboard, turned on the diagonal to make the floor feel wider than it is. Keep the walls a clean warm white and repeat the black in a pedestal sink or faucet so the pattern looks deliberate, not random. This is the pattern guests recognize instantly from grand hotels and old bistros. Practical tip: choose honed porcelain copies of marble for the floor; they hide water spots and need no sealing.
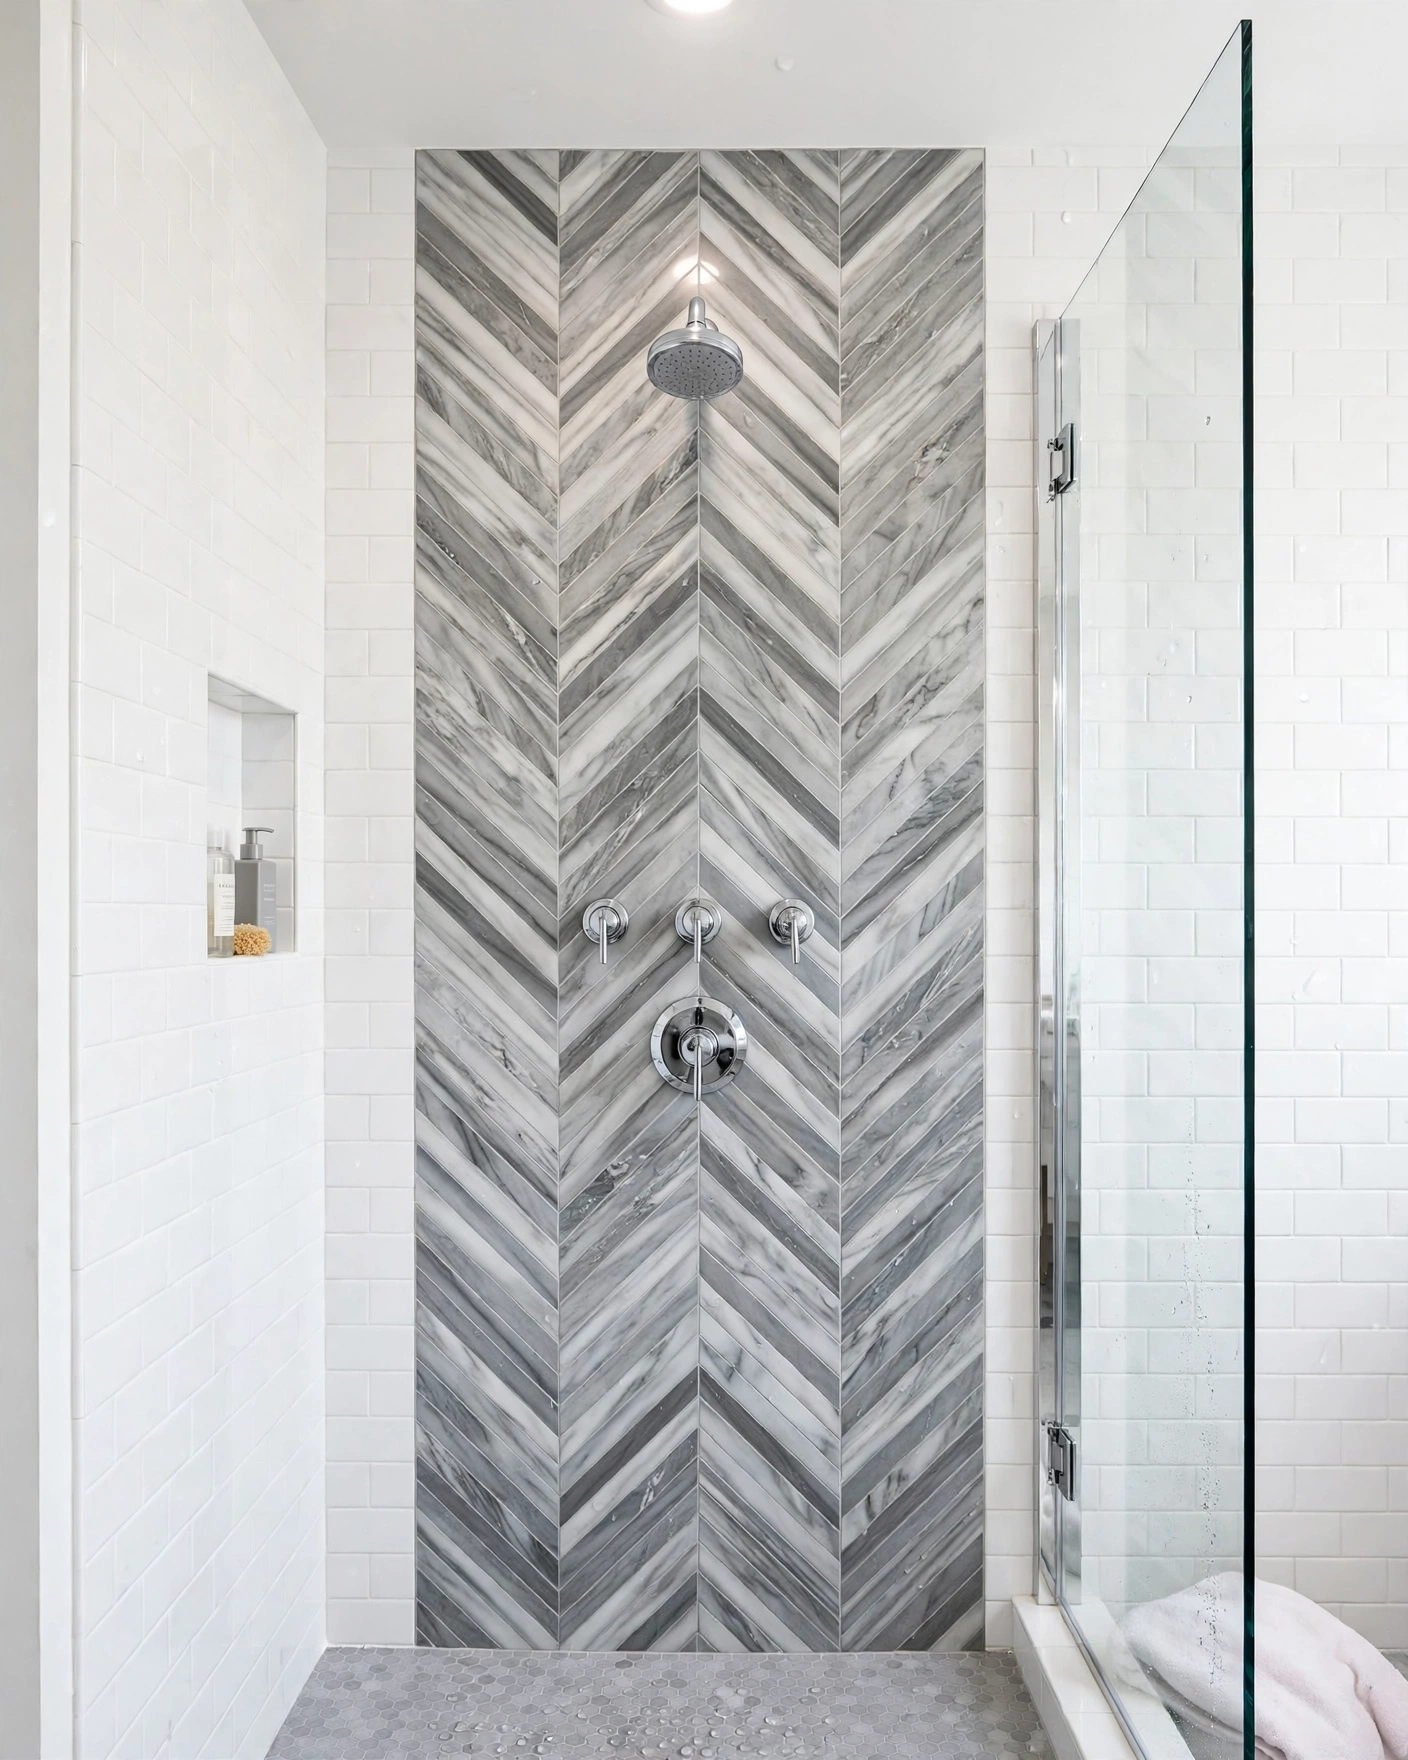
    3. Marble Hexagon Floor with Brass Accents

    White marble hexagon mosaic floor with brass fixtures in an elegant powder room

    Cover the floor in 2 inch white marble hexagon mosaics with soft gray veining, then echo the luxury in brushed brass faucet, mirror frame and sink legs. The small hex shape gives grip underfoot and reads as true vintage craftsmanship, while the metal warms up the cool stone. Keep the walls a pale gray pulled from the veining so nothing competes. Practical tip: hexagon mosaics come on mesh sheets, so a floor this small installs in a single afternoon.

    4. Moody Navy Blue Subway Tile

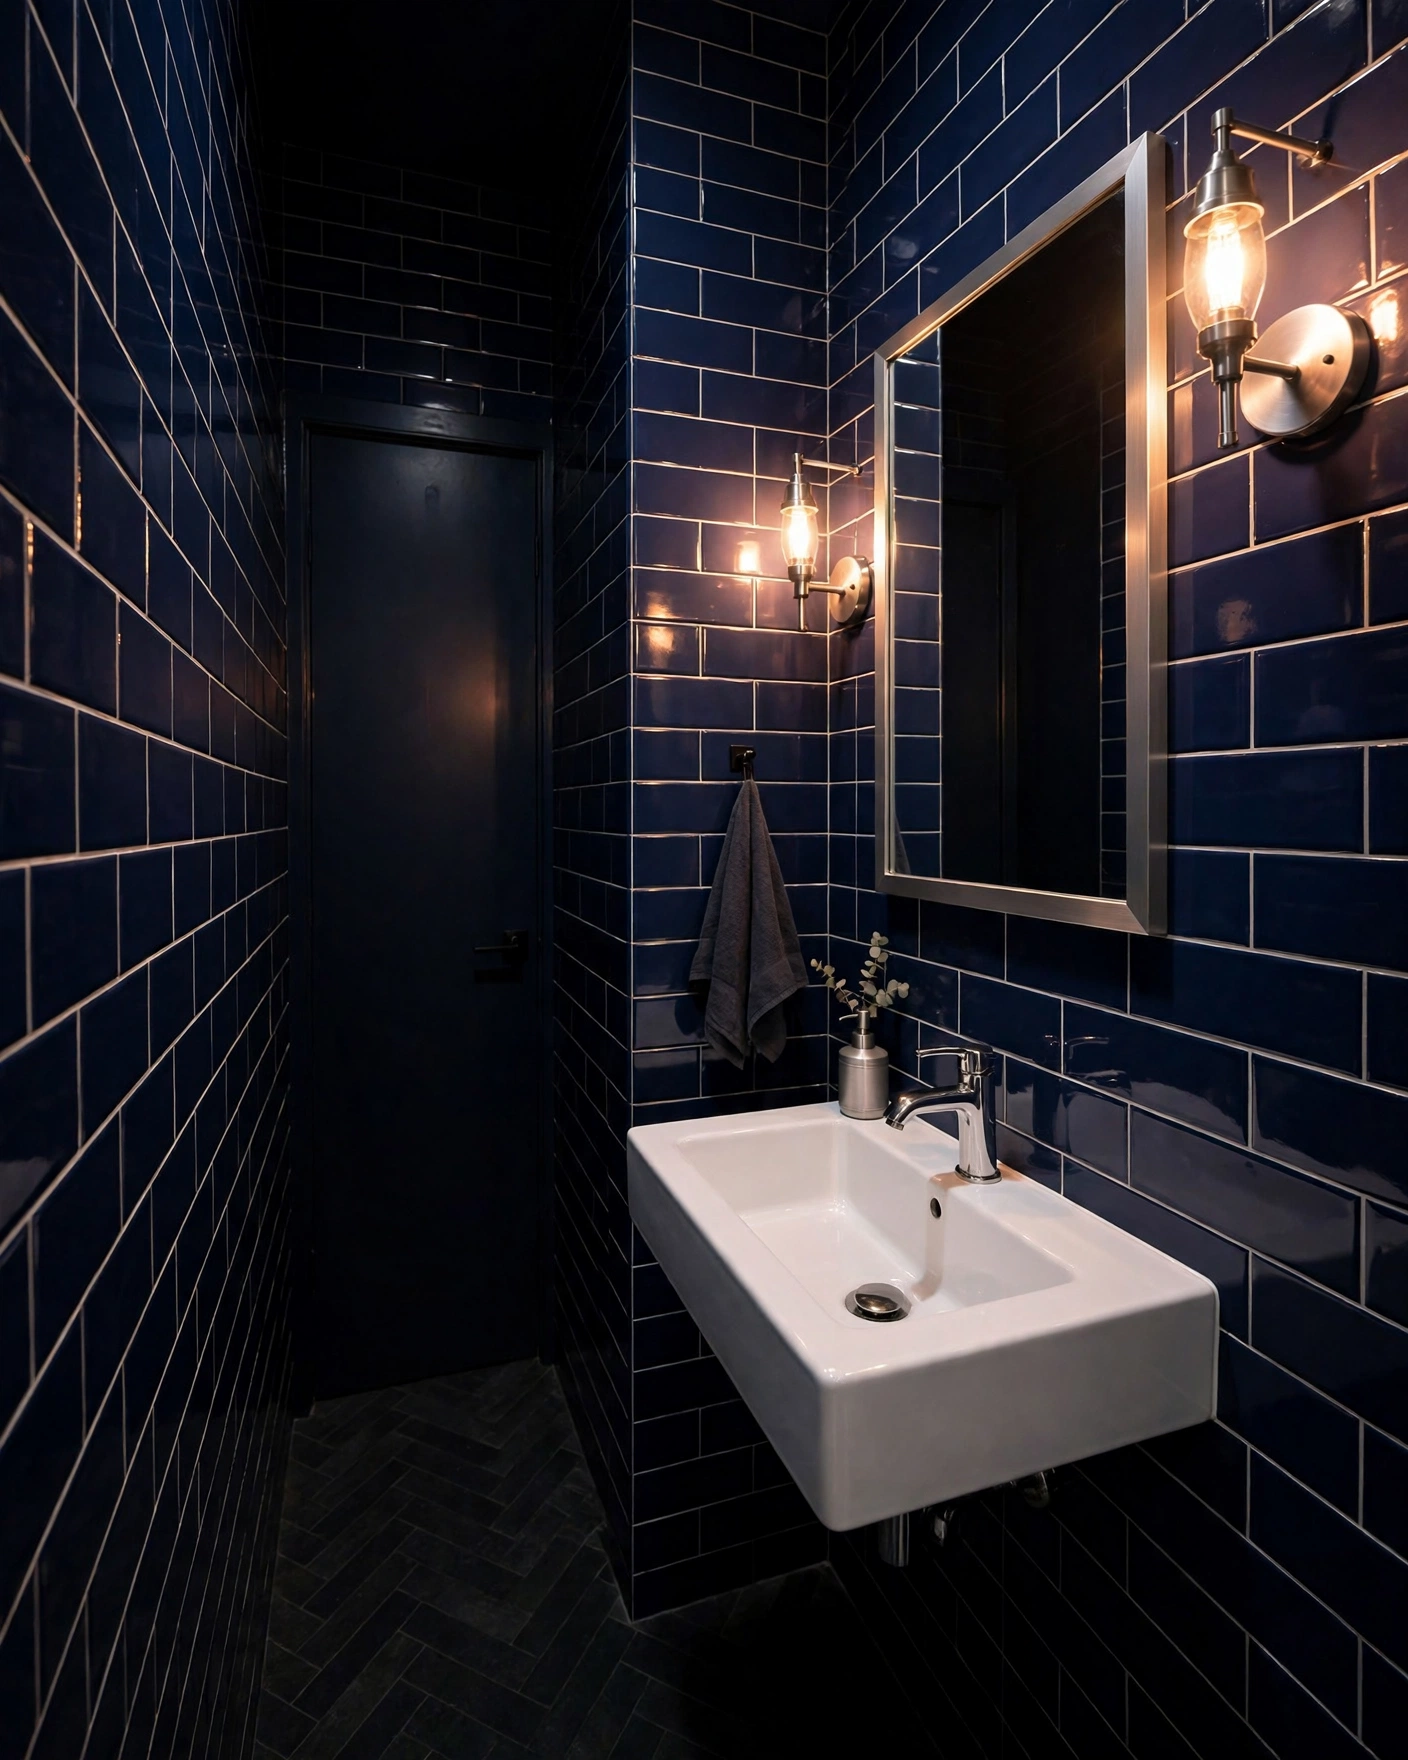
    Deep navy subway tiles on powder room walls with a white sink and mirror

    Take 3×6 inch navy blue glossy subway tiles up all four walls in a classic offset brick pattern with bright white grout for contrast. The dark color actually makes a windowless powder room feel cocoon-like and intentional rather than small, especially with white porcelain and chrome to lift it. Add two warm sconces so the glaze glows instead of going flat. Practical tip: dark glossy tile shows water spots quickly, so keep a microfiber cloth in a drawer for a ten-second wipe before guests arrive.

    5. Soft Pastel Terrazzo Tile

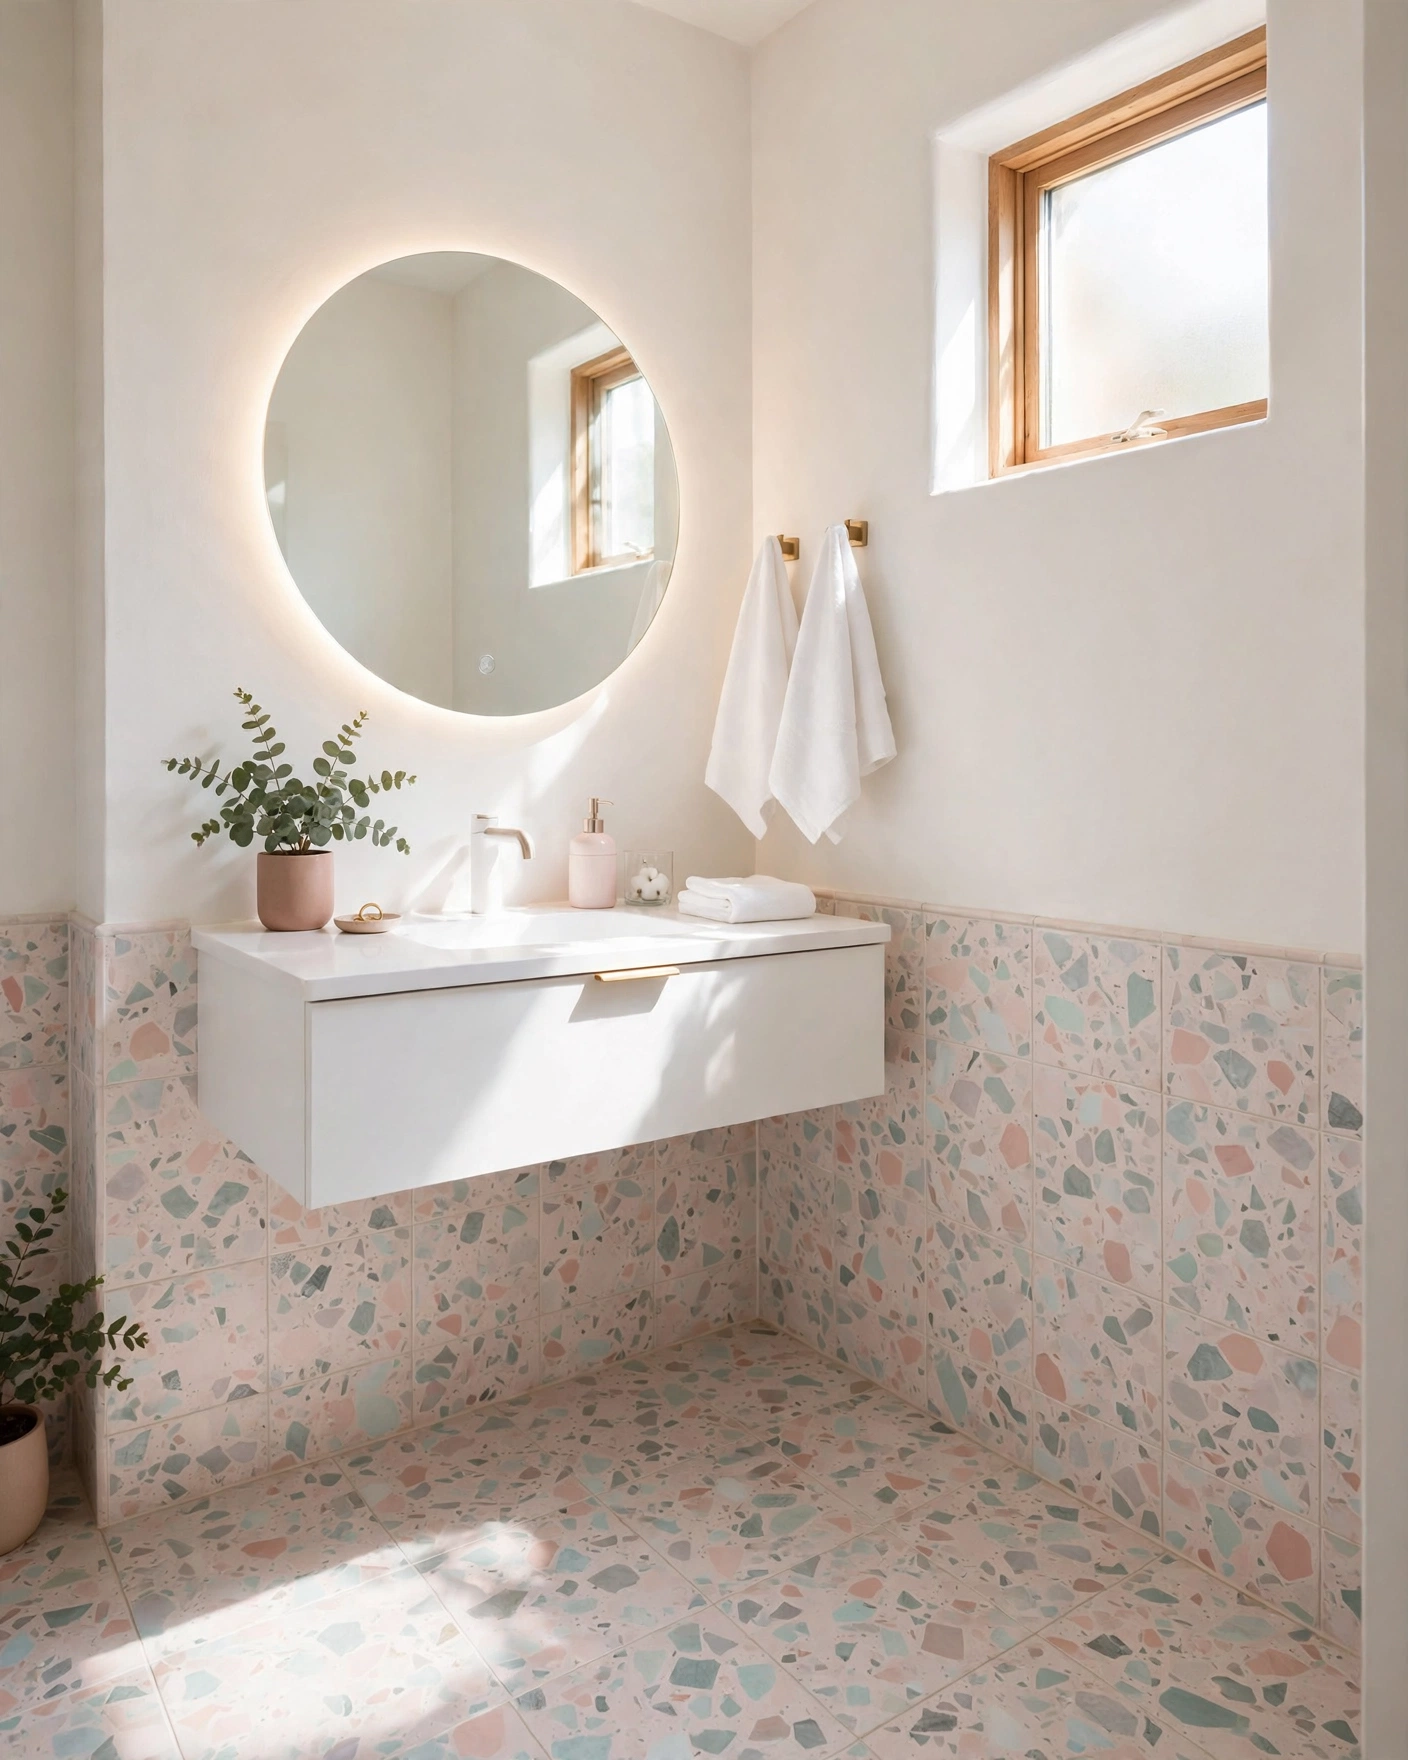
    Pale terrazzo tiles with pastel chips on a powder room floor and wall

    Use large-format 24×24 inch terrazzo-look porcelain with fine pastel chips in blush, mint and gray on the floor and halfway up the wall behind the sink. The speckled surface is forgiving, hides dust between cleanings, and gives guests something playful to look at. Pull one chip color, like the blush pink, into your hand towel and soap dish to finish the story. Practical tip: porcelain terrazzo costs far less than poured terrazzo and never needs resealing.
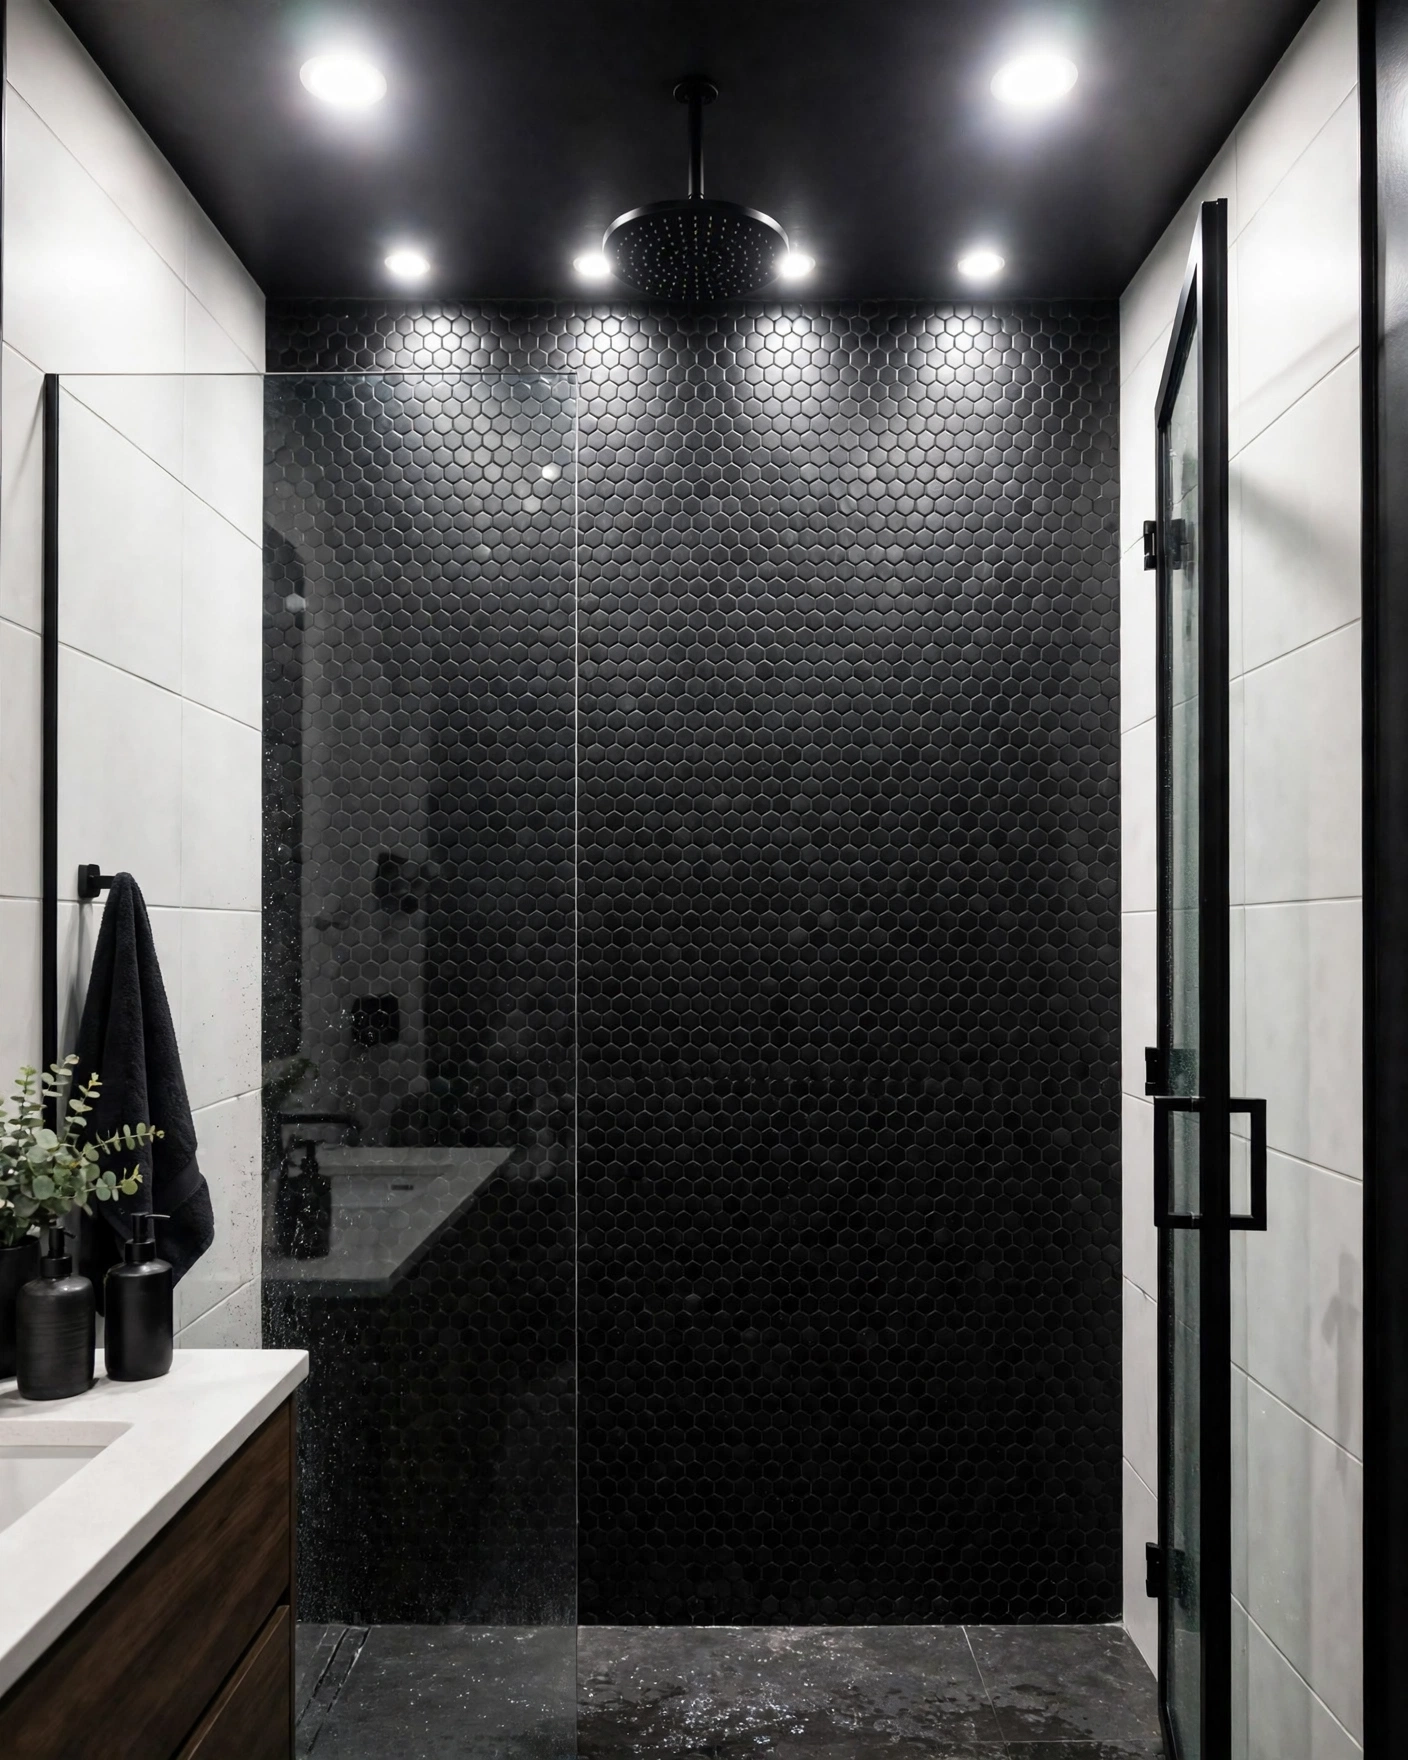
    6. Moroccan Fish Scale Tile
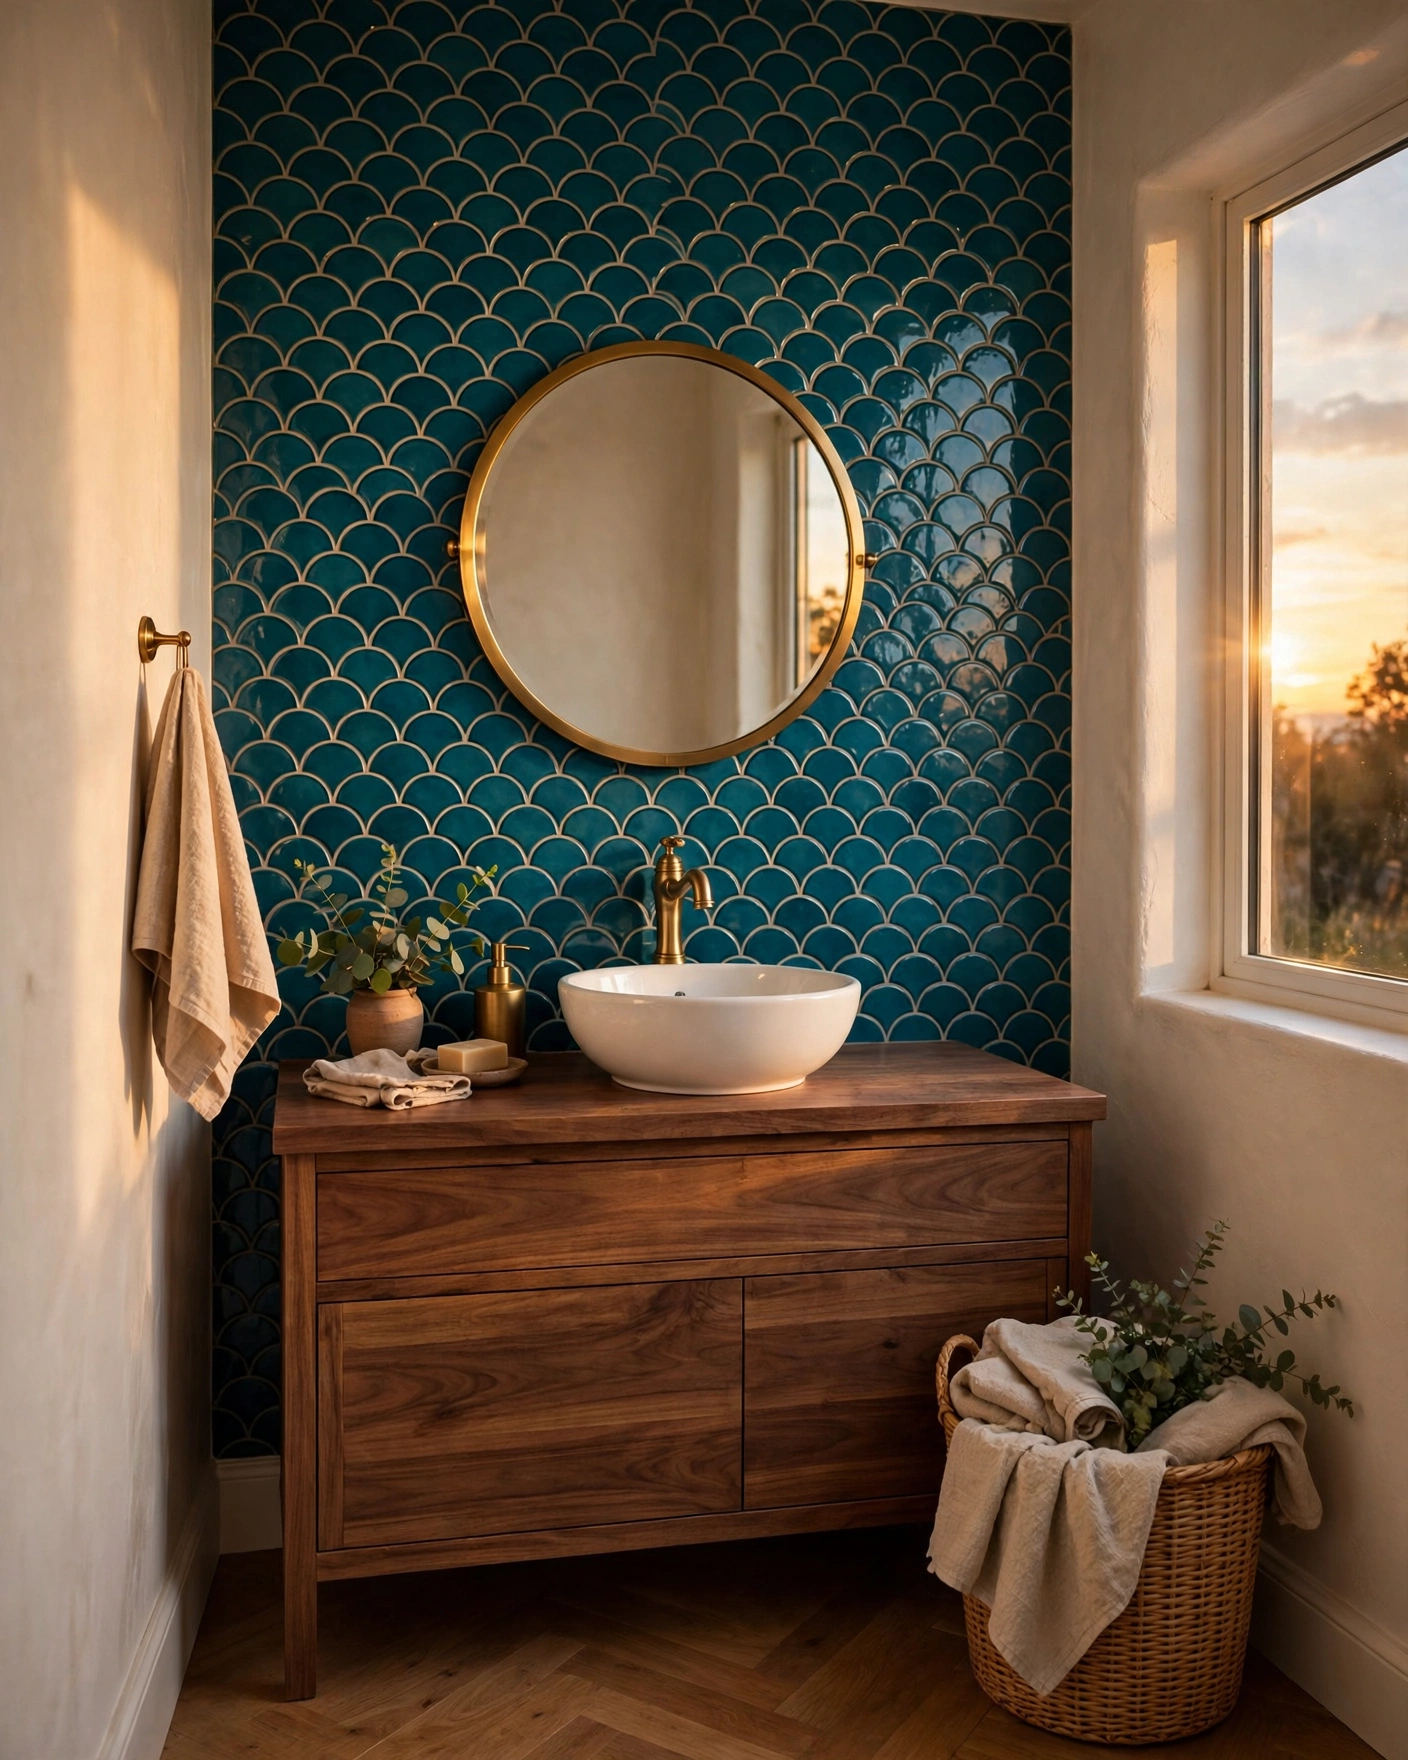
    Teal fish scale scallop tiles forming a statement wall in a powder room

    Arrange scallop or fish scale tiles in a deep teal glaze on the single wall behind the vanity, points facing down like overlapping waves. The curved shape is so distinctive that guests always ask where it came from, and one wall is all a small room needs. Balance it with plain white side walls and a warm walnut or oak vanity top. Practical tip: scallop tiles are slow to set because of the curves, so budget the feature wall as its own half-day job and start from the center line.

    7. Herringbone Marble-Look Porcelain

    Herringbone marble-look porcelain floor tiles in a refined small powder room

    Lay 3×12 inch marble-look porcelain planks in a 90-degree herringbone across the floor to get movement and a designer feel without real marble’s price tag. The zigzag draws the eye along the room, which makes a narrow powder room read longer. Pair it with soft sage or warm gray walls and black accents for a tailored finish. Practical tip: order 15 percent extra tile, because herringbone involves many angled cuts and more waste than a straight layout.

    8. Vintage Floral Cement Tile Floor

    Blue and white floral cement tiles covering a vintage style powder room floor

    Choose patterned cement or cement-look tiles with a soft blue and gray floral motif for the floor, and keep everything above it quiet in white beadboard or plaster. Guests feel they have stepped into a little French guesthouse, and the busy pattern hides everyday dust beautifully. A chrome faucet with cross handles completes the vintage mood. Practical tip: real cement tile must be sealed before and after grouting, so pick cement-look porcelain if you want the pattern without the upkeep.

    9. Glossy White Subway with Charcoal Grout

    Glossy white subway tiles with dark charcoal grout lines in a powder room

    Tile the walls in classic 3×6 inch glossy white subway, but grout it with charcoal gray instead of white so every brick edge pops like a graphic drawing. It is the cheapest tile on this list, yet the contrast makes it look custom and crisp. Repeat the dark tone in a matte black faucet and mirror frame for a pulled-together finish. Practical tip: dark grout on white tile hides staining for years, but seal it once at installation to keep the lines true black.

    10. Warm Terracotta Hexagon Tile

    Warm terracotta hexagon tiles on a powder room floor with cream walls

    Bring Mediterranean warmth into the half bath with matte terracotta hexagon tiles on the floor in 6 inch hexes with sandy beige grout. The earthy color flatters every skin tone in the mirror, which guests subconsciously love, and it pairs beautifully with cream walls and aged brass. Add one olive or rosemary plant in a clay pot to lean into the look. Practical tip: terracotta tones vary tile to tile, so shuffle tiles from several boxes before laying to blend the color evenly.

    11. Dramatic Charcoal Large-Format Tile

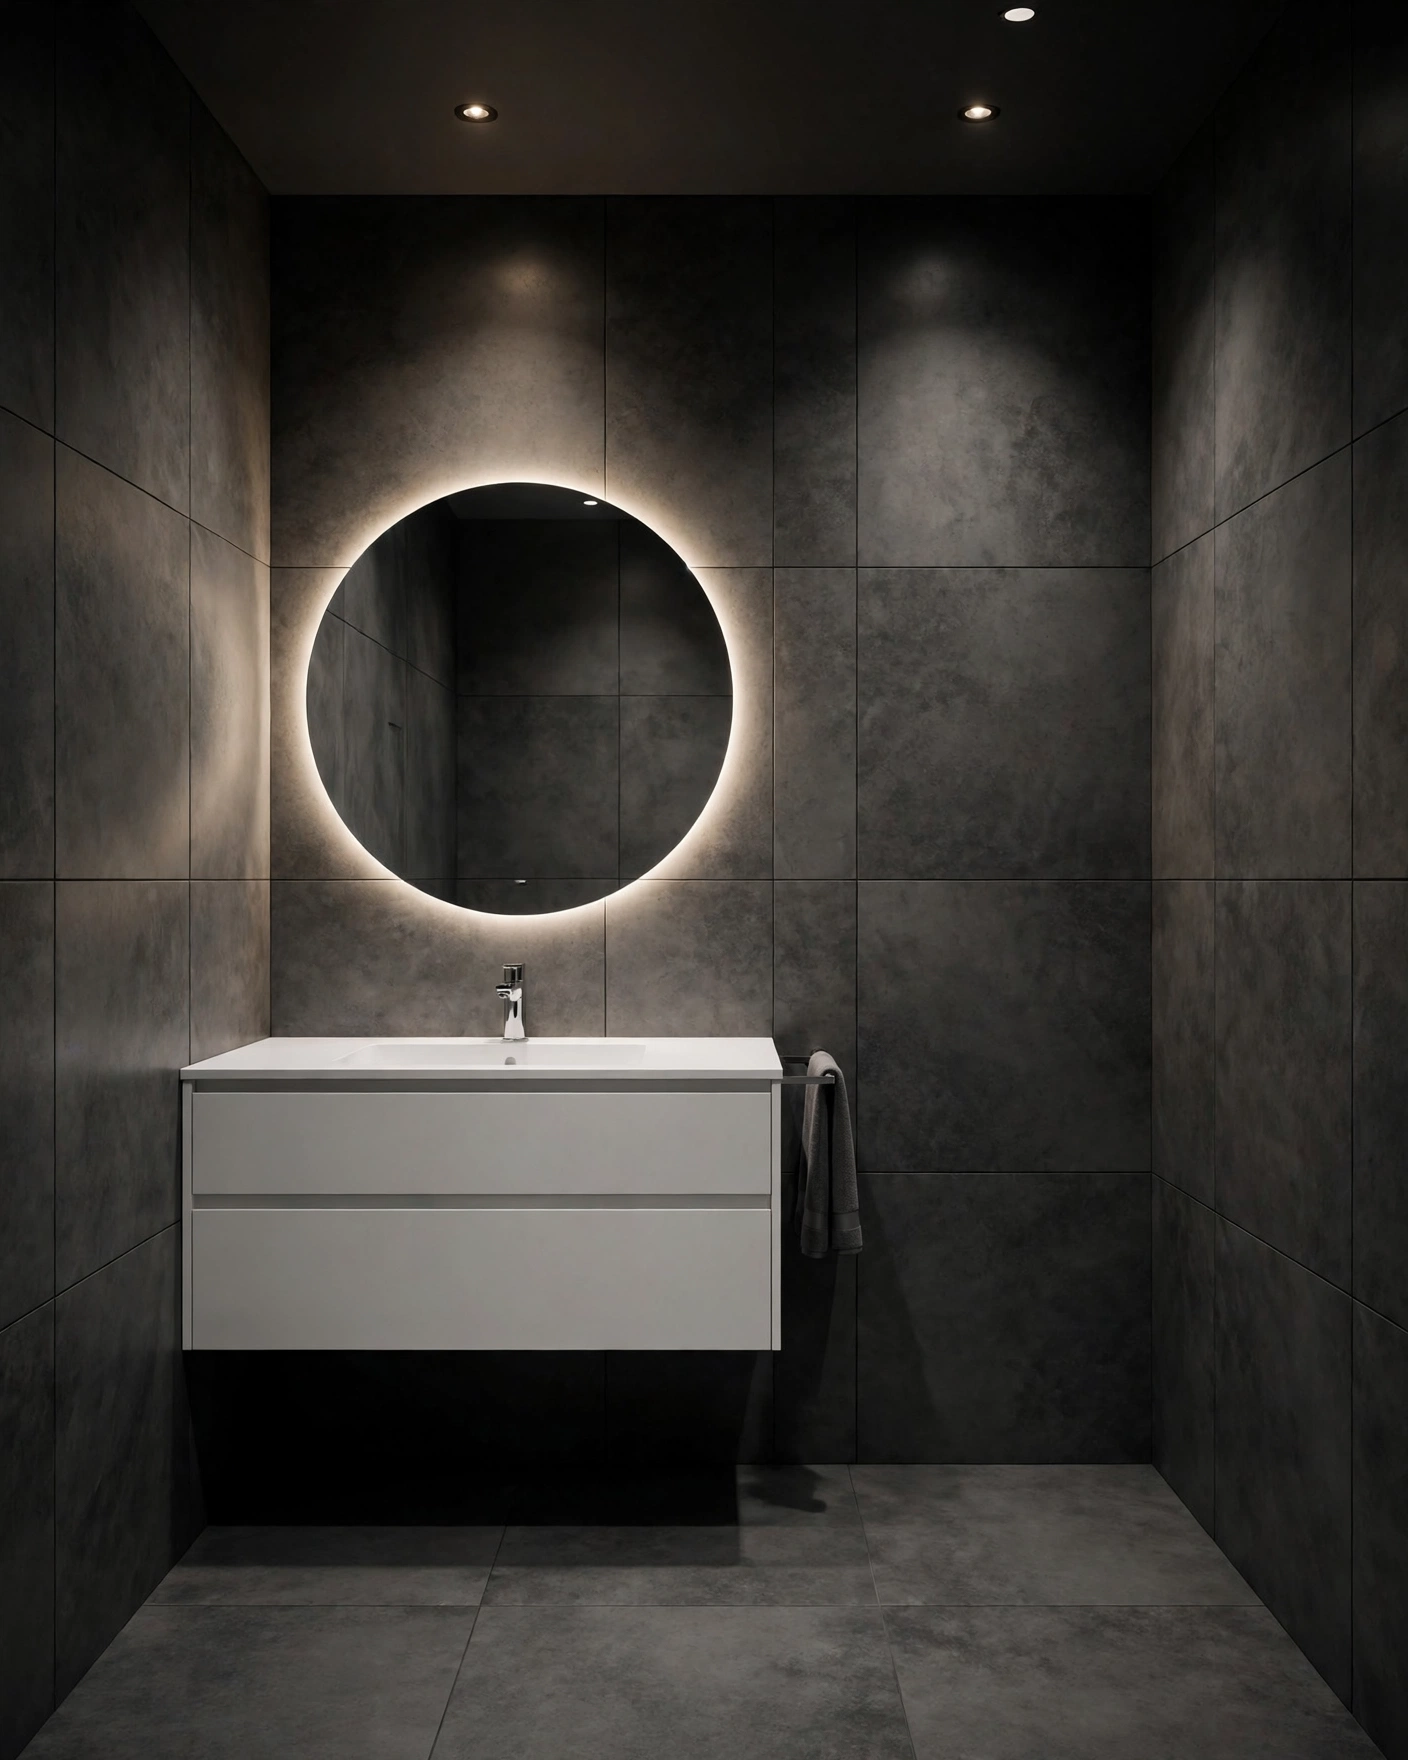
    Charcoal large format tiles creating a dramatic modern powder room interior

    Wrap walls and floor in the same 24×48 inch charcoal matte porcelain so the room becomes one seamless dark shell with almost no grout lines. A floating white vanity and a backlit mirror then appear to glow against the dark background, which is exactly the boutique-hotel effect guests remember. Keep accessories minimal and metallic. Practical tip: large-format tile needs a very flat wall, so budget a little extra prep time for skimming and leveling before you start.

    12. Blush Pink Square Tile

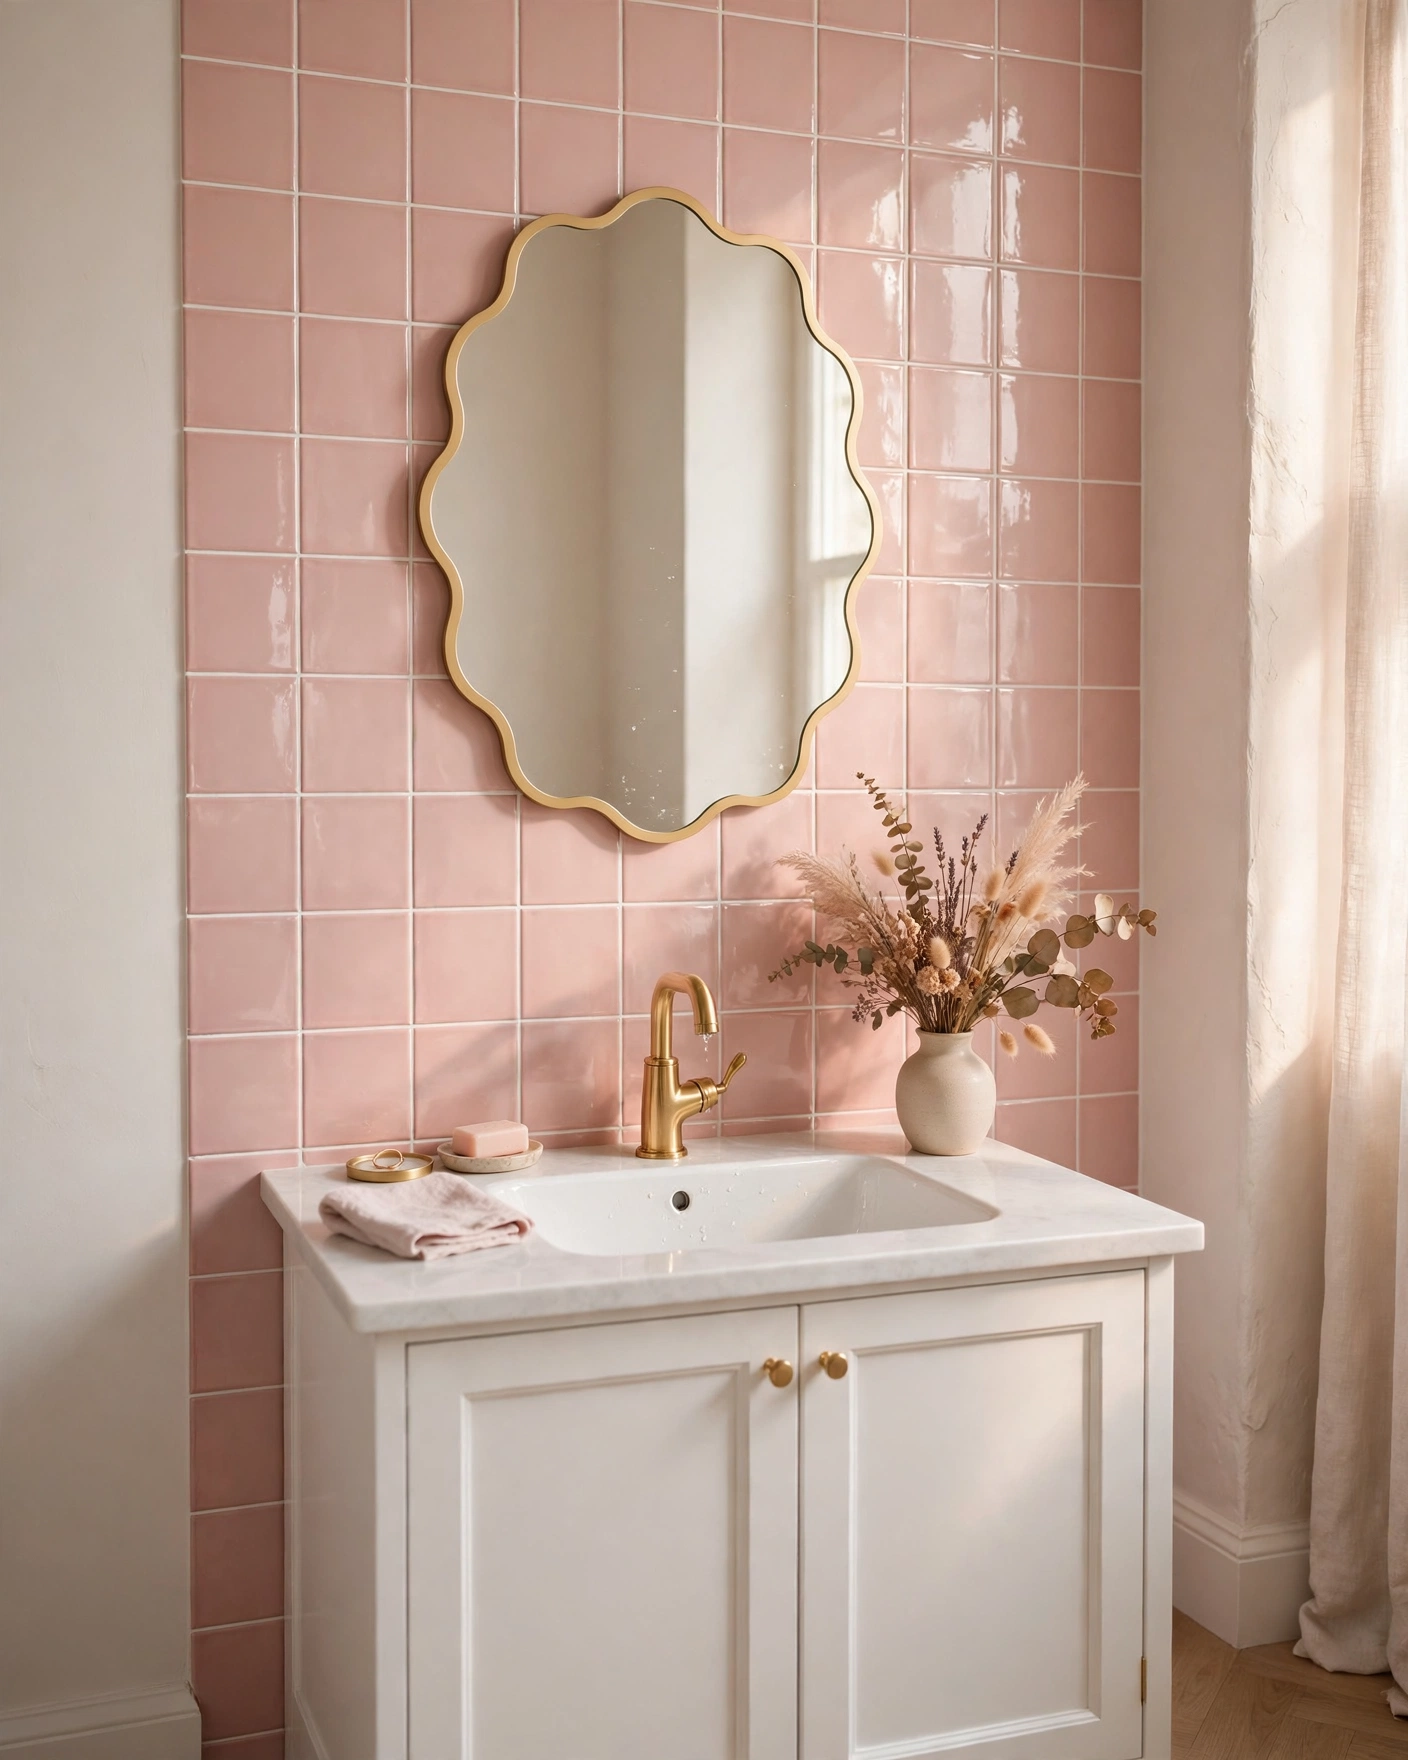
    Blush pink square wall tiles with white grout in a soft powder room

    Line the vanity wall with 4×4 inch blush pink glossy squares and bright white grout for a look that is sweet without being childish. The rosy tone is famously flattering in mirrors and feels fresh next to white porcelain and a touch of gold. A scalloped or arched mirror keeps the soft mood going. Practical tip: pink tile is a commitment, so confine it to one wall and keep the floor neutral; a single wall is quick to change later.

    13. Geometric Star and Cross Tile

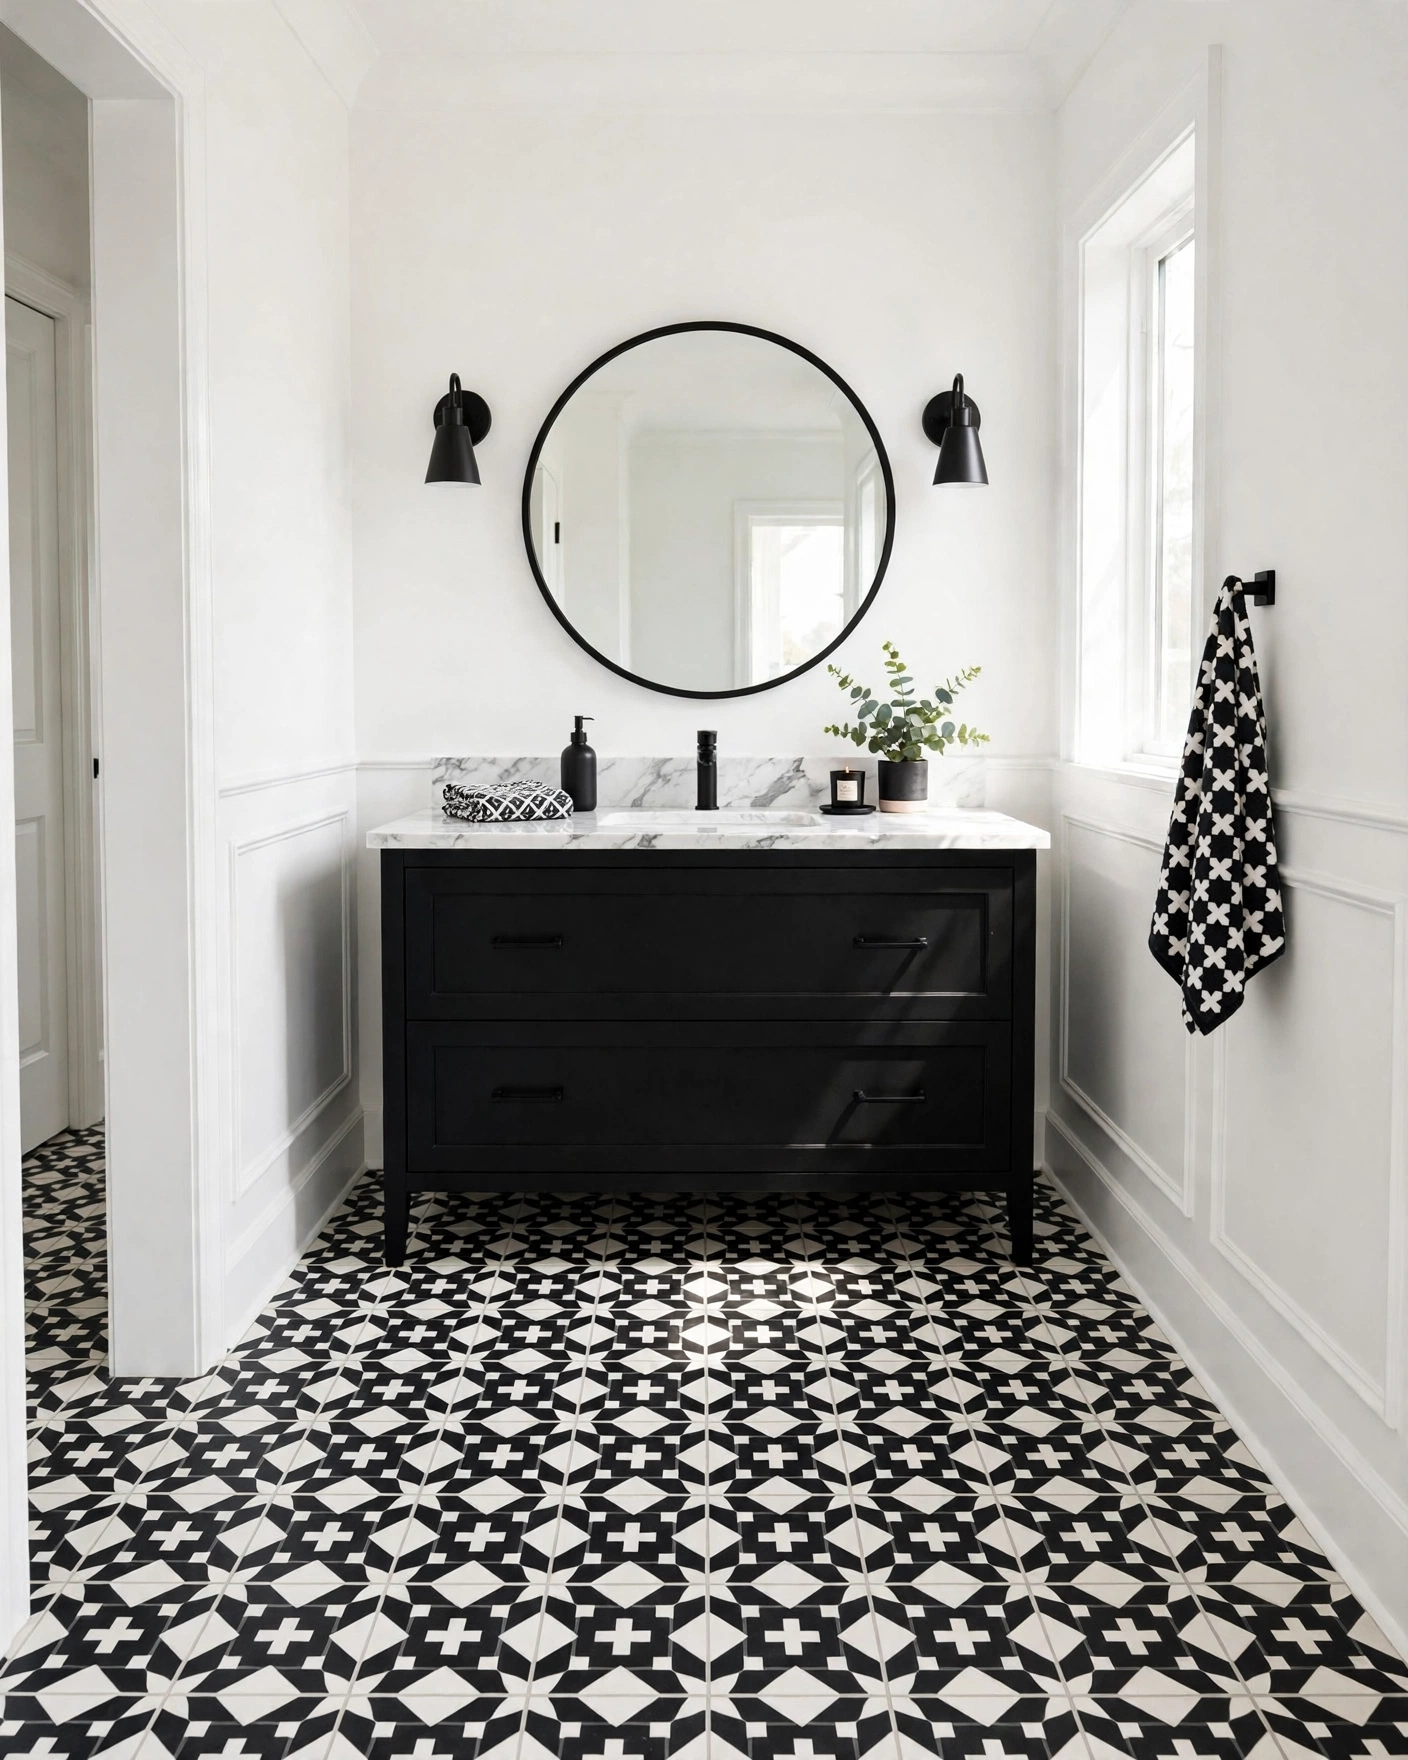
    Black and white star and cross patterned tiles on a powder room floor

    Cover the floor in star-and-cross patterned tiles in black and white, a centuries-old Mediterranean motif that reads both vintage and graphic. Because the pattern is busy, let it own the floor and keep walls, vanity and mirror simple in matching black and white. Guests with an eye for design will recognize the pattern and ask for the source. Practical tip: dry-lay two square feet first and photograph it; pattern direction mistakes are easy to miss until the mortar sets.

    14. Natural Slate-Look Stone Tile

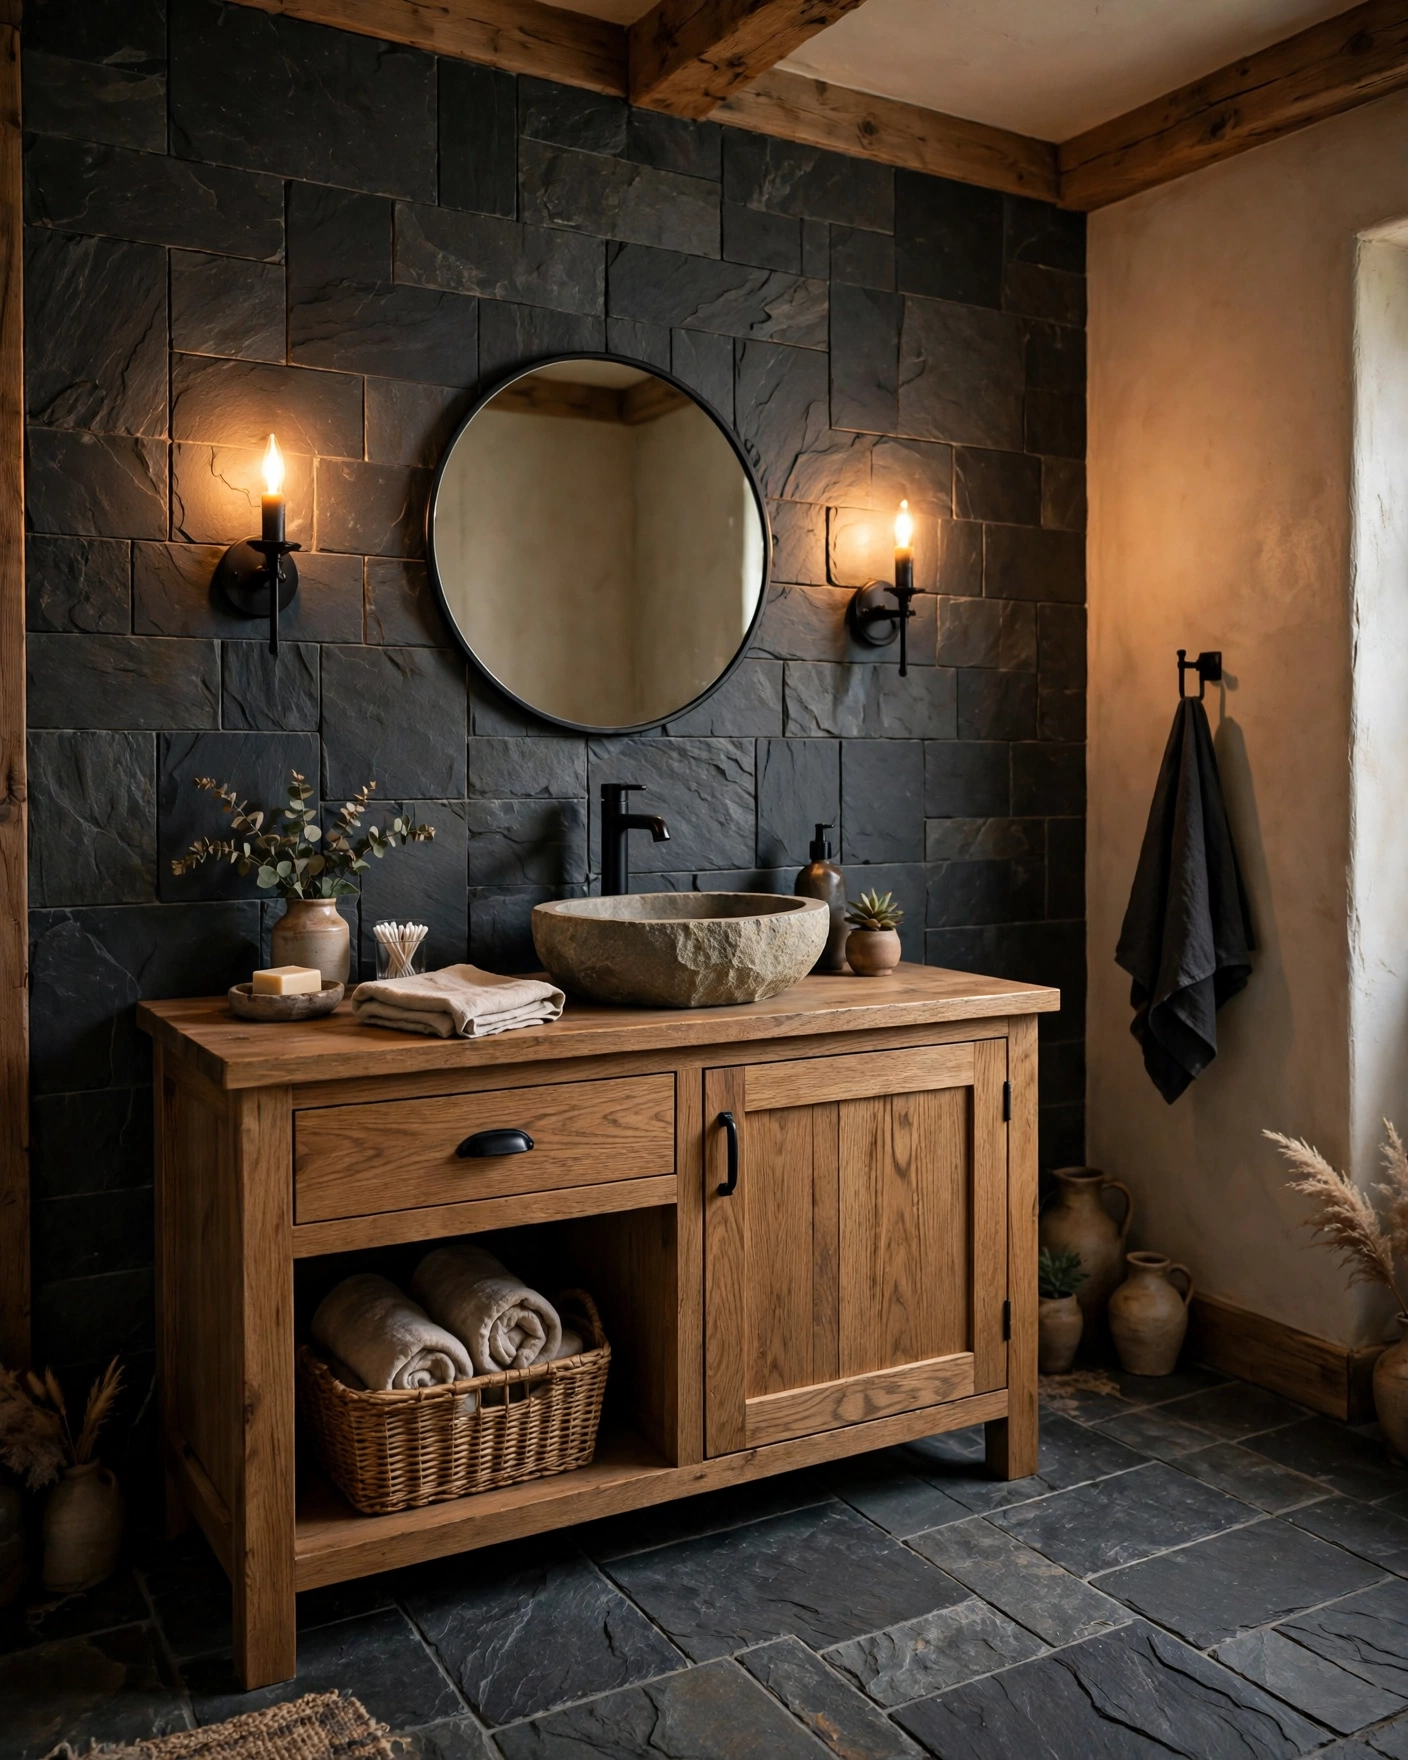
    Dark slate look stone tiles giving a powder room a rustic spa character

    Use slate-look porcelain in mixed rectangular sizes on the floor and one wall for a rustic, spa-like texture that feels completely different from the rest of the house. The natural variation in each tile keeps the dark palette from looking flat, and it loves warm wood and black metal. A stone or concrete vessel sink continues the organic feel. Practical tip: textured slate-look tile grips well but traps dust in its grooves, so choose one with a smoother split-face for easier mopping.

    15. Sage Green Vertical Stack Tile

    Sage green tiles stacked vertically on a calm modern powder room wall

    Stack 2×8 inch sage green tiles vertically in straight columns instead of the usual brick offset, and the wall suddenly looks taller and more modern. The soft green is restful, works with both chrome and brass, and photographs beautifully for guests who love sharing a pretty room. Pair it with light oak and white for a calm, Scandinavian finish. Practical tip: vertical stacks show every uneven wall edge, so use tile leveling clips to keep the columns perfectly straight.

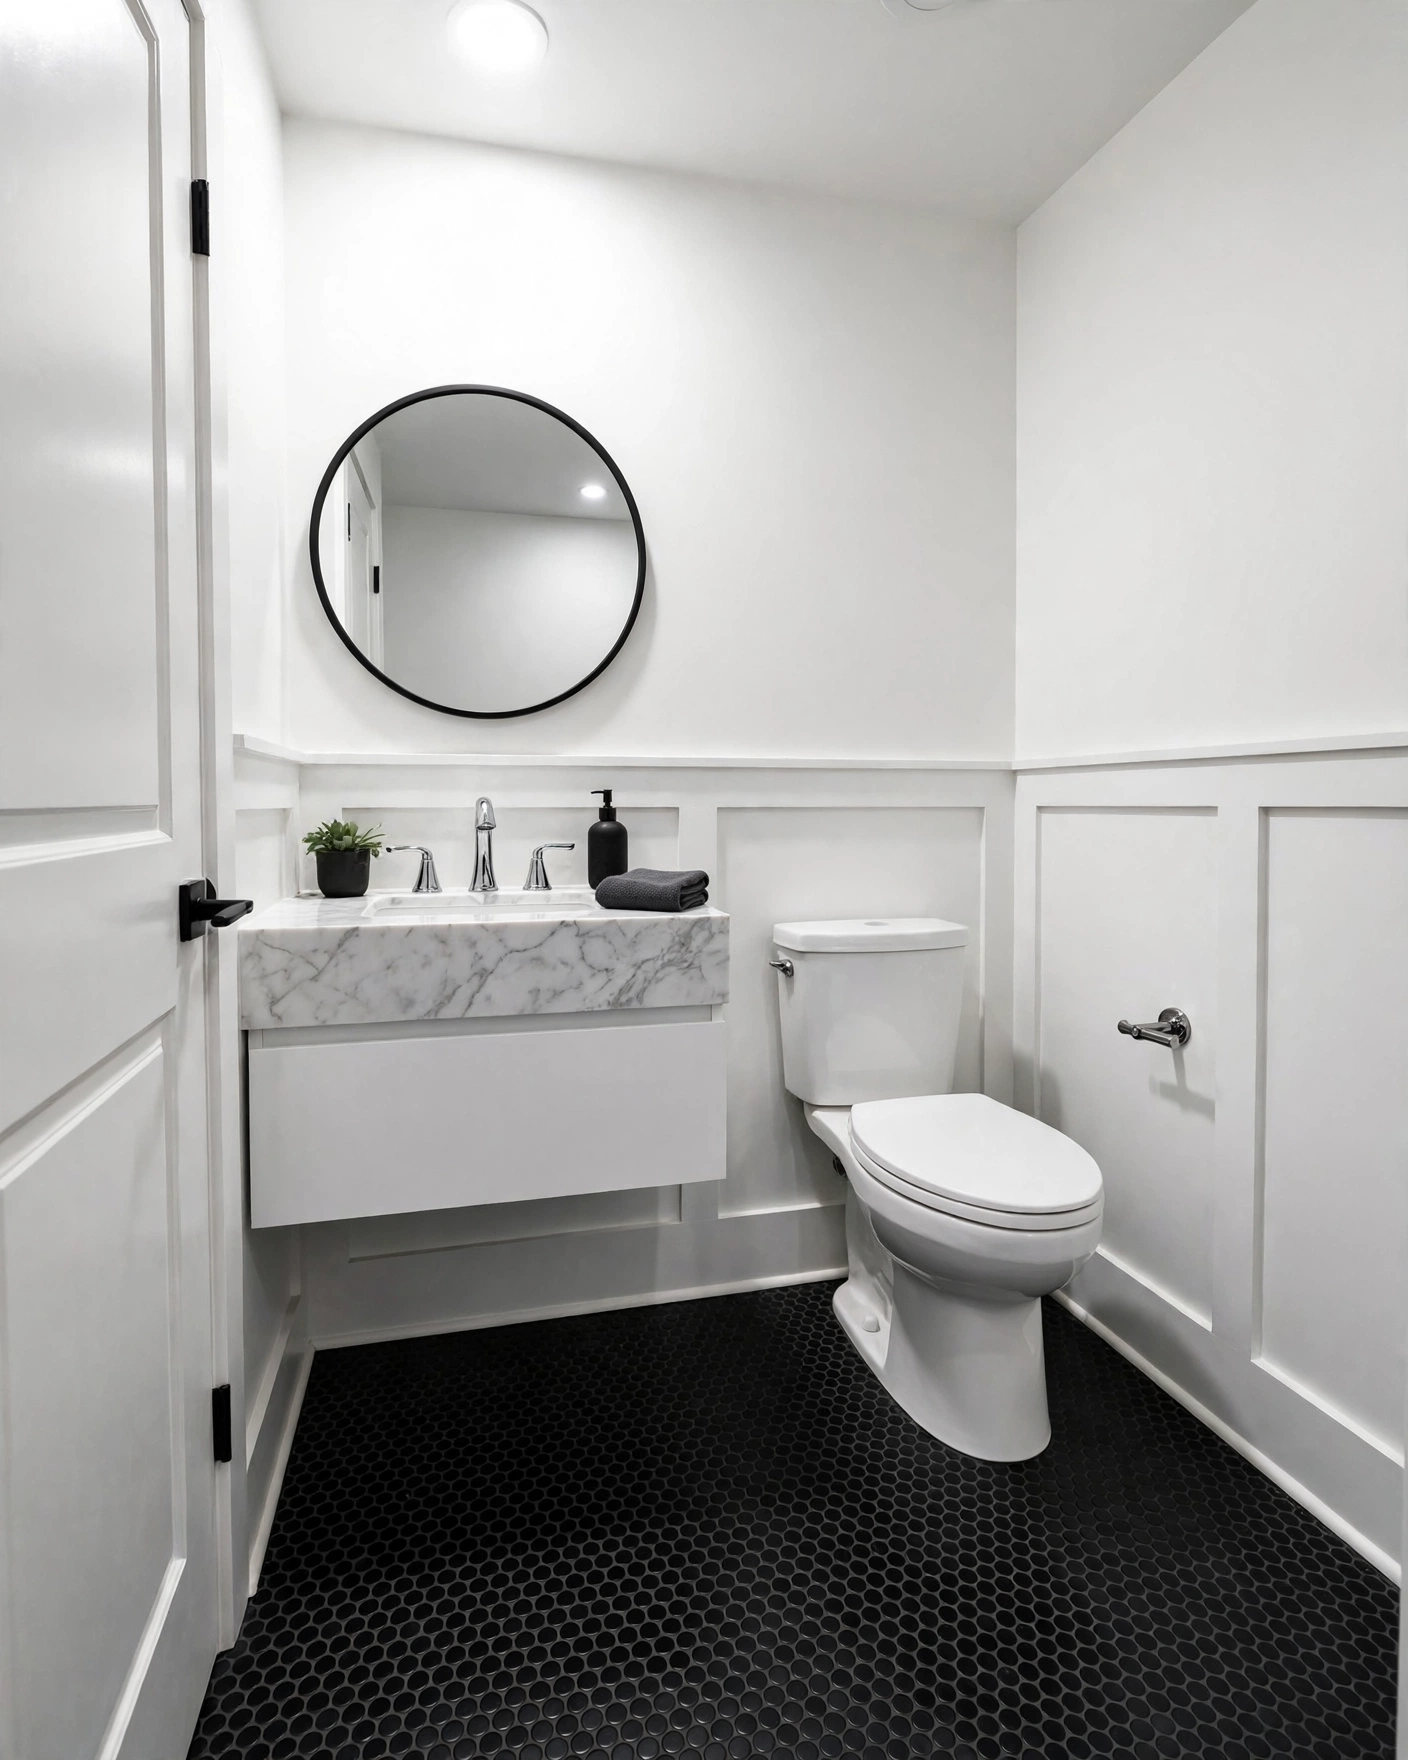
    16. Matte Black Penny Round Tile

    Matte black penny round mosaic tiles covering a powder room floor

    Pave the whole floor in matte black penny round mosaics with dark grout so the tiny circles merge into one rich, textured carpet of tile. Against white walls and a white toilet, the floor becomes the drama, and the round shape adds a vintage note that suits older homes. A marble-topped vanity bridges the black and white. Practical tip: penny rounds use a lot of grout, so choose a dark grout color from the start; light grout on black pennies is nearly impossible to keep clean.

    17. Wood-Look Porcelain Plank Floor

    Wood look porcelain planks warming up a small powder room floor

    Run wood-look porcelain planks in a warm oak tone across the floor to borrow the coziness of a hallway or kitchen in a room that still needs a waterproof surface. Guests read it as real wood at first glance, and it warms up white fixtures instantly. Run the planks toward the door so the grain leads the eye through the small space. Practical tip: pick planks with a high pattern variety, at least eight different faces, so the repeat does not give away that it is tile.

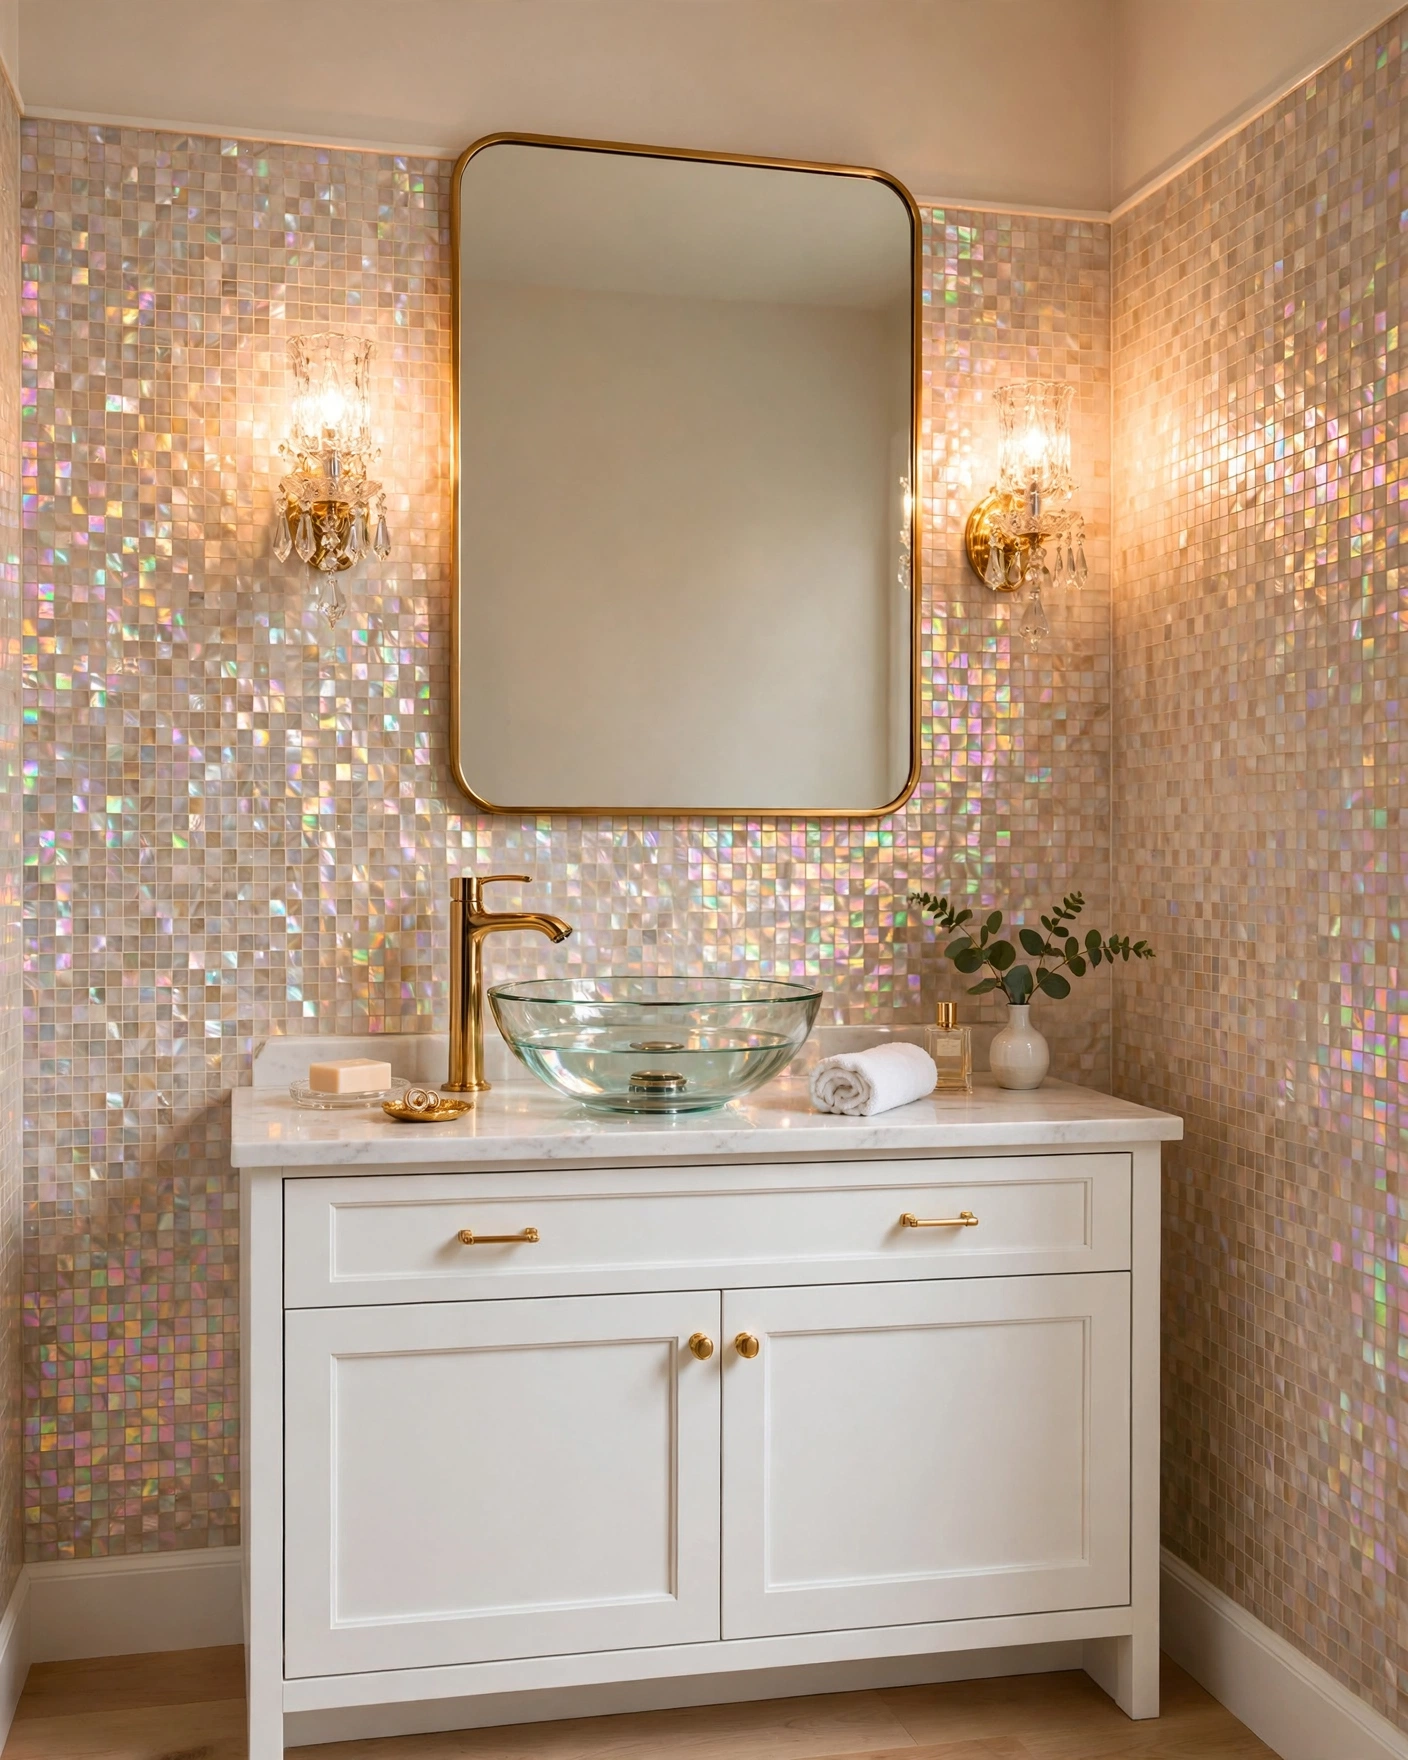
    18. Mother-of-Pearl Mosaic Backsplash

    Shimmering mother of pearl mosaic tiles behind a powder room sink

    Tile just the backsplash zone behind the sink with mother-of-pearl mosaic, and the whole room gains a soft iridescent glow every time the light hits it. It is a small area, so the splurge stays reasonable, while the effect reads pure boutique luxury to anyone washing their hands. Keep surrounding walls a warm white so the shimmer has contrast. Practical tip: shell mosaic is delicate, so cut it with a wet saw on slow speed and seal it well against sink splashes.

    19. Two-Tone Tiled Wainscot Wall

    Two tone tiled wainscot with green lower wall and white upper wall

    Tile the lower half of the walls in deep green 4×4 squares, cap it with a slim pencil border tile, and finish the upper half in white tile or paint for a tailored two-tone wainscot. It protects the walls where bags and elbows actually bump them, and the horizontal line makes a low ceiling feel higher. A traditional chrome faucet suits the classic bones of the look. Practical tip: stop the wainscot at about 40 inches; that height aligns with most sink tops and keeps the proportions elegant.


    In Summary

    A powder room rewards bravery like no other room, because the area is tiny, the budget stays sane, and your guests get a private moment to admire the result. Whether you fell for emerald zellige, a checkerboard floor or a shimmering shell backsplash, the winning formula is the same: pick one tile to be the star and let the fixtures play a supporting role.

    Start by measuring your room and ordering samples of your top two or three choices, then look at them under your own lighting at night, since most powder rooms have no window. Once the tile is right, everything else in the room becomes easy.

    Choose the idea that made you smile, and get ready for the question every host loves to hear: where did you get that tile?

  • 15 Tiny Shower Tile Ideas That Don’t Feel Cramped

    15 Tiny Shower Tile Ideas That Don’t Feel Cramped

    A tiny shower can feel like a squeeze, even when it does the job perfectly well. The walls close in, the light disappears, and every grout line seems to shout about how small the space is. But the tile you choose changes all of that — it is the one surface that covers almost everything you see when you step inside.

    The right tile can stretch the walls upward, bounce light around the room, and blur the edges so the shower feels like part of the bathroom instead of a box inside it. Large tiles with fewer grout lines, glossy finishes, and one continuous surface from floor to wall all work quietly in your favour.

    Below are 15 tiny shower tile ideas that make a small shower feel open, calm, and far more generous than its measurements suggest. Each one comes with the materials to use, how to recreate the look, and one practical tip to get it right.


    1. Large-Format Tile With Fewer Grout Lines

    Tiny shower with large-format pale gray tiles and almost no visible grout lines

    Large 12×24 inch porcelain tiles mean far fewer grout lines breaking up the walls, so the eye reads one calm surface instead of a grid. Choose a pale gray or warm white matte finish and run the tiles in a stacked layout for the cleanest effect. Tip: ask your tiler for a 1/16 inch grout joint in a colour matched to the tile, so the lines nearly disappear.

    2. Vertical Subway Tile to Stretch the Height

    Narrow shower with glossy white subway tiles stacked vertically to the ceiling

    Turning classic subway tile on its end pulls the eye upward and makes a low ceiling feel taller. Use glossy white 3×12 inch tiles with white grout, stacked vertically from floor to ceiling with no border tile to stop the line. Tip: carry the same vertical stack onto the shower’s back wall only, and keep the side walls plain, so the height effect stays focused.

    3. Glossy White Tile That Reflects Light

    Small shower with glossy white wall tiles reflecting warm light from a sconce

    Glossy white tile acts like a mirror for whatever light the room has, doubling brightness in a shower with no window. Pick a 4×12 inch glazed ceramic tile in pure white and pair it with warm lighting so the shine feels soft, not stark. Tip: keep the grout white and sealed, because any discolouration shows up fast on a glossy white surface.

    4. Same Tile on Floor and Walls

    Tiny shower with matching light beige tile running from floor up the walls

    Using one tile on the floor and the walls erases the line where the shower ends and the room begins, which makes the whole space read bigger. Choose a light beige or warm gray matte porcelain in 12×24 inch size, with a matching mosaic version of the same tile for the shower floor so it grips underfoot. Tip: slope the shower floor gently toward the drain and test the mosaic’s grip with wet feet before the grout goes in.

    5. Herringbone Accent on the Back Wall

    Tiny shower with light taupe herringbone tile on the back wall

    A herringbone pattern on just the back wall adds movement and depth without overwhelming a tiny shower. Use 2×8 inch tiles in a light taupe or soft gray, and keep the side walls in a plain matching tile so the pattern has room to breathe. Tip: have the tiler centre the herringbone on the showerhead wall, so the pattern looks deliberate from the moment you step in.

    6. Light Marble-Look Tile With Soft Veining

    Tiny shower with white marble-look porcelain tile and soft gray veining

    Marble-look porcelain gives a tiny shower a calm, expensive feel for far less than real stone, and the soft veining adds interest without visual clutter. Choose large-format tiles with faint gray veins on a white base, and pair them with brushed gold or chrome fixtures. Tip: book-match the veining on the back wall if you can, so the pattern flows across the grout lines like one slab.

    7. Floor-to-Ceiling Tile With No Break

    Tiny walk-in shower tiled floor to ceiling in soft white handmade-look tile

    Running tile all the way to the ceiling removes the painted strip that usually caps a shower and visually cuts the height in half. Use a soft white handmade-look 4×4 inch tile with a matching grout, and take it over the ceiling edge only if the ceiling is low enough to reach comfortably. Tip: seal the grout well at the top edge, where steam collects, and choose a grout colour you will not mind seeing every day.

    8. Pale Hexagon Floor Tile

    Tiny shower floor with pale gray hexagon mosaic tile and white grout

    A pale hexagon mosaic on the shower floor adds texture and grip while its small scale makes the floor feel detailed rather than cramped. Use 2 inch hexagon tiles in pale gray with white grout, and keep the walls in a plain white subway tile so the floor becomes the feature. Tip: the many grout lines on a mosaic floor give excellent slip resistance, but seal them twice, since shower floors see the most water.

    9. Frameless Glass and Continuous Tile

    Tiny shower with frameless glass panel and the same tile running through it

    A frameless glass panel lets the eye travel straight through the shower, and running the same tile from the bathroom floor into the shower erases the threshold entirely. Use matte white 12×24 inch tiles throughout, with a linear drain so the floor can stay level. Tip: keep the glass spotless with a daily squeegee, because water marks are the one thing that will make the panel visible again.

    10. Soft Sage Green Tile for Calm

    Tiny shower with soft sage green handmade-look wall tiles and brass fixtures

    Soft sage green brings a quiet, spa-like calm to a tiny shower without darkening it the way a deep colour would. Use 4×4 inch handmade-look tiles in a muted sage, and warm the space with brass fixtures and a white pebble or plain shower floor. Tip: test a sample tile in your own shower light first, because sage can read gray or mint depending on the bulbs you use.

    11. Diagonal Floor Tile to Widen the Space

    Tiny shower floor with beige porcelain tiles laid in a diagonal pattern

    Laying floor tiles on the diagonal tricks the eye into seeing a wider floor, because the longest lines run corner to corner instead of wall to wall. Use 12×24 inch beige porcelain tiles on the diagonal, and keep the wall tiles straight so the floor pattern stands out. Tip: buy about 10 percent extra tile, since diagonal cuts waste more than a straight layout.

    12. Niche Tiled in a Contrasting Mosaic

    Tiny shower niche tiled in a soft blue mosaic against white walls

    A small recessed niche tiled in a contrasting mosaic gives a tiny shower a focal point and a practical shelf in one move. Use a soft blue or pale green penny round mosaic inside the niche, and keep the surrounding walls plain white so the colour pops. Tip: slope the niche shelf very slightly forward so water drains out instead of pooling behind your bottles.

    13. Wood-Look Plank Tile on the Shower Floor

    Tiny shower with light oak wood-look porcelain planks on the floor

    Wood-look porcelain planks warm up a tiny shower without any of real wood’s water worries, and running them lengthwise draws the eye deeper into the space. Use light oak 6×36 inch planks on the shower floor with a matching mosaic cut for grip, and pair them with plain white wall tiles. Tip: choose planks with a textured, slip-rated finish, since smooth wood-look tile gets slick when wet.

    14. Tone-on-Tone Grout That Disappears

    Tiny shower with cream square tiles and matching cream grout

    Matching the grout to the tile colour dissolves the grid that usually chops a small shower into squares. Use cream or pale gray 4×4 inch glossy tiles with grout mixed to the same tone, and let the tile’s sheen do the talking instead of the lines. Tip: take a grout sample card home and compare it against the tile in daylight, because grout dries a shade lighter than it looks wet.

    15. One Patterned Feature Wall

    Tiny shower with one accent wall in soft blue and white patterned tile

    One patterned wall gives a tiny shower personality and depth, while the plain walls around it keep the space feeling open. Use 8×8 inch cement-look tiles in a soft blue and white pattern on the back wall only, with plain white tiles everywhere else. Tip: order one extra box of the patterned tile, because a single chipped piece in the middle of the feature wall is far harder to replace later.


    In Summary

    A tiny shower does not need to feel cramped — it needs tile that works with the space instead of against it. Large formats and matching grout quiet the visual noise, glossy finishes and light colours borrow every bit of available light, and one continuous surface from floor to wall makes the room read as a whole.

    Start with the idea that fixes your shower’s biggest problem, whether that is height, light, or a floor that feels too small. Get the materials right, follow the tip for that idea, and the smallest shower in the house can end up feeling like the calmest room in it.

  • 17 Small Bathroom Tile Ideas That Make It Look Twice the Size

    17 Small Bathroom Tile Ideas That Make It Look Twice the Size


    You step into your bathroom and turn around, and you’re already facing the door again. Every inch is spoken for, and the walls feel like they’re leaning in.

    The good news is that tile is the strongest tool you have for changing how a small room feels. The size of the tile, the color of the grout, the direction of the layout and the finish of the surface all decide whether your eye stops at the walls or travels past them.

    Below are 17 tile ideas that stretch a small bathroom visually, with specific materials, sizes and layouts you can copy. Each one also comes with a practical tip, so you can plan the project and the budget in one go.

    Whether you’re renovating a 5×8 hall bath or just refreshing a powder room, there’s a look here that will make the space read as twice the size.


    1. Large-Format Porcelain Tiles on the Walls

    Small bathroom walls covered in large-format porcelain tiles

    Fewer grout lines mean fewer visual interruptions, so the walls read as one calm surface. Use 24×48 inch matte porcelain in warm white and run it vertically for extra height. Tip: ask your installer for a 1/16 inch grout joint, which keeps the wall looking almost seamless and is easier to wipe clean.

    2. Vertical Stack Tile to Lift the Ceiling

    Narrow shower wall covered in vertically stacked pale blue subway tile reaching the ceiling

    Turn standard 3×12 subway tile on its end and stack it in a straight grid, and the wall suddenly looks taller. A pale blue glossy finish with white grout keeps things light and reflective. Tip: stacking costs no more than a regular layout, so you get a dramatic change for the same budget.

    3. Matching Floor and Wall Tile for One Seamless Surface

    Small bathroom with matching light gray concrete-look tile on both floor and walls

    When the floor and walls share the same tile, the room has no hard edge where one surface stops and another starts. Choose a light gray concrete-look 12×24 tile and keep the grout in the same shade. Tip: buying one tile for the whole room usually earns a bulk discount and simplifies ordering.

    4. Light Grout That Disappears Into the Tile

    Cream square wall tile with matching cream grout in a bright compact bathroom

    Contrasting grout draws a grid across your walls and chops the room into small boxes. Match the grout to the tile, such as cream on cream, and the pattern fades into a soft, even surface. Tip: pick a stain-resistant epoxy or sealed grout so the pale color stays clean.

    5. Glossy Subway Tile That Bounces Light

    Windowless small bathroom with glossy white subway tile reflecting warm vanity light

    A glossy glaze acts like a soft mirror, spreading lamplight across every wall. Classic 3×6 white subway tile with light gray grout is affordable and works in any style. Tip: if your bathroom has no window, put two wall sconces beside the mirror so the tile has light to bounce.

    6. Diagonal Floor Tile Layout

    Small bathroom floor with large beige porcelain tiles laid on a diagonal

    Setting floor tile at a 45 degree angle pulls the eye along the longest diagonal, which makes the floor feel wider. Pale beige porcelain in 12×24 works well and hides dust. Tip: diagonal layouts waste more tile, so order about 15 percent extra.

    7. Floor-to-Ceiling Tile in the Shower

    Walk-in shower fully tiled to the ceiling in soft white zellige-style tile

    Stopping tile halfway up the wall creates a line that cuts the room’s height. Carry the same white tile all the way to the ceiling and the shower becomes a tall, clean volume. Tip: line up the niche with the tile grid so you don’t end up with thin awkward cuts.

    8. Pale Hexagon Floor Tile

    Small bathroom floor covered in pale gray hexagon tile with white grout

    Small hexagons give the floor a soft texture without a heavy pattern. Pick a pale gray tile with white grout so it stays light and quiet underfoot. Tip: mosaic sheets are easier to install around toilets and corners, which can lower labor costs.

    9. Frameless Glass Shower with Continuous Tile

    Frameless glass shower door showing the same tile running from the bathroom into the shower

    Swap the shower curtain or framed door for a single pane of clear glass and run the same tile straight through. The eye reads one continuous room instead of a bathroom plus a box. Tip: a 3/8 inch glass panel with a fixed screen is cheaper than a full door and looks just as open.

    10. Soft Sage Zellige-Look Tile

    Powder room wall in soft sage green handmade-look tile with a round mirror

    Light sage green has a slight sheen and uneven glaze that catches the light in gentle waves. It adds color without darkening the room, and the handmade look keeps a tiny space from feeling flat. Tip: use a light cream grout so the green stays soft rather than high contrast.

    11. Pale Terrazzo Tile with Tiny Chips

    Small bathroom with pale terrazzo floor tile and soft pink and gray chips

    A fine terrazzo pattern adds personality while the light base keeps the floor airy. Choose tiles with small chips so the pattern doesn’t feel busy in a tight room. Tip: pair terrazzo with plain white walls so the floor is the only feature.

    12. Herringbone Tile in a Neutral Tone

    Small shower wall in light taupe herringbone tile with matching grout

    Herringbone adds movement while a neutral taupe keeps it calm. Matching the grout to the tile prevents a busy zigzag from shrinking the wall. Tip: limit herringbone to one wall, such as the shower back wall, to control cost and visual noise.

    13. Wood-Look Plank Tile Running Lengthwise

    Narrow bathroom floor with light oak wood-look porcelain planks running lengthwise

    Planks laid along the room’s length draw the eye toward the far wall and make a narrow bathroom feel longer. Light oak porcelain gives the warmth of wood with none of the water worries. Tip: stagger the joints by one third so the pattern looks natural.

    14. Tone-on-Tone Penny Tile

    Small bathroom floor with soft white penny round mosaic tile and pale gray walls

    Penny rounds in soft white give the floor a gentle texture that stays light. Keep walls in a similar pale tone and the whole room reads as one quiet shade. Tip: choose a gray or white grout that matches the tile, and seal it once a year.

    15. One Soft Pattern Accent Wall

    Small bathroom with one accent wall in soft blue and white patterned cement tile

    A single patterned wall adds depth, and plain white on the other three keeps the room open. Choose a soft blue and white pattern, not a dark or high-contrast one. Tip: tile only the wall behind the vanity to get the look for a fraction of the cost.

    16. Curbless Shower with Continuous Floor Tile

    Curbless walk-in shower with continuous light gray floor tile and a linear drain

    Removing the shower curb lets the floor tile flow into the shower without a break, so the floor looks bigger. A linear drain and a gentle slope keep water where it belongs. Tip: use a smaller textured tile or mosaic in the shower area for grip, and match the color to the main floor.

    17. Stone-Look Marble Tile with Soft Veining

    Small bathroom with soft gray-veined marble-look porcelain tile on walls and floor

    Soft gray veining gives a luxury feel while the white base keeps the room bright. Choose a polished marble-look porcelain in 24×24 and use it on both floor and walls. Tip: porcelain copies the look of marble at a lower price and needs no special sealing.


    In Summary

    A small bathroom doesn’t need a bigger footprint to feel bigger. It needs smarter tile choices: larger formats, lighter colors, softer grout lines and layouts that lead the eye.

    Start with the idea that fits your budget and room shape, then build from there. Even one change, like switching to matching grout or running planks lengthwise, can shift how the whole space feels.

    Take your measurements, order a few samples and look at them in your own light. The right tile will make the room feel calm, open and a lot larger than it is.